Author Archive
Stop me…….

Somebody needs to stop me – Suzan, we’ve got a monster on our hands – I can’t stop, I just want to keep fiddling, and it’s 10 PM and there’s school tomorrow, and I don’t want to go – I want to just make art…..
Here’s a variation on what came before.
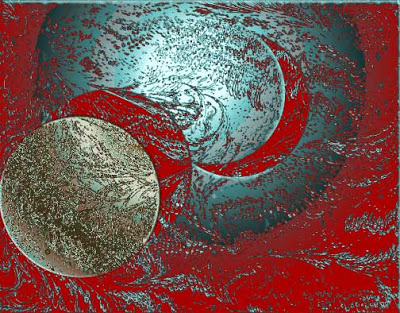
I’m thinking the cloud brushes…..
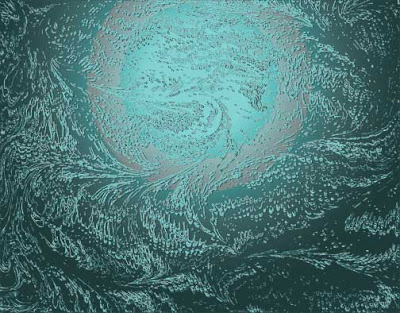
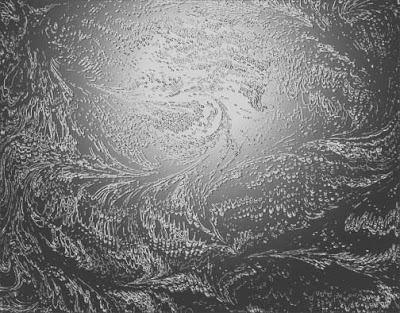
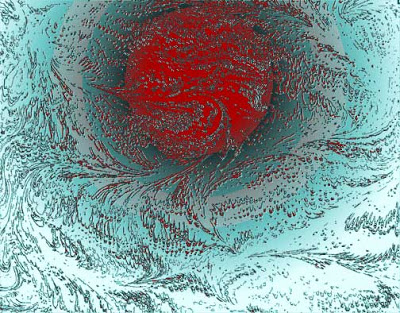
Suzan – this is for you……

So, Suzan, you can see what your pupil has been up to tonight – I think we may have the beginnings of another one. Once I get Contribute, I will send these to you, but in the meantime, enjoy!
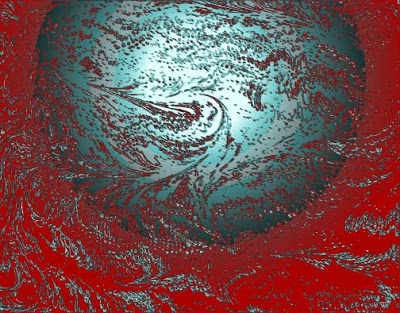
Not That I’m a Professional……

…but I did spend the money (with educational discount) and joined NAPP – National Association of Photoshop Professionals. And I’ve just spent the last hour exploring a bunch of video tutorials – especially on curves. Makes a lot of sense now, but like many things, I wasn’t ready for it before now. I had to play and see what I could do, and now I understand just what it does. Plus – I’m going to Photoshop World in Vegas, baby, in September!
Playing Around……

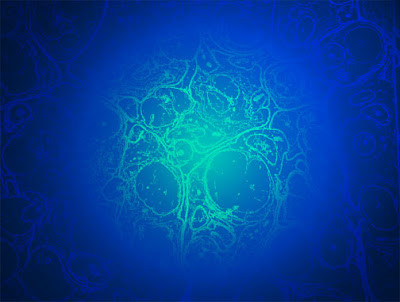
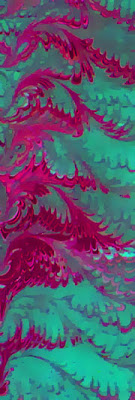
So I’m talking about what we’re doing, and if you have been following the blog, you know how this has been progressing. What follows is a sample from one piece – we have been saving pieces as we like them, even while we continue playing around with more filters and such. This one reminds me of a cold winter morning looking through ice crystals as the sun is rising.
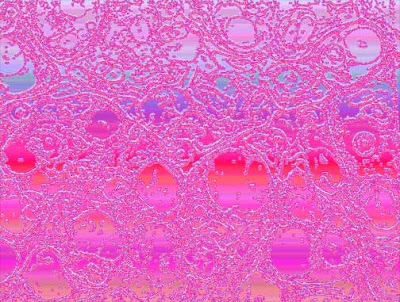
Now here’s the original piece of fabric – can’t even tell the design is from this piece.
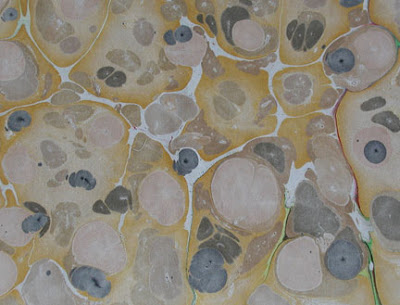
Here are two more variations of the same fabric – Rebirth and Rock Candy.
On Collaboration…..

It has been an amazing couple of days over the holiday. Suzan was down, and we found lots of time to work on our art ideas. For several years now we have wanted to get into doing some digital work with the marbled fabric, but we’ve never gotten far. A week ago I got notice of a deadline for a digital art show, and we decided to start with that. So we spent time on Thanksgiving Day working on two pieces. Man, Suzan knows so much about Photoshop! She was manipulating everything, and I was just in awe.
We are starting with the actual marbled fabric and taking it to the line drawings – generally. Sometimes the piece stays in color and we work from there. Out first piece was from a piece of marbled silk that we laid right at the end of the marbled bath as we were getting ready to empty it. We got a great print, and it became an even greater piece of digital art.
We discovered that when we both say “ah” at the same time, that we are on the right track. This first piece came along pretty well – only about two hours working on it. The second piece – we did a lot of playing around until we decided to add fish. I learned a lot about the pen tool, so that lesson finally made more sense. I plan to join NAPP this weekend so I can have access to all those tutorials and new freebies. This second piece works very well, as the fish give it a nice movement to it.
The third piece on Friday took lots more time – we kept playing around with all kinds of filters – finally adding a few raised circles and then we were on to something. We are now planning to get together in Phoenix each month to work on pieces. With the ones that we saved, we are developing a small body of work if someone wants to see – thinking of the gallery in Prescott. And when I finally get Contribute, I will be able to continue with tag and add Betty into the mix – she has a great artistic eye, and on Saturday she helped us determine which of the ones we were actually going to submit. Now I get to go through the art entries and find other shows for us.
Art Class Redux
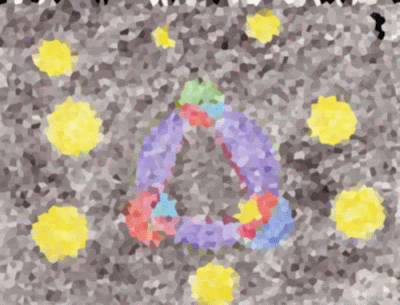
I am continuing to spotlight some student work of my seventh graders. I think next semester the kids will keep an art class blog so they can publish their work. Here is another mandala and the manipulation that was done.
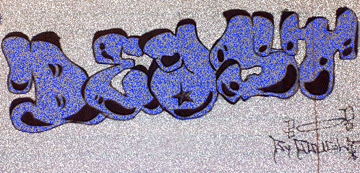
Some of the students have been doing graffiti-like drawings, and then we’ve been snapping a photo in PhotoBooth and moving it into Photoshop.
This next is just playing around with shapes and backgrounds.
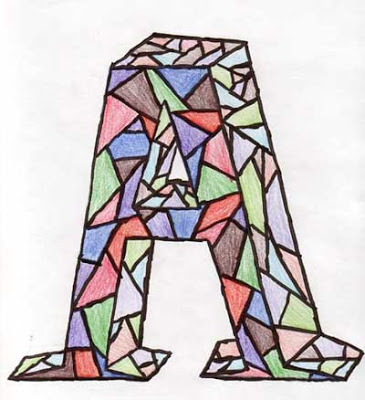
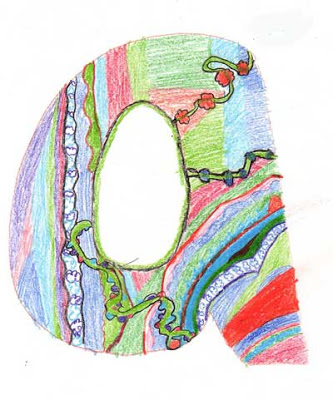
This is a cool letter from our stained glass letter project.
THis last is an illuminated letter from another assignment.
My Wonderful 7th Grade Art Class
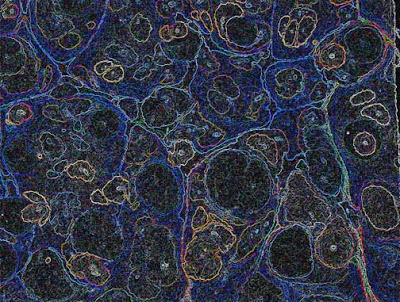
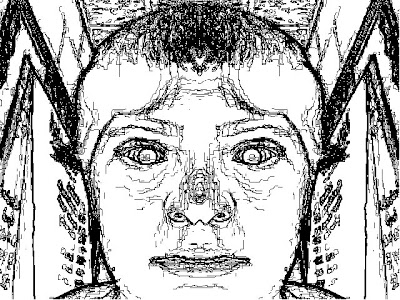
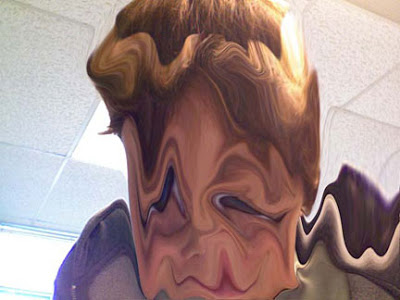
I am sitting here with my wonderful seventh graders, who have been busily at work for this class period. I want to share with you some of the wonderful work they have been doing. This first is taking a photo in PhotoBooth and then moving it into Photoshop to play with filters. The first is the line drawing, and the second is a photo only a mother would love….
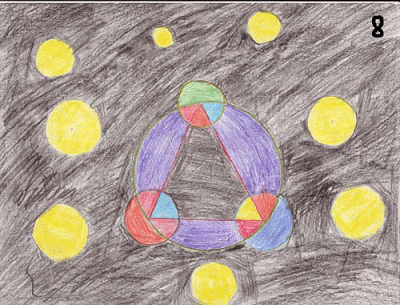
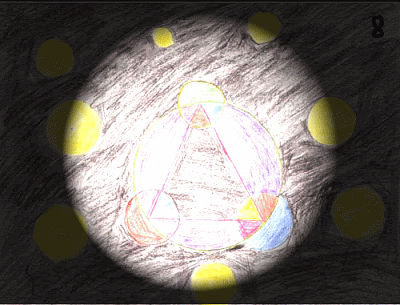
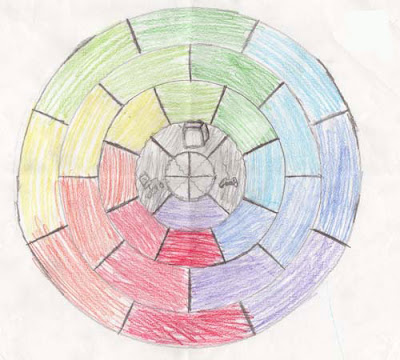
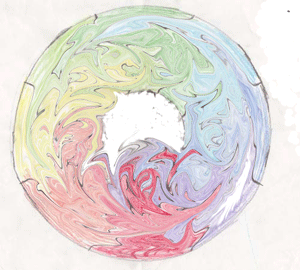
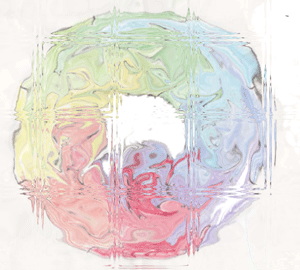
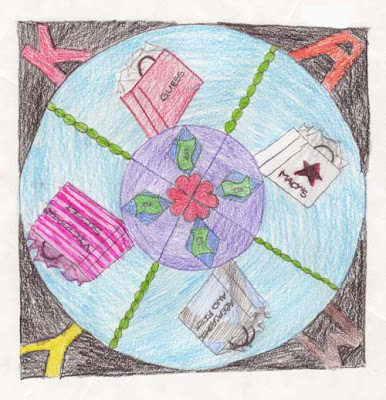
These next started as a mandala assignment – highly successful in getting the kids to represent themselves. A couple said they wanted to try putting their mandalas in Photoshop to see what would happen. Here’s two versions of one of them, with the first being the original.
This next is the mandala of a typical teenager!
On Doing an Art Show….

I decided to have an art show for my two art classes, as they need to have exposure for their art and receive comments from “their public.” So they have had to choose a minimum of two pieces from their portfolios, including one of the sketches they have done. What I hadn’t anticipated was the desire to redo some of their work.
I have been showing them Photoshop, using the Promethean board – now I see why people like the drawing tablets – I can draw much easier on the board than using a mouse. Definitely something to consider for the future. The kids have been doing digital doodles, so they can just play around with the brushes and shapes. One of the students wanted to take his mandala and manipulate it – which turned out very cool. I will need to bring this stuff over to this computer so you can view – or add tomorrow when I have the laptop on line. Others have done some graffiti drawing, which we have taken a picture of in PhotoBooth, and they have started to manipulate it. Overall, some very nice exposure for the kids, and I have had a chance to flesh out having the kids display their work.
Artsonia – an online student art gallery, available to any student with a computer – they can set up a digital portfolio. The kids have been really enjoying looking at other kids’ artwork. I plan to do more of this next semester, as I will have regular internet access.
We had a mat cutter donated, and one of the local businesses will be giving us left-over mat board, plus a demonstration of mat cutting. I am asking one of my eighth graders (who is a closet artist – not cool to let his peers know what he can do) to be my aide next semester so he can learn the mat cutting and pursue his own art.
A lot of my seventh graders want to take the art class again, but I don’t need another prep. One will be my aide for the seventh grade class. I think there have been some very nice gains in exposing the kids to the visual arts – now if we can figure out how to hang on the stone wall at the school, we should have a great show.
Lesson 4 – Photo Fixin’

I’m finally getting back to finishing up this Photoshop class. I am definitely feeling better this week, and for a Friday night, I’m doing pretty good! This lesson is on retouching, and unfortunately all the good stuff I have I “fixed” last December when I didn’t really understand what I was doing. So some of the photos are too small, have already been lightened, and other destructive edits. I did find one of my fabulous in-laws that I’m going to work on.
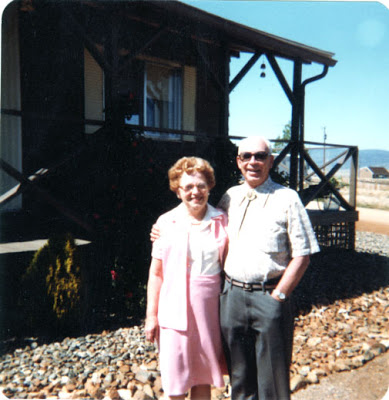
I think mom and dad are too light, there are problems with the sky, edges of the photo, and too dark for their mobile. So I started by trying to even out the blotches in the sky – which if you live in Arizona know that the sky is perfectly blue most of the time!
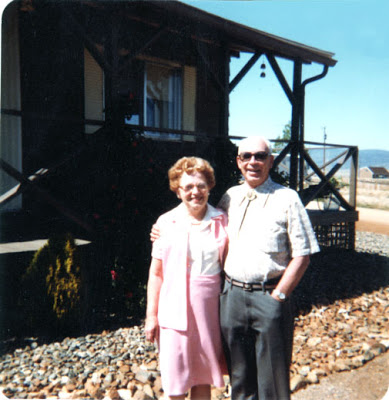
I was pleased with the results – a combination of brushes, clone stamp, and eye dropper for color. Then I decided I wanted to get rid of the antenna and house in the right background, as it’s kind of distracting. I eliminated the house by using the patch tool and then getting even color with the clone stamp. I increased the size to get to individual pixels so I could smooth things out and get rid of the antenna. Again I got down to individual pixels to make sure color seemed even.
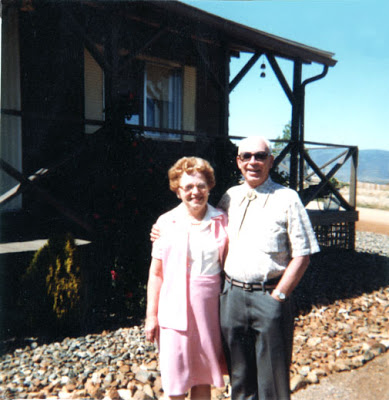
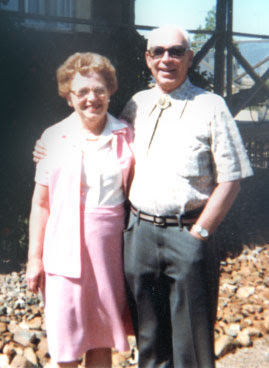
Then I started to look at lightening the house. I had a heck of a time with the mask, since it has been a while since I did it. But after about 45 minutes of repeating steps, I finally figured it out. Now you can see the dust and the age on the picture. But I think it worked, and mom and dad didn’t get too light. I did some “noise” for dust, and seemed to “flatten” the sides of the house. I wasn’t too happy – but then I added a blur for a final effect to emphasize mom and dad, and now I am pleased with the final copy.
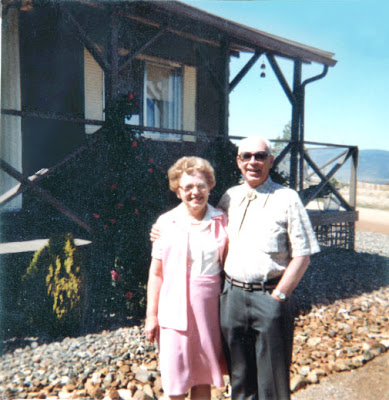
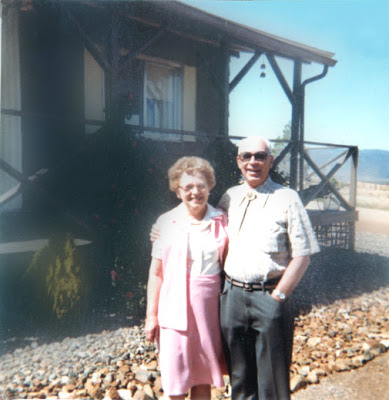
Then I felt I just had to crop the photo for a better effect.
The Whims of Marbling

Today was a marbling session, as we needed to finish off pieces for a custom order for Australia. Now, when we did the 400 pieces for Houston, everything worked wonderfully, and we had a ball. Two weeks ago we made a larger bath, and had loads of bubble problems and couldn’t get the Autralia order finished – and didn’t really enjoy ourselves. So we went back to our original mix, and today we couldn’t seem to get paint to float. Lots of colors – expecially the dark ones, weren’t gong well at all – usually it’s the light ones that we will have trouble with. But – no bubbles!
Speaking of whims, about 12 years ago we did a professional photo shoot and brochure for designers. Money spent that we could have used, but we were younger and foolish. The stuff looked great then – and I think when I see those photos just how far our work has come. That stuff was pretty bad.
Getting Down to Pixels…..

I started a piece last night that I thought really had potential, but I wasn’t having a lot of luck adding color with the brushes. I wanted a much lighter touch, so I thought about stuff over the night and most of today. I figured if I got to the pixel level I should be able to be extremely selective with the color. Unfortunately I didn’t make sure that I had the setting and size for print, so I will need to redo this if I want to print it out – and I’m thinking this could be an interesting entry for Fish Follies in Alaska.
Here’s the original piece of fabric:
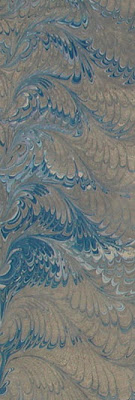
This piece was done as part of an order for Australia, but we weren’t totally pleased with it – kind of muddy. I did some work brightening and using the adjustments, so then I ended up with this, which will probably be a card:
Then I did the sharpening and the blur and the invert and got a piece that looked very much like water. So I played with some “sand” to see what would happen, and then almost pixel by pixel I added three different shades of water. I wanted to keep most of the white and just add shades, so I tried different brush sizes, shades, and opacity, with a lot of erasing! I am pleased with the result:
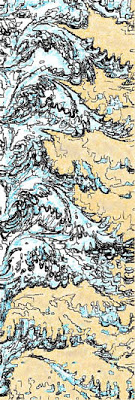
Now I am thinking if I redo this, I can make the “sand” more cliffs, and then really darken the water and have a good strong piece for Alaska.
One More….

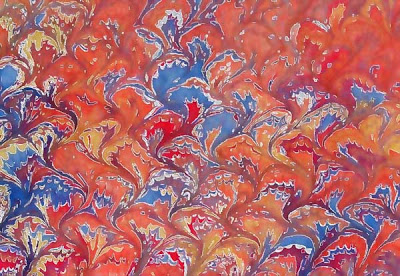
I did another piece last night that reminded me so much of a New England autumn during peak weekend. Here’s the result (it looks even better large):
Line Art – mine, not the kids…..

I took the camera to school yesterday to get pictures of the art work, especially the doodles, the kids have been doing. Forgot that Rich was coming to tape, and so got involved with that. Had a great taping session, but will have to bring the camera next week.
I am slowly starting to feel better – for the last three nghts I have actually been doing some Photoshop stuff. Since I have been emphasizing line in art class, I have been thinking more about it myself. I am fascinated by what Photoshop can do with turning work into line art. So I chose a couple more pieces of marbled fabric to see what I could do with them. This could be a whole new way of moving with the fabric.
Here’s the original piece from last night:
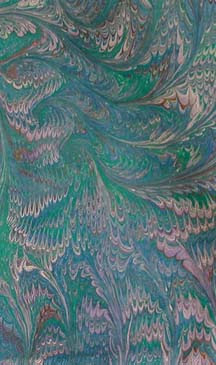
This is really a pretty piece of fabric, but it just seems too muted. Even with curves and adjustments, I can’t seem to make this a “wow” piece.
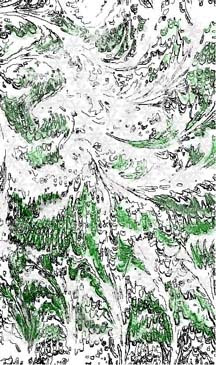
This is after sharpening and then doing the invert to get the line drawing:
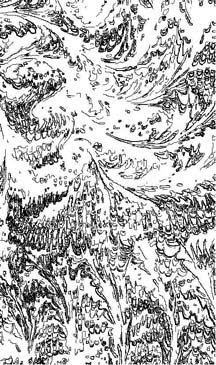
It wasn’t looking like much to me. Usually with the line drawings, once I do the inversion, then I can see a picture in it. I was puzzling on an image when Dean said it looked like a ski slope from the air. So then I started adding woods:
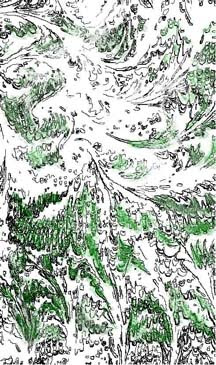
I need to do some more work here – still not satisfied. I was playing around with a number of the brushes and different colors – maybe to be more accurate I can increase the size and change the pixels to get more depth and accuracy. At this point I was wondering about getting to the snow – how could I add that against an already white background? I played with light shades of grays with blue tints, and then with the snowflake brush. Here’s what I got:
Not bad, but still needs work. I would like to darken the greens and add some more browns, so I can do a specific brush effect on the top and make it look like we are seeing through swirling snow.
Doodle Art

I was trying to come up with another idea for art class – we have done a lot with pencil and very basic elements of visual art. I just am not going to set up paints in my classroom. So I thought about doodling – which kids do so much on their papers when they are bored. I thought that maybe they wouldn’t let themselves get hung up on creating something that looked like an actual object.
They did the doodles yesterday – and today they had to follow directions on creating a small construction paper frame (including math…). They were to use the frame to isolate a part of their doodle that they really liked and then color just that part. They would mount the frame over that piece, leaving the rest of the doodle so viewers could see the whole inspiration.
We don’t have any display bulletin boards, so I decided to mount the doodles on the empty lockers outside the classrooms, and some of the kids cut out letters for “Doodle Art” in school colors. The display looks quite nice. I think the kids were quite surprised at how a simple doodle could turn into a piece of art. Some of my “harder” eighth grade boys spent a lot of time looking at the designs, pleased to show off their own. I’ll try to get pictures.
We are moving from the doodles to “digital doodles,” letting the kids fool around with Photoshop and try some of the brushes and shapes. They are much freer to try things in Photoshop since they can just delete layers.
So Long October……

So October is gone……one long month of doctor appointments because of the accident, an eye infection, you name it – it’s hit. Nothing like a lot of stress to play havoc with your system.
I am so trying to get rid of the art class and try to focus in just on the math. No luck. But the kids have been creating some nice art pieces. More on that…..
