Archive for the ‘free motion quilting’ Category
Playing Catch-Up…..
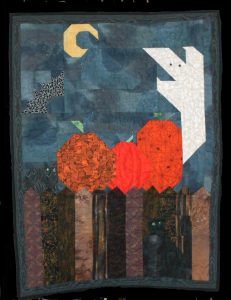
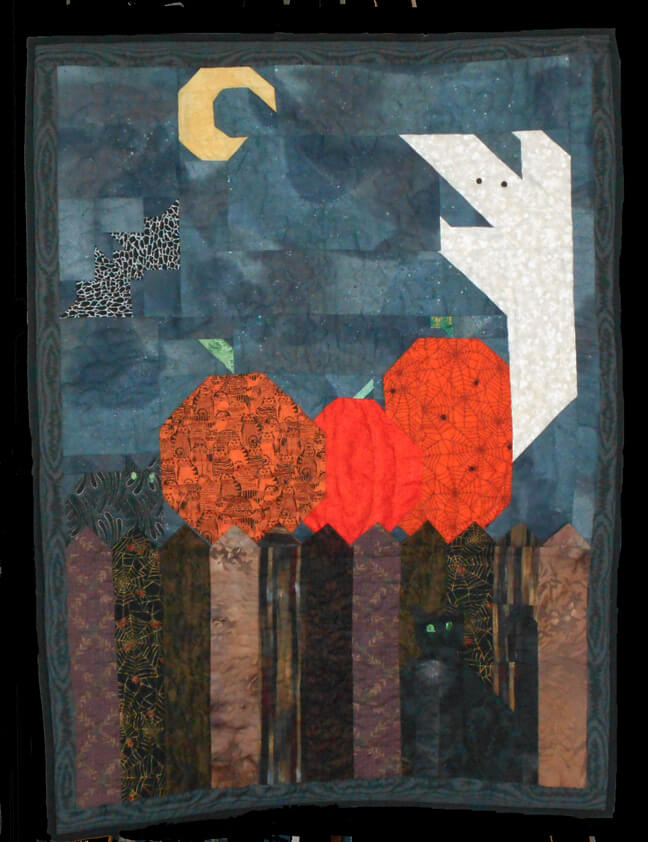 A piece I started about 15 years ago and finally finished this summer – will be adding loops to the back to hang on our door for Halloween. I still have plenty more to work on, and slowly,over the winter during knee recovery I plan to work on them – plus lots of new ones.
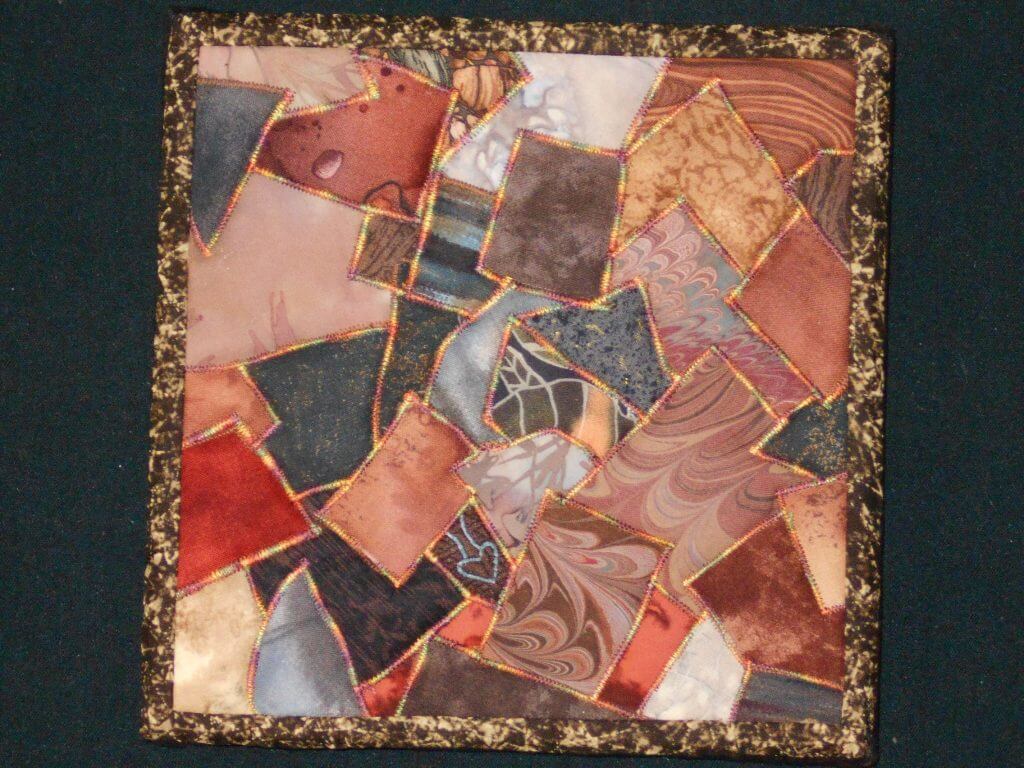
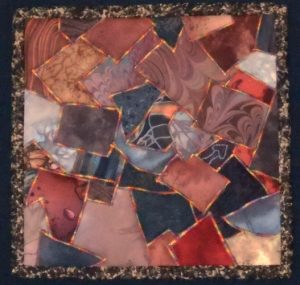
Speaking of new ones, in organizing Bridge yesterday (some 7000 photos and a lot of saved duplicates, I think I can make sense of some of the new process pictures. This first piece, Chocolate Box, was done YEARS ago, as part of an 8 x 8 challenge from the old QuiltArt list. I think the theme was “brown,” but who knows? Originally I just sewed pieces with a zigzag stitch – and then I realized I needed stabilizer on the back – like I said, a long time ago. This summer I came across it, added backing, re-quilted it in a variegated thread, and added a border. Still love the piece!
This piece was done for us years ago as part of a challenge to use marbled fabric in a traditional pattern. I made a sandwich, added waves to the bottom of each boat, and quilted semi-circles around the sails to represent the sun. If you made this for us, please let me know so I can credit you.
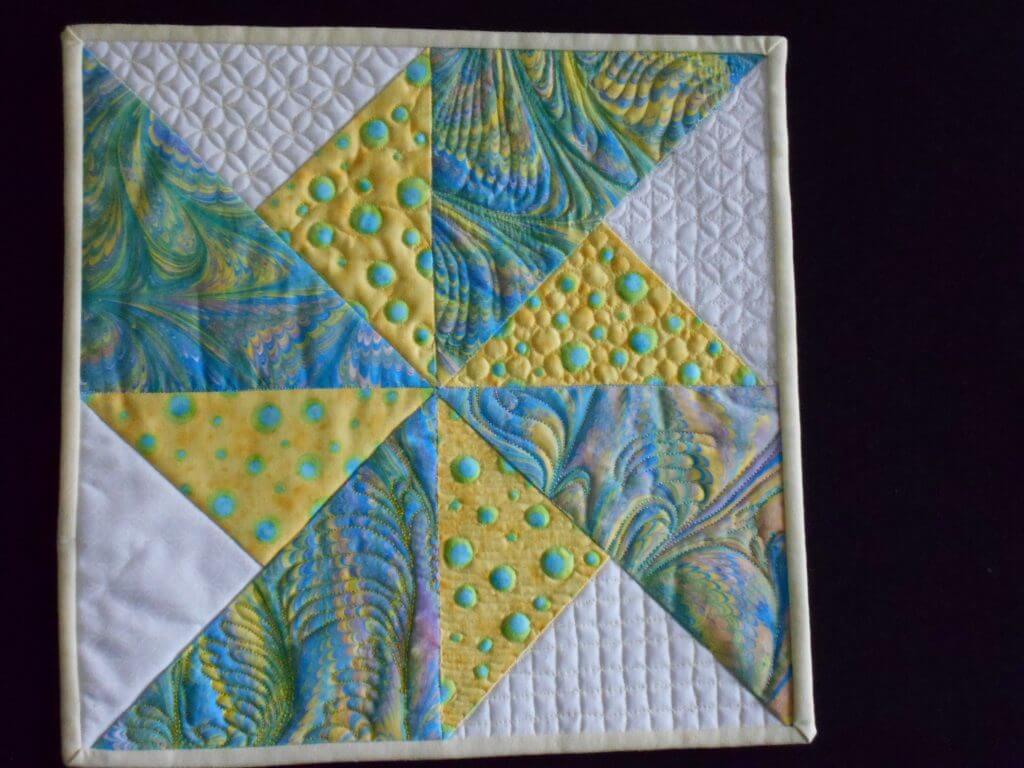
This next was also part of a challenge, and I use it as a sampler for using free motion quilting on a traditional block. One of the sections is plain, the others have a variety of patterns, some following the the pattern, and some walking around. I love how the marbled fabric quilts up.
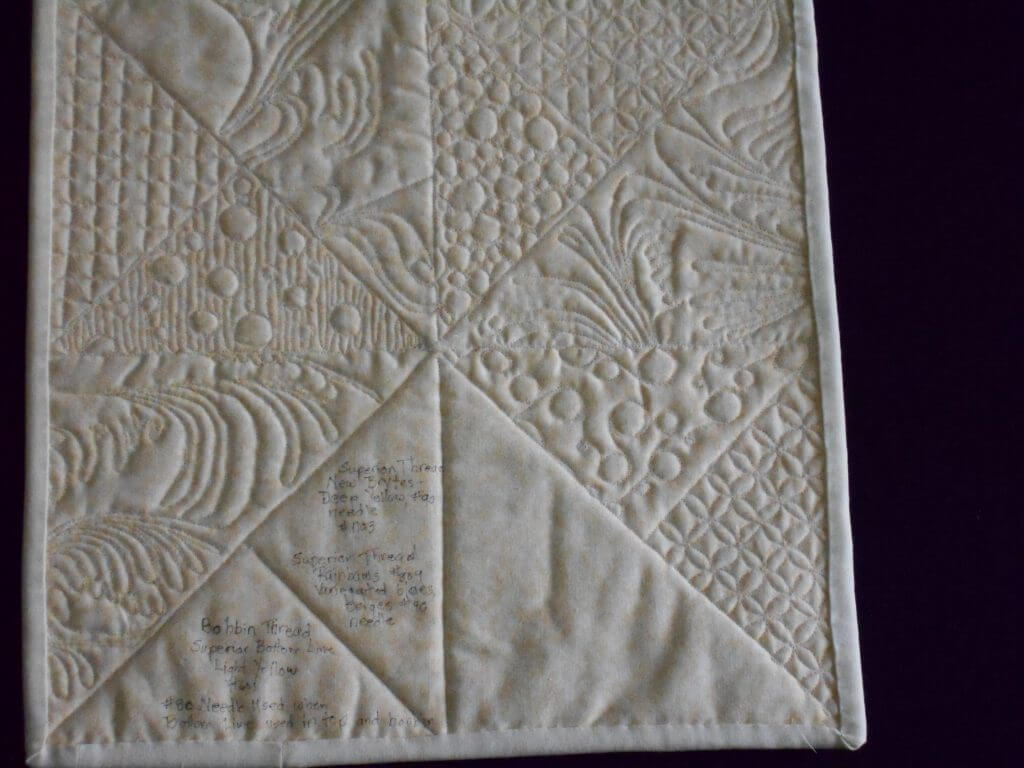
I like to use my backs to show errors- and then in the blank area I added details about threads and needles.
So I continue with cleaning and organizing, and hubby is busy marbling every fabric we seem to have in the house. He’s having a ball!
UFOs No Longer – From WAY Back….
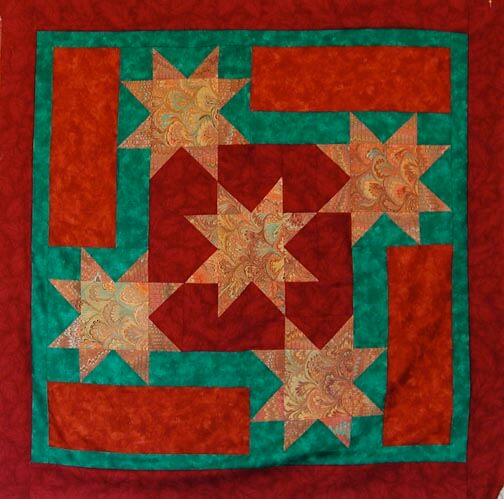
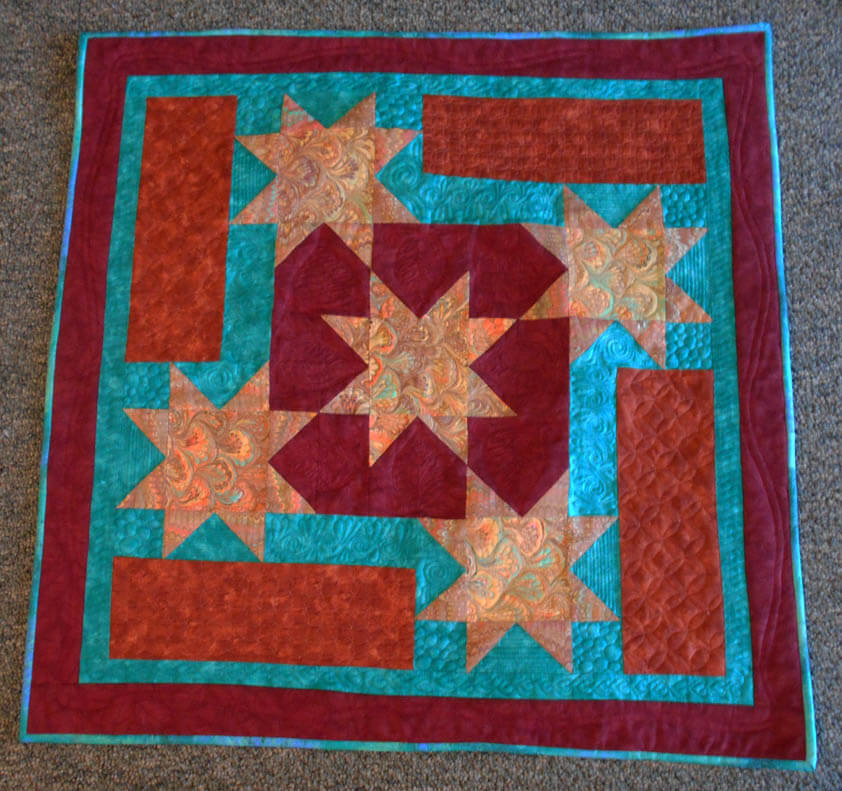
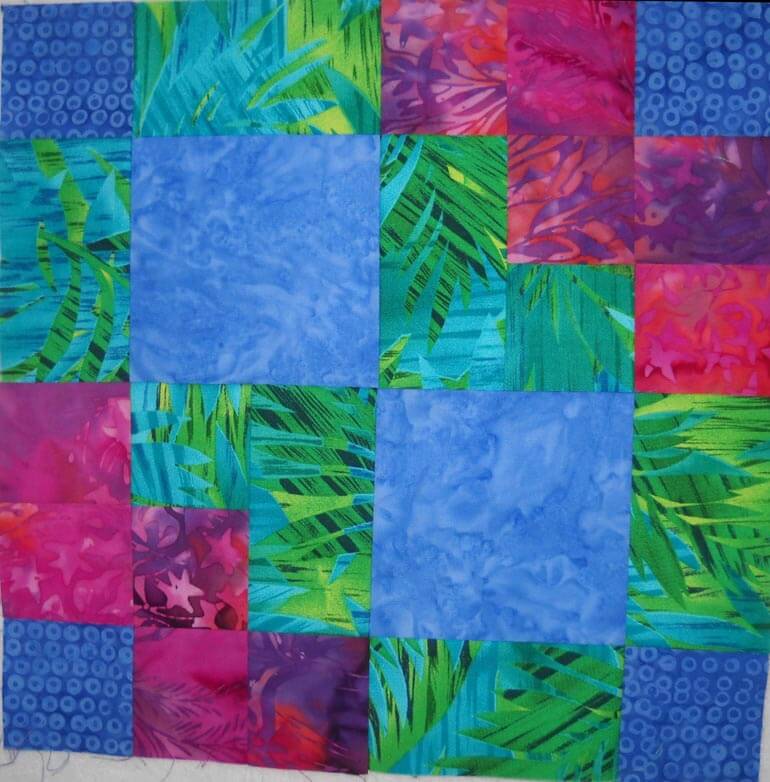
This next piece I started when I lived on Nastar, which has to be 18 years ago – it was part of a Block of the Month project for our online customers. This was September/October, but when I finished it, it had a VERY noticeable bulge from bad ironing – in two separate places.
Took both borders off, made a new sandwich, and then sewed the borders back into place to hold the top for quilting. I did a lot of work with new patterns from Lori Kennedy and her Craftsy classes.
There are amazing motifs, and Lori’s technique of doodling them first works like a charm. Here are some pics of patterns:
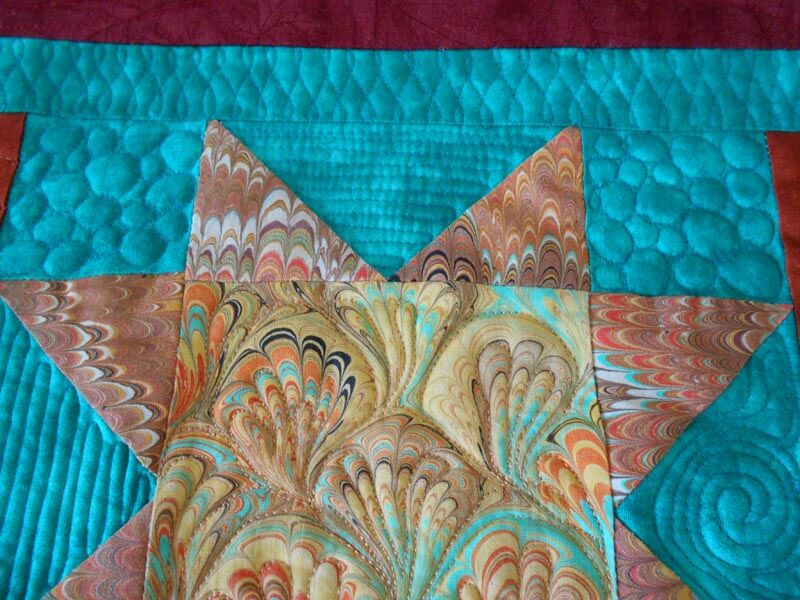
Lori’s Twist, which I can finally understand how it’s done – parallel lines up and down and everything looks perfect. My bubbles and straight-line quilting. An example of quilting the marbled fabrics.
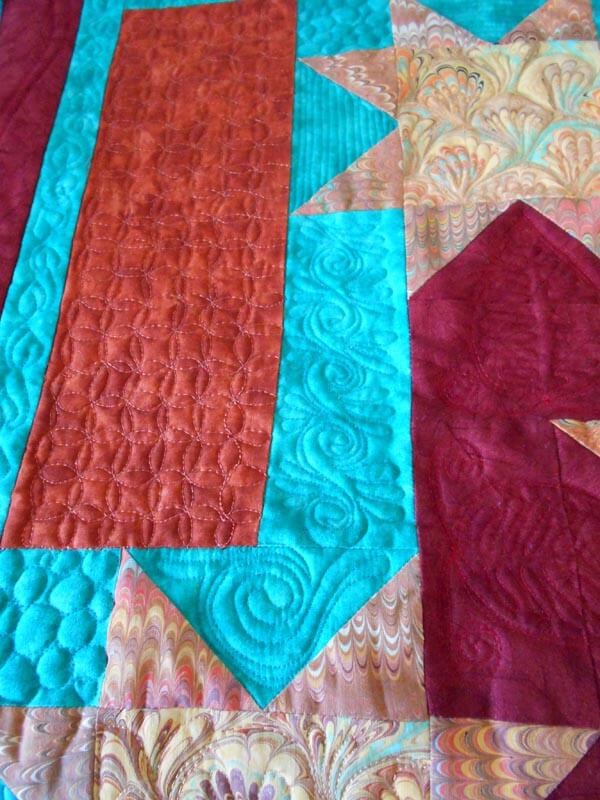
LOVE the leaf motif – now I have several in my bag of tricks – way easier than it looks! New motif in the turquoise – an exaggerated swirl.
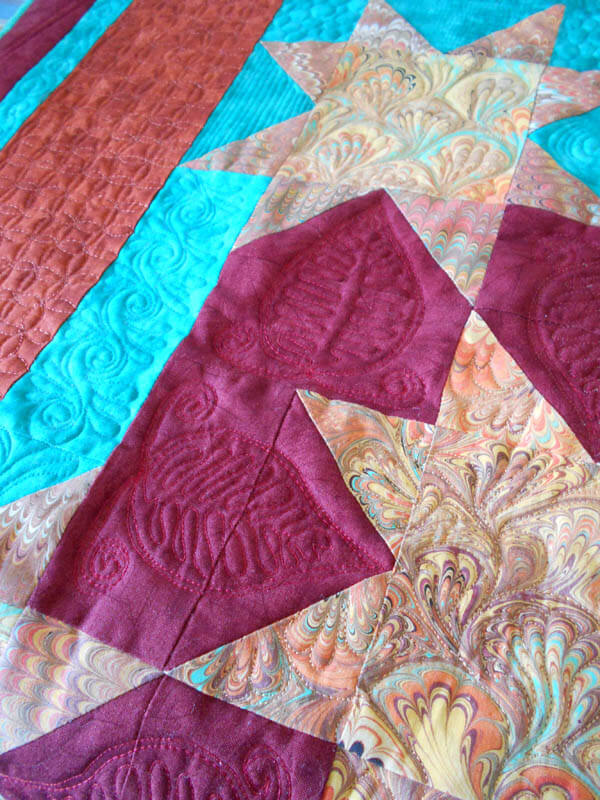
A better look at the orange peel (I know it as a cathedral windows variation) and the swirl.
Lessons learned –
- I want to be able to do what Judi Madsen does with the negative space and have one pattern rather than several, depending on the space.
- STILL love the colors in this quilt!
- Markers help cover up tension issues from a different color bobbin thread.
- The back doesn’t have to be all one color, especially if you’re having tension issues from two different weights of thread.
- Outside (final border) can be very simple.
UFOs No Longer – Thoughts on Cheater Cloth Quilts
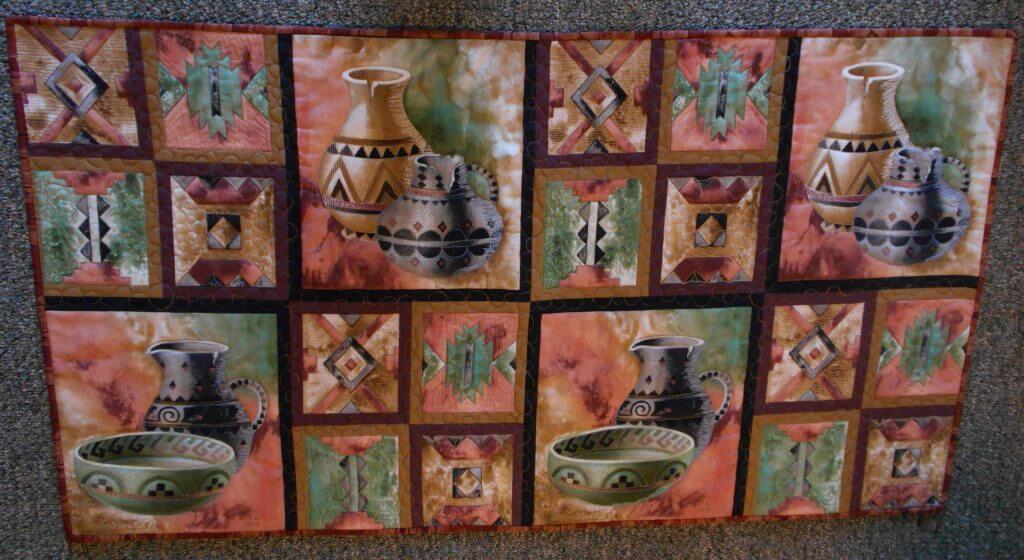
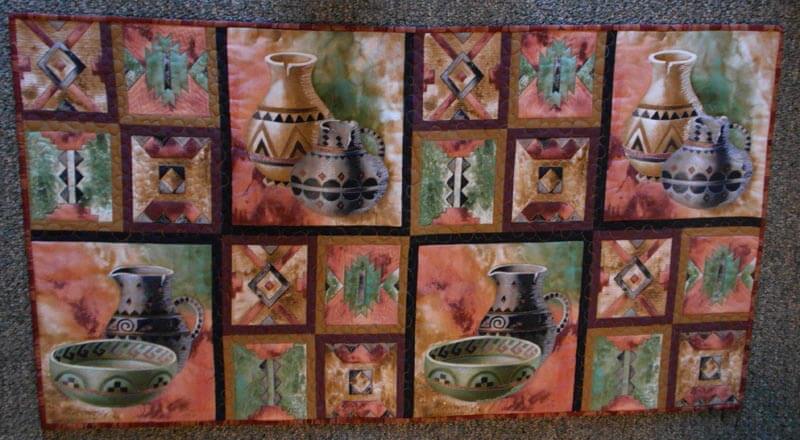
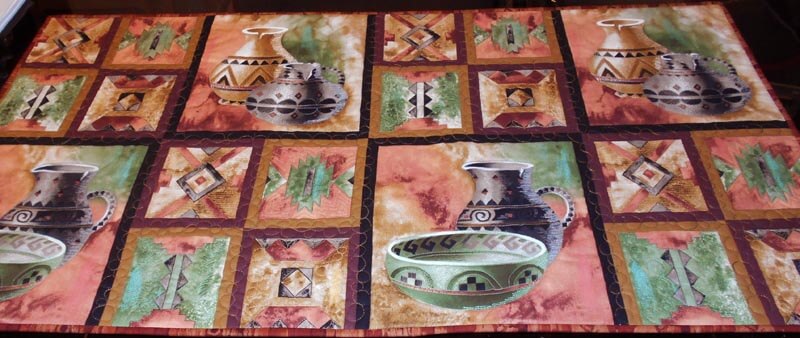
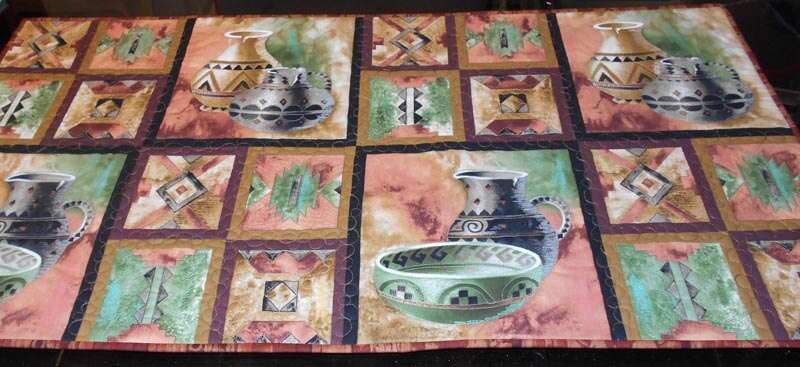
 Yup, two more pieces around for forever…..both needed complete revisions, as my skills have grown quite considerably. The first is a “cheater” cloth, very Southwest, which is why I bought it. Originally it had been quilted in the ditch, and while I loved the co.ors, the piece really didn’t speak to me……so I took it all apart.
And in the process I discovered a ,lot of stuff – pros and cons – about cheater cloth.
One, they are great for practicing free motion quilting. You can get right to the designs without having to worry about putting the whole thing together. I re-sandwiched the top and then studied it for quite a while for ideas.
Two, they can really tax your ability to work with fmq designs. In some of the smaller blocks, I used the same basic quilting motif and changed it up a bit in other blocks of the same design. Great way to practice!
Three, the store doesn’t always do a great job of cutting the panels. On closer examination, you can see where some borders show and some don’t. I really had to work the binding carefully so the piece would look even all around. Plus, the fraying from new usage, poor quality fabric, and age didn’t help at all.
Four, nice decisions about which type of thread to use. I stayed with Superior Art Studios and Rainbows – because I like the sparkle. I did use cotton King Tut because I wanted to experiment with thread painting for shadows, and I didn’t want it really obvious.
Five, I need to get a better photography set-up in our new place…….
Six, discovered I could cover a few binding mistakes with some markers….liking that!
So…..
View from the top – couldn’t adjust light like I wanted (really missing the garage set-up at this point). Look at the binding – see what I mean about borders?
Another view – the backgrounds of the actual pots are left unquilted….I was tempted, but I keep remembering Tim Gunn and “edit.” I didn’t want to detract from the “shading” I did on the pots…I was really happy with how that turned out.
Seven – straight-line outlining isn’t as easy with a free-motion foot…but it is great practice….
UFOs No Longer
Lots of finishes going on of projects that have been around for a VERY long time! I had a productive weekend of finishing three, and next blog post should be about two more, as well as a new project undertaken.
First up – a Halloween quilt I pieced probably 15 years ago, when I was using McCalls Quilting and piecing lots of quilt tops. It didn’t really need much – cats’ eyes (variegated thread) and eyes for the ghost (small pieces of lava). I examined the machine quilting, back from when all I did was stippling – I was very happy with how it looked. I added free-motion words in the sky and then added binding. Really happy –
This small 8 x 8 was done YEARS ago in response to a challenge on the QuiltArt list. The theme was “brown,” and this was way back when I was still pretty literal and linear in putting work together. This is “Candy Box,” and I used a zigzag in variegated thread like you would see in the wrappers in a fancy candy box. Added the binding and much pleased with the finished table-topper.
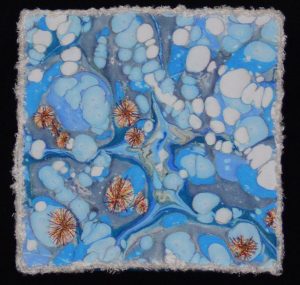
This last piece was a remnant from about 10 years ago. I quilted the bubbles, but it still needed a focal point – so I quilted in some sea urchins…hence the name “Sea Urchins.” Another 8 x 8 stitched to canvas after quilting was finished.
For Sale: $125.00
A great weekend, more happening in the studio…..lots of upcoming opportunities!
Another Commission Completed
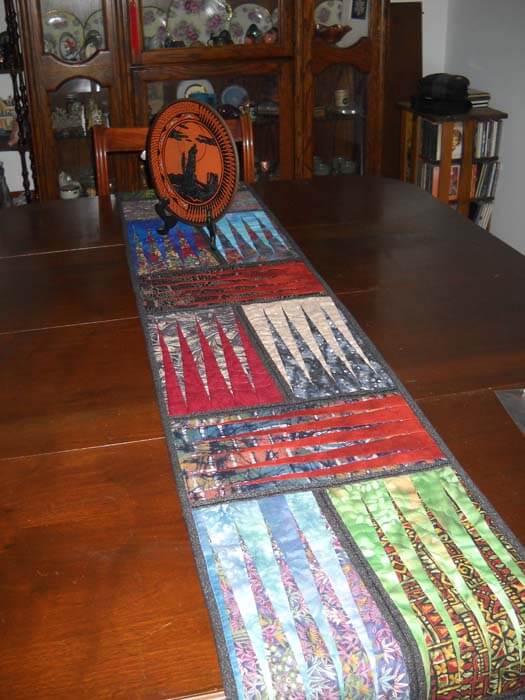
This last quilt commission (which Susan is no doubt getting plenty of use in chilly Tucson, and we have our quilt off the bed, as it’s too warm here in Vermont….) was a challenge for me to fill space with quilting design. I LOVED how it came out, and as usual I learned a few things on it. So when I started this new table runner for a friend for Christmas (left-over pieces from a Judy Niemeyer pattern) I wanted to do an overall quilting pattern that was very organic and would unite all the blocks.
Big lesson – just because you can quilt it, doesn’t mean you should….which harkens back to Road to California in 2012. First time at a big quilt show, and hubby and I kept commenting on the amount of free motion quilting showing up. Some quilts didn’t seem to need that much quilting, and on some the quilting really enhanced the work. This was also when I began taking free motion seriously, and in the last three years I am now teaching basic machine quilting.
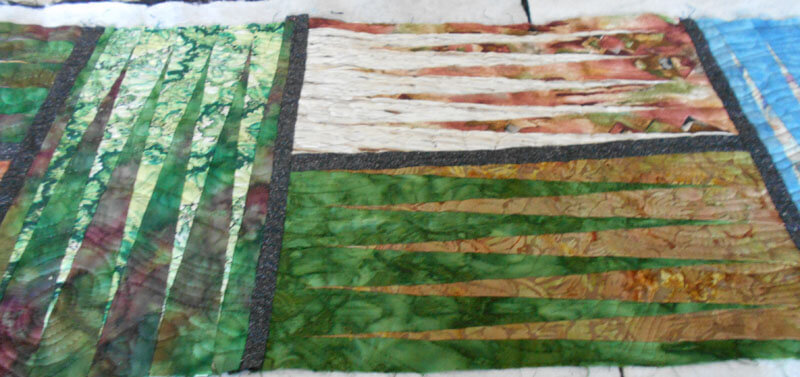
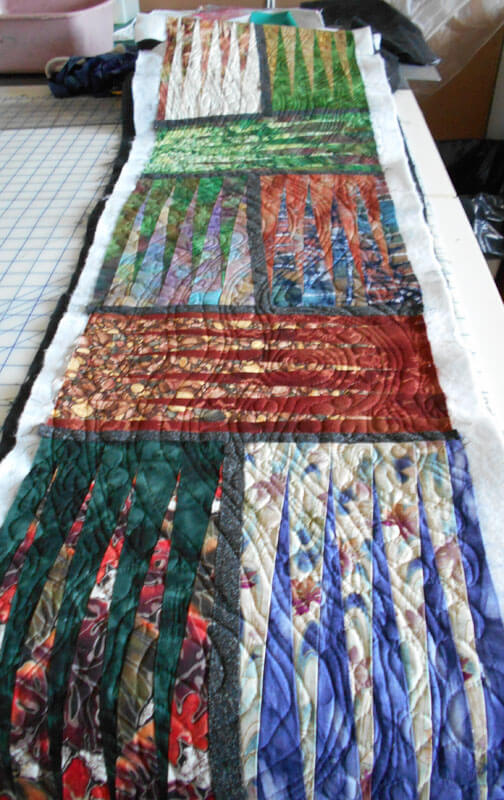
But with this table runner, I realized to late (to rip out half the runner) that I had too much quilting. Here’s my table runner that was on the table when our friends came to dinner.
The block pattern is obvious, and at this point I was stumped as to how to quilt it – I ended up using invisible thread with wide circles. Ehh. So I wanted to do something different with this one.
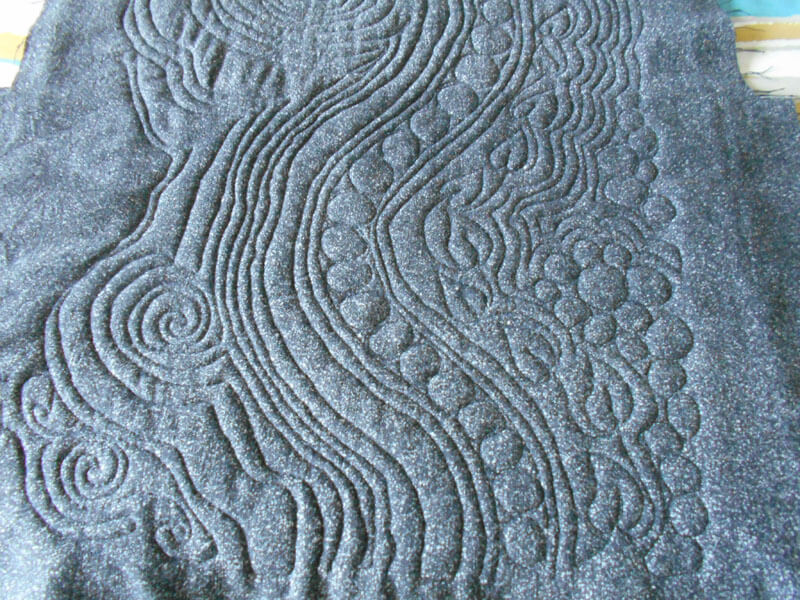
You can see the meandering quilting – I really just played with curved line to offset the sharpness of the design.
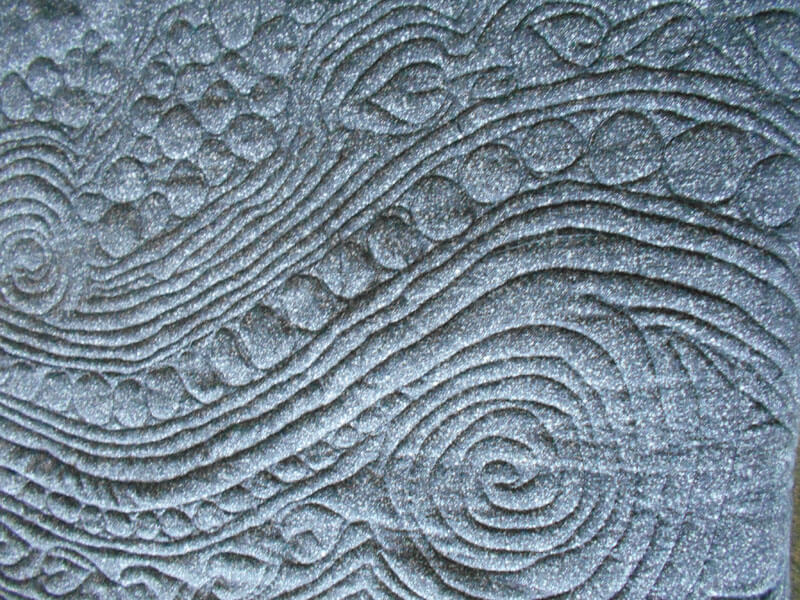
You can see here that the quilting design when up close takes over and dominates the pattern. This is where hubby quoted Tim Gunn (yes, too much Project Runway in our house,……): Edit, edit, edit. Yup – bigger curved lines and no leaves or stones.
Like I said before, way too late to take all those stitches out. However……when looked at from certain angles, all you see is the pattern. At other angles the quilting is predominant. And, ultimately I like them both.
Before I actually started the quilting, I was subbing one day and had time on my hands, so I was watching one of my Craftsy classes on machine quilting big projects on a small machine (and my Bernina 108 doesn’t get much smaller….). Spray-basting the WHOLE quilt. Nothing will move. I’m trying this, and lo and behold it worked WONDERFULLY.
The spacing could be better, but NO TUCKS! Well, three little ones that actually ironed out. That’s the way I’m going from now on. My fingers will appreciate no more safety pins – this time a year ago it took hubby and me four hours to pin-baste a queen quilt…..
So more lessons learned, and another commission in the works for March. I am having SO MUCH FUN!!!
One of My Ongoing Projects
Hawaiian Block of the Month from my local quilt shop, Quilter’s Market – which I will SO miss when we move this spring…..
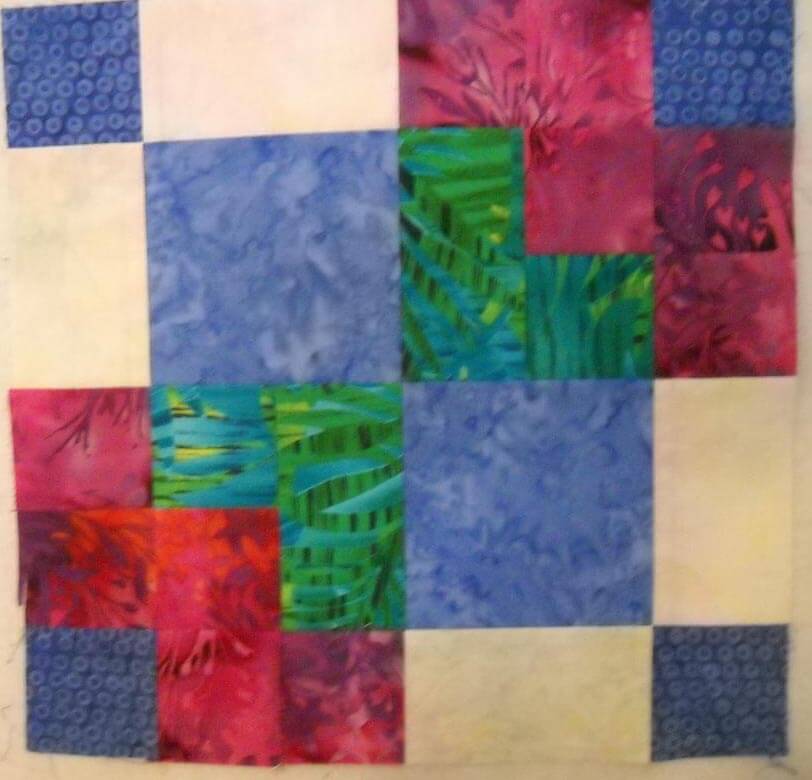
This program is a monthly get-together through our local quilt shop, Quilter’s Market – one of the things I will definitely miss when we move. The theme for this year is Hawaiian Getaway. I’ve been keeping up generally with the blocks, but I will confess to being four five months behind right now – it’s those deadlines for other quilts…. Forgive the pics – I was in a hurry…..
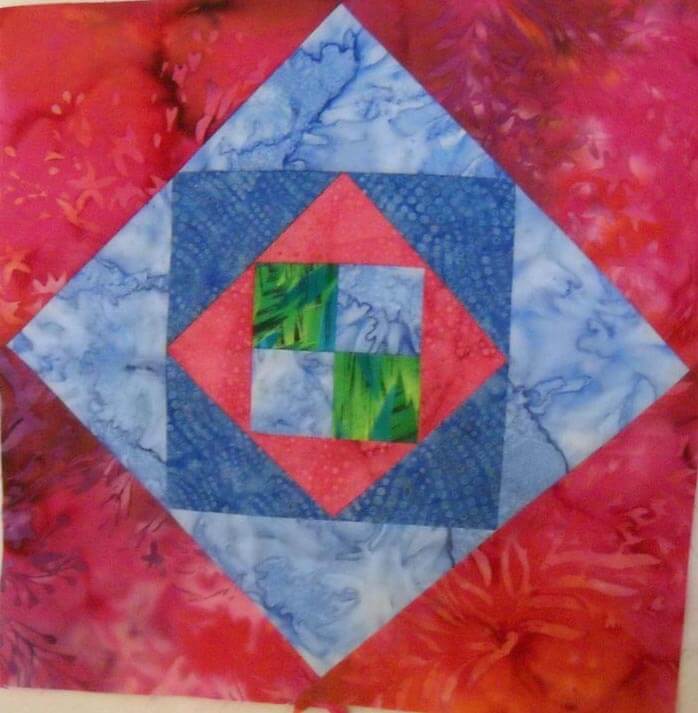
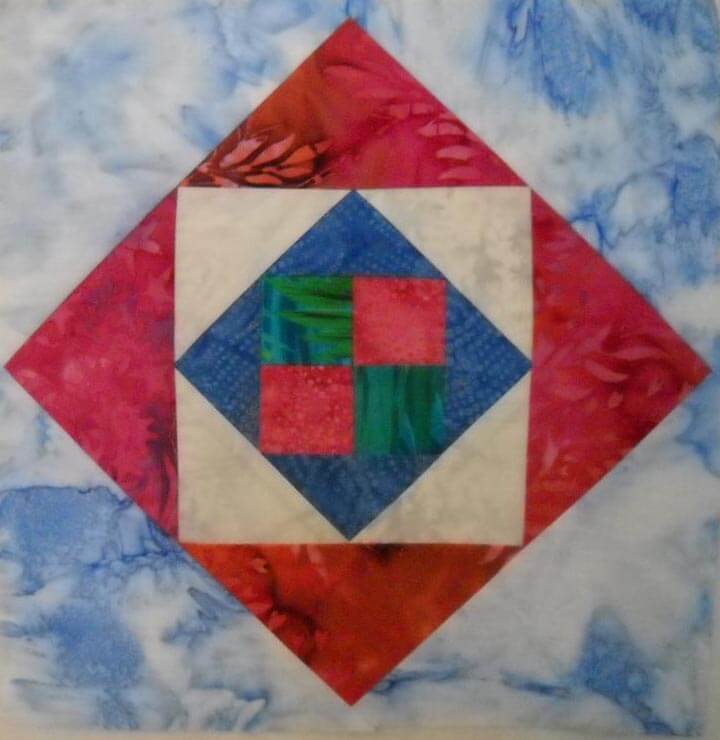
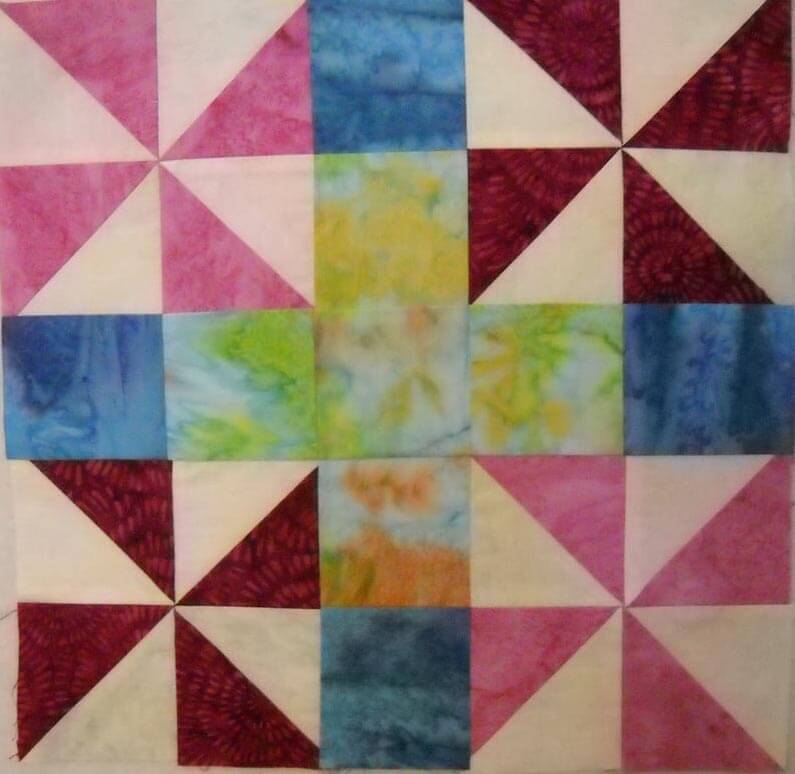
I decided after my first block that it was just too intense in color, so I made one that was softer, with more light fabrics. that got me started making two blocks a month, one saturated, and one that was lighter. The shop has what they call an “Oops Pack,” for when you make mistakes with the pieces of fabrics you get. I picked up both the light and dark packs, because I really liked the sherbet colors. So instead of 12 blocks at the end of the program, I will have 24. I’m planing to set them on point, with plain blocks in between that I can free-motion. For those I’m planning to use some of my adopted mom’s Hawaiian designs. I also really like the work Judy Madsen does (Green Fairy Quilts) with straight-line quilting, so I’m looking forward to designing the motifs.
Amazing how it used to be enjoying making the quilt top, but now I look forward to the quilting oh so much. The goal is to have the blocks done (April is the last month) before I completely pack up the studio for our move. I know it won’t get put together until the months after we are settled.
Here goes…..
I confess to being very curious to see what I come up with for the whole quilt – I do know I am very much looking forward to quilting it!
Back Again….Hopefully Longer….
It’s been an interesting year. Two years ago this time, I looked at my blog and was 200 posts away from 1000. I thought no problem, I can do that easily. Well, I am still about 185 posts away from 1000. Life really has gotten in the way, with illness, depression, and a sense of disequilibrium. It has taken a while to determine what paths I will be following.
It is also ironic that while I haven’t written many blog posts, I have written 110,000 words in a novel. This has been ongoing since August of 2013. I am nearing the end of what looks to be volume one of a trilogy. It is my way of processing political events in this country and trying to deal with how this country is changing. It has meant some interesting research (what is the saying about a true friend? One who will clean out your browser history after you die?). I’ve delved into some pretty terrible things on human trafficking, read lots of government reports, and overall tried to get up to speed on policy that I haven’t spent much time caring about in the past. It will be interesting to see if I can find a publisher….in the meantime, I have started a webpage for the book: http://the-secession-wars.webnode.com/. This is very much a work in progress, and I want to include writing tips as I finish up the novel.
I’m doing a lot of quilting. I’ve been slowly moving away from the marbling business, and I’m not sure how I feel about that. We still enjoy marbling, but the business end of it is tedious. I have lots of projects using the fabrics I have, but not the energy to do anything. I have been quilting other projects, and I have four commissions for quilts lined up: for a good friend, for a new baby,
for my yoga instructor, and for my great niece. I made the commitment to myself that when each of my eight great nieces and nephews turn 13, I will gift them a quilt. Gracie is the oldest, and she turns 13 this August. I want to have the quilt finished for when we move back east and stop to see them on the way. I found a great fleece in her favorite color for the backing, so that’s in the queue.
I’ve also taken up sketching again, through a couple of Craftsy classes. I did some sketching on the road this summer, but I want to make this a regular habit. Pen and ink has always been my medium (and charcoal, too), which is probably why I took to zentangles so quickly.
I have joined a weekly writing group to make my writing more of a regular practice. We meet for two hours and just write – a brief statement of intentions from each person in the group, and then it is total silence for writing. It’s been great, and I think it will get me back to blogging on a regular basis.
So this is a quick catch-up, more so for myself, as I look back on what has happened over the last years.
Till next time…..
Latest FMQ Commission
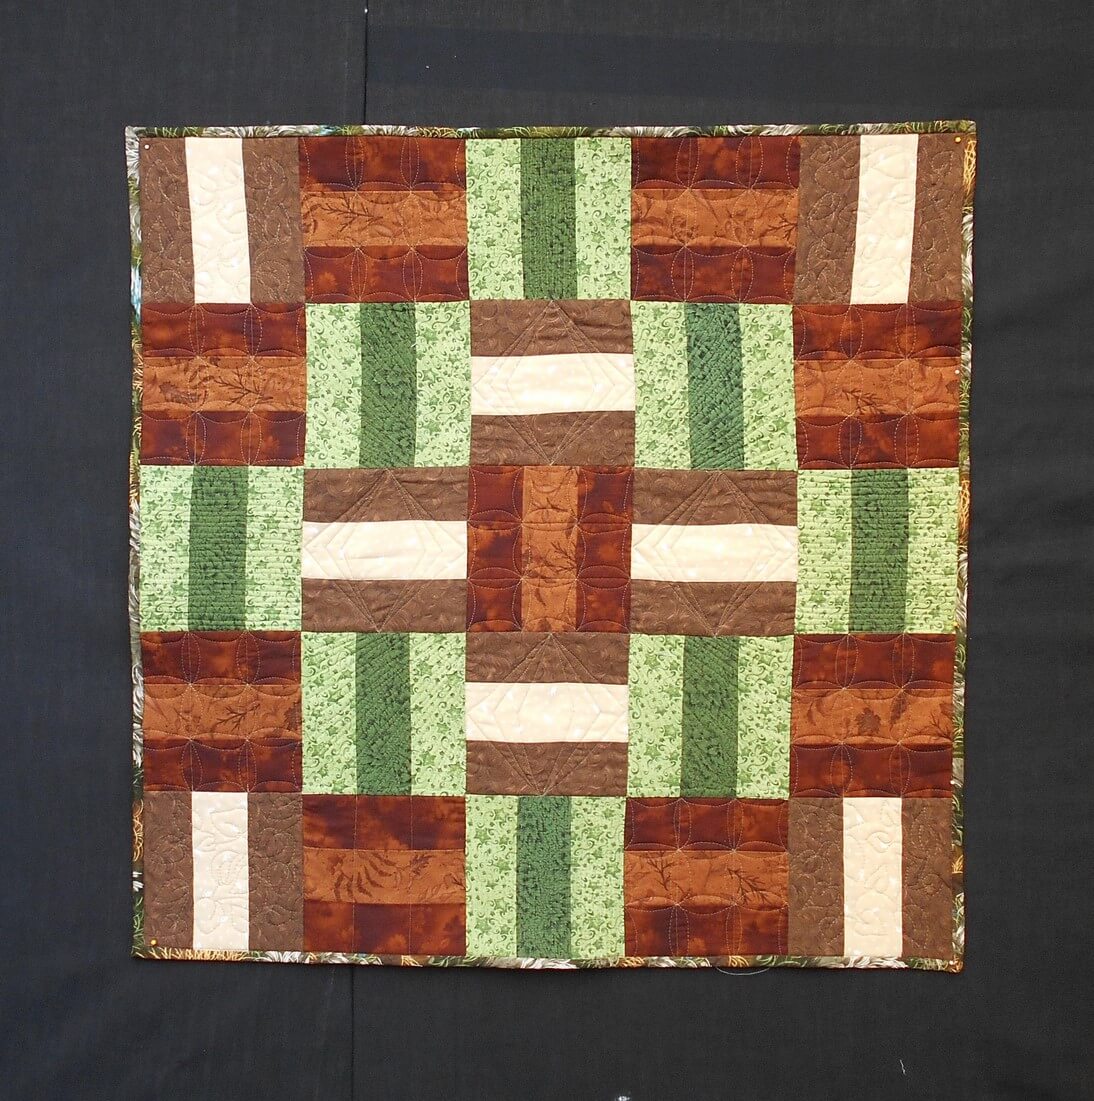
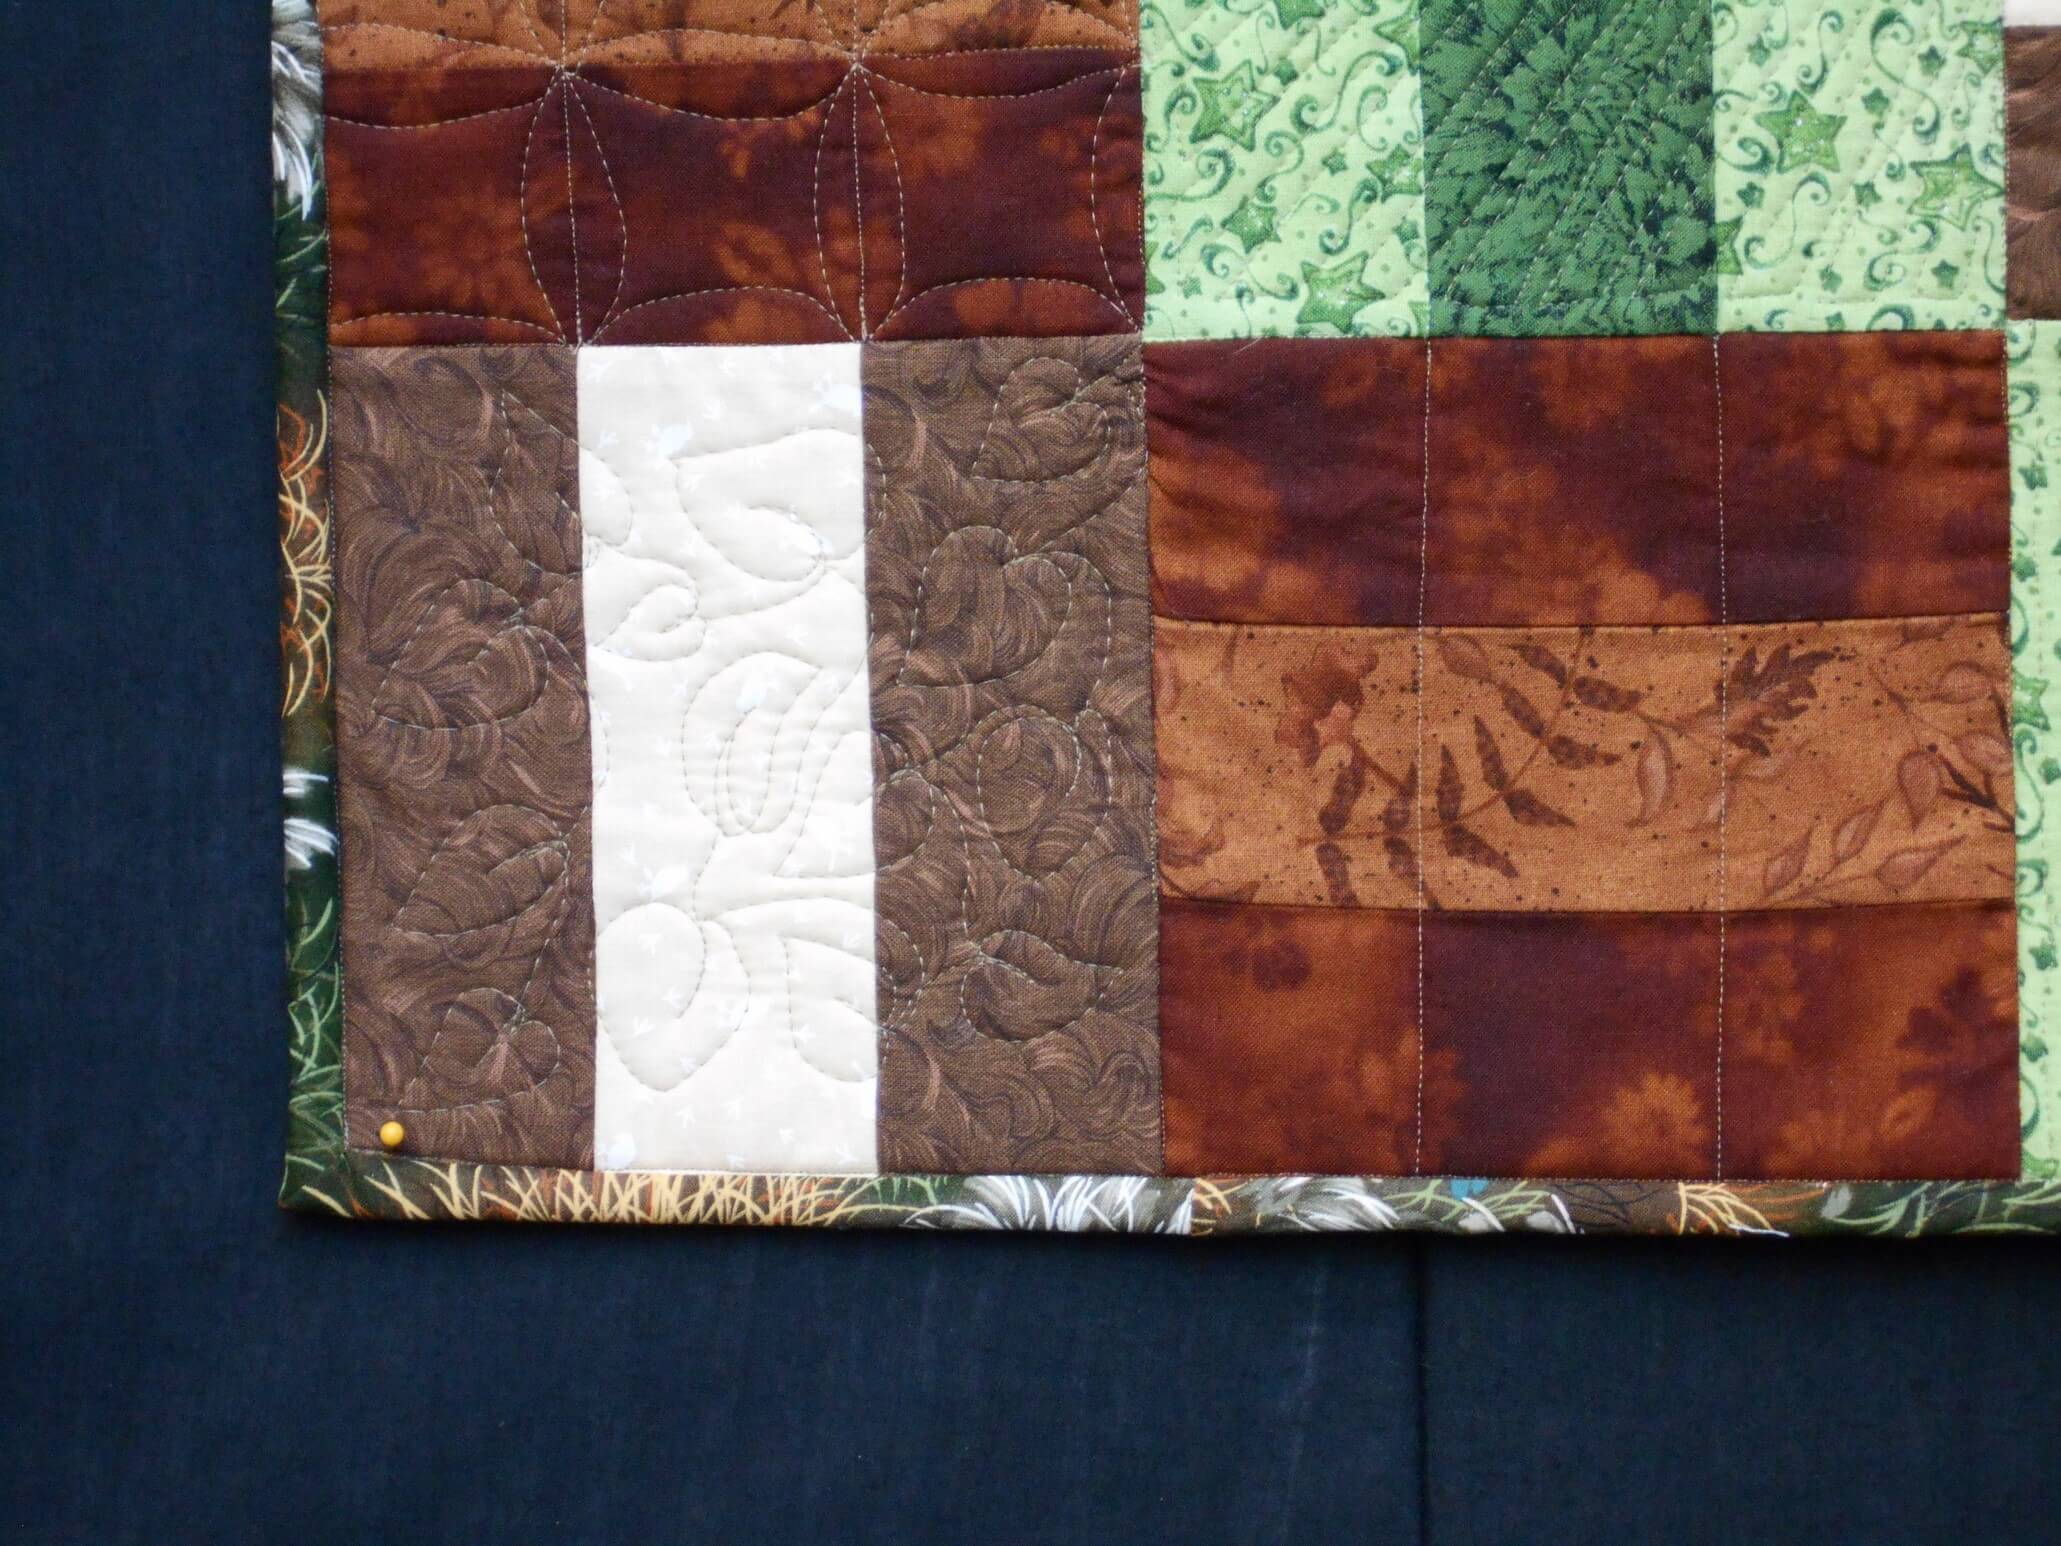
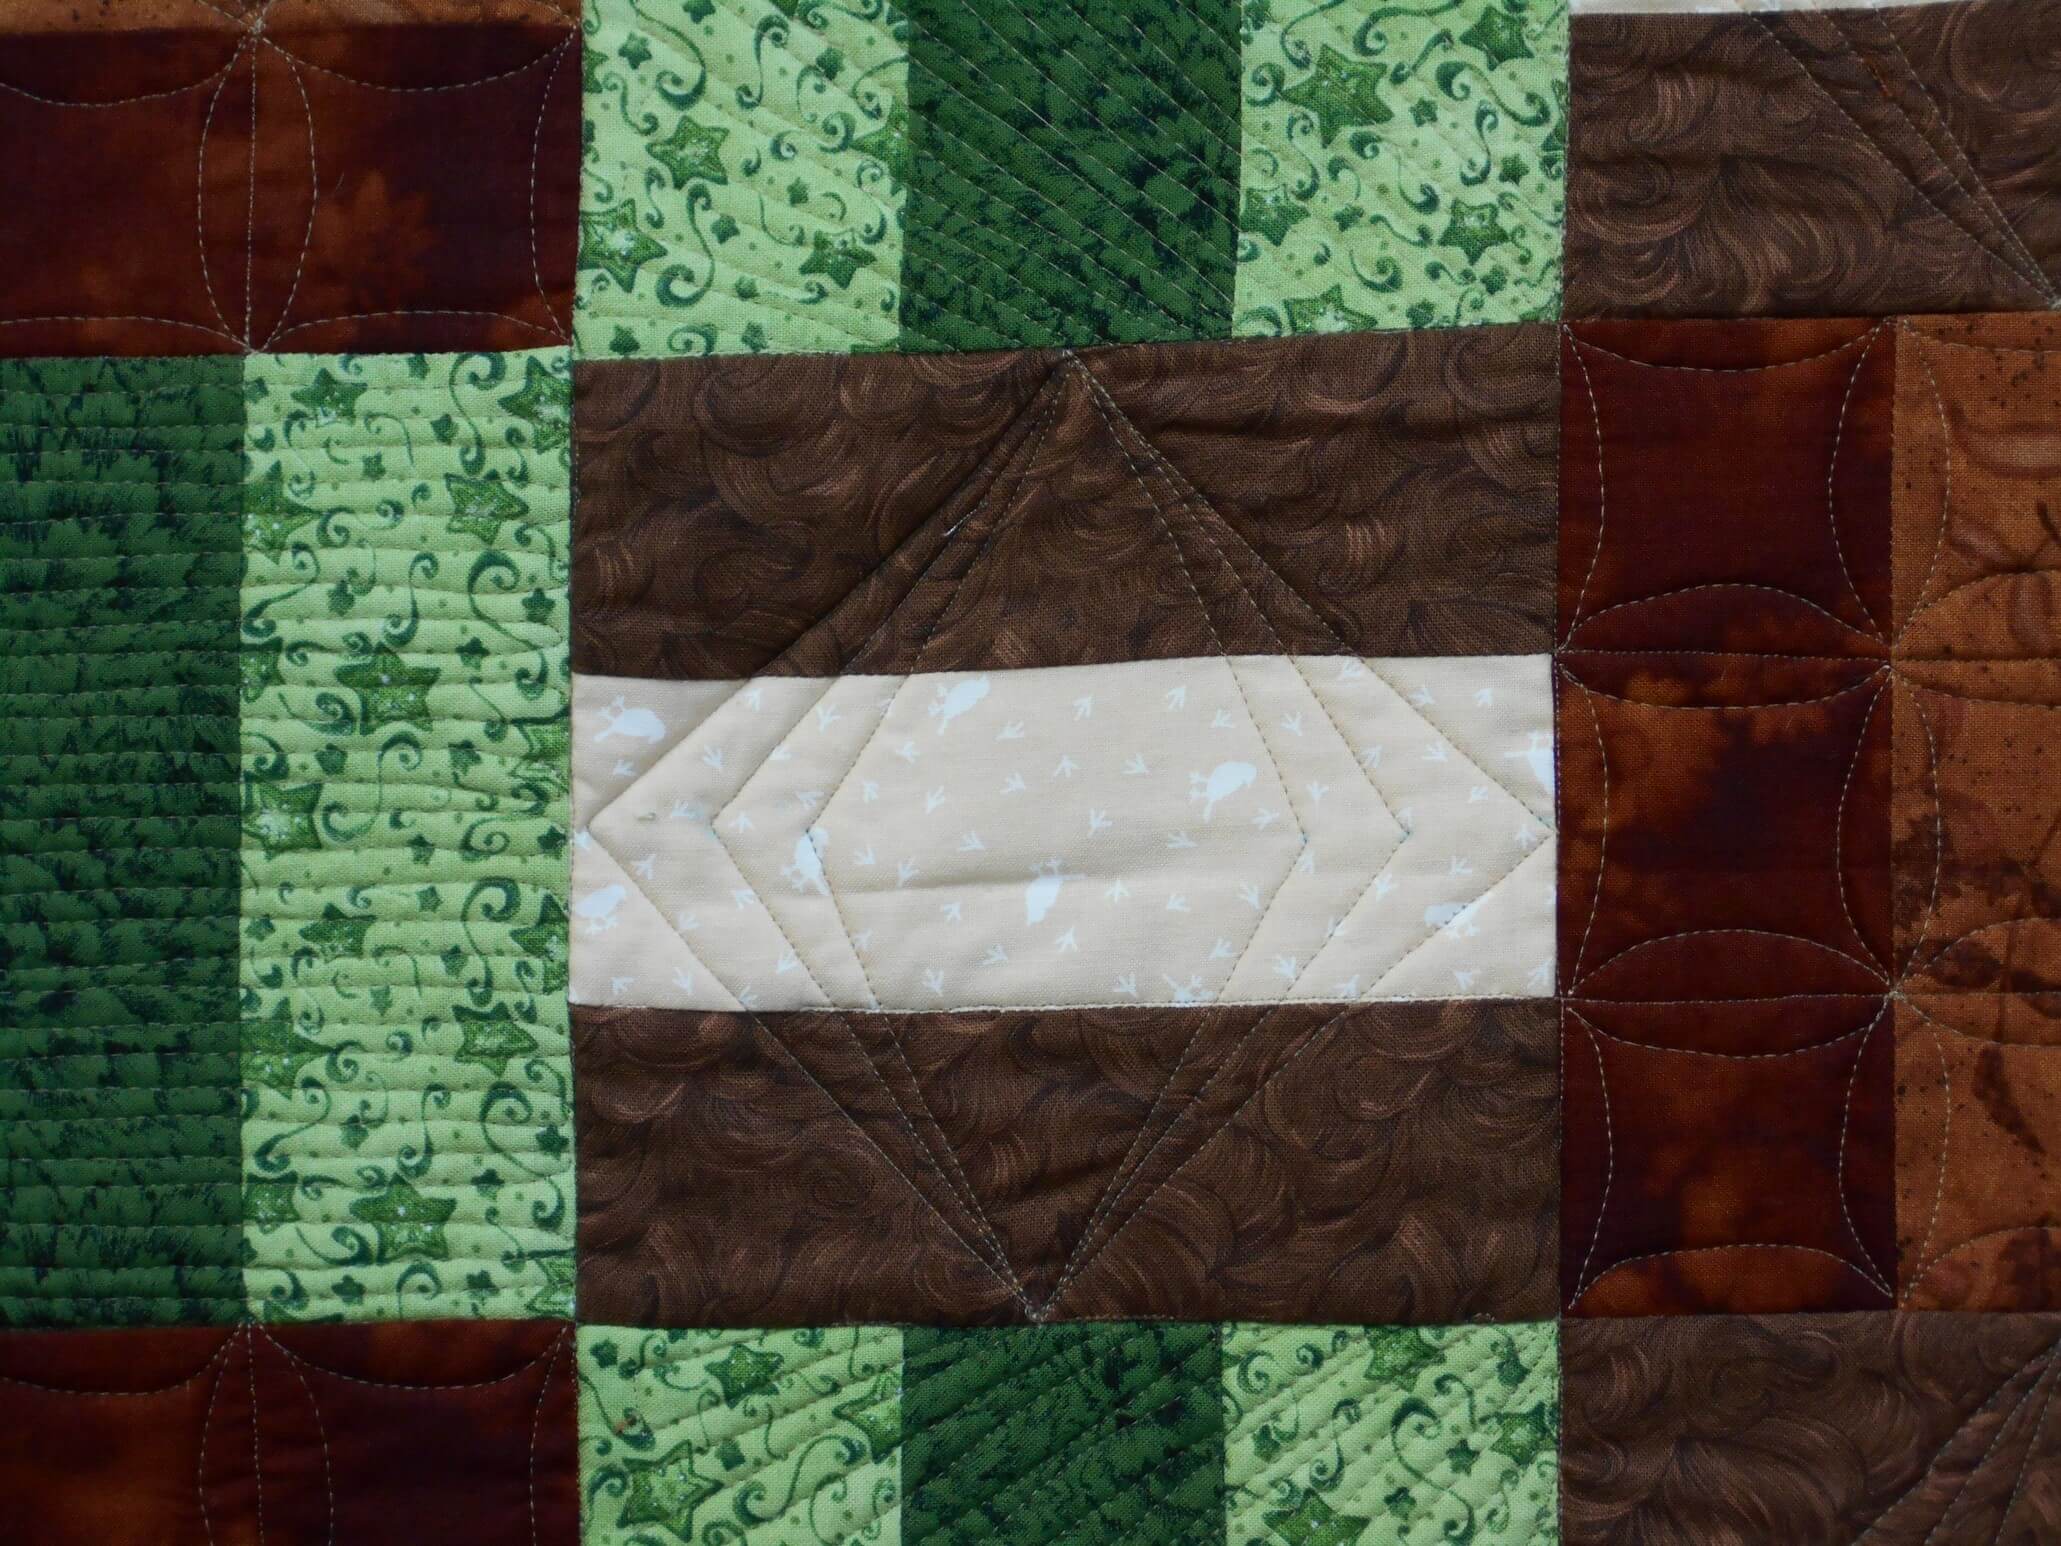
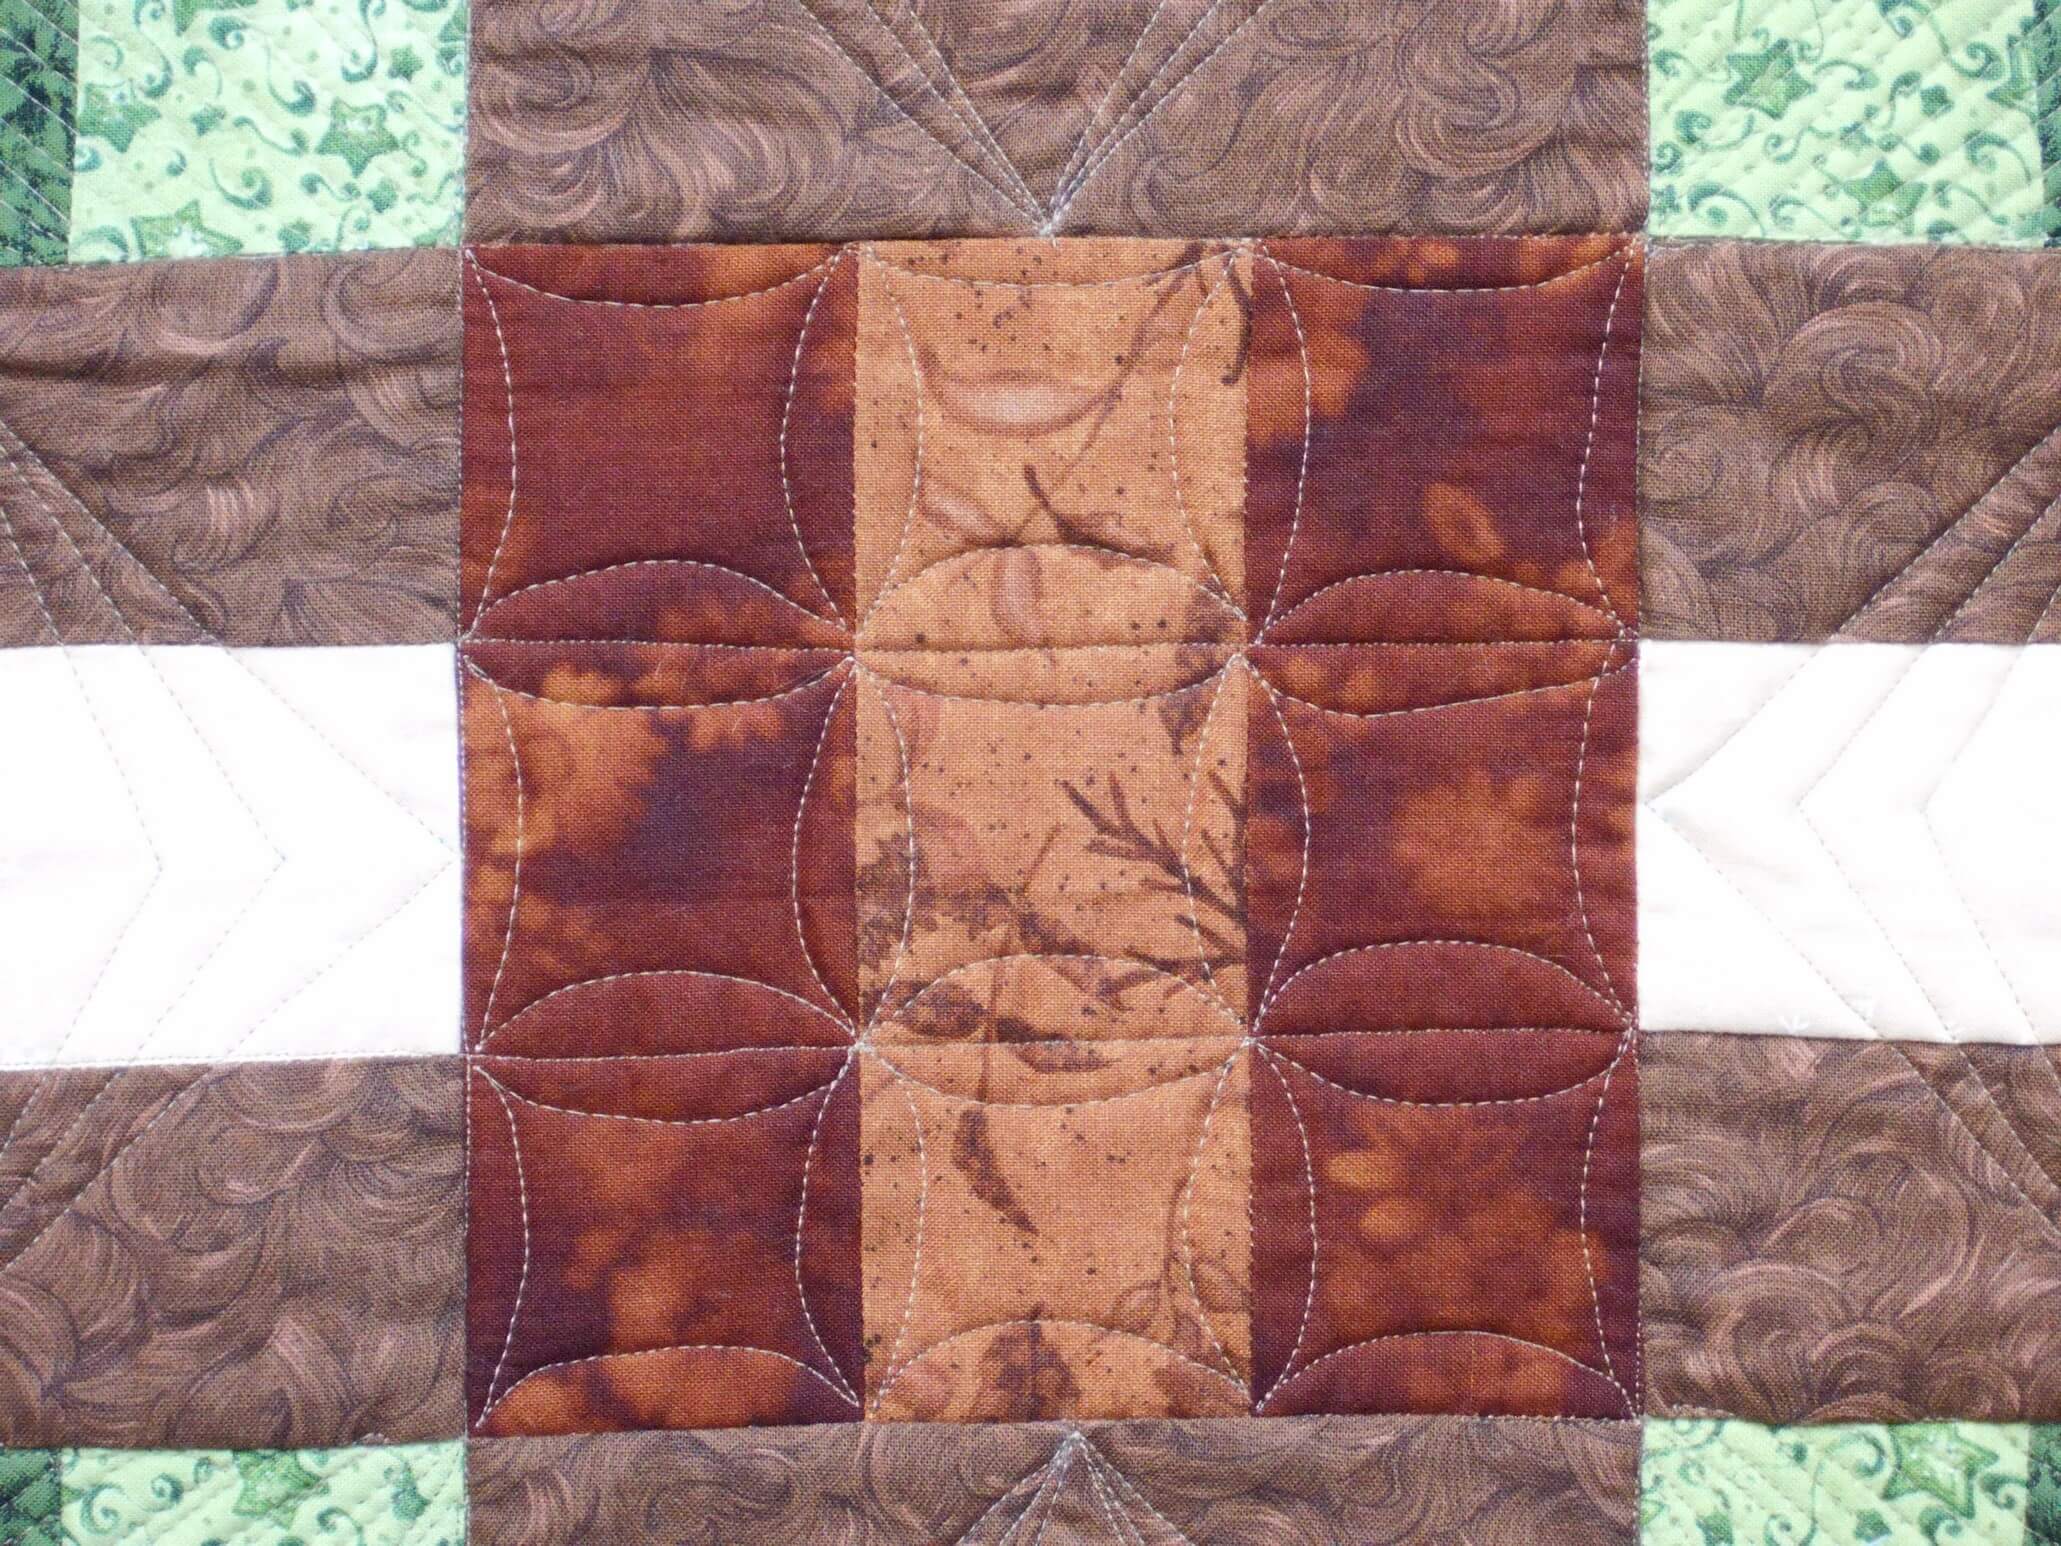
While I haven’t been posting, I have been moderately busy in the midst of still dealing with illness. I quilted a small wall hanging for my yoga instructor (whose house is now FILLED with art I have made for her). Here are some pics – she made the top and I finished it off.
The brown blocks have a cathedral square pattern, the center brown and beige have a diamond pattern, the four corner blocks are a leaf pattern, and the green blocks are just a plain stripe.
PS – this was the picture that made me realize I had forgotten to do one of the patterns……
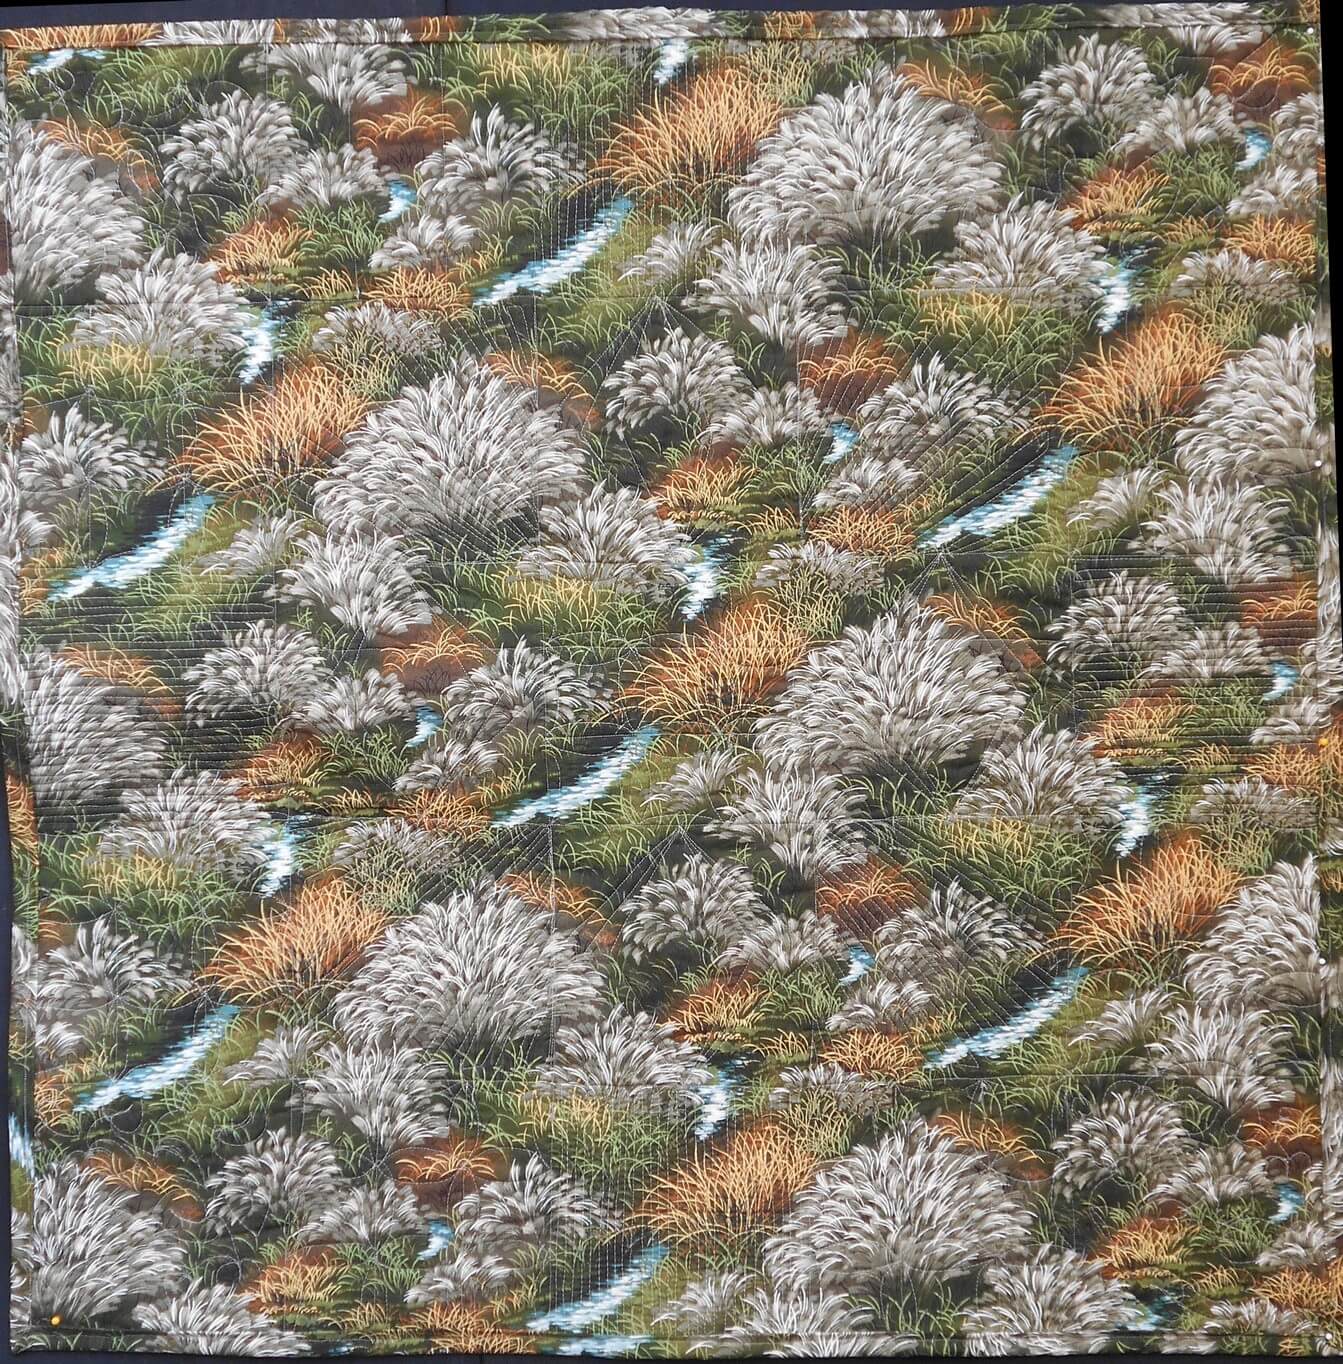
And….the back – one of my favorite pieces of fabric…..
I’m still plugging away……
Sunday Stories – The Chakra Commission
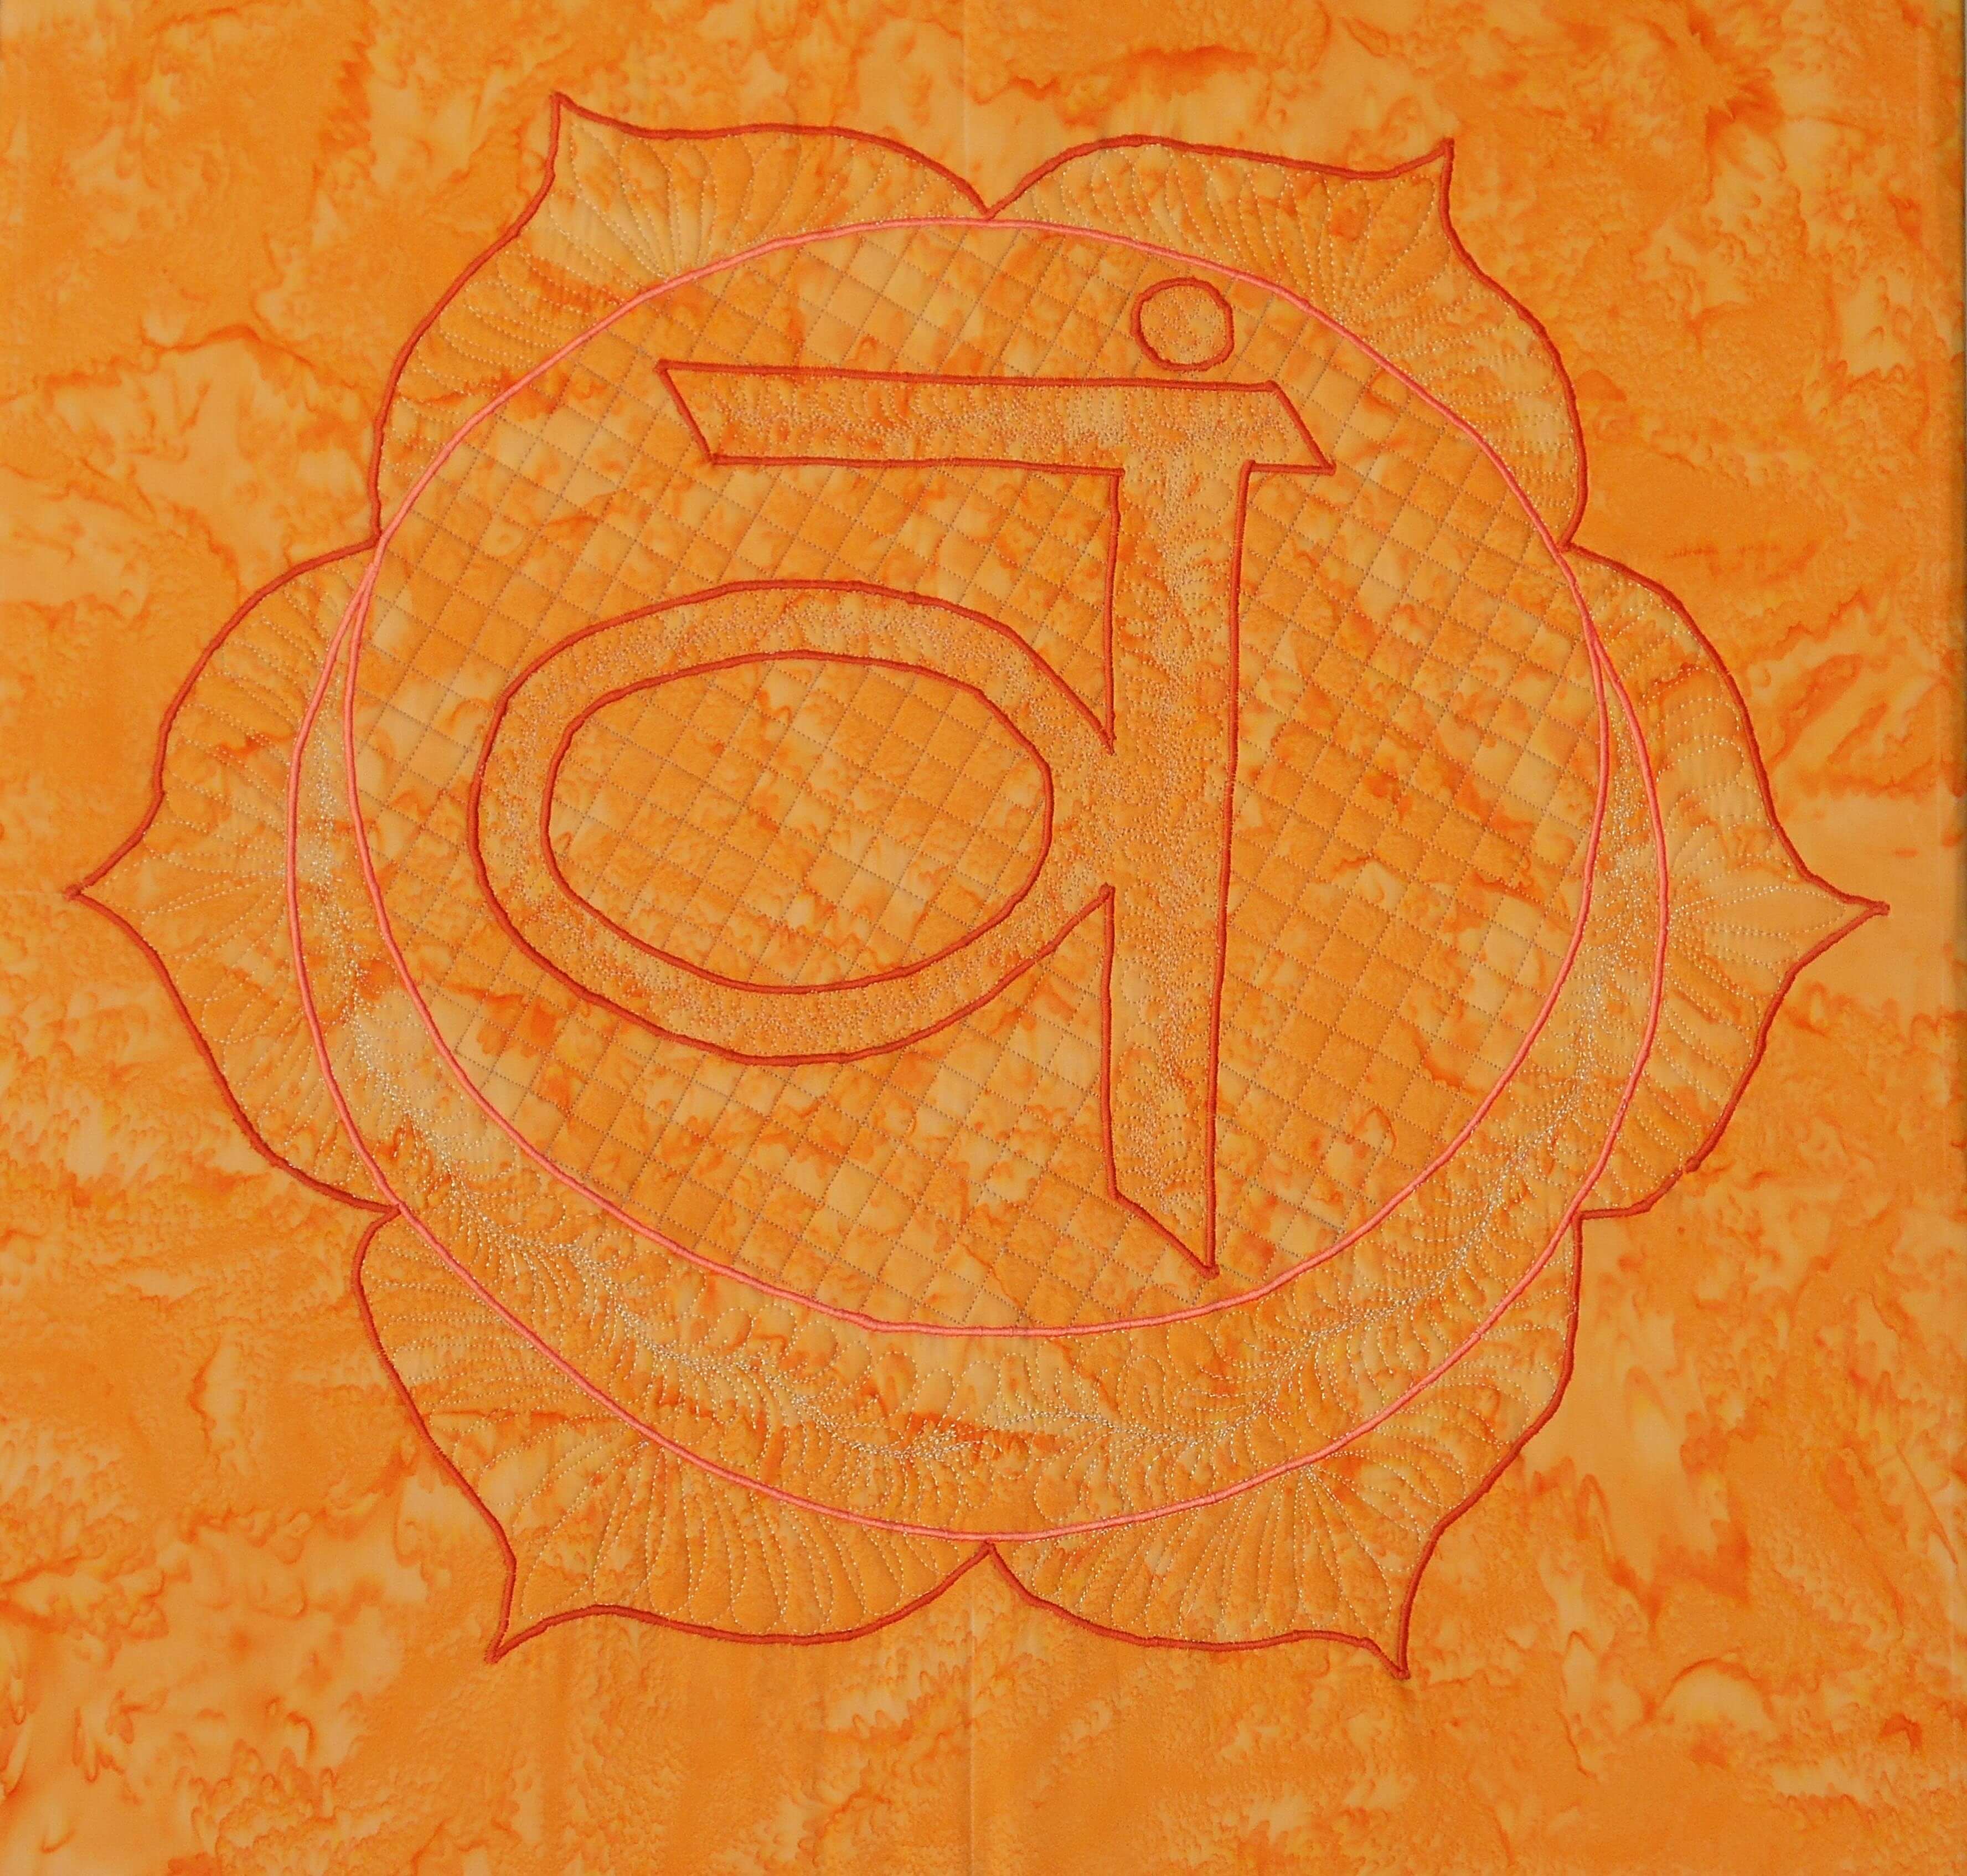
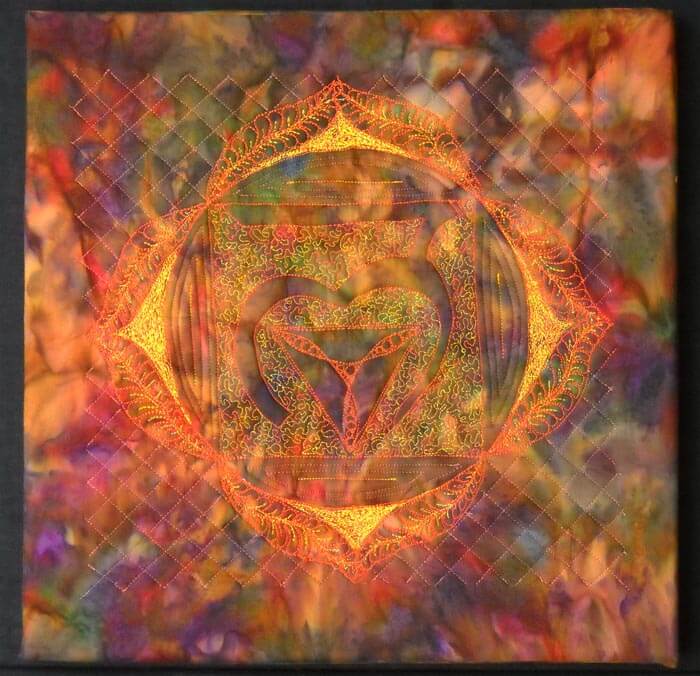
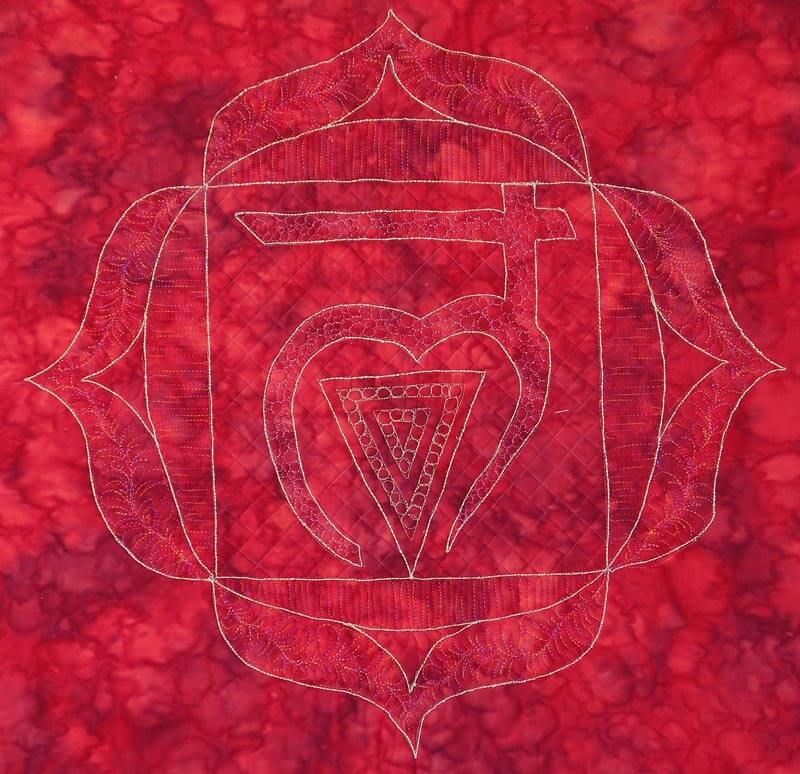
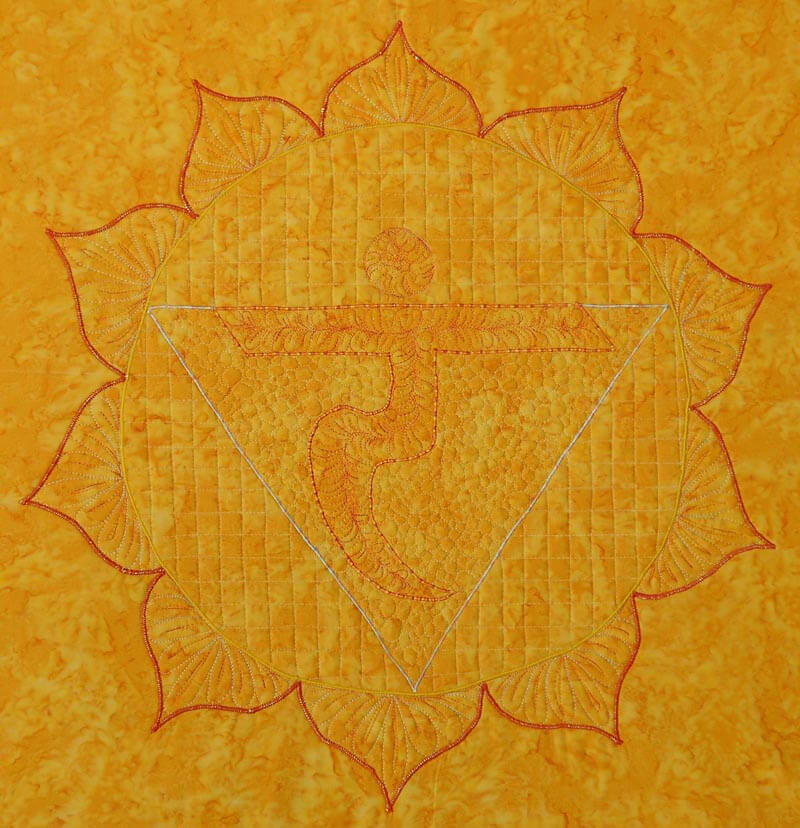
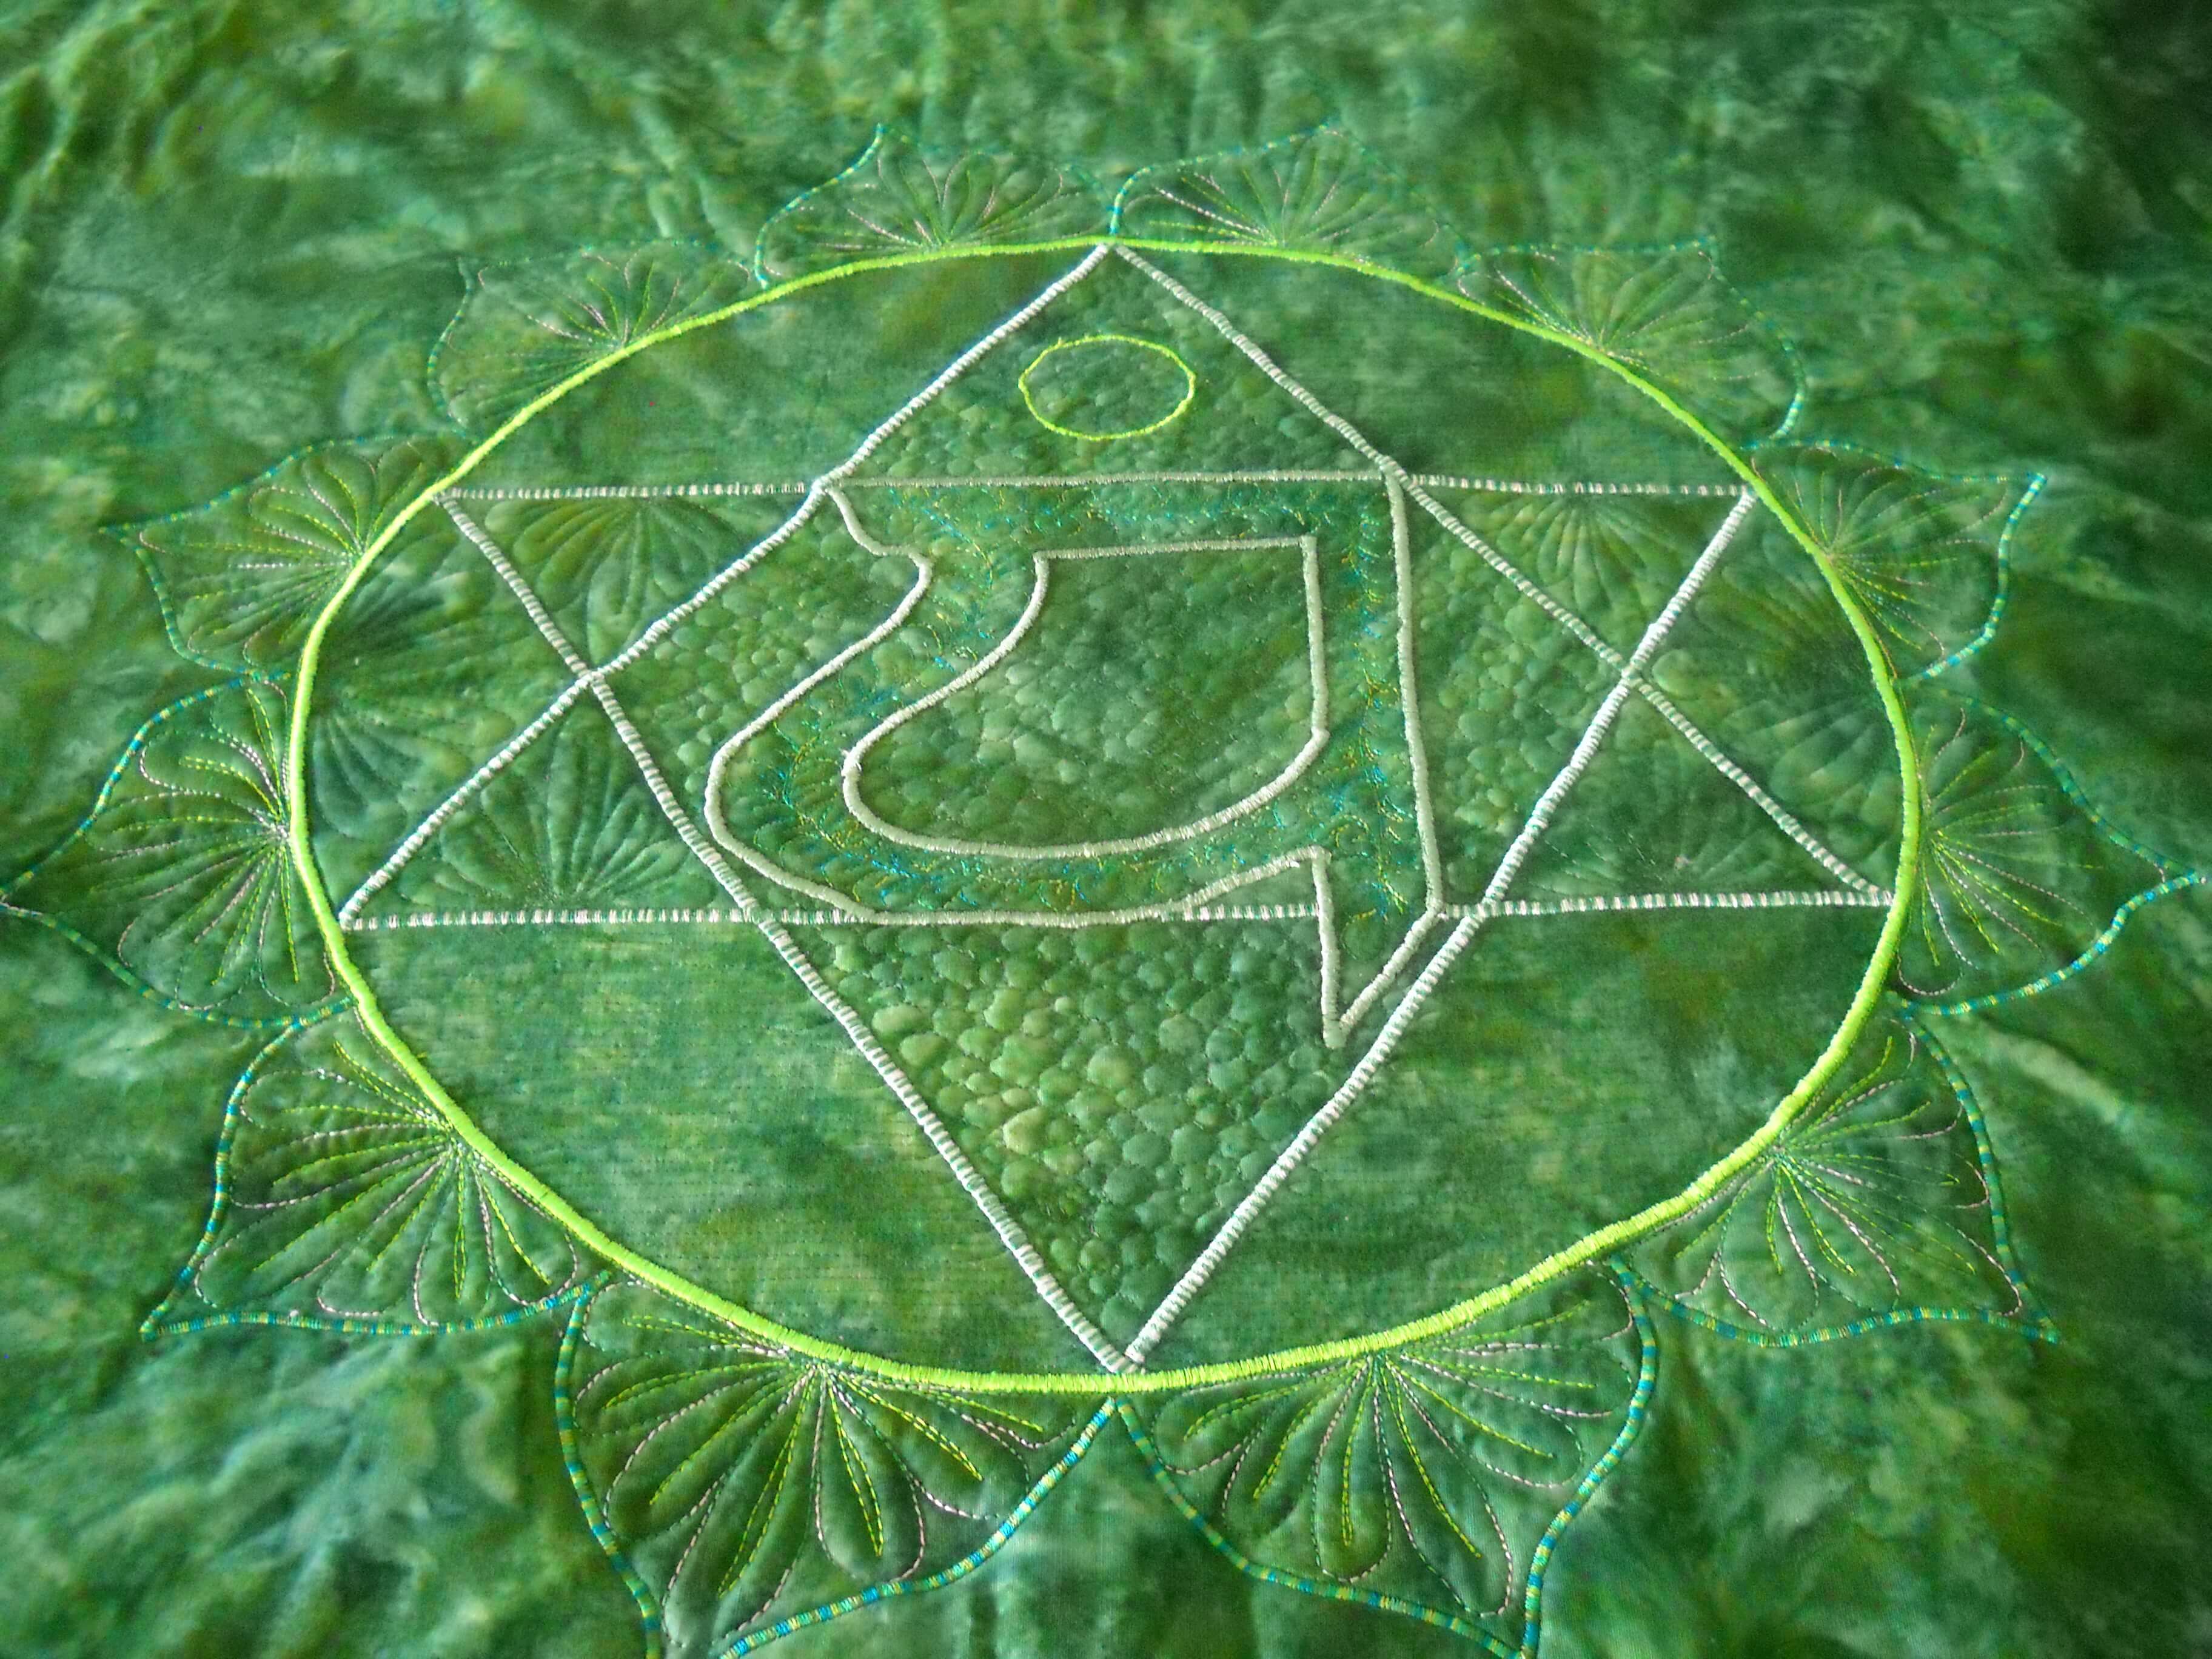
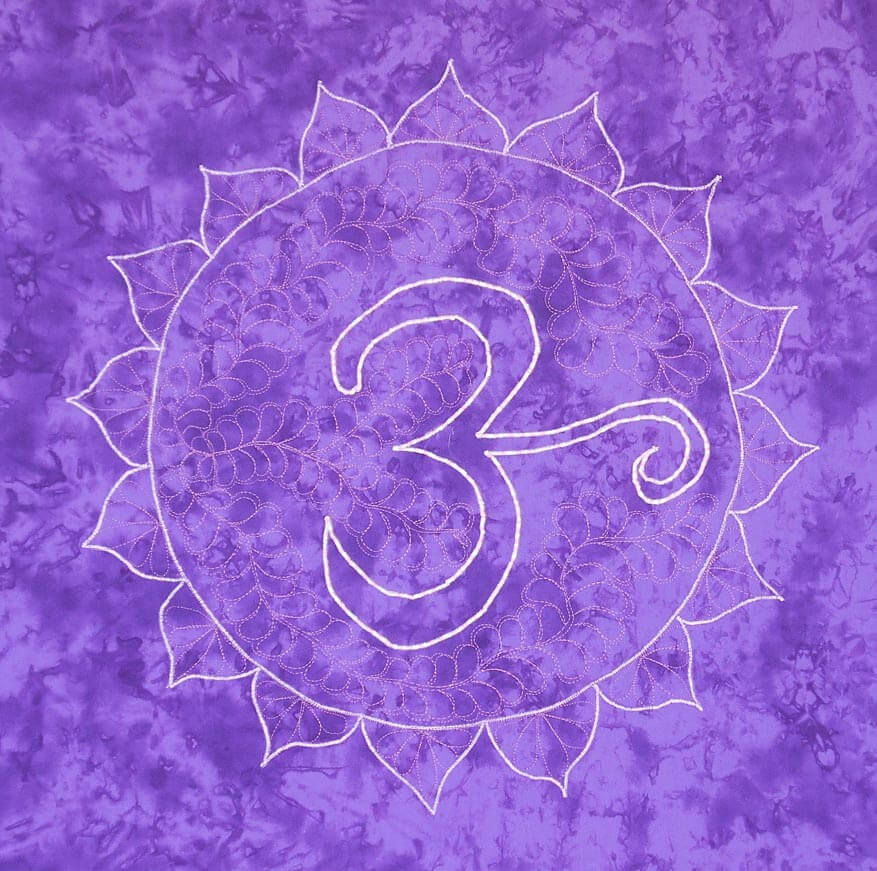
Last September my yoga instructor Susan asked me to do a series of chakras for her home, which is also her yoga studio. She had the idea to have the chakras around three sides of her “great room,” so she would be surrounded by their energies. I had previously done a small 10 x 10 inch thread-painted root chakra, and that one led to this new idea.
We debated about size, because the wall space is quite tall. Using the floor tiles as an estimate, we decided each would be 24 inches square – wrapped around four 12 by 12 inch canvases that we would put together.
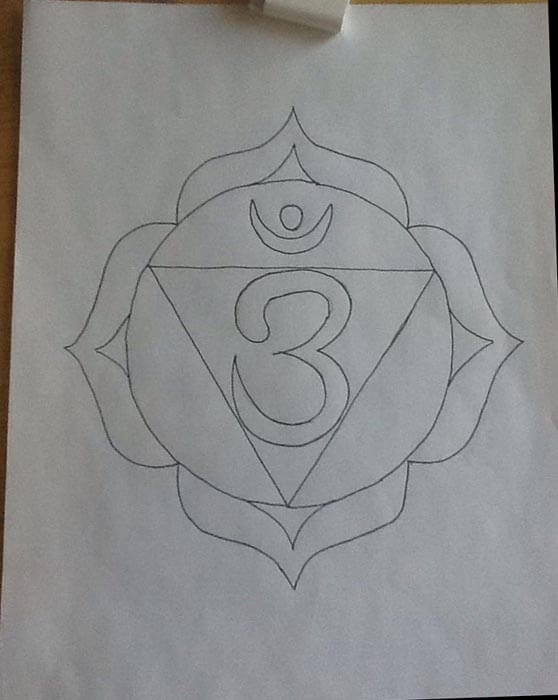
First challenge – choosing the fabrics. I wanted to purchase them all at the same time for consistency. I had thought about the Stonehenge line of fabrics, but the LQS was out of them. Susan found some hand-dyes that were what I call true crayon colors. It was a beautiful vibrant rainbow. This was when I first realized some of the attributes of the chakras. Second challenge – creating the patterns. I wanted the thread-painted chakra to finish at 20 by 20 inches, because that would give me enough fabric for wrapping the canvas. So I worked with a set of patterns from the Net and created a master set for approval. We tweaked some changes with the edges to better increase some of the symmetry. It is now the end of October and I am ready to start – I think.
In trying to explain to the copy folks at Office Depot that I wanted my design blow up to 20 inches by 20 inches, eventually we got a 24-inch-square canvas, with a 20-inch design on it. I had copies made as patterns.
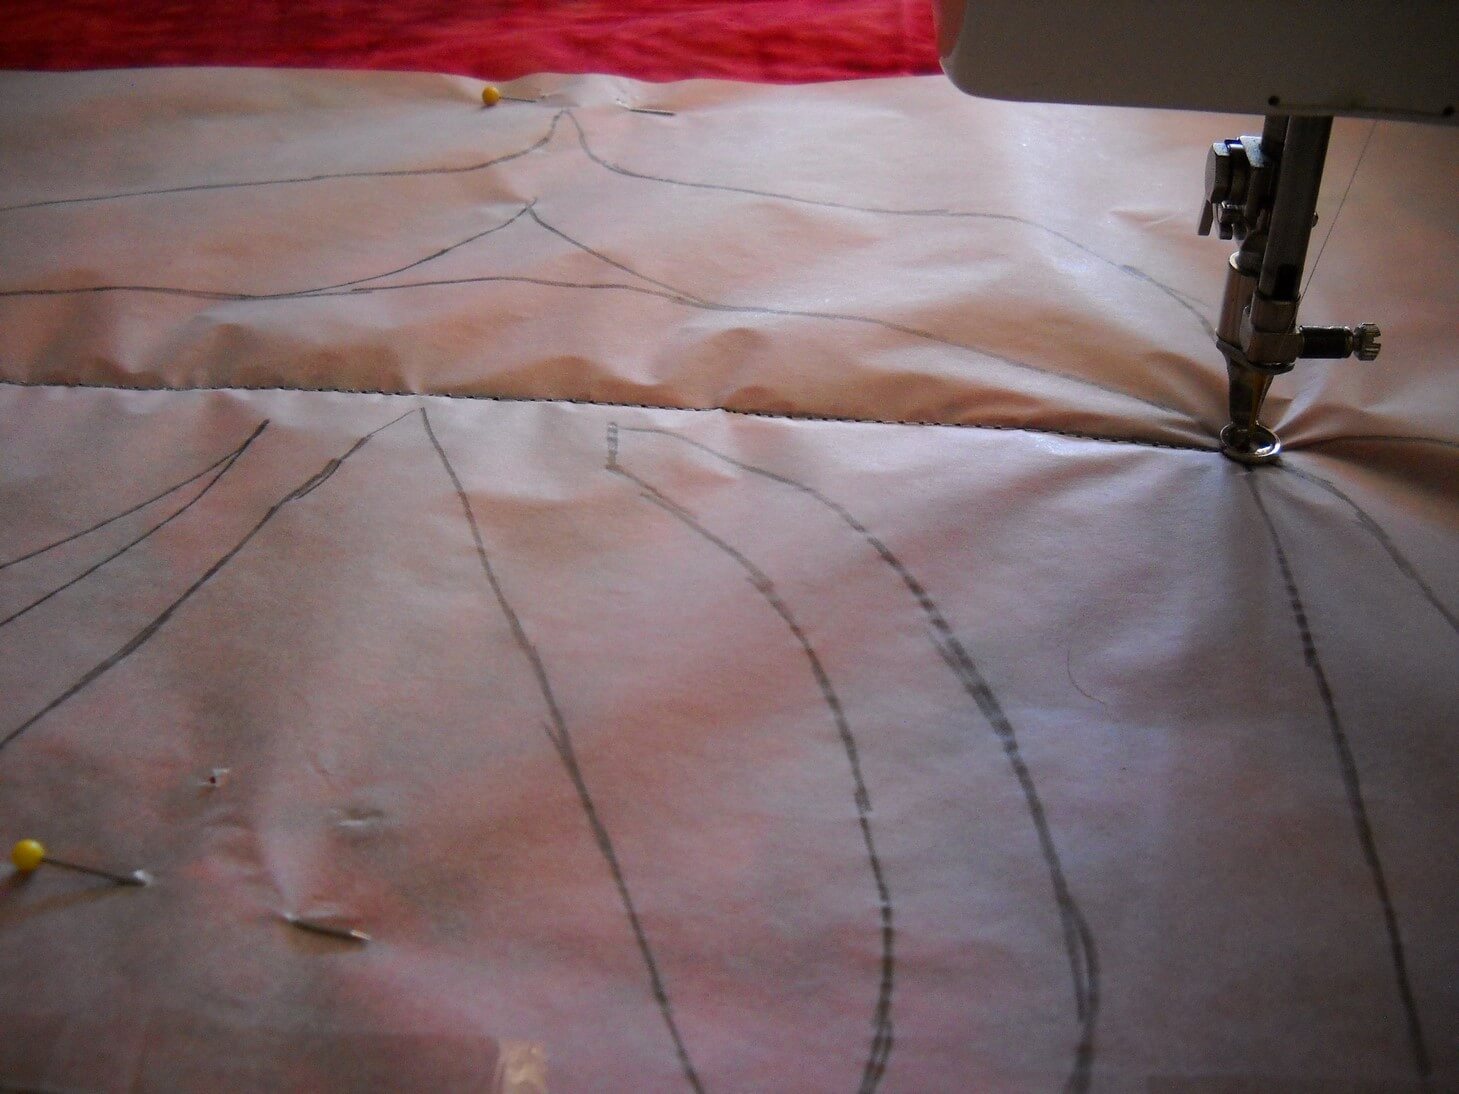
Once I had the pattern, I traced over it and then pinned the tracing paper onto the fabric sandwich. Speaking of fabric sandwiches, it too close to five hours to get seven sandwiches prepped: ironing the fabric (I cut each yard into a 30-inch square), matched it with low-loft batting, and found some unused fabrics for the backings. Then they all sat over a chair for a while.
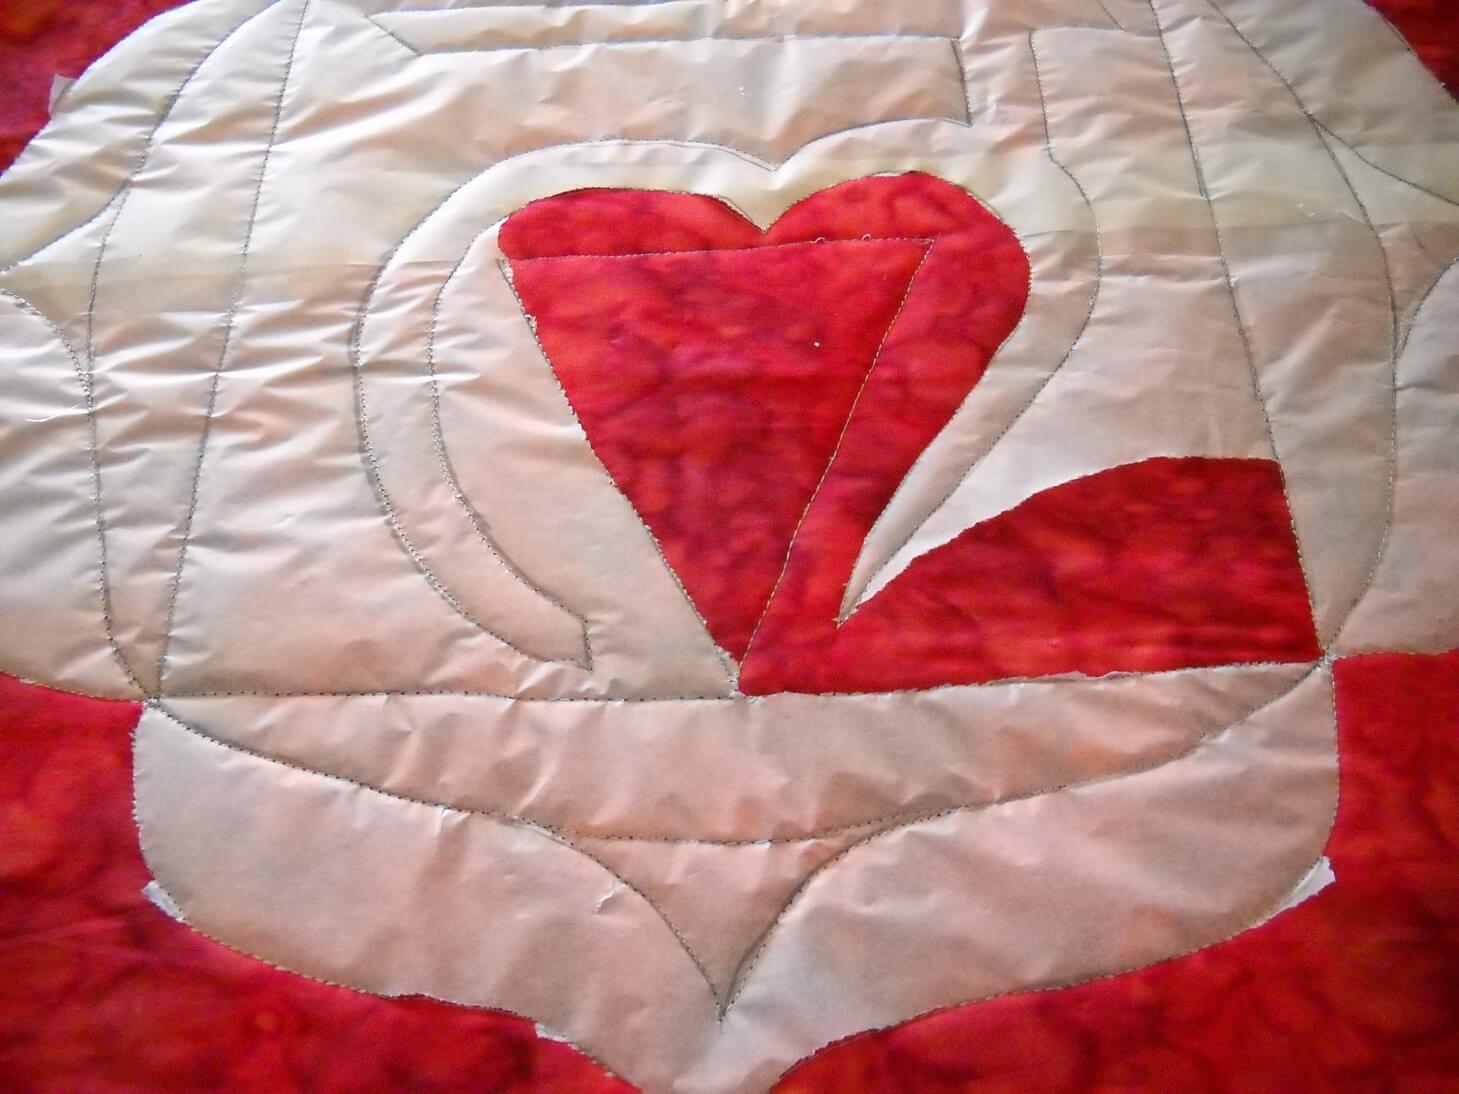
Finally around the end of November I started the actual sewing. I pinned the tracing paper carefully to the fabric sandwich and, using washable thread, I outlined the pattern. Tearing off the tracing paper took a very long while….
For the Root chakra, I decided to do some bobbin work with a gold thread. I was so-so pleased with the results, but not enough that I was going to continue with the bobbin work. Each of the other chakras used satin stitch on the major elements and a lot of free motion patterns for fillers. The chakras got progressively better in their sewing….until the last one – same elements but a much simpler design.
I thought about redoing the Root chakra, since it didn’t seem to fit with the others. But the more Susan and I talked about how these were developing, the more I liked the first and the last. As I worked on them, I added more quilting elements that added to the design. I used colors in the same family as the background fabric, with hopefully enough contrast. Up close they were all looking gorgeous. From a distance, they faded away. That bothered me for a while, but I realized as I was working on them that everything in the design was meant to be meditative. Up close, you could lose yourself in the design. From a distance, the more you looked the more your saw.
Susan summarized it pretty well. The root chakra is our beginning, and it can be very shaky and unsure. We develop from there, with whatever impurities becoming who we truly are. The crown chakra, the seventh, is the Divine, and as such doesn’t need to be ornate. The Divine in us can be very simple and beautiful.
So here they are, in order.
(Have to find this one – will update……)

I learned a lot. There are some stitching patterns I would change. I would probably use a much lighter background fabric and have the stitching pattern show more. Yet they move in complexity, much like the chakras do. I one I am missing is the one I think is the best design, yet in viewing it, the design seems very faint. The more you look, the more you see. This is also the chakra that is my weakest, so I find that fascinating. My yoga instructor is extremely pleased. The room is surrounded by color and it just vibrates. And she says she can easily meditate on whichever one she wants or needs. A very happy conclusion.
Yes, We’re Teaching Classes!
We will be in Cottonwood, Arizona the end of October at Quilter’s Quarters – a really great quilt shop! We’re teaching two marbling classes – beginning and advanced, and two free motion quilting classes, also beginning and advanced. Contact Quilter’s Quarters for more information!
Beginning Marbling
4 hours, $50.00 class fee, supply fee $25.00
(minimum 5 students, maximum 10)
Learn the ancient art of marbling by creating cotton fabrics using traditional marbling patterns. You will learn 5 basic patterns (stone, freeform, chevron, nonpareil, bouquet) and create pieces of marbled cotton suitable for a small sampler. This class is an overview of the process, using existing supplies, with fabric that is already prepared for you.
Supply Fee: $25.00
1/3 yard pima cotton, 1yard Offray ribbon, carrageenan, alum, paints, combs, brushes, drying racks, soda ash, pins, toothpicks
Student Needs to Supply:
cookie tray or roaster pan (at least 10 inches in width, and a half-inch in depth),
sheets of newspaper (no color) for drying fabric, notebook for notes and diagrams, ruler and pencil, rags/paper towels, small plastic tub for carrying wet fabrics, gloves
Wear old clothes!
Advanced Marbling
4 hours, $40.00 class fee, supply fee $25.00
(minimum 5 students, maximum 10)
Learn the recipes needed for the carrageenan bath and pretreatments. Make the combs and rakes you will to marble any time you wish. Learn advanced marbling patterns (wave, clamshell, wing, feathers, cable, fountain, cascade) and experiment with paint and pattern on cotton and silk.
Supply Fee: $25.00
1/2 yard pima cotton, carrageenan, alum, 1/2 yard 10 mm silk, paints, combs, brushes, drying racks, soda ash, balsa wood, popsicle sticks, box cutter, awl
Student Needs to Supply:
cookie tray or roaster pan (at least 10 inches in width, and a half-inch in depth),
sheets of newspaper (no color) for drying fabric, notebook for notes and diagrams, ruler and pencil, rags/paper towels, small plastic tub for carrying wet fabrics, gloves, masking tape (at least 1 inch wide, wider is better), Elmer’s glue, straight pins and/or t-pins (no glass heads), rubber bands
Wear old clothes!
Beginning Free Motion Quilting
4 hours, $40.00
Now what? Your quilt top is done…send it out or quilt it yourself? You can free-motion your own quilt top, no fancy domestic or long-arm machine needed! You CAN do it all yourself – it just takes some practice! From thread choice, basic supplies, setting up your machine, to learning basic FMQ patterns, you will learn the happy sounds of your machine as you practice five basic patterns on a fat-quarter sandwich: straight lines (without a ruler or sewing foot), various size stipples, pebbles, and a leaf/vine shape.
You supply:
sewing machine in working order, ability to lower feed dogs, instruction manual
free-motion (or darning) foot
#80 or 90 machine needles
a selection of threads, from “old and cheap” to “fancy and expensive”
low-loft cotton batting in fat quarter size
4 fat quarters, one for the top and one for the bottom of two quilt sandwiches (not fancy fabrics, just for practice, and muslin is fine)
scissors
scrap paper and pencil or pen
marking tools (fabric marker or chalk)
optional: finished quilt top for design ideas
optional: a machine extension table
Moving Ahead with Your FMQ Skills – Creating a Whole Cloth Quilt
8 hours, $80.00 (1 hour break for lunch)
The sewing machine is working, and you’ve started stippling away on your quilt top, but you’re getting bored. Now is the time for new free motion quilting patterns. Yes – you can do feathers…and spirals…and gridded patterns…and leaves and grapes…and cathedral windows. Once you’ve practiced these now patterns, you will create a small whole cloth quilt, showcasing your skills. Experiment with bobbin work, and create a stencil of your own.
You supply:
sewing machine in working order, ability to lower feed dogs
free-motion (or darning) foot
#80 or 90 machine needles
a selection of threads, from “old and cheap” to “fancy and expensive”
low-loft cotton batting in fat quarter size
4 fat quarters, one for the top and one for the bottom of two quilt sandwiches (not fancy fabrics, just for practice, and muslin is fine)
scissors, mat, rotary cutter, and ruler
scrap paper and pencil or pen
marking tools
a “top” for your whole cloth quilt, at least FQ size, but larger if you desire; choose a fabric that can add texture to your design but not overwhelm it
batting and backing for your whole quilt
optional: a machine extension table
52 Sparks – Week 6 – On Top of the World
I am behind, part of what’s making me so nuts lately. But I do so want to stay up with some of my projects for this year. So far I’m really not doing badly, and I know I need to give myself a break and stop being so hard on myself. So….Week 6: When You’re On Top of the World….
I feel giddy, I giggle, I smile, I talk a lot, and my mind goes crazy with ideas. I’ve often commented “It doesn’t take much to make me happy.” I don’t know if that’s a good thing or not! I’m thinking it’s a good thing – I like the feeling, and I want it to happen more often.
I often get this feeling when I complete a project. I just finished a commission as part of a house-warming, and about half-way through I started grinning from ear to ear. I LOVED the piece!! And then, yesterday, I bought a new sewing machine – with 90 decorative stitches…..I’m still grinning, and I can’t wait till Thursday when life is a little simpler to play with it and make my stitch sampler. I’m still giggling at the prospect.
Nature also makes me feel on top of the world, and not necessarily when I’m on a mountaintop. A favorite spot just south of the Seven Pools on Maui, the lakefront on Champlain, the Pali on Oahu, cactus in bloom during a wet spring in Saguaro National Park……get me outside and I can feel on top of the world.
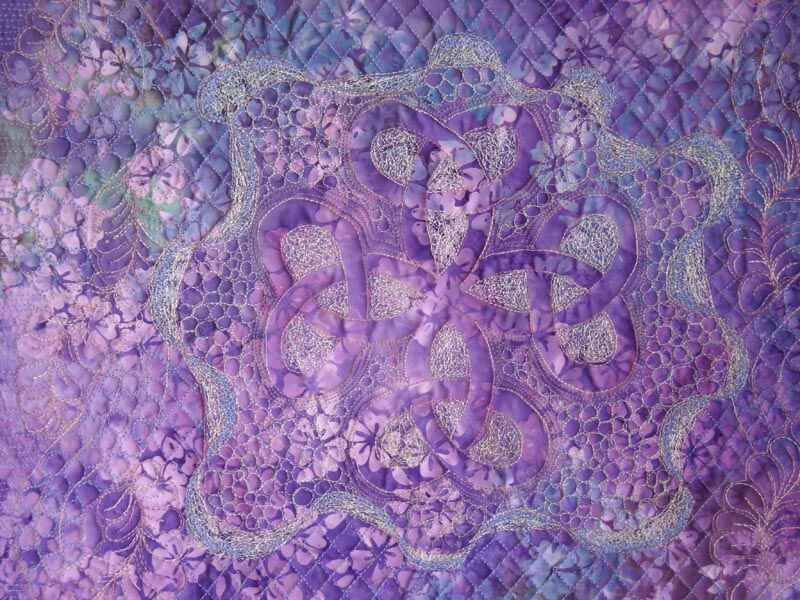
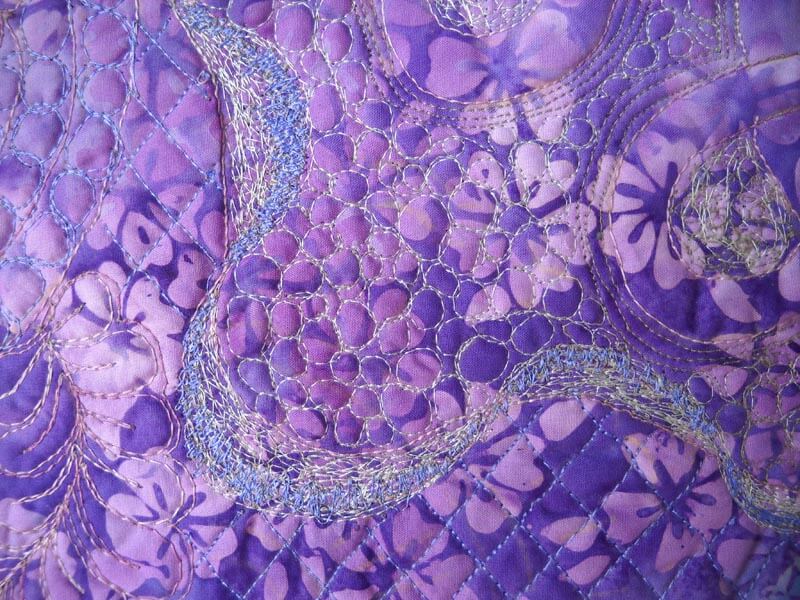
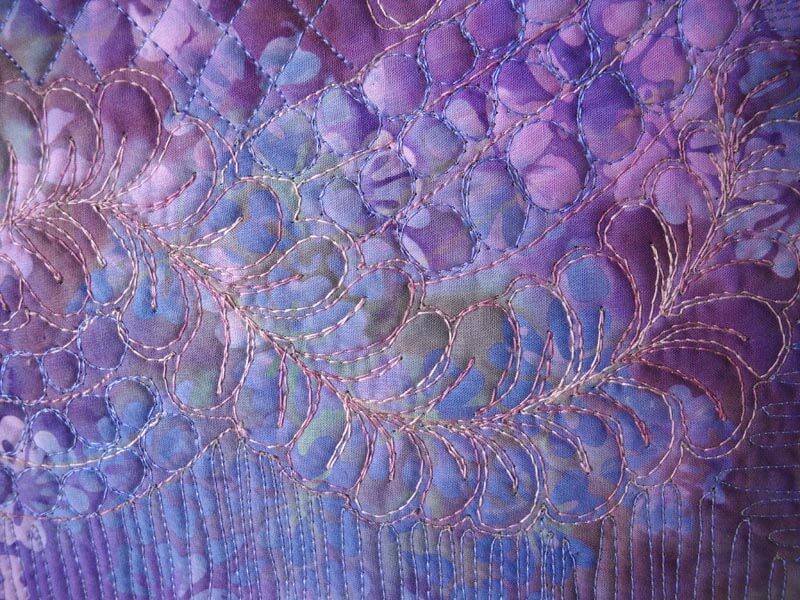
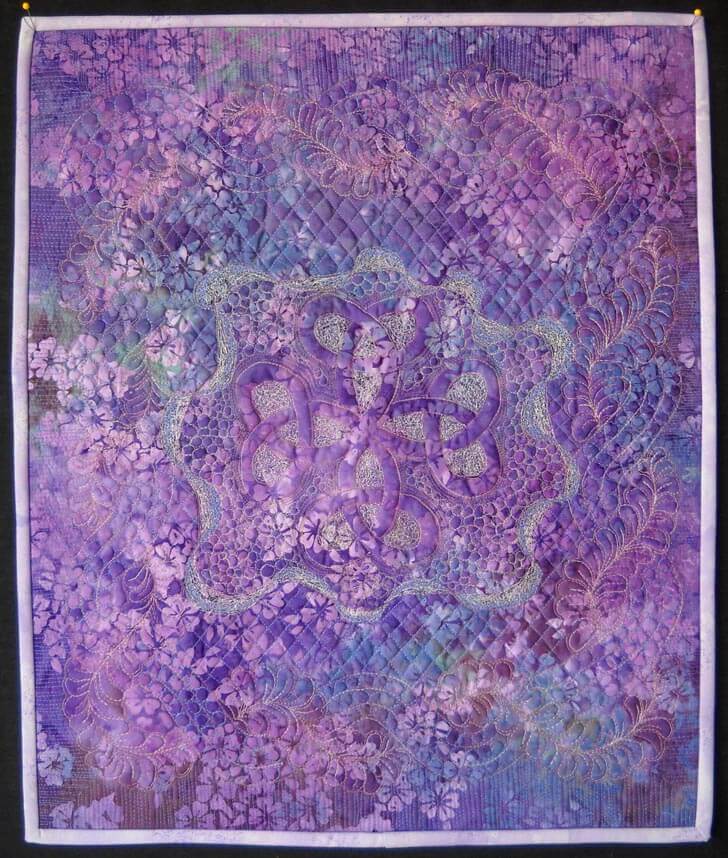
So here’s my free motion quilting piece for my friend Ali. There are SO many things I love about this piece – the colors worked even better than I thought, and I love how the blues kind of shine. The tension on the back for the most part worked really well. I used Bottom Line in the bobbin, Silk Kimono for the ribbon, Art Studio for some of the blue background, and King Tut for the overall design. The thread colors were great. The ribbon around the center celtic piece was the new FMQ challenge for this first part of the year from SewCalGal, and brought to us by Libby Lehman. I love how the ribbon is created. I’m not happy with how mine turned out – it needed to be larger, and I discovered that I really didn’t need a pattern – next time I will freehand the ribbon and not make the stitching as dense. I was even thrilled with the blocking, squaring off, and binding. Overall – on top of the world……
52 Sparks, Week 2 – Appreciation vs. Approval, Plus FMQ
This week of 52 Sparks had a really interesting question that I pondered a bit. The question: How do you appreciate yourself? I had to think long and hard about this one. I think I was confusing appreciation with approval, and it took me the longest time over the years to not worry about family approval. I needed to start appreciating me for me, and what I did and succeeded at because I was pleased, not someone else…..kinda rambling, but I hope it makes sense.
Appreciation: I go for walks to think about what I’m doing, I take time off to read – some times days at a time to just immerse myself in some books. Mostly, though, I appreciate myself by giving myself free rein to make art. And with retirement, I am taking more time to appreciate what I’m learning and creating. In fact, three new commissions over this week. It is just so delightful to quilt away for hours (with the occasional back break) and see the progress.
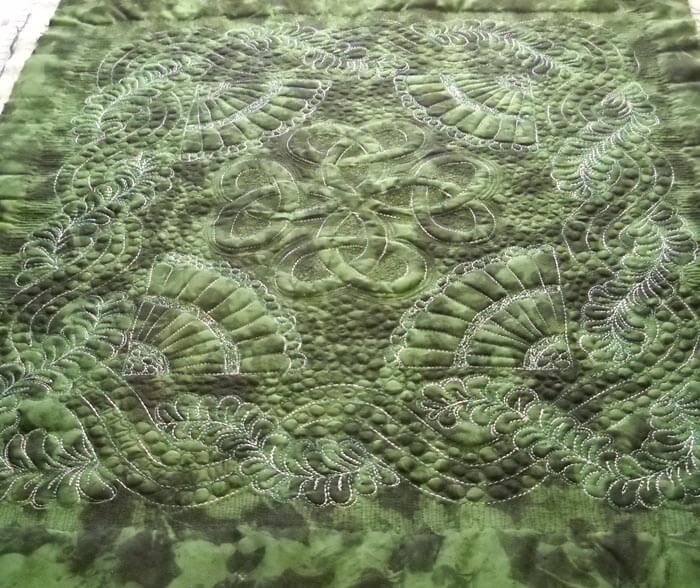
That said, here’s what happened with art this week. Last time I had the stencil traced on to the green fabric in preparation for my first whole quilt. Now all I need to do is square it off and bind it. I LOVE IT!!!! I NEVER thought I would be able to free motion a whole cloth. Yay me!
So here they are – better pics when the binding is finished.
All are Superior Threads, Bottom Line in bobbin, Silk Kimono in background, and Fantastic variegated in the design.
52 Sparks – Week 4 – Aloneness
This was an interesting question this week: How do you feel when you are by yourself?
I spend a huge amount of time time by myself, usually working on something artistic. It seems like I have always been by myself growing up…and yet, you can never be by yourself when you have a good book. And that is still true.
But I never had a lot of friends. I am quite the introvert, so moving to something artistic just seemed a natural. I think my introversion became even stronger, given my position in a family of extroverts, coupled with emotional abuse. So I am accustomed to being by myself. My husband and I do most everything together – we are each other’s best friend. The fact that we can – and do – work at art together is a great plus for us.
I can remember my dad asking me how I was, one time when he came to visit. I said I was lonely. I did a lot of things by myself, and I could always read, but I think it was more a case of seeing friends with others of the opposite sex, and I would wonder what was wrong with me. I finally decided if I was going to be single, then it would not keep my from doing whatever I wanted to do. Alone can be very good – I get a lot of work done on fiber pieces, a lot of planning. Especially with retirement. So when I do have “alone” time, I plan projects or lose myself in a good book.
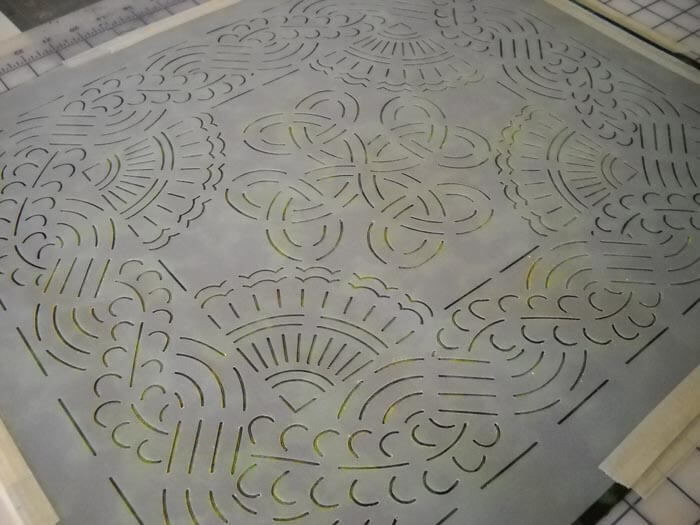
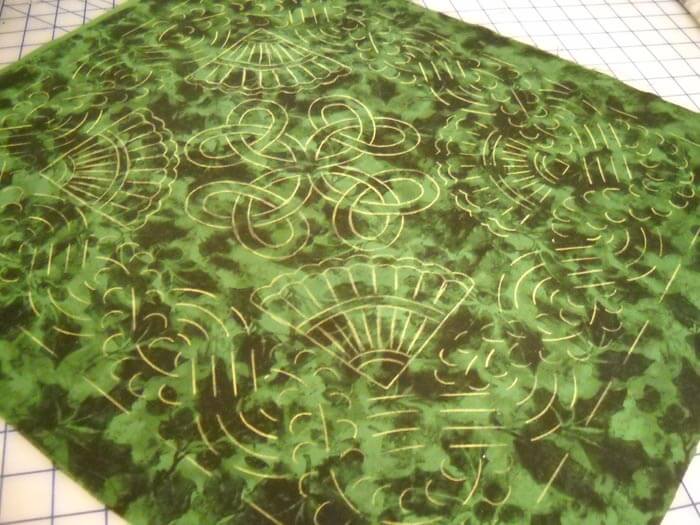
So since I haven’t started something new, I decided to try a “whole cloth” quilt because of the class I’m taking on Craftsy with Cindy Needham. I had the really great stencil from about 12 years ago…..I finally found where I had “stored” it. I pulled a green piece with some interesting tonal print to see what would happen. Here’s the latest “in progress:”
Of course, most of the yellow marker has already rubbed off…….
Work in Progress Wednesday – More FMQ
In order to cope with the depression that has settled, I set a goal of sewing for a couple of hours every single day. It is helping. I’m taking Cindy Needham’s Craftsy class and getting LOADS of ideas. Plus, the FMQ challenge has a great tutorial on borders. So I started experimenting with both. I’m using the dresser scarf (one of two) to practice on. This middle section doesn’t really coordinate with the first one (or the soon-to-be last one), but these are for practice.
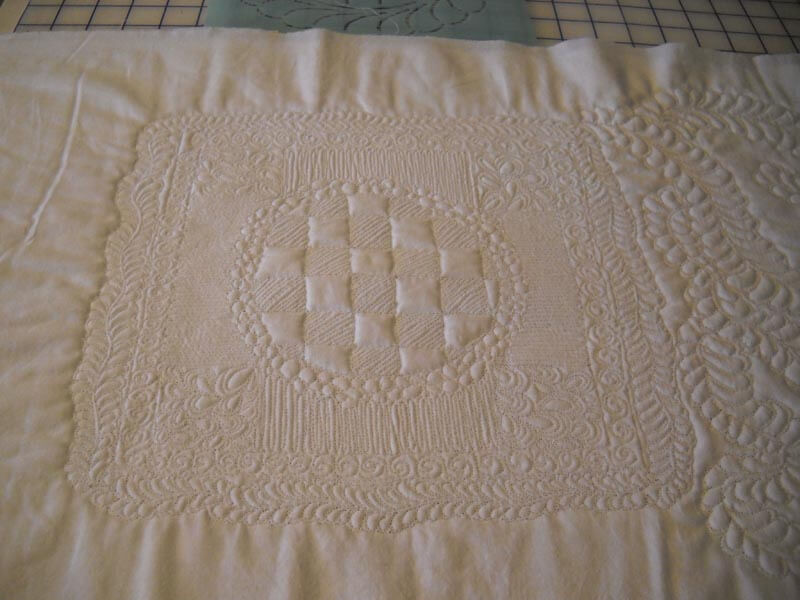
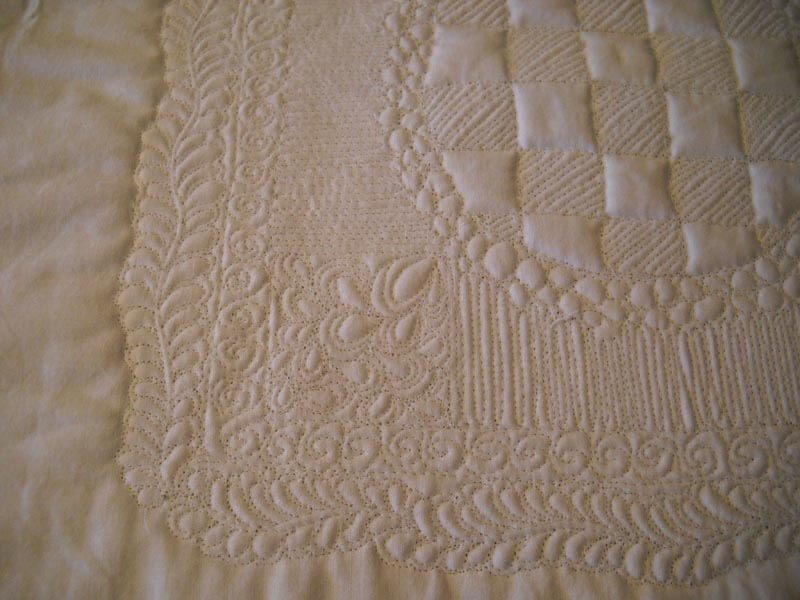
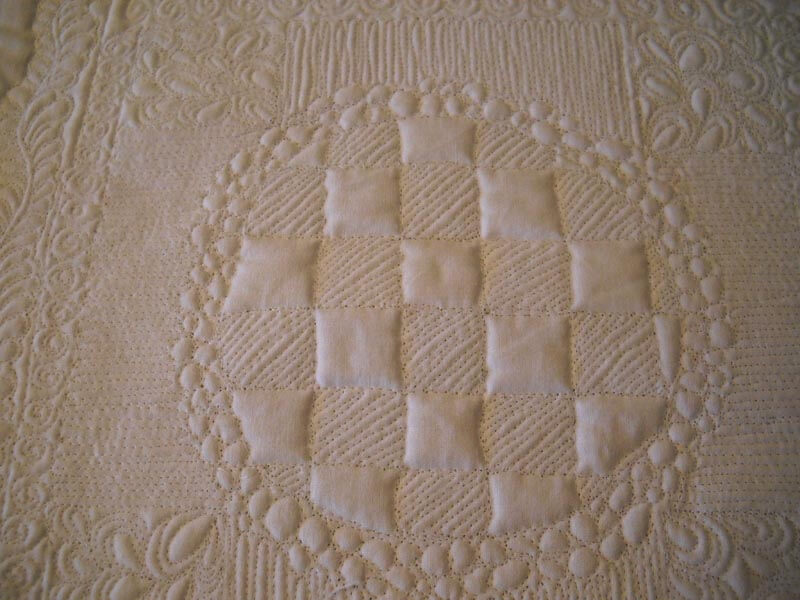
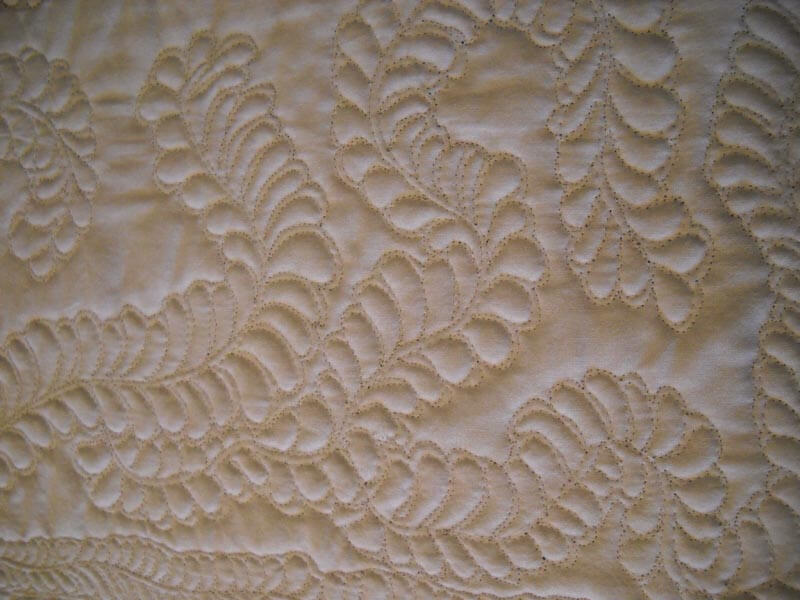
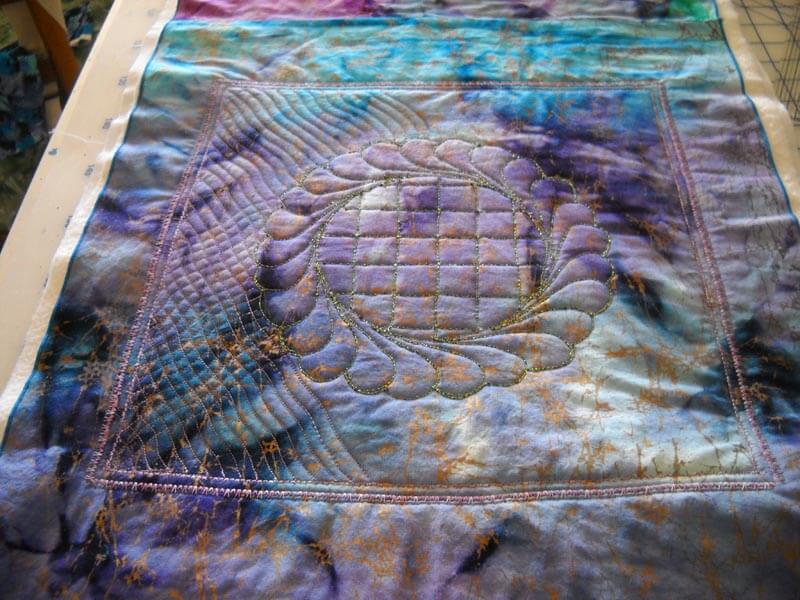
I am maintaining the circle stencil motif in the center of each third of the piece. Then I started with some of Cindy’s “sunshine and shadows” in the center, and then a round border of some pebbles. Then I took some ideas for borders from Patsy Thompson’s tutorial. Even added a paisley corner from Leah Day. LOVE the back – I actually managed to get the tension to work. I used Bottom Line in both top and bobbin, as I was trying Cindy’s suggestion to use that to add texture. I used the freeform feathers from Leah Day that Cindy talked about to unite the two sections. Liking the freeform there! This center part is about four hours of quilting – incredibly therapeutic. There is definitely a whole cloth quilt in my future!
Here are the free motion feathers…could have done more in the blank spaces, but I was running out of steam……….
A look at the center, with the edge of the circle, first, second, and third borders.
More of the center section.
Some pics of the back – LOVE it!!
Work in Progress – More FMQ
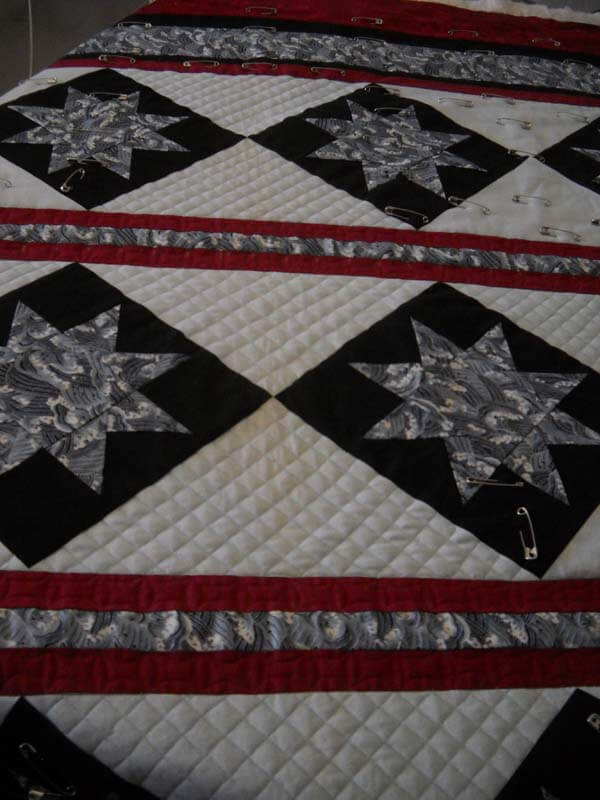
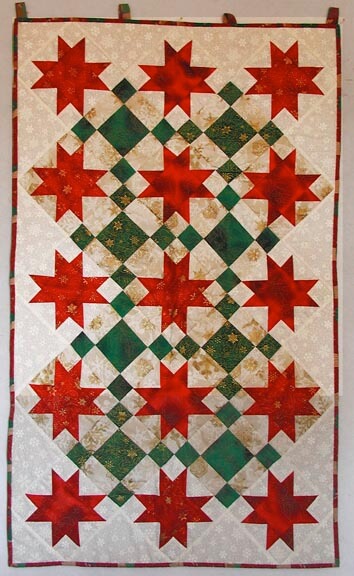
Sewing sewing sewing…lots of thinking and planning and actual sewing. Loose ends galore, but I am slowly working through them. I don’t have enough projects, so I took apart a second Christmas quilt I made when I was practicing rotary cutting and piecing from either Better Homes and Gardens or American Quilting. I pulled it how for the decorations, but the quilting is appalling, given what I know now, so I took it all apart one night. This time I was smart enough to take a “before” picture. The lighting is off, as the top portion is as white as the bottom part.
One of the things I learned in doing this quilt is that we have borders for a reason. When I did the layout, I was surprised to see that I had unwittingly planned the stars on a white and a beige, and everything went together perfectly. It looked fine to me, I didn’t think I needed a border. Once I got the binding on, the quilt just looked so unfinished. Since all the Christmas fabrics are out again, I know I can get some more of the red and green that will be the same tones. I also don’t like the backing – too “dull” in color, and doesn’t really work with the reds and greens. So this goes on the list.
I took advantage of the sales on classes at Craftsy, and I bought two of them: Cindy Needham and Jane Dunnewold. I am five lessons through Cindy’s already, and it has been more than worth the money – learned loads so farm, and as I progress, I will have several quilts that I can practice on.
Including the two dresser scarves to complete the set in our bedroom. I started the long one on one end, planning to do a lot of experimentation. So I used some Razzle Dazzle thread in the bobbin and did a complete stencil in the middle of that fat quarter. Not bad. Then I was thinking about how to finish off this one-third. I squared off the stencil motif and did a small decorative stitch around the stencil. Wasn’t happy with it, so I made the decorative stitch larger and went around again. It certainly stabilized the quilt. The I decided to do a variation of a tangle, with curved criss-crosses. Biggest lesson? Space the lines further apart…..this is going to take a while to finish….Here’s progress so far.
It will be good to use these scarves to practice all the FMQ patterns that Cindy will be showing. And then I have this “portrait” project to work on….and the pattern….and the list goes on…..
