Archive for the ‘free motion quilting’ Category
Top Ten Tuesday
Here’s a list from Bill Moyers of Ten Documentaries of Champions of Social Justice. I can see the next couple of weeks taken up with watching these. Also read the comments, because there are additional great films mentioned there.
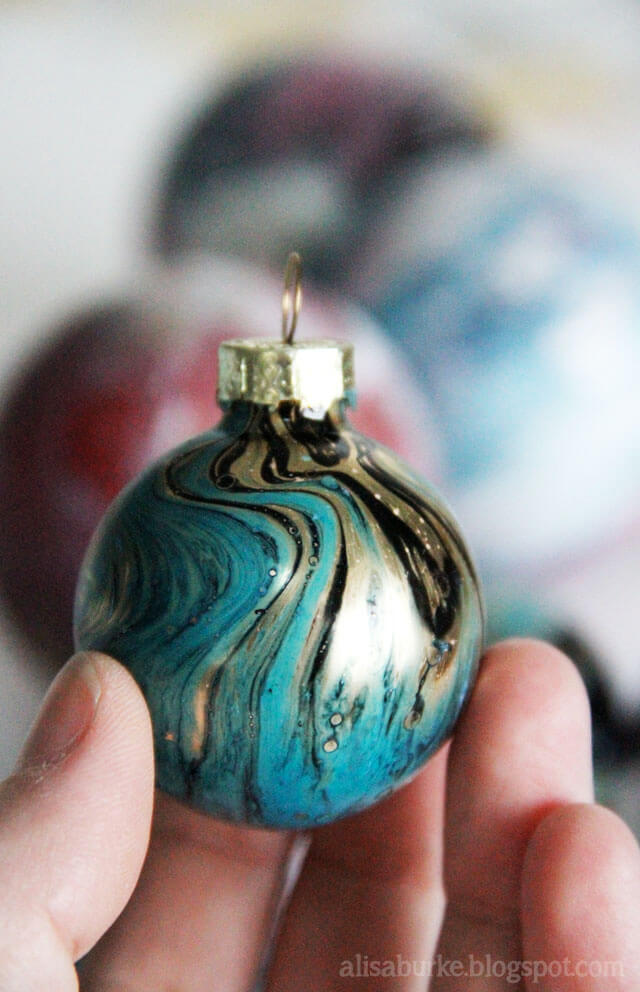
Some cool examples of marbling for decorations from Alisa Burke, quite the talented lady.
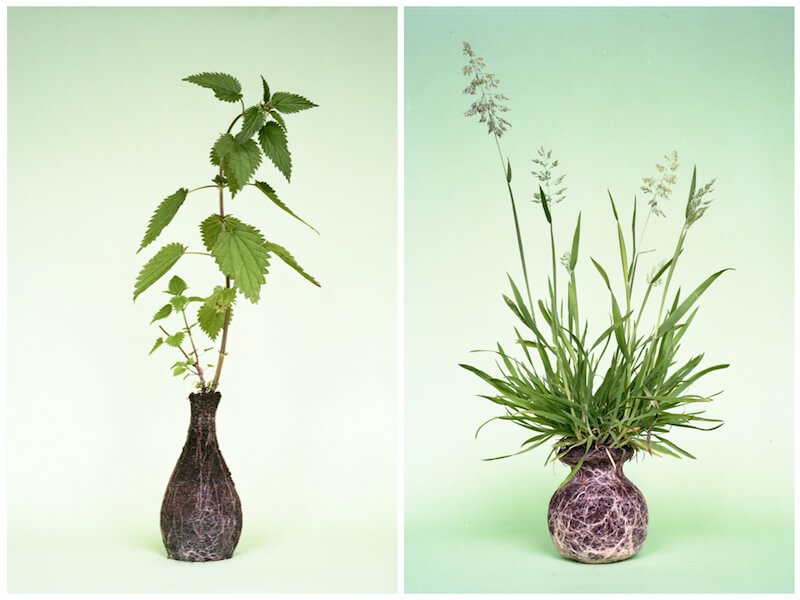
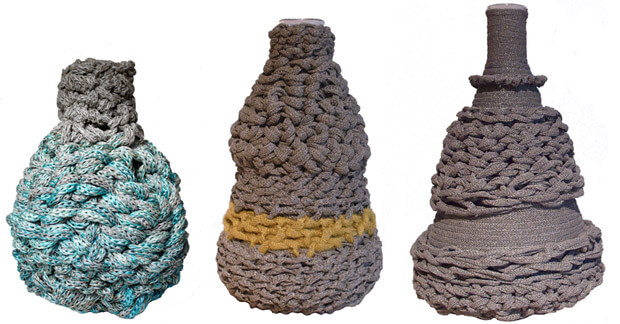
Here’s a really interesting idea – while the plants wouldn’t survive on their own, a vase like this would be so cool! From More Design Please:
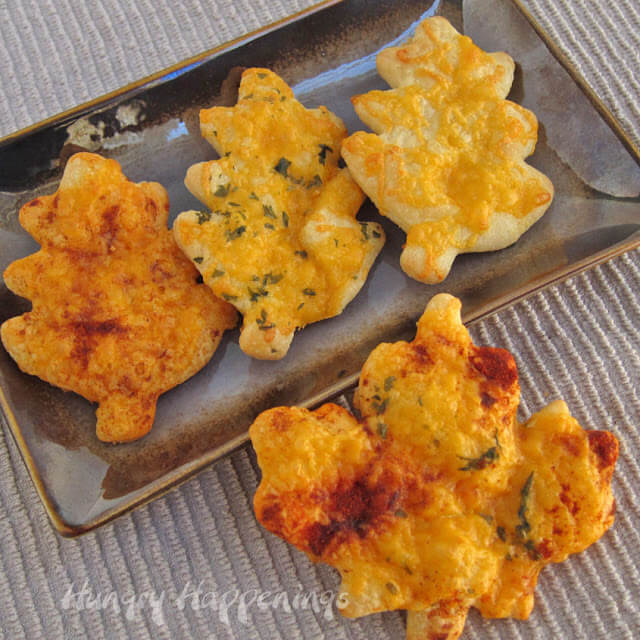
If you’re not checking out Craft Gossip, you are missing some really cute ideas! Here’s a food one –
Wise words about our planet from a 12-year-old, who is still active at age 32.
There is a wealth of tutorials on free motion quilting on line, and some of the best are by Sharon Schambler, winner of best of show at Houston International Quilt Festival. Her videos are easy to follow. In fact, one of the patterns she shows got me finally breaking away from stippling and consequently ready for the Free Motion Quilting challenge this year. Enjoy this one on trapunto.
Become part of the new survey at Generation Q magazine:
Free seminar coming from Open Kimono on The Open Kimono Webinar and Everything You Always Wanted to Know About Profit videos. Looks interesting.
From Mamacita comes perfect quotes for Thanksgiving. These are great – there’s something for everyone!
As we express our gratitude, we must never forget that the highest appreciation is not to utter words, but to live by them. –John Fitzgerald Kennedy
And finally, from Cool Hunting comes a look at the Aston Martin used in the latest James Bond movie – 3-D modeling (thankfully…).
Have a great week!
Some Finished Projects
A busy week, no question about it! Since we are leaving for a few days away and up in Sedona, I had a long list of things that needed to be finished before we left. I’m happy to say I got it ALL done….as well as start the list for next weekend! Cannot stay idle – too many projects to do!
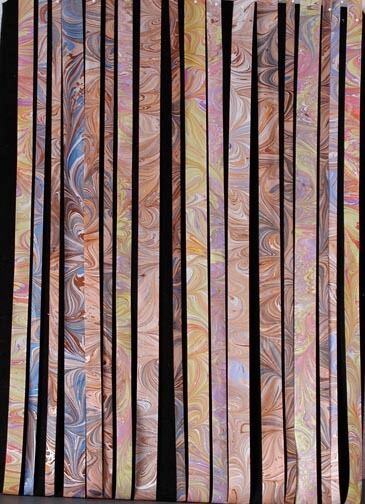
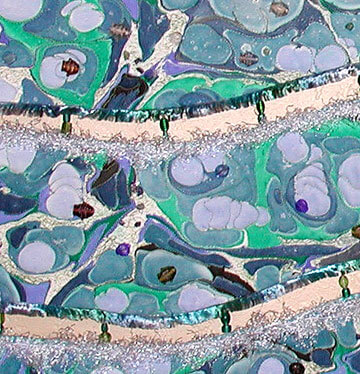
First up is part of an order we really can’t say too much about, but we sent off a load of marbled ribbons to Manhattan for a magazine shoot coming up. When we can say more, we will….it’s pretty cool…..
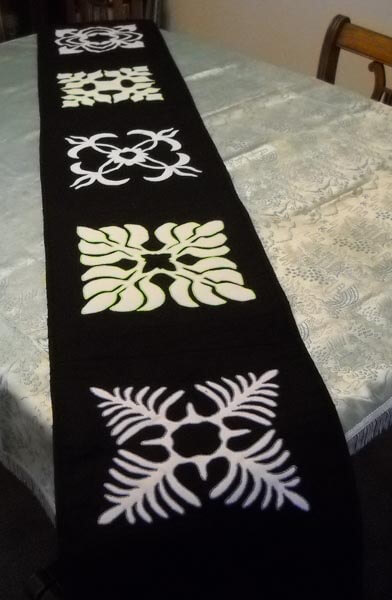
And…as part of the ongoing table runner project for my second mom, I finished the last of the 5 table runners and delivered it in time for set-up for Thanksgiving. I am finished with old white polyester, but the runners did work out beautifully. This last one was really hard on the eyes, so I only did three motifs, rather than the five. I extended the size by making the connecting pieces wider, and then I went to town on feathers. Love doing feathers, especially since I never figured I’d ever be able to do them. This was the one delivered in June.
This is the last of the five.
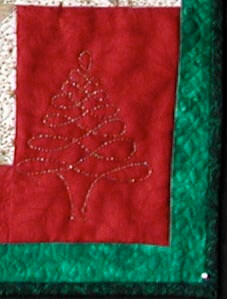
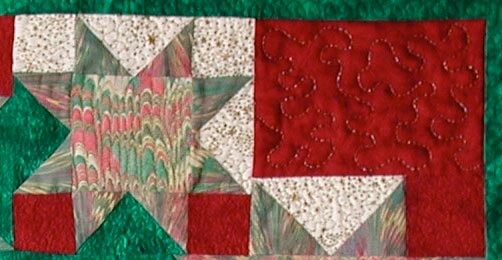
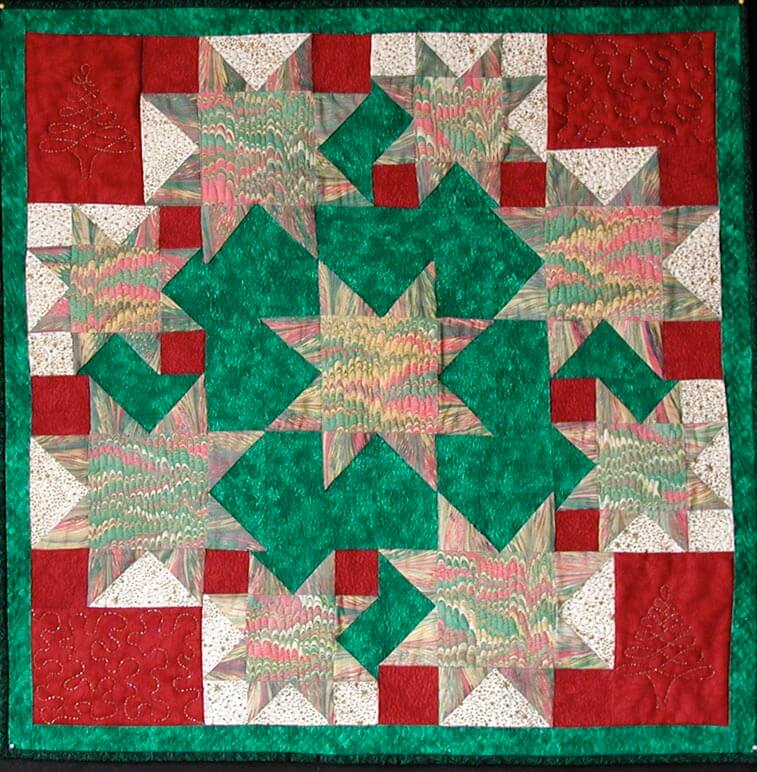
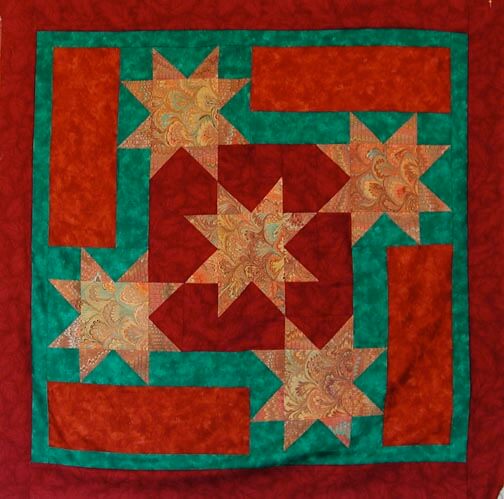
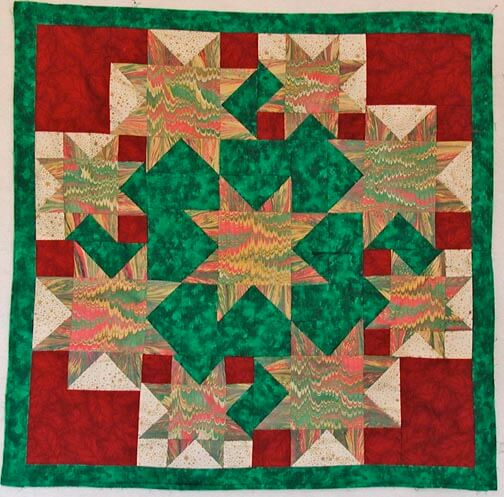
And…I finished the makeover of my Christmas quilt. I learned a great deal. I still have to work at the trapunto, but my goal with this makeover was to get the star blocks to be the prominent feature of the quilt. I did three kinds of stippling, from micro to very large. And I did bobbin work for the first time, using the Razzle Dazzle thread from Superior. I picked up a small Christmas tree stencil, traced it on the back (and learned I need some new markers), and then quilted with the front facing down on the machine. It worked really well and I love the effect. I am planning to add a few beads as tree ornaments when I get a chance. I did a lot of machine quilting on the marbled centers of the stars, on the nonpareil pattern. I can tell I have definitely done a lot of machine quilting this year, because it was far easier to follow the pattern than it has been in the past. I now understand what quilters mean when they say “pedal to the metal,” as I was very speedy with the tiny and medium stippling. I also tried a new pattern in the border and it was moderately successful. Again, fast speed, and from a distance you really can’t tell that a lot of it is uneven. I liked the pattern. Here she be:
Using Marbled Fabrics in Quilts
When we started marbling, we were hooked from the very first piece. The problem was…what do we do with the fabric? Each piece was so gorgeous it was hard to cut into it. We knew we had to get over that mindset. Folks consistently asked, “What do you do with the fabric? I don’t know how to use it.” Confession time – I wasn’t quite sure either. I saw a book and thought marbled fabric would look cool. Now it was “put up or shut up.”
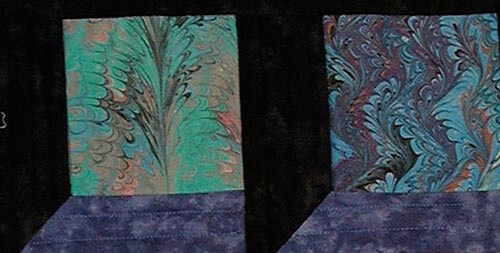
I was a beginning quilter with virtually no good color sense…that was hubby’s field. I figured black goes with everything, so my first quilt was an attic window pattern.
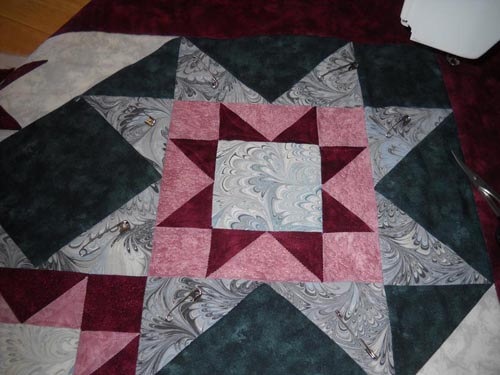
This was a nice way to show off smaller pieces of marbling, but I had to stretch further. It took a number of years before I stopped being afraid of any color except black. I started a Block of the Month, using blocks from Judy Martin. I became more daring…this time it was not black…..but other solids. I built the designs on the colors in the marbling. My January block had a definite “coolness,” so I looked for solids with some texture that would work. I started to expand design ideas and felt that traditional blocks could be the key to using these fabrics.
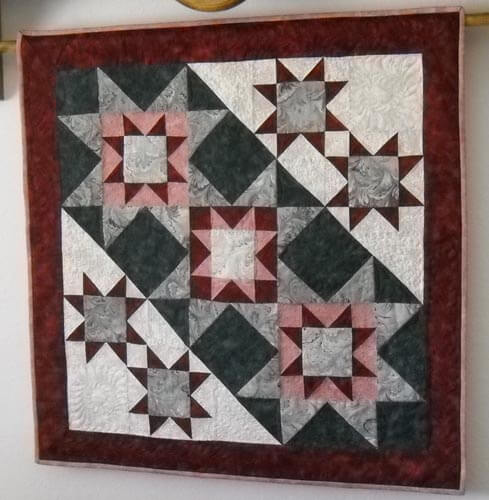
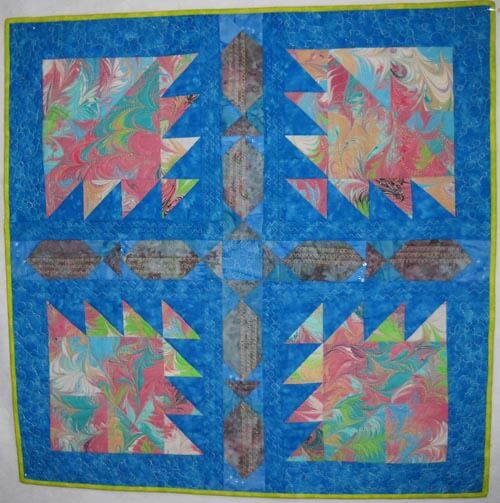
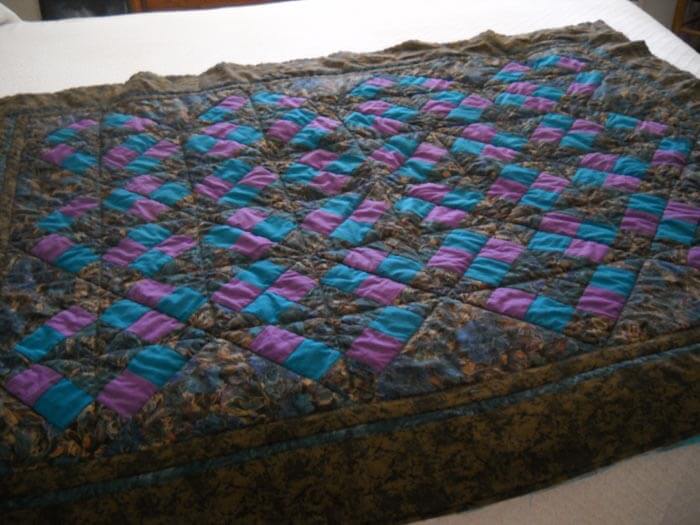
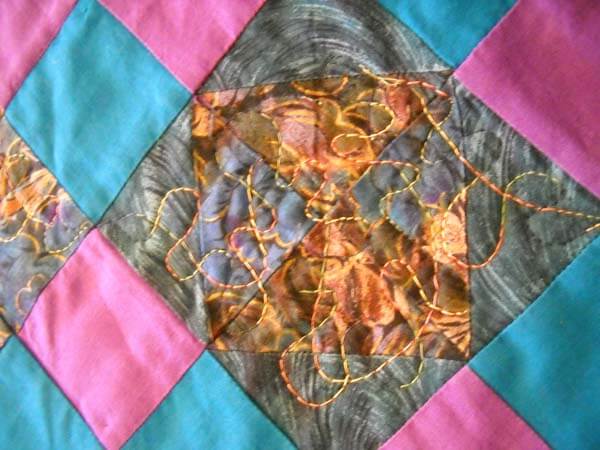
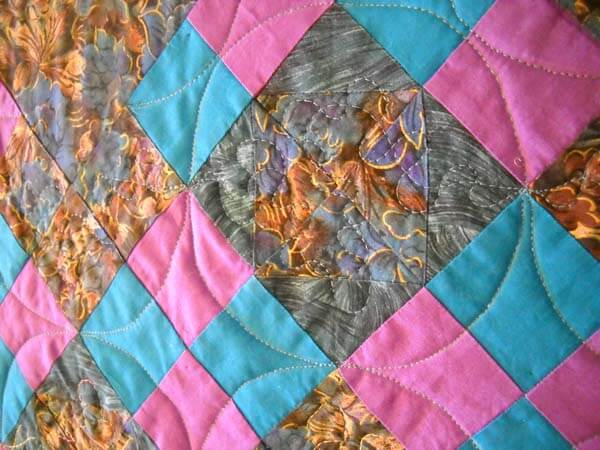
Now another confession…..when I first started doing quilting, I was pretty much “stitch in the ditch”….with metallic threads, no less. The quilt above is 12 years old, and I took it apart (oy) and used my newly acquired FMQ skills. I didn’t stitch the marbled blocks, as I wanted them to stand out.
The completed quilt – marbled fabrics within traditional blocks. You can read more about the actual quilting here.
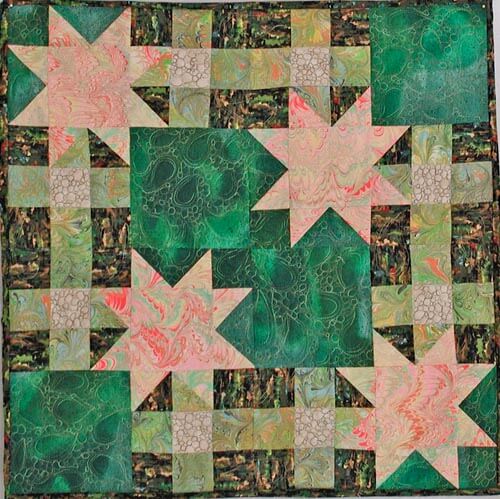
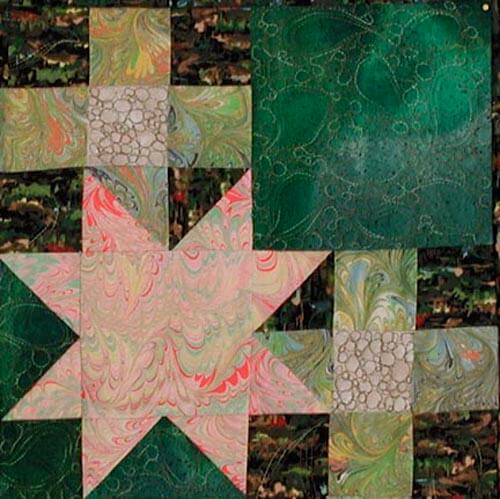
I was hooked on finding some great traditional blocks that could spotlight marbling and go together harmoniousl. Summer……..I had some great neon orange cotton, a nice piece of Moda Marbles, but I needed additional fabrics so the quilt wasn’t overloaded with green. I stretched with the print fabrics I added to complement the marbled fabrics.
There’s lots of machine quilting throughout, but the marbling has been left on its own. (I also took this quilt apart…. kind of obsessive. But as quilters, we KNOW what we want. More about the quilting here).
At this point, I had a great piece of marbled fabric that said “I want to be fish.” I found a traditional block that could be used as fish. Thus the “fish quilt” was born (you can read about that quilting here). This time I quilted the marbled fabric by following the lines of the pattern and used stitches from my workhorse Bernina.
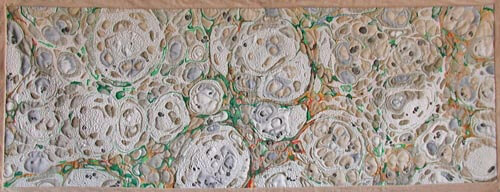
I started getting very bold – it never occurred to me to just quilt the marbled fabric itself. This was a major breakthrough. Traditional is fine, and I still work with traditional patterns, but quilting the marbled pattern gives a completely different look to a quilt. This quilt, “Nature 1: Rock Garden,” became my first quilt accepted into a juried show, “Expressions in Textiles.” It is very zen-like, and the quilting emphasizes the rock garden and sand.
Go traditional or go contemporary. Don’t be afraid of the marbled fabrics. They can be the spark that makes your quilt.
Work in Progress Wednesday….The UFO’s
I have been working on a guest blog post on using marbled fabrics in quilts, and it occurred to me to look at some of the more traditional quilts I have done to inspire people. Well, turns out most of them are UFOs…….so here’s a look at what I still need to quilt – now that I have some really good free motion skills. I’m really inspired to start working on these….after the patterns are finished…..
Needs to be taken apart so I can determine why there is the fold there…..The fabrics worked so well!
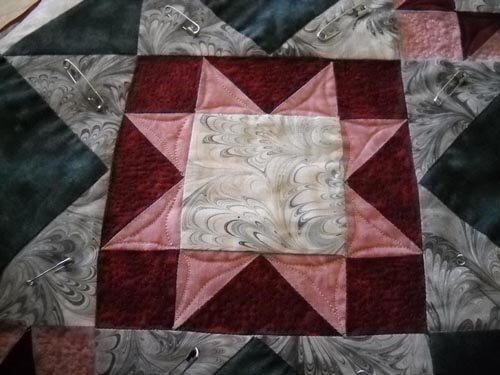
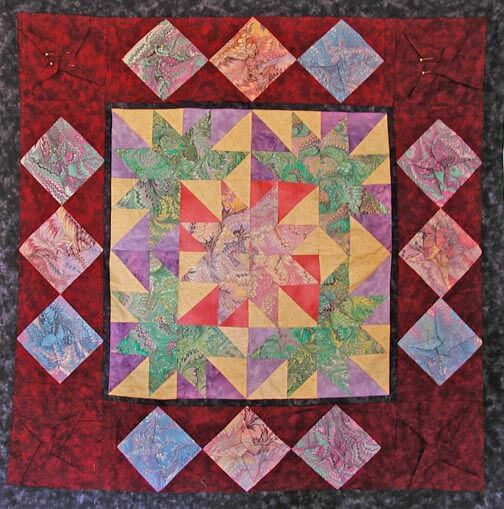
Known as my origami quilt…..complete with pins…..
One of the first quilts I really started to expand my thinking….(forgive the thumb…).
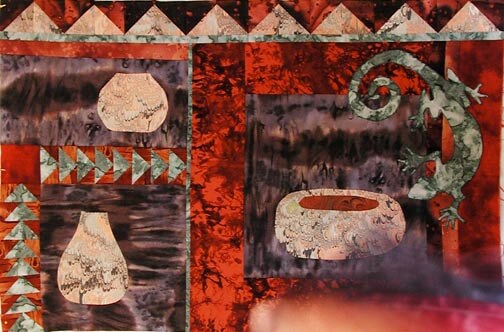
Gotta think about how to quilt this one……going to definitely quilt the marbled blocks.
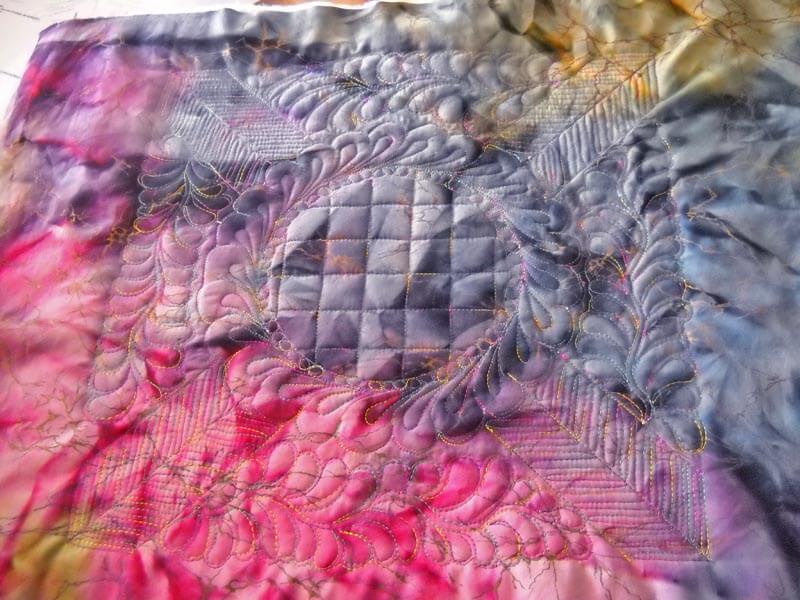
And…..here’s part of my October FMQ challenge – LOVE LOVE LOVE how this is turning out! I have a few more things I would like to do to this piece, so maybe it will be finished by next week Wednesday. It’s a combination of a lot of ideas.
I have some really cool ideas for using the trapunto technique on marbled fabric…going to be the next piece.
Top Ten Tuesday
I keep getting behind in my surfing!
The 365 Project always has great photography, and here’s another great set of examples.
And some more photography – this time taking pictures with smoke. The Art of Smoke Photography. Kinda cool – would like to try this.
Here’s a cool app for photography called DScan from Cool Hunting – let’s you shift reality – methinks I need to get this for my iPad…….
From The Best Article Every Day comes this wonderful graphic that puts another slant on a recent political controversy:
Here are some really cool ideas for around the house, again from The Best Article Every Day.
This next is just a feel-good video….
And…for those of you wishing we were still following Neil Armstrong to the moon, here’s a great look at what it takes to get to Mars….amazing what we can do……
I very much admire Leah Day and everything she has done for the quilting community when it comes to free motion quilting. Her Sunday posts are un finishing UFOs – unfinished quilts and the like, and her photos of two pieces she completed are just spectacular, and they are motivating! Every time I look at something she has quilted, I am inspired. I too am finishing up projects – three in fact that just haven’t made it on line, and it is certainly freeing. Take a look at her amazing work. You need to go to the link and see this stitching up close and personal.
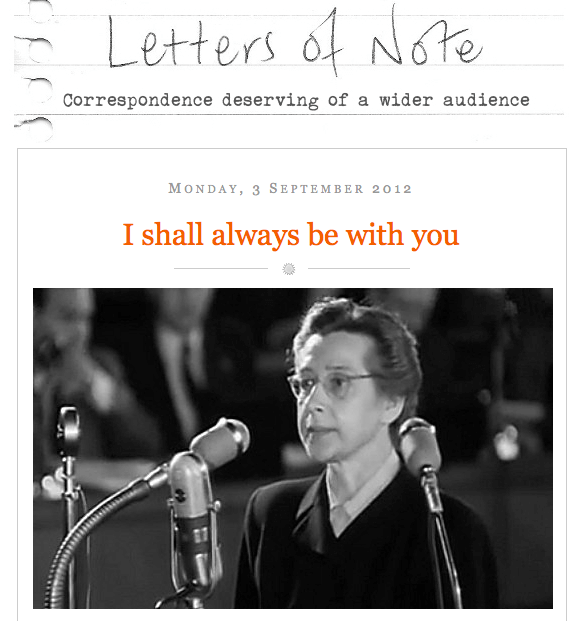
This next is a letter from a mother to her 16-year-old daughter on the day before her execution in Prague in 1950. It is incredibly moving, especially given the political circumstances. Letters of Note always has something of interest, and this is heart-wrenching.
And finally, are you stuck creatively and can’t seem to get moving? Lyric Kinard has a great series on her blog called Baby Steps, little things to do that can just get you started moving ahead. Try one or two and see what it does for you.
 Have a great week – let me know what you find online that’s cool, unique, weird, different……….
A UFO Finally Finished!
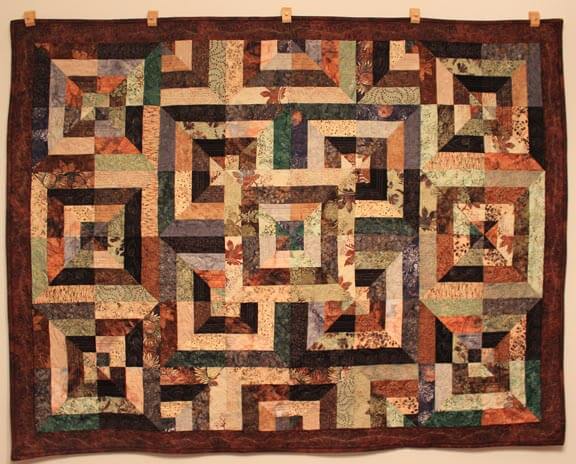
![]() About three years ago (I date time from where I remember living while making this piece) I started what I called my “forest quilt,” as a result of Stripper’s Club, at my local quilt shop. The quilt looked masculine, so I figured it would be good for hubby. I got the top done in about a month of working on it school nights…and then it sat, because I just didn’t know how to quilt it. Didn’t want to do stitch-in-the-ditch,” and I just couldn’t imagine stippling the whole thing.
About three years ago (I date time from where I remember living while making this piece) I started what I called my “forest quilt,” as a result of Stripper’s Club, at my local quilt shop. The quilt looked masculine, so I figured it would be good for hubby. I got the top done in about a month of working on it school nights…and then it sat, because I just didn’t know how to quilt it. Didn’t want to do stitch-in-the-ditch,” and I just couldn’t imagine stippling the whole thing.
This past January I started the Free Motion Quilting Challenge with SewCalGal. I have learned SO much! From the very first pattern of leaves, my skills have grown by leaps and bounds. When I made my list of unfinished projects, this was on it. When I finished the last table runner for my second mom, I decided to work on this, because now I had a bunch of ideas for what to do in a quilt with a lot of straight lines and ninety-degree angles.
Before I actually started the quilting, I read Karen McTavish’s book of McTavishing, which I got for my birthday. I really liked what she said about adding texture to the quilt by using threads that are thin and blend in with the background. So….Bottom Line by Superior Thread in the bottom, and a light and dark Bottom Line for the top. I decided on a rosette (a variation of a feather) for each of the centers, and partial rosettes for the partial blocks. Along the way of quilting this large quilt, I got very used to moving it through and around the machine. One of the best lessons in free motion came early on, with the advice to learn how to do your pattern sideways and upside down. The only place I had to wrestle and turn the quilt was with the straight lines in each block.
Frances Moore leaves, Angela Waters swirls, Diane Gaudynski feathers/rosettes, and about 15 hours later the quilting was done.
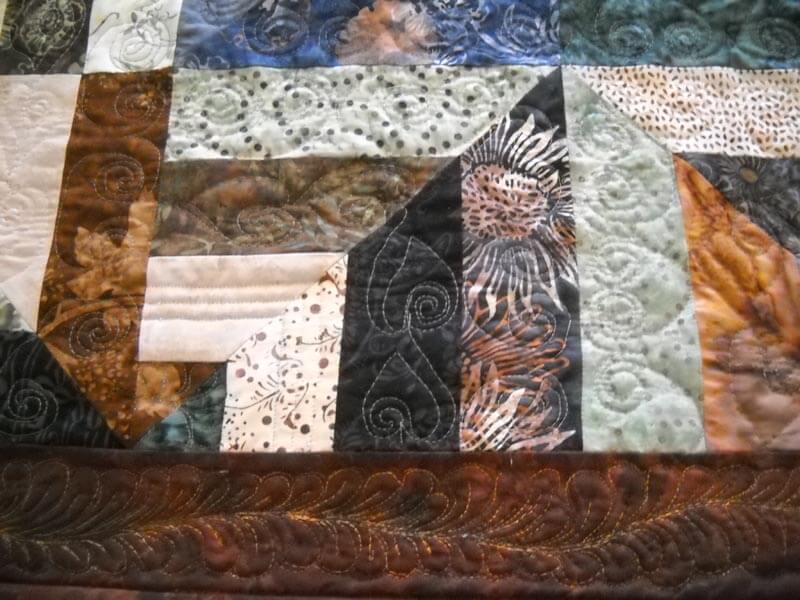
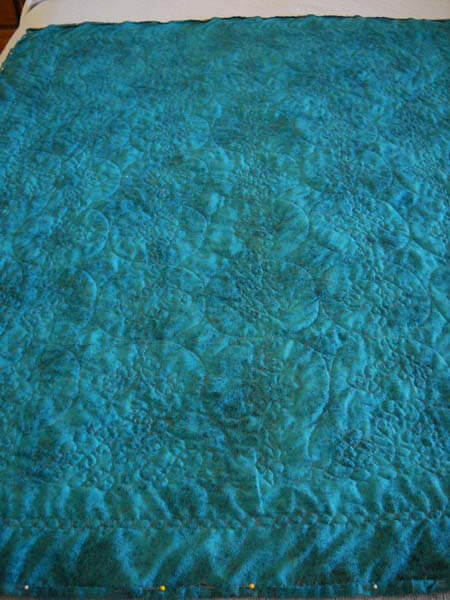
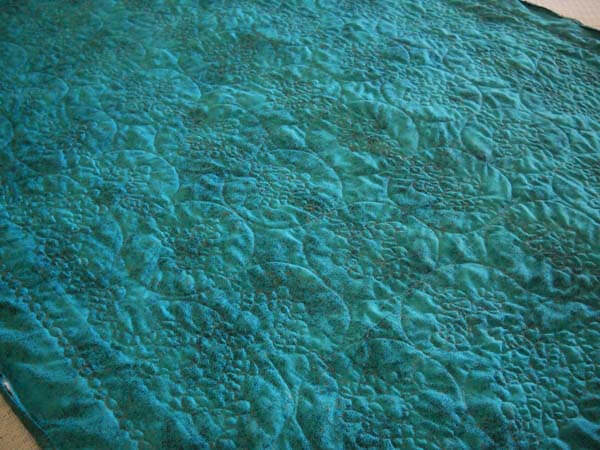
The back looks amazing, if I say so myself. And….my border is to die for! Love the feathers, done with a Rainbow thread also from Superior. The quilt overall was a lot of fun to do, as I had a lot of variety within the quilting designs. The safety pins worked for basting, and I think I only had two tucks in the whole backing. I used a thin batting, and I’m so glad, because the quilt is actually pretty heave. It’s hanging on the wall right now, because since it’s still 90-plus degrees, I’m still weeks away from needing it to stay warm.
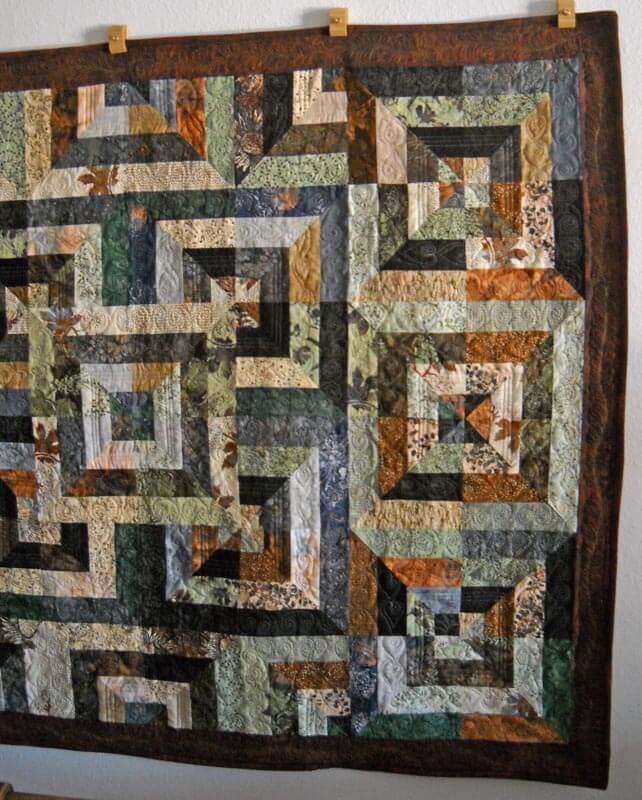
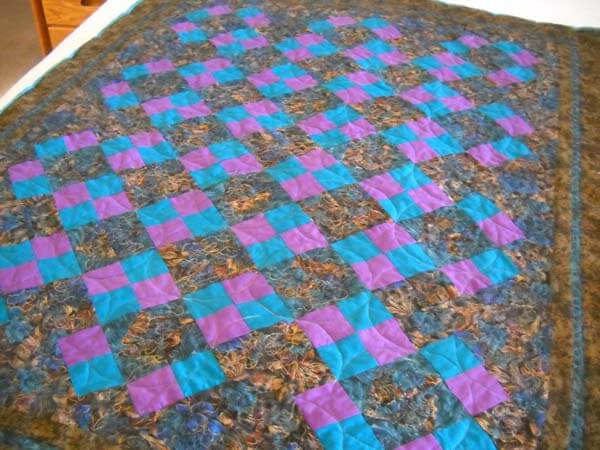
Here it is. For no blocking, it hangs pretty straight.
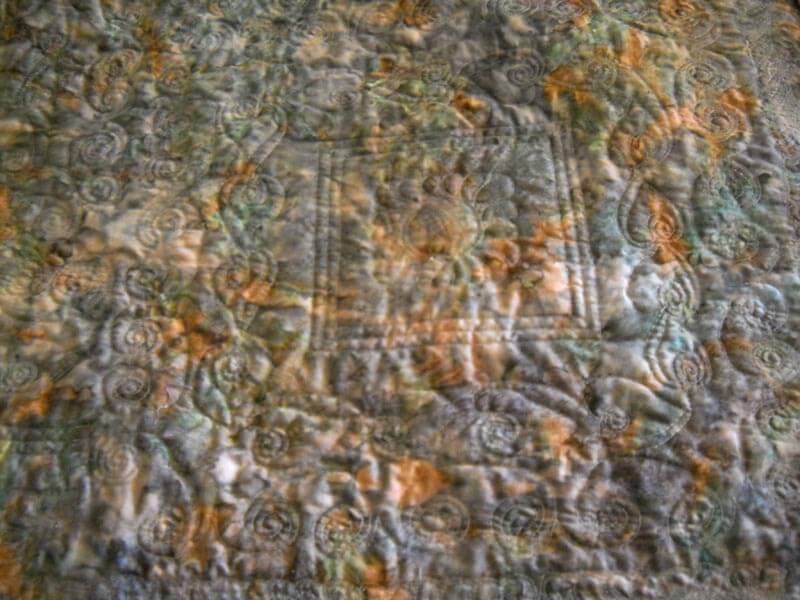
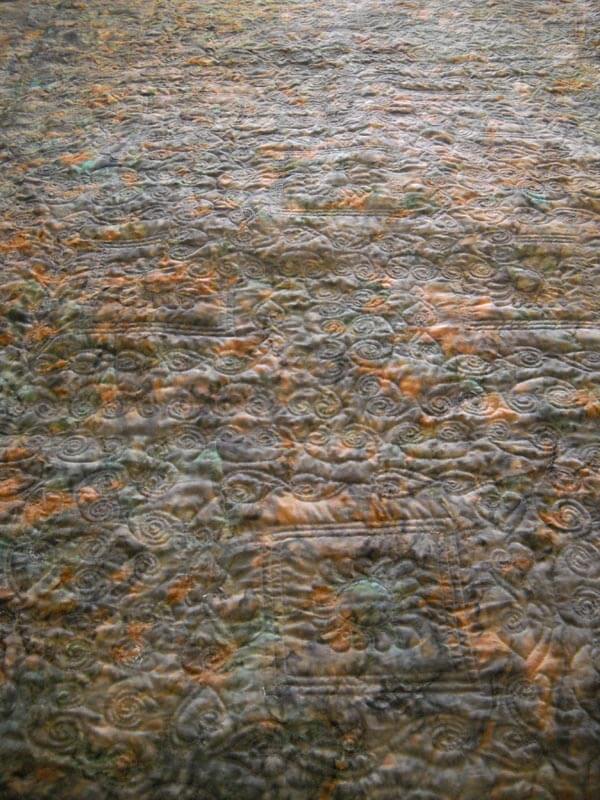
You can see the texture from this angle. I was looking at it the morning after we photographed it in the dining room, and with the natural light coming from the right, I could see the quilting. Lesson learned for the photography in the future.
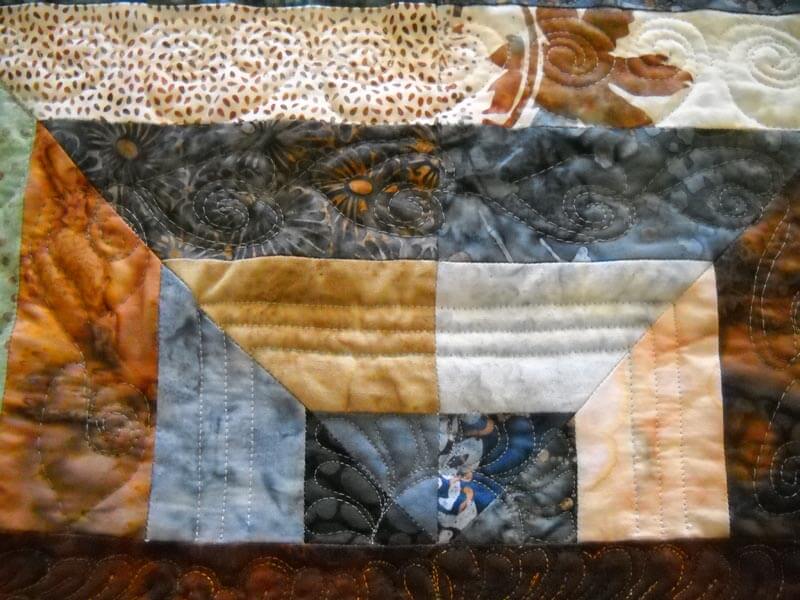
Close-up of one of the edges. You can see the partial rosette.
The border – all the way around – and it really didn’t take that long. I LOVE LOVE LOVE the border!! NEVER thought I would be able to do feathers!
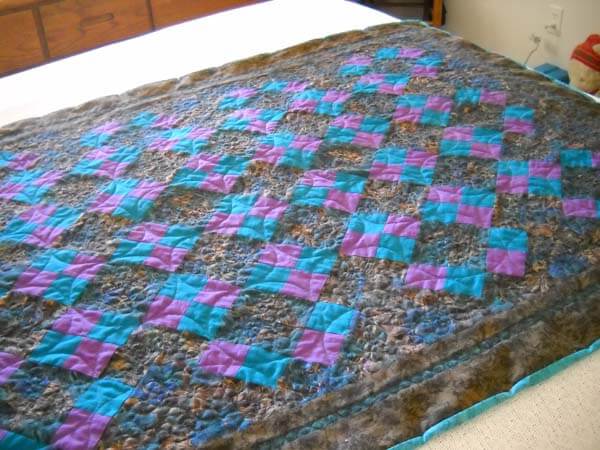
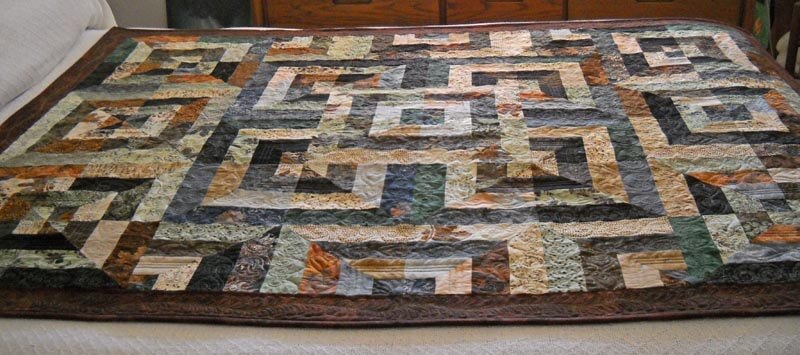 On the bed – another look at texture.
The back….
…and the back again…..
Learned so much! Thanks SewCalGal for this amazing year of challenges!
Free Motion Quilting – a New Design
 Oh my, have I learned some new stuff! The Free Motion Quilting challenge, hosted by SewCalGal, had a bonus tutorial by Susan Brubaker Knapp that piqued my interest. Basically you can create your own quilting design from your pictures. Well, I kinda figured you could, but once I read through this, I knew exactly how to do it. Bingo! I had loads of pictures that I would be able to use. I was having trouble with the drawing of the pattern for the August challenge; I planned to use that design on one of our bed stand runners. Now I had a new idea.
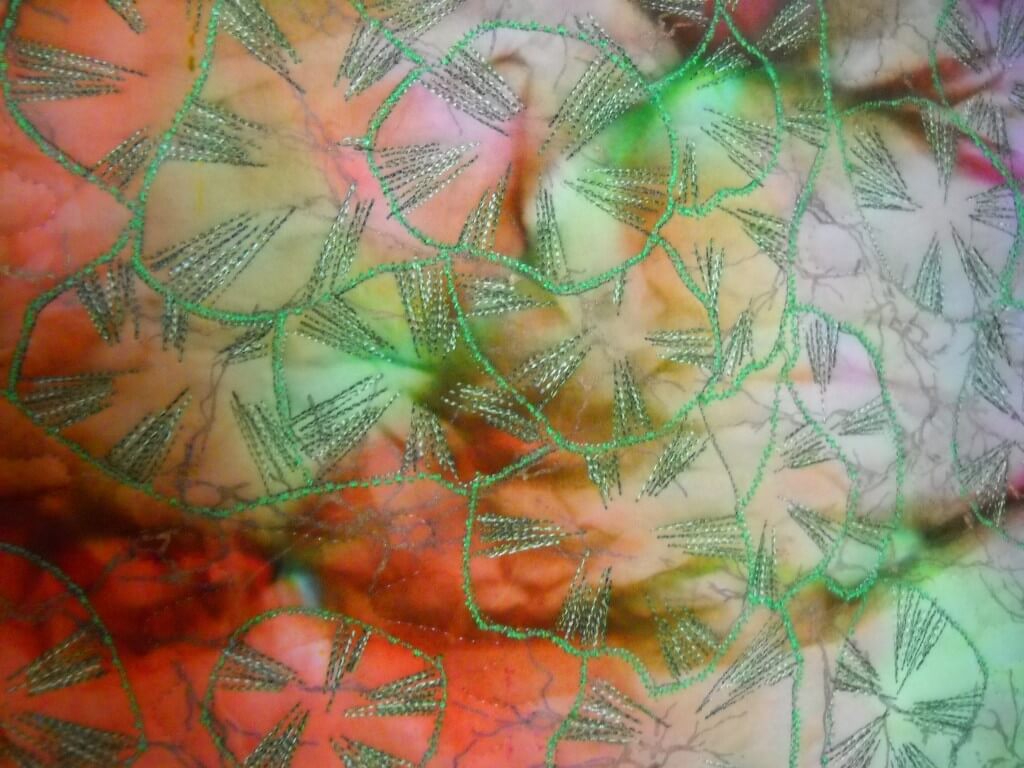
Concurrently, I am working on my Quilt University class, Inspired to Design, with Elizabeth Barton. I was looking at one of the photos I had morphed into a new design and suddenly realized I had a free motion quilting pattern right in front of me. Here’s the original picture:
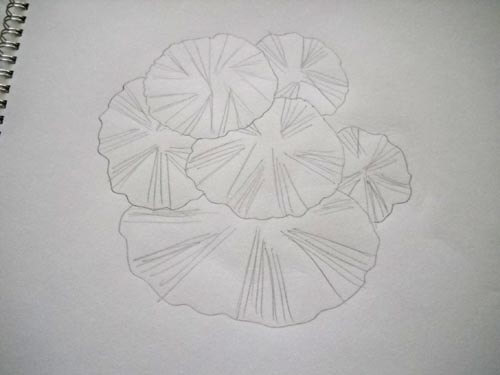
Here’s the design element I developed a little further:
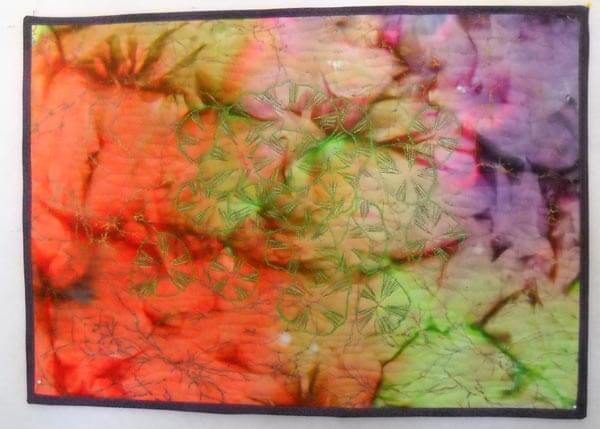
I added more pads to the design, made my pattern, and traced parts of it to the cotton. I realized, after my arms started to ache from tracing, that this was very free-flowing, so I really didn’t need to trace any more. I went with a brighter green for the outlines of the pads. Sometime in July I watched The Quilt Show episode on Stupendous Stitches, and after that I took a serious look at the other stitches on my Bernina workhorse 1008. Not many to work with, but I had one that I thought would work to give the idea of a ragged edge to the lily pad. Then I used a variegated green to do the stitching in each pad. I used a monofilament to create water waves on the rest of the background. Here it is:
Lessons Learned:
The background fabric actually worked pretty well, as did the thread colors. I wouldn’t stack the lily pads as much the next time. The most important lesson for me was going back and studying the original photo and realizing I could do much more with the interior lines. I became much more aware of that element in the original picture. I also did my binding a little differently, since I managed to cut it a half inch too thin. I used one of the stitches of a wave on the machine and made it very small. I tacked the binding down by maching, and you can’t really tell unless you’re looking at it close up.
And speaking of close-ups, here is one of the pads:
For the purposes of the table runner and the learning, I’m done. Next time I would use more color within the pads, spread the pads out more, and probably add stems. Overall, I love it! Thank you, Susan and SewCalGal!!
Free Motion Quilting for July
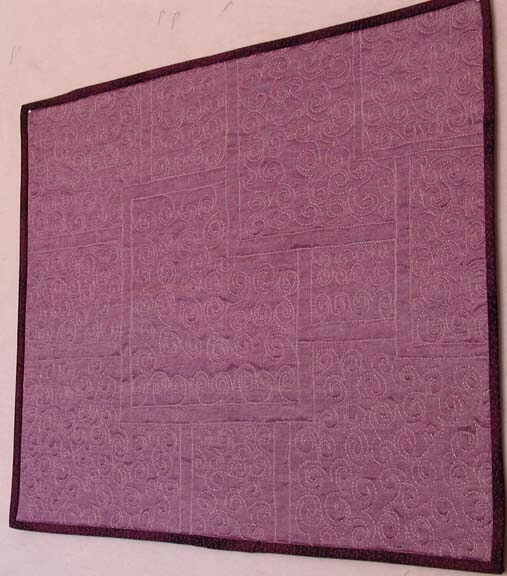
So I told myself I had to complete a couple of table runners for a pattern I am working on before I let myself get involved in the July Free Motion challenge. In one respect that was a good decision, because I got to see what other folks were doing, and it gave me some ideas. I really studied the swirl pattern from Angela Waters, and I think I started to get it, but as I think about it after the fact, there are a few things I would do differently. I noticed a couple of things: my stitch length is way more consistent, and I am getting better at moving back and forth across the quilt sandwich by doing the patterns upside down.
This is progress for me, because normally I read about something, try it out, and then feel satisfied. That’s how I’ve always been, even though I know about muscle memory. This time I made myself stay with the one pattern, and it truly made a difference in completing the piece. Much more comfortable with the pattern, with the hum-purr (thanks, Cindy!) of the machine, and my stitch length.
That said, I used a cotton lame on the top, a cotton on the back, Bottom Line in the bobbin, and an Art Studio light purple from Superior Threads for the top. My batting was some left-over Quilter’s Dream, low loft. I found the absolutely perfect binding in my stash. This will be a great table topper for some of my plants.
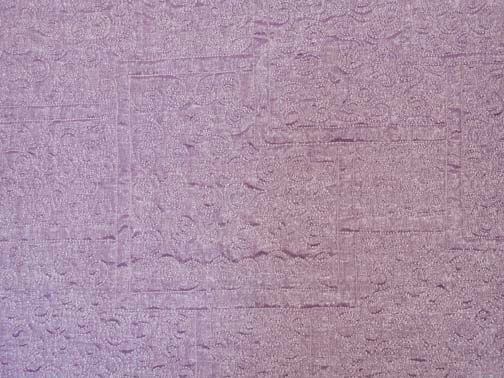
It looks so much better in person! The colors are truer – and it’s really shiny!
Top Ten Tuesday – 700!
 I think I’m really glad that blog posts slow down over the weekend, because it gives me a chance to get caught up on my reading! I go through the list about once a month to delete those I don’t find as fascinating any more, but the problem is I keep adding at a rate faster than I can keep up with! Reminds me about all those lessons on exponential growth……
And….this is post 700! Who knew?
From the Best Article Every Day comes this little gem, and please click on it, because to show you a preview would ruin its sweetness.
This next is part of a TED talk, and the video is superb. Subtitled what goes on in your garden when you aren’t looking……
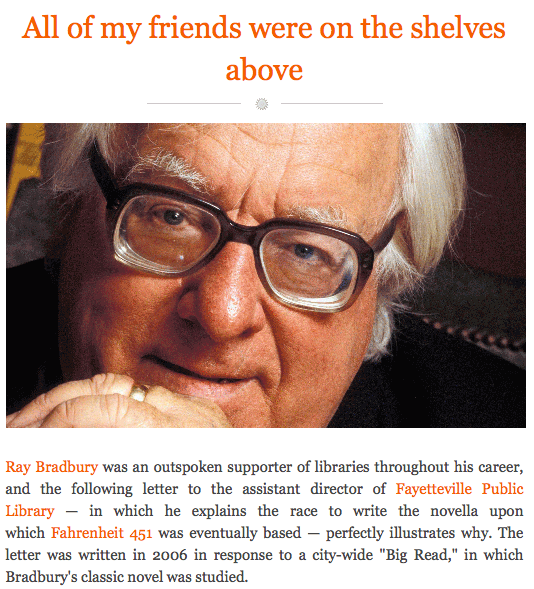
From Letters of Note comes a wonderful letter by ray Bradbury (who will be sorely missed) about the initial writing of Fahrenheit 451. What a great example of creativity!
From 365 Project comes more fabulous photos. Love the colors and reflections in this one!
From Cool Hunting comes a really great idea for a family getaway!
I discovered Ranae Merrill in one of the episodes of The Quilt Show, and oh my, is her work wonderful! She makes doing a spiral quilt absolutely simple. Who knew?
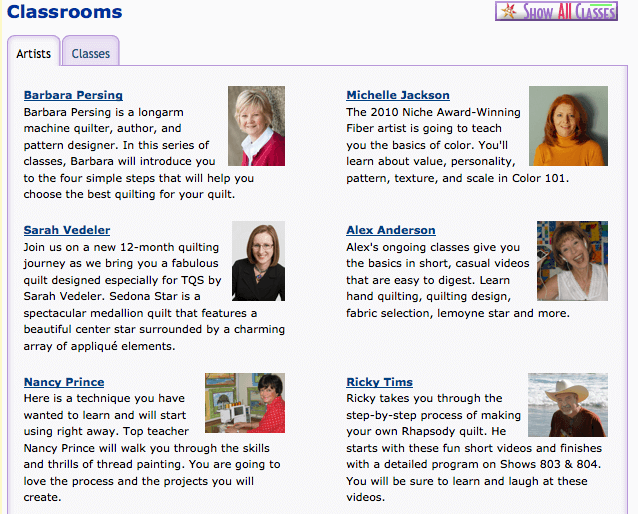
 Speaking of The Quilt Show with Alex Anderson and Ricky Tims, I have been enjoying the currect episodes, on all kinds of new techniques, plus a class on color. Really outstanding material. Here’s just a selection of classes:
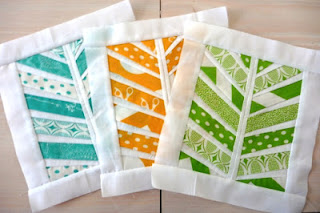
A great tutorial from Quilt Play on making some cool-looking “tree” blocks with paper piecing – called red herring blocks. I need to try this, as I can really see them fitting into a project I’m doing.
From the Bill Moyers blog comes the Peace Map, a way of looking at how peaceful countries are around the globe. Very interesting graphic, with some surprises – and some not-so surprises.
More eye candy, especially if you are in to hand dyes. Vicki Welsh does some amazing work, and she has a new gradient – rolling fog. I want me some of these!
 Have a great week – let me know what you find on line! Newsletter is coming in a week, so sign up in the block on the upper left if you want to receive “Out of the Marbling Tray.”
Work in Progress Wednesday – FMQ!!
So for this month’s Free Motion Quilting Challenge, I set myself the task of remaking hubby’s lap quilt. I made this quilt about 16 years ago, when I was just getting into some serious learning to quilt. Oh my, have I learned a lot since then! Three hours of taking out all the stitches…think back to just how old that invisible thread was…..and how bad really cheap batting was (which was all I could afford at the time….). Yup, I was pretty appalled at what I had. Here’s the original – very square, emphasis on the squares. All stitch-in-the-ditch.
I used the pattern from this month – Leah Day’s wavy stipple, which I really liked. I was using a variegated thread, but then I decided it was too obvious, so I changed to a blue that blended in with the fabric. Much happier.
I’m really partial to what is happening with the backs with free motion. Here’s a couple of shots of the back.
What’s becoming obvious is how 16 years ago I used to “iron” as opposed to “press.” had a lot of squaring off to do…..
I really like what’s happening on the back.
And now for the front…..for the first time I actually marked some of the quilt top. I wanted something in the purple/blue blocks to offset the square-ness, so I marked all the curves.
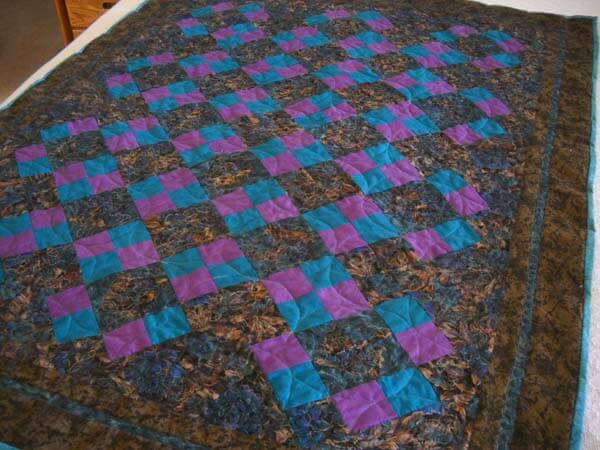 I am very pleased with more curves showing in this quilt.
I did some pebbles in the first small blue border, which I like. I was going to quilt the leaves from January in the outside border, but I didn’t like it. One of the things I found at Road 2 California was that it seemed like a lot of quilting was done just because the quilter could do it. I opted to leave the border as it was.
I ended up cutting off about 1.5 inches all around to square up the quilt, so I had extra binding, which was good…..but oh my, how I had bulky binding…..Now I just have hand stitching for S&B tonight with friends. And then it gets put away till next winter, when it’s finally cool enough for lap quilts. I have enjoyed taking apart old quilts so that I can practice on them. Let’s see what Cindy Needham brings us in June!
All Kinds of Good Stuff
 A great big welcome to all the folks coming here from SewCalGal’s tutorial and Fun Friday Giveaway! I enjoyed doing the tutorial on quilting marbled fabric, especially thanks to SewCalGal’s sponsoring the Free Motion challenge this year. Hopefully you’ll leave comments about what you might do with the marbled fabric. What I want to announce today is a new part of the website and blog, for those of use who use – or have used marbled fabrics – in your quilting and assorted sewing projects.
When we first started our website (back in 1997….and a few changes along the way as we learned a whole lot!), we had part of the site to show off people’s projects who used the fabric in their quilts. We’d like to start that again. If you check here, you will see some of the very early quilts I did that used marbled fabrics. When I first started using the fabrics, after we began to learn in 1992, I pretty much put everything with black. I was rather afraid of color at that point. One cyber friend who paid us a visit back in 2002 said, “Let me take a fat quarter and see what I can do with it,” and a week later she came back with a completely quilted piece of fabric. Oh my, it was gorgeous.
That’s what started me actually quilting the fabric. It took a while to get the speed and rhythm down for the free motion and the stippling, but it made such an impression on the appearance of the fabric. At the time we were just making fabric and selling it, not really paying attention to the actual quilting of it. Along the way, several artists bought some and began to incorporate it into their quilts. Kathy Nida used some in one of her first quilts that got accepted into a show, in 1999. To this day I love looking very carefully through her work to see remnants of fabrics she’s purchased from us.
We’re on a mission to have people use marbling in their artwork. Send us a picture of how you use the fabric, whether you actually quilt the fabric or just use it in a more traditional manner. We’ll get you up with credit on both a blog page, as well as the web gallery.
Good lick with the giveaway – the fabrics are really quite pretty – and I want to see what you do. Plus….I’m doing a newsletter within the next week, so be sure to sign up to receive the monthly missive, and we always give away some fabric each month. Use the box on the upper right. Check out Ebay and Etsy as other sources for marbled fabrics, and you can always order direct from us.
Happy quilting!
Free Motion Thoughts
So I spent a good chunk of today working on some new machine quilting. As part of the Machine Quilting Challenge, I have been really exploring these new techniques. I have decided to take apart all my older quilts and requilt them, as a great way of practicing these new patterns. I truly thought I never would be able to do feathers without doing them by hand. Thanks to Diane Gaudynski’s tutorial, I can now do them, and I am enjoying all the variations.
In preparation for StashFest in Seattle, we will be packing all our quilts that use marbled fabric. I have a couple of early block-of-the-month quilts, and I spent three hours last week taking all the original stitch-in-the-ditch stitching out, as it looked pretty lame – but at the time it was the best that I could do. Now as I’m working on this, I am really enjoying the process of decided what to do for the quilting. It used to be stitch-in-the-ditch or stipple. Way more choices now.
What is also really nice to see is that I can get a lot of quilting done in a lot less time than I had originally thought. With about two hours of quilting over the last three days, I have everything done except for the borders. And I have really quilted this little quilt.
Expect pictures on Work-in-Progress Wednesday, as I should have the borders finished. All that will be left is the binding (need to find some of that border fabric (from ten years ago…I still have some) and repair a few boo-boos from taking it apart, and then add the sleeve for hanging. My to-do list grew a lot this weekend, as I have a LOT of quilts to now requilt and practice on1MQ, free motion quilting
Monday Marketing – and Some FMQ
From Joanne Mattera’s blog comes this timely piece: getting in to invitational shows. This is particularly timely for me, as I just sent off a piece for a major show, as I am spreading my wings this year. I want to get to where I am invited, rather than having to go through the jurying process. The whole blog post is full of good ideas.
“Paving the Way for an Invitation: The best way to get invited to an invitational is to get your work out into the art world so that it can be seen by the people who do the inviting. If you are not showing regularly at a gallery, there are many places where your work might be seen.”
Here’s a hint of the piece I just finished……I love the veining that is created in marbling.
Since I retired, I have been on a quest to improve all things affecting my art skills, and that of course includes free motion quilting, since I work with fabric. So I am part of the Free Motion Quilting challenge this year, run by Sew Cal Gal. This month is feathers, with Diane Gaudynski as our teacher. Feathers seriously intimidate me, and as I started seeing some of the work that was posted, I was thinking, no way. But I hadn’t even started yet.
Today I finally had the time, as a major deadline had passed. Now I must say Diane’s instructions are some of the BEST I have ever read. By the time I was done reading the instructions, I pretty much had no worries about plunging in. She is so clear, and her process makes complete sense. I can see why earlier attempts never worked. So here’s my VERY FIRST feather.
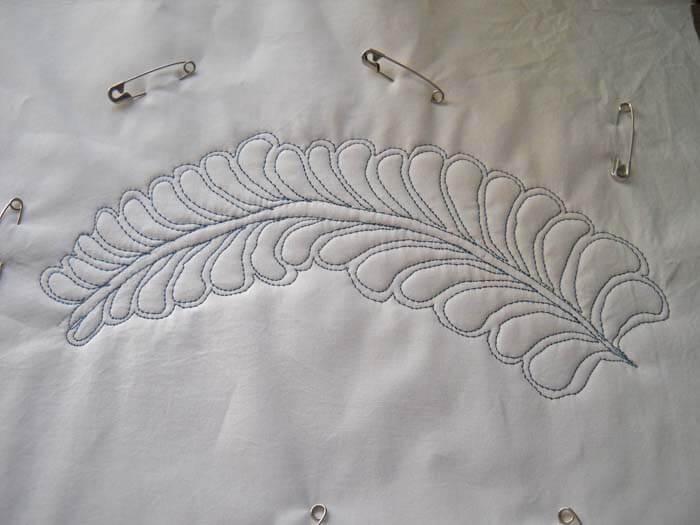 I had more trouble actually doing the spine, as I had trouble seeing where I was going. And the tension….after the third time of taking it out, I decided to change thread – from a Lava to an art color, and that made a difference. I am still adjusting, but the back is liveable now. This is a blue Ricky Tims Art Colors Superior Thread, #90 needle, on kona white cotton, with a cotton batting. Stitching is tinier than I want, but I seemed to have pretty good control over the movement of the fabric.
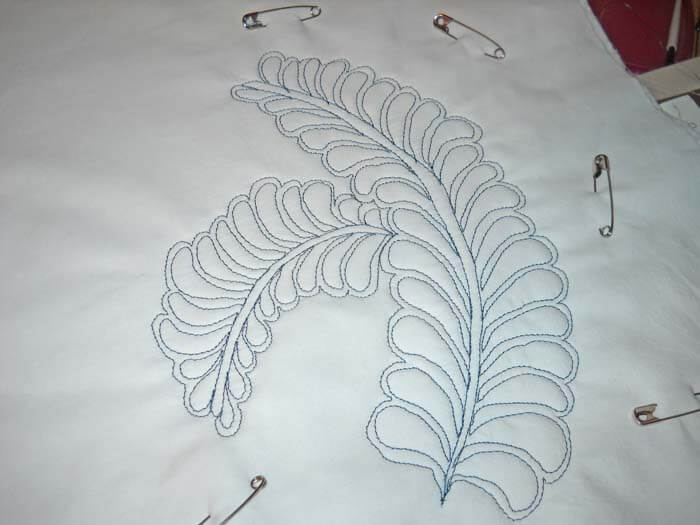 Well, of course I had to do another….I have a top that is at least 15 years old, and I knew when I made it I wanted feathers, and I figured I would need to hand quilt them. Nope – I’m gonna practice a lot and then do the feathers by machine. And that’s how I’m spending this evening. Gotta go!
Free Motion Quilting!
I’ve been working on improving my free motion quilting since June, when I took apart an old quilt and redid all the quilting. I am doing a HUGE amount of quilting right now on a piece I’m working on, but with the start of Sew Cal gal’s free-motion challenge for the year, I am plunging right in. We got our first lesson on Sunday, and I started on Tuesday with some practicing. This is a lot of fun. Here’s my first attempt:
Bottom Line by Superior Threads in the bottom, with a Superior Rainbow in the top, feed dogs down. Overall pleased with the stitch length, as it seems pretty even. However, I keep feeling like my stitches need to be smaller. But the pattern is easy to follow, and I like the effect.
Along with this challenge, Leah Day is continuing her pattern-a-day with a Wednesday Quilt-along. Several of her blog posts have talked about getting ready to free motion, and she posted her “wiggle” practice.
So here’s the word on the additional practice. I used Superior LAVA Thread, with some Bottom Line in the bobbin. I was pleased with the design. I even tried a variation on the left side – leaves next to each other.
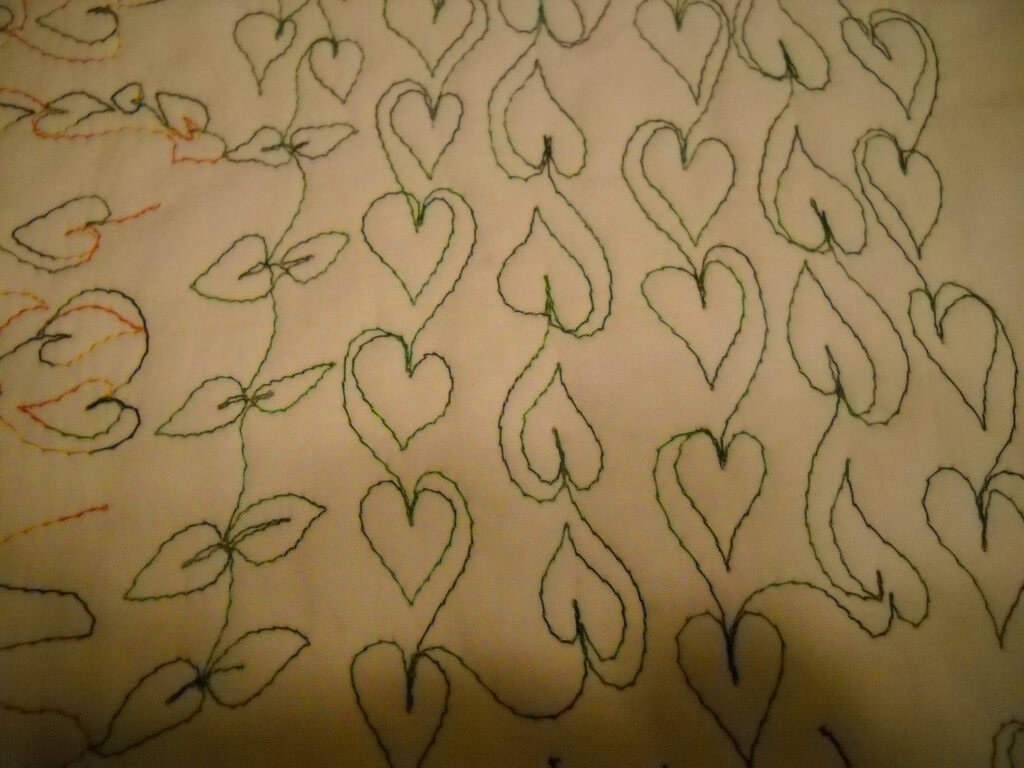 This was intriguing for me. Normally with something like this, I try to be exact in the practice, but I found I really wanted to take off and try a few variations. The only reason I think I did this is that I’ve been doing some practice since June, so I felt more confident.
Someone suggested trying to quilt with leaving the feed dogs up. So I tried that today as I was practicing Leah’s wiggle. If you look closely you can see where I removed stitches because the tension on the back was off badly. In fact I removed stitches three times.
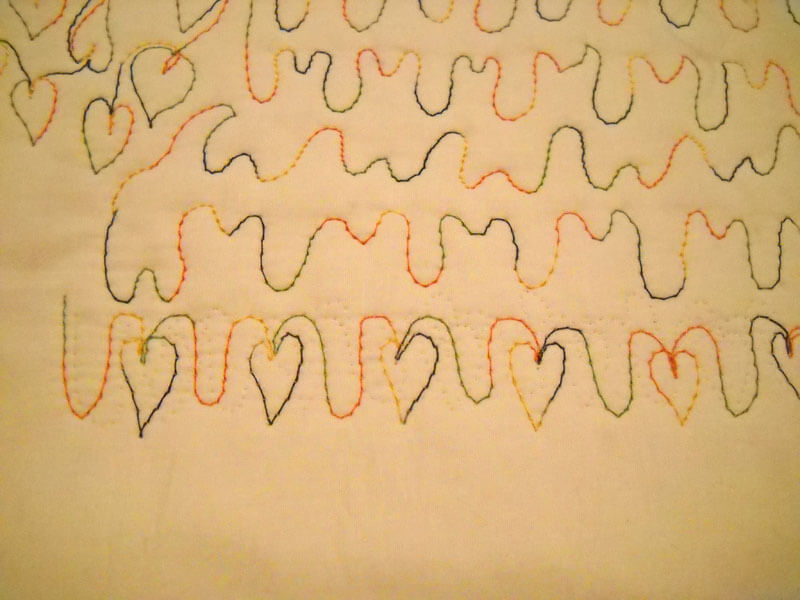 Now I wasn’t having any problems moving the sandwich around with the feed dogs down, and I adjusted tension on the top. Bottom Line in the bobbin, King Tut in the top. It finally occurred to me that maybe for my machine I needed to have the feed dogs down. Yup, that was it. Fixed the feed dogs and everything was fine. You can see that once again I was trying a variation of the two patterns.
I also tried to see how small I could get the leaves.
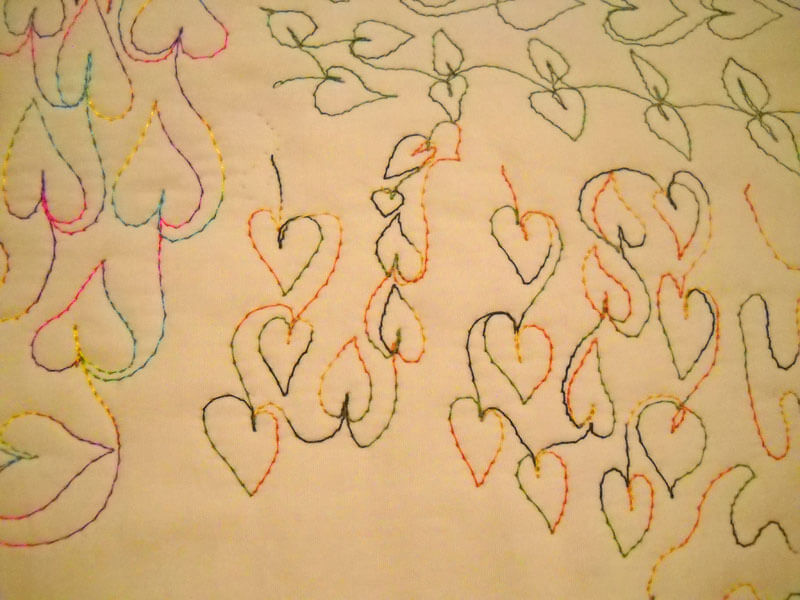 Again, overall pleased. I do need to practice going backwards. I like changing the direction of the vines with each leaf. That’s something I will probably keep. One other thing I tried was speeding up the machine, and keeping the hand speed the same. The stitches were smaller and fairly consistent, but I must say I like the somewhat longer stitch length. I think it shows the thread more.
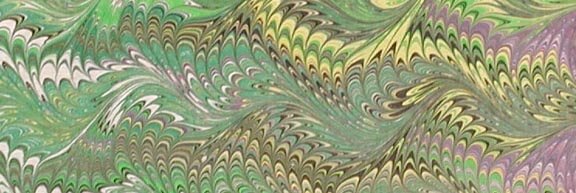
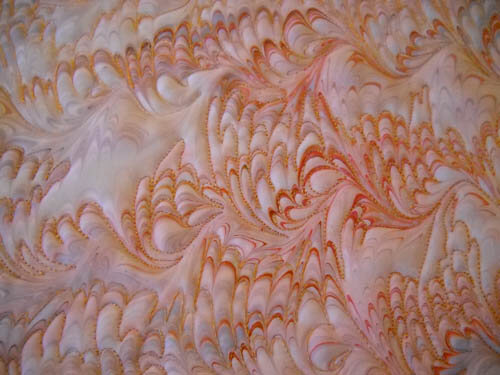
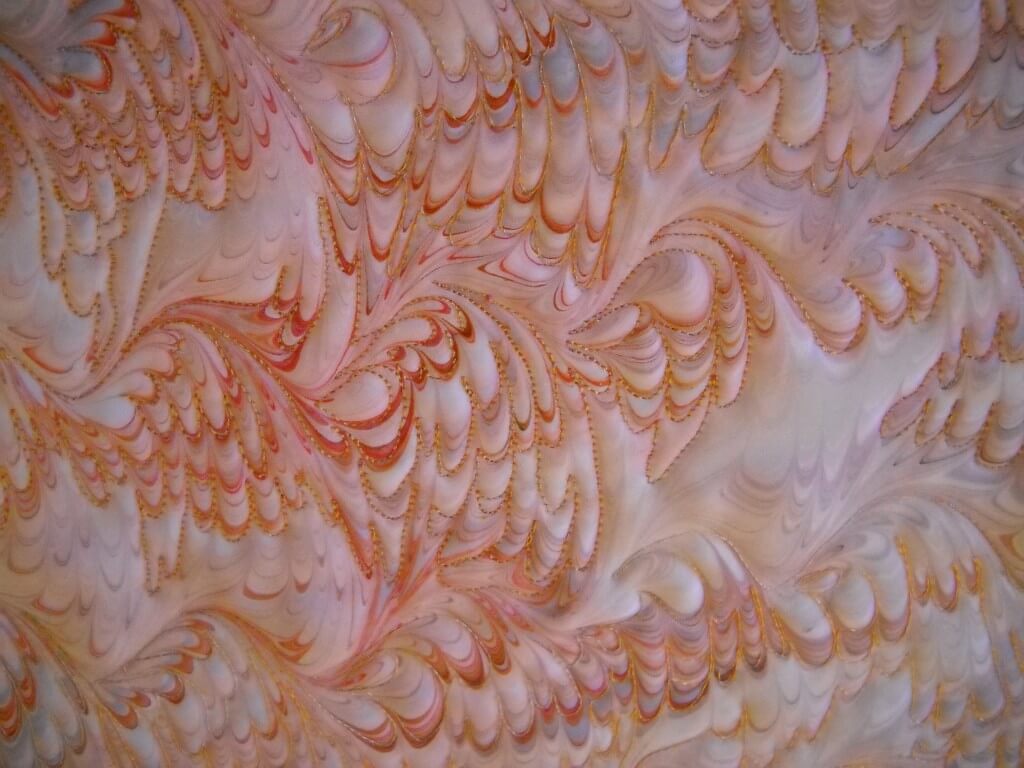
I think this is going to be an excellent way to practice. A lot of my previous free motion practice has been on marbled fabric, where the line of the pattern helps guide you. Some marbled patterns lend themselves to a regular foot (like the chevron), and some need a free motion foot (like the nonpareil and its variations).
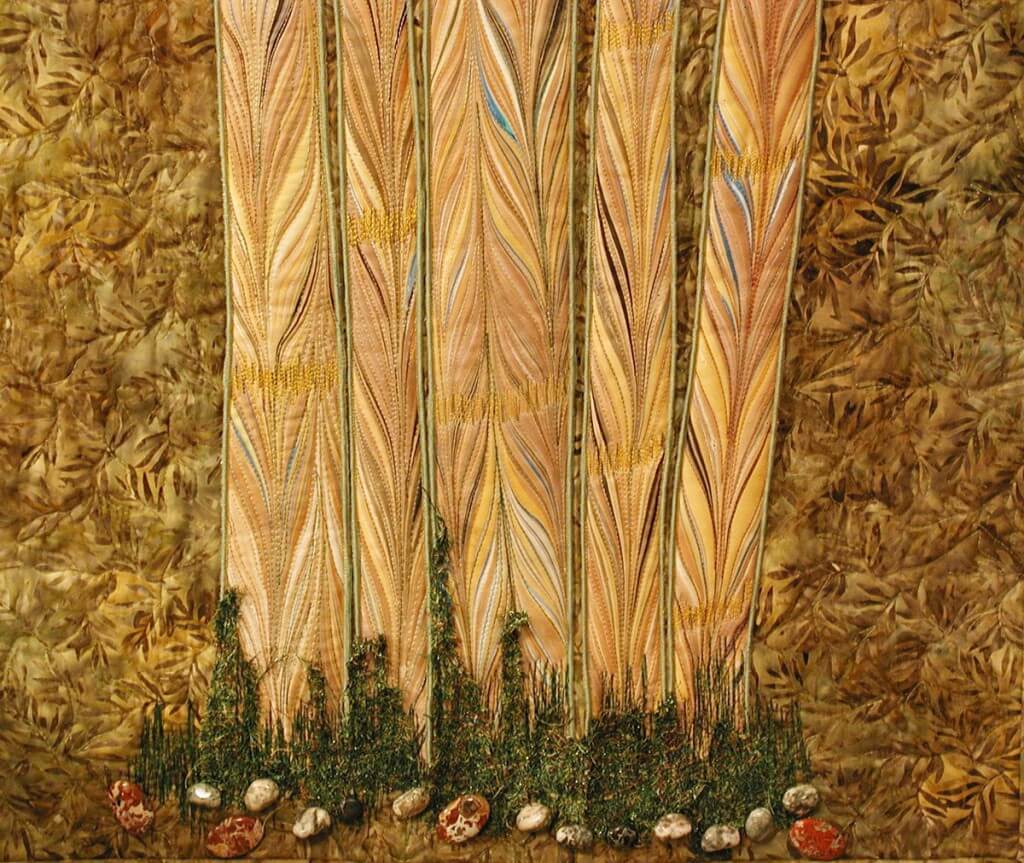 The bamboo stalks are quilted using a regular foot, just following the line of the pattern. The quilting really adds dimension.
![]() In the avatar I use on line, Rainforest, I used the free motion foot and just followed the line of the pattern This particular pattern, which we call free form, is a lot of fun to quilt. You get in a kind of zen-like mode when quilting this.
In the avatar I use on line, Rainforest, I used the free motion foot and just followed the line of the pattern This particular pattern, which we call free form, is a lot of fun to quilt. You get in a kind of zen-like mode when quilting this.
In this closeup of “Ocean’s Bounty,” the traditional stone pattern lends itself really well to free motion quilting. You can see the whole piece with all the free motion quilting after this small shot.
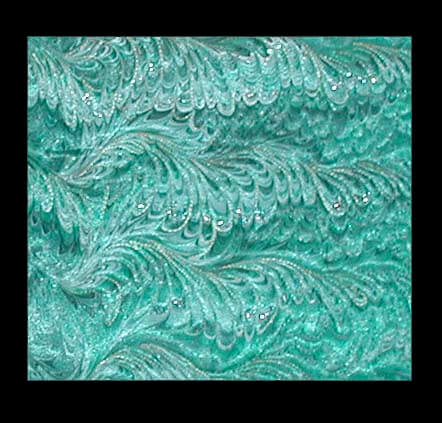
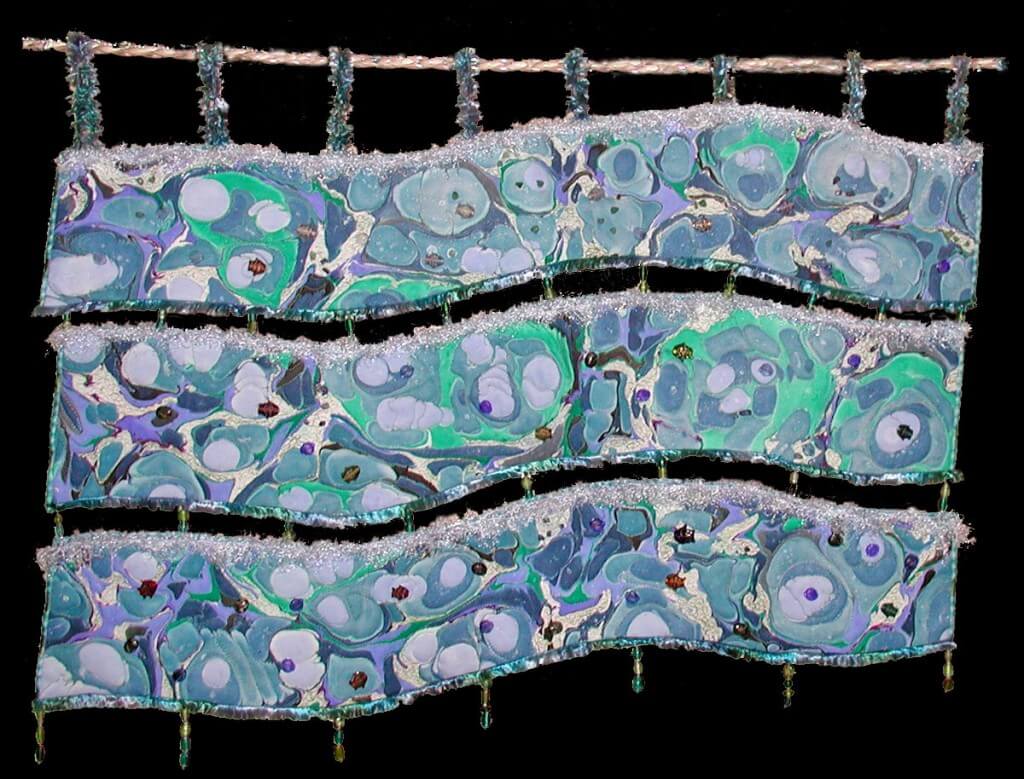 This is a small piece of turquoise silk that has free motion quilting along the pattern to accent it. Complex pattern to quilt in free motion, but it gives some great effects.
Here’s a closeup of “salmon Run,” accepted into an art show in Alaska. The free motion quilting follows the nonpareil wave pattern.
You can see more of the art quilts at our website.
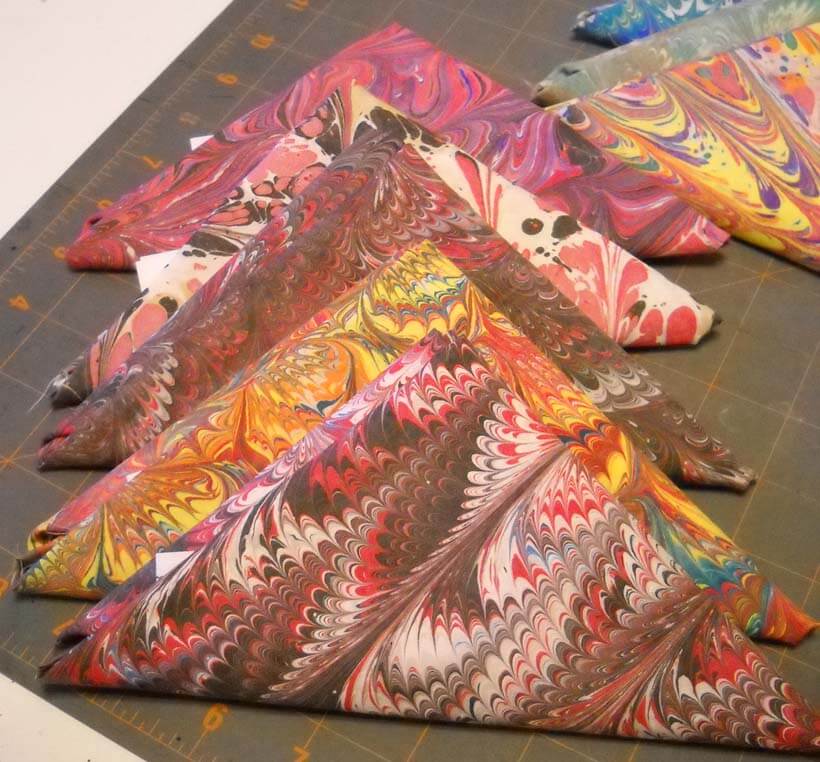
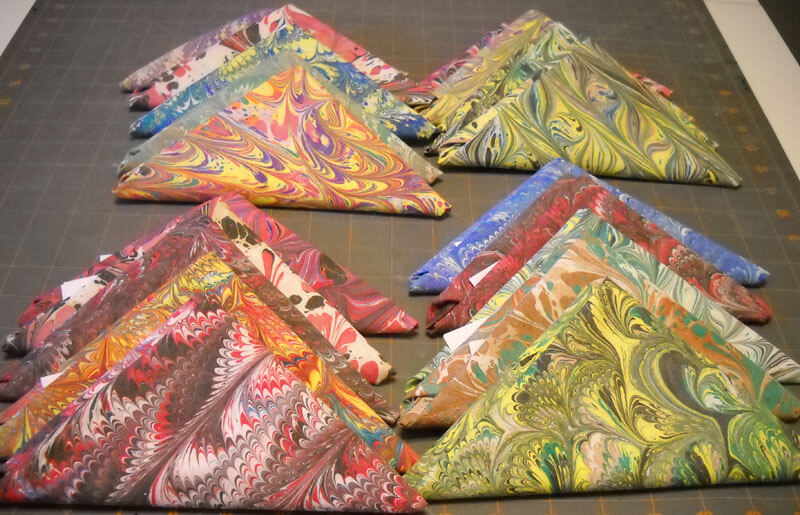
And….along with everything else today, we marbled 20 fat quarters in preparation for a show in Seattle in March. They are gorgeous. Here they are, folded and ready for packing.
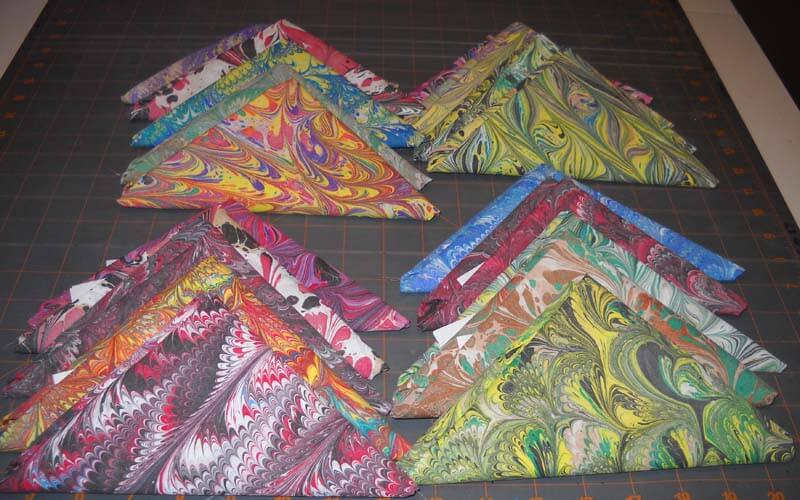 And then this afternoon, we cut another 10 yards for another 40 fat quarters, along with the 15 we still have, for the next three marbling sessions. Pretreat one day, alum the next, and then marble the next. It’s going to be a busy two months, but oh, are we having a good time!
Top Ten Tuesday
Another Tuesday, and more goodies on the web – although it has been slower than normal, due to the holiday. Enjoy!
Here’s a great list from The Best Article Every Day – places to learn on line – for anything!
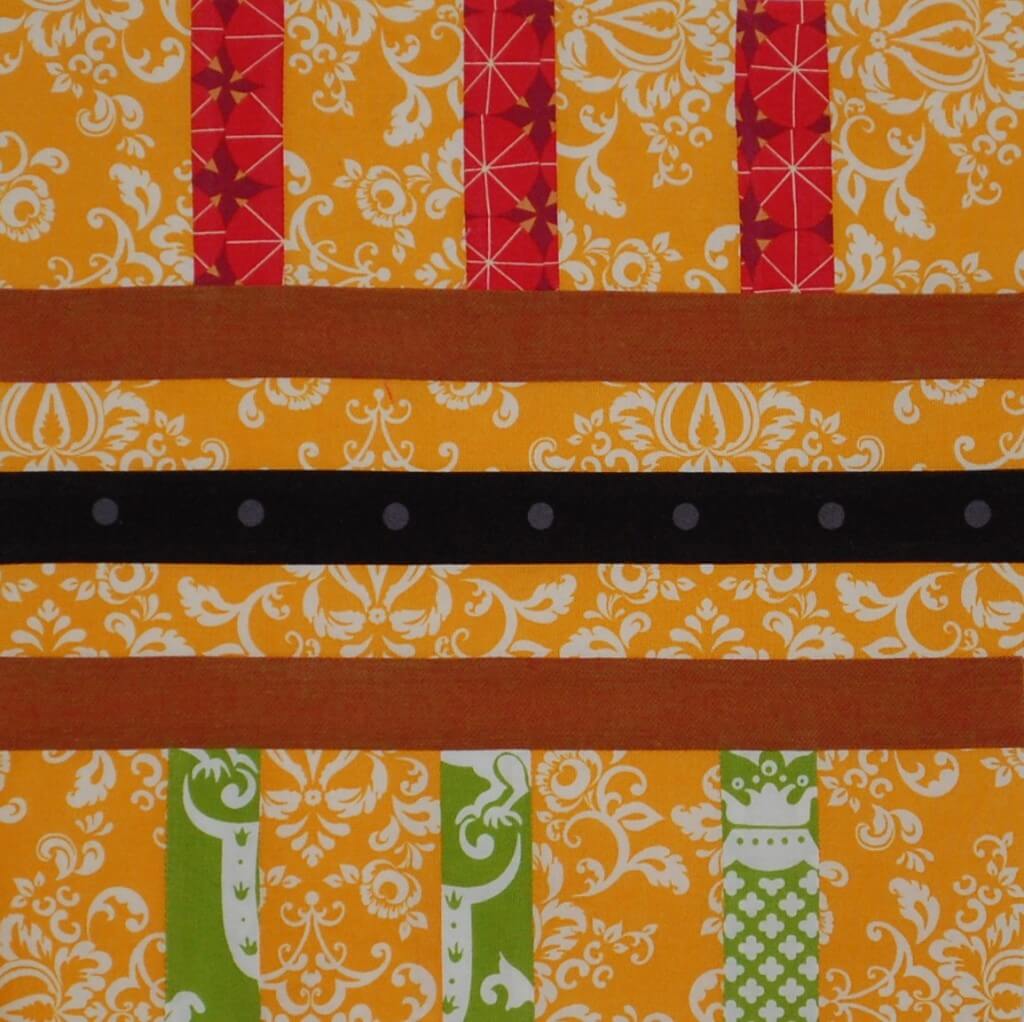
 I found this interesting block design from Generation Q magazine, by way of Scott Hansen and Blue Nickel Studios. It celebrates Kwanzaa, and it’s a striking block. Take a good look at the setting – lots of interesting design possibilities.
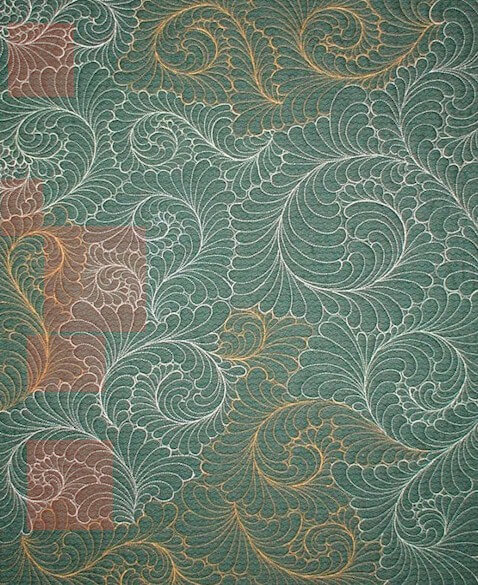
I’m taking part in the Free Motion Quilting Challenge this coming year – I really want to learn to do more with my machine. I want to learn how to do feathers….take a look at this example from Ivory Spring’s Thread Talk. She gives step-by-step instructions – I can wish……
MAD Magazine rings in the New Year with its Top Ten posts…..
“The Disturbing Similarities Between New Al-Qaeda Leader Ayman Al-Zawahiri and New Today Host Ann Curry”
From SewCalGal comes insights on free motion quilting, with a year-long challenge coming up. She says in this blog post that after a year of practicing FMQ, she’s much more capable of doing cool designs – and I concur…my FMQ has increased just from the practice. If you’re interested, go ahead and sign up for the monthly challenge – should be fun!
 From Generation Q magazine comes some creative pushes for 2012, if you like to spend this time before the new year making plans and setting goals.
 You know I love Cool Hunting – here’s some of their year-end best, in conceptual design.
“From ICFF to Art Basel, 2011 delivered a flurry of design objects for the home that while highly creative and concept-driven, didn’t compromise their utilitarian duties. From recycled plastic chairs to roman numeral inspired book shelves, the following are five of our favorite pieces of sculptural design that could just as easily pass as pure art objects.”
from Art Biz Blog, a collection of top posts from the year for your marketing pleasure!
Most Commented On
You Promise Exposure, We Want to See Results
Artists’ Day Jobs – What’s Yours?
Is There a Downside to Teaching Your Art?
…and lots more!
From Fine Art Views, an interesting challenge: Add an Art Challenge to your New Year’s Resolution List: for Smokers…..I’m thinking of adapting this for dieting….
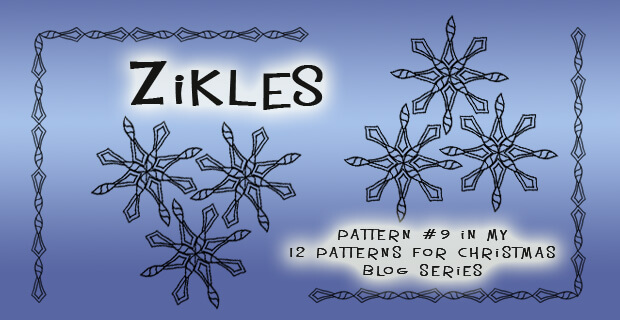
I haven’t posted anything lately on zentangles, but I keep looking at blogs. Here’s one from The Rainbow Elephant that I think would translate really well into a quilting pattern, especially since I want to incorporate some snowflakes on a winter quilt.
Have a great week – send me cool stuff you find!

