Archive for the ‘Marble-T Design’ Category
Work-in-Progress Wednesday
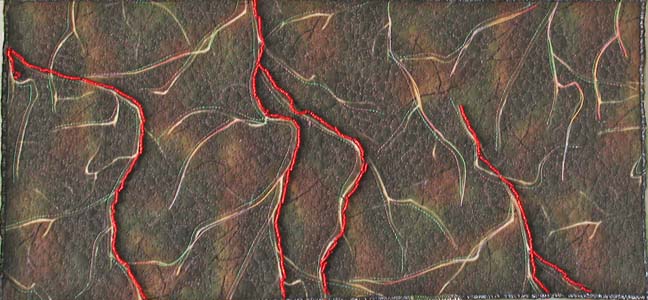
I have to say, I have been busy. I originally was thinking nothing was going to happen art-wise in July because of so much work on the business. I was wrong…the last week has been incredibly productive. Last Wednesday I wrote about my lava piece just telling me it really wasn’t finished. Here’s last week:
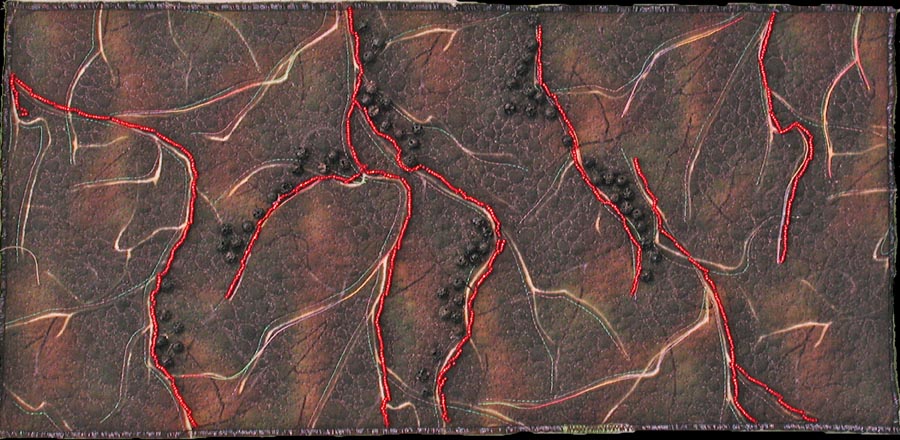
And here it is now, since it told me it was “finished:”
Turns out it needed actual lava – those little round pieces are actual chunks of lava I collected over a couple of visits to the Tucson Gem Show each February. I also added more lava flows, and nothing really interferes with the quote on the back. This is going to go up in the newly-developing Etsy store.
My “purse” didn’t make it as a purse…I loved the play of the fabrics together, but I couldn’t get handles to work the way I wanted them to…so now it’s a nice new basket for collecting fabric scraps.
If you were reading on Sunday, you saw the finished “Desert Heat” quilt, now on the wall in our bedroom.
Now I am working on my “bamboo” quilt, started about 5 years ago with a piece of marbled fabric in the chevron pattern. One of the things I like about this quilting is that it is very zen-like, in that you can just follow the lines of the patterns. You can see the original piece of fabric here. You’ll see what I mean about the lines of the pattern.
As I was quilting yesterday, it occurred to me to take pictures of the process, and then that led me to think about putting together a tutorial on quilting marbled fabric. There is an interesting story behind the quilting. Years ago I pretty much just put marbled fabrics with blacks, as I wasn’t sure at all about my color sense. I did slowly branch out, but it was Quilt artist Ellen Kohen who took a piece of fabric and quilted it. I knew there was more I could do with the fabric, but I wasn’t sure how to approach it. Once I saw what Ellen had done, I was hooked, but it took confidence to start the free motion needed to accent these patterns. Starting this Sunday, I’m going to introduce “Sunday Stories,” and I’ll take a look at the story behind each of the pieces in my gallery on the website.
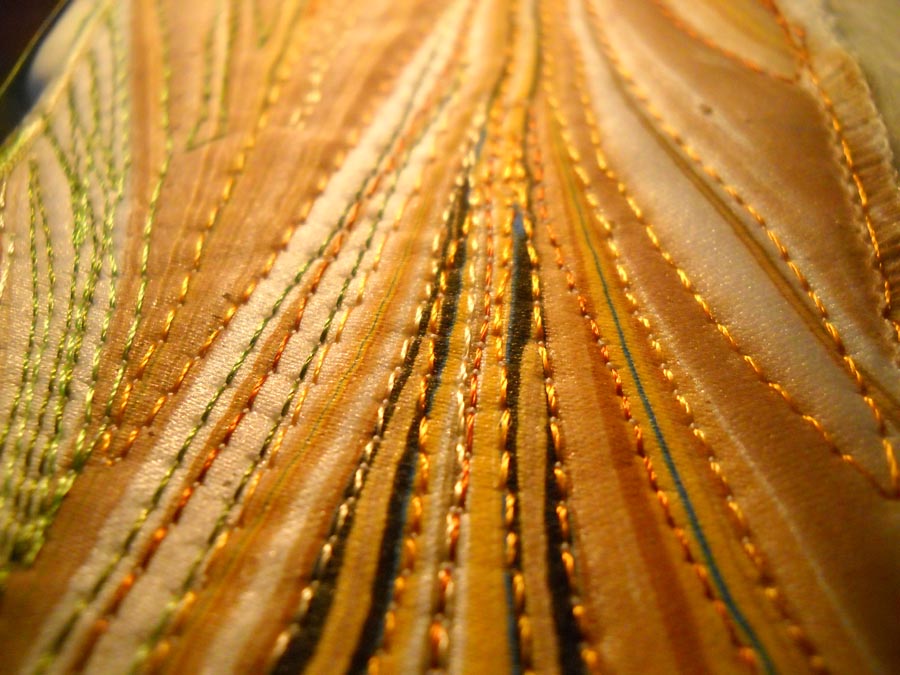
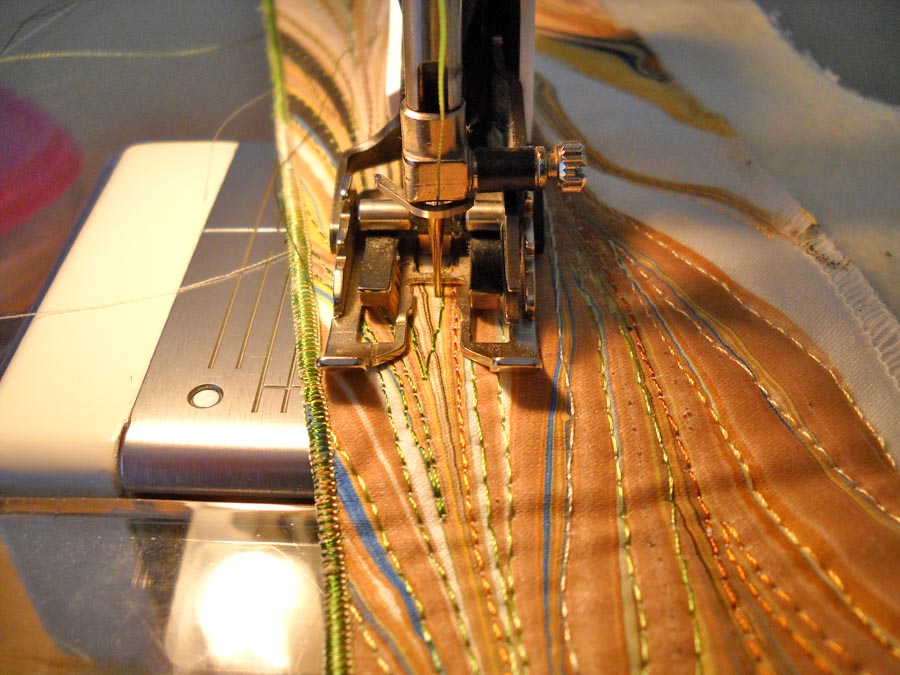
For today, here’s a close-up look at one of the bamboo strips (which I am aiming to finish by mid-August, as I want to enter it into an art quilt show with my “Ocean’s Bounty.”) You can easily see all the “lines” in the pattern and how I have followed the lines with a variety of different colored threads. The problem you might run into (as I have) is when to stop with the lines – you can get easily sucked in to quilting everything.
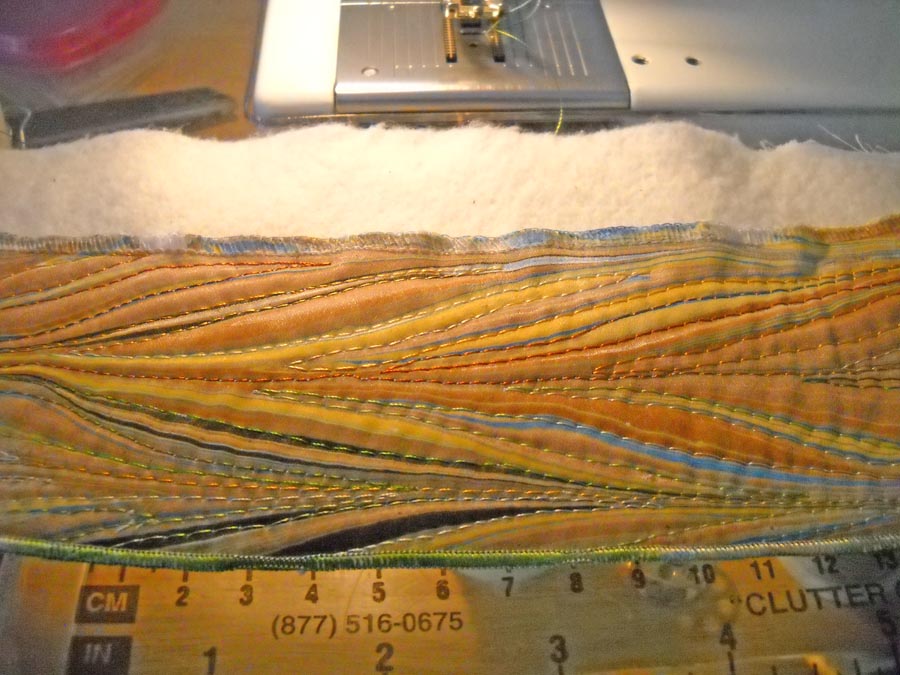
You can see the serged edge in this piece – which is how I usually finish these weaving pieces. I’ve learned over the years not to serge until I am finished with the machine quilting.
This is with my walking foot, but I’m not totally happy with the control with this foot. Because there are slight curves to these lines, I use my regular foot and am quite happy with it. I think this is probably a personal preference. I tried the free motion foot on this, but I didn’t have the control and even stitches I wanted for this design.
I have four and a half “strands” of bamboo finished at this point. I can quilt for a couple of hours, listening to some John Denver and just kinda zone…as I mentioned earlier this week, I am amazed at just how much I get done when I think a project will take forever. Now what probably will take forever will be the leaves. I’ve tried marbling some silk leaves – not happy with them. I am thinking some thread leaves, but they may not seem “sturdy” enough for this hardy plant. I do know thread leaves would be a great use of all my lousy threads I have hanging around. I haven’t broken any threads with some 6 hours of quilting – have I told you how much I love my Superior Threads?
If you would be interested in a tutorial on quilting marbled fabric, please leave me a comment and let me know. If you’ve got pictures of some marbled fabric that you have quilted, I would LOVE to see it.
I’m Baaack…..
So school is back, and I actually accomplished some fiber before the year started. I am now teaching high school algebra, much to the amusement, I’m sure, of my family. I love being back at the high school level, seeing kids from middle school, and working with competent people. A FAR cry from the incompetence of last year.
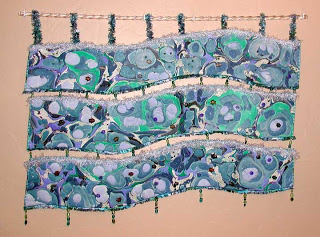
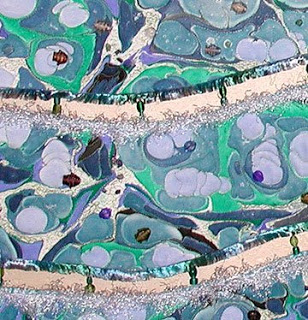
I finished a piece I started nearly three years ago, but the fabric had been made for close to 7 years. I quilted two of the three strips before I ran out of backing. I ordered a special hand-dye for the back, but that was it. This summer, after the move, I finished the third strip (12 hours’ worth of trying to find everything I needed after three years!). Then I played with the beading and all the fish Ali bought me from Hawaii. I had yarns I wove for various parts of the strips I had been collecting over two years – they look fabulous with the piece. So here goes:
And here’s a close-up:
Where I’ve Been, Part 2

We’ve actually been on the web with a presence for ten years. But getting here was interesting. When we thought about doing a web page, we did check around and get some quotes. Once this one person quoted $3000, I knew if I wanted this I would have to do it myself. So I bought Pagemill and started to learn it. I remember being on the local server – starnet – and trying to get some questions answered – but the phone message kept saying to check the website, and I couldn’t even figure out how to get on line.
That was a steep learning curve. About a year after our first attempt, I bought a book (so typical of me) on the 10 biggest mistakes you can make on a website. Turns out I made most of them. Once I updated to an iMac (some 8 years ago now), I had to learn GoLive, and I was able to do a credible job. At the time we were mostly selling kits and patterns, and I had a lot developed, and about 30 different products on the website.
Eventually the time came to change providers and went to Saltwater Systems and Suzan in Sedona, for better shopping cart. Then the time came when I wanted to just sell art pieces, and Suzan did the complete redesign you see now at Marble-T Design. This has been a classy site for us.
The art work is taking over what we are doing – we rarely do custom anymore – way fewer headaches. We marble for ourselves and for our art pieces, and pretty much keep the “retail” to eBay. That takes care of the basic supplies. Now we just play with new patterns and ideas when we marble – but there was a time when we were marbling every weekend to keep up with fabric orders – applique kits and the like. I still don’t have t-shirts, which was the original idea behind Marble-T, but we’re getting there.
A New Direction in Marbling

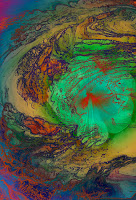
We marbled again on Saturday, and lately we have been trying something new…using leftover fabric and marbling on the bottom of the tray. We first tried this about eight years ago, when the bottom of the tray, as we were cleaning it, looked to have a really interesting pattern. We laid a piece of cotton to see what would print, and we got a great “geologic” design. Three weeks ago we tried the same thing on some left-over 16 mm silk and got two great pieces. In fact, one of the pieces became the basis of our first try at serious digital art.
This is the piece we tried a couple of weeks ago:
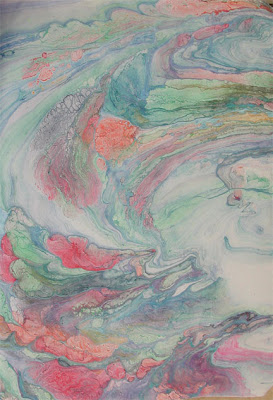
The colors are soft and muted, with just hints of some of the complex patterns and colors – the color comes from scraping the bottom of the tray as we start to bail the liquid and scrub the tray. Lately we have been trying silk, which gives a great feel to the finished product. I still want to try and quilt the finished design, but haven’t had any inspiration yet.
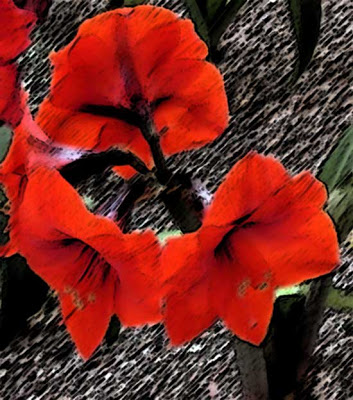
And this is it after some serious manipulation with Photoshop (flower by Dean)……
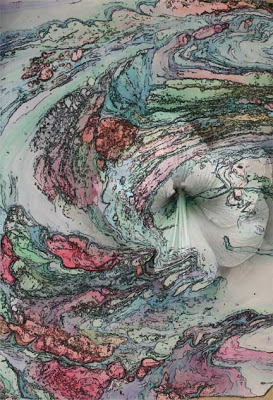
This is not what we submitted for the digital show, but it gives a good idea of what we are after. This is another piece from yesterday’s session, left-over camouflage colors, after working on a gift for our great-nephew.
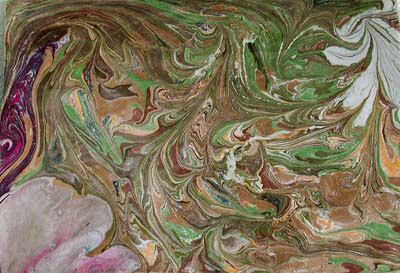
Now on to lesson plans for the week before I can play again…..
Playing with Adjustment Layers

Another long week is done, and since I have huge amounts to do this weekend, I decided to play with Photoshop tonight and relax! I have to finish my presentation for the Mesa conference, including editing some new video – which I’m hoping I can do on my own – and if not, I can see Rich next Friday for help.
We’ve had a VERY good week for Marble-T. One of our eBay customers ordered a lot of remnants to repackage for the Houston Quilt Festival, and a woman in Australia ordered 10 fats of cotton and 10 fats of silk. So we have some nice money in for a change. And we also did a class proposal for Flagstaff, but I don’t think they’ll go for the price. That along with three visits to the chiropractor because of the auto accident, and it has been an extremely busy couple of days.
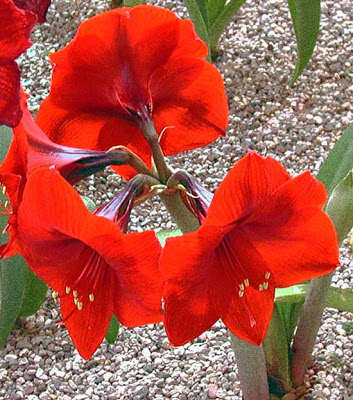
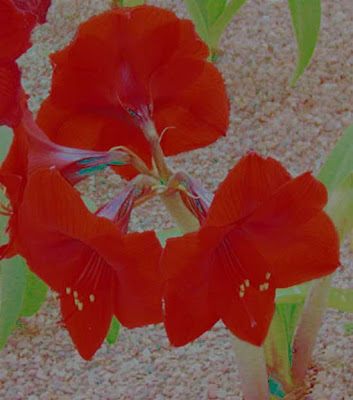
I am continuing to use this one flower for some work because there’s still loads I can learn just with this one image. Here’s the original.
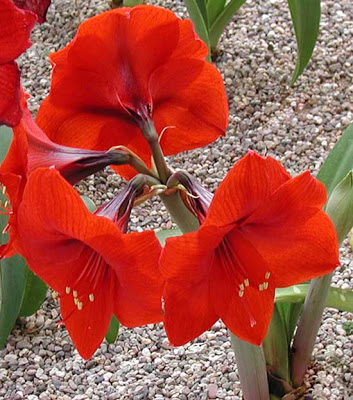
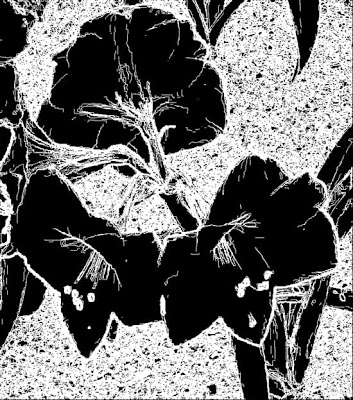
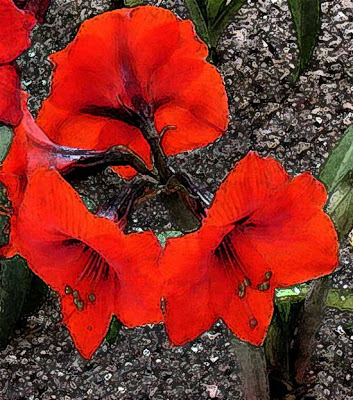
This part of the lesson is working with turnng a photo into an ink drawing, which I played around with this summer. Now I followed all the directions, and I think it turned out well. I sharpened, and in fact I used the patch tool to remove some excess from the photo that I didn’t like. I can see how this will make it easier to apply certain effects, especially the pen and ink. I will continue to try this, because I really like the effect, since this is how I started drawing when I was a teen – lots of pen and India ink.
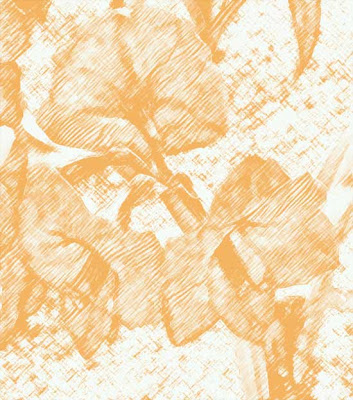
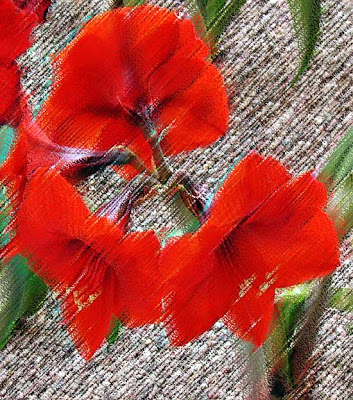
From here I tried some more filters. This is the charcoal – I am getting better at playing around with the setting within the filters to get effects I like. Along with pen and ink, I used to do a lot with charcoal pencils as a teen. I still have my sketchpad when I was doing cartoon characters in charcoal.
I wanted to see what the film grain looked like. Probably not a filter effect I will use a lot.
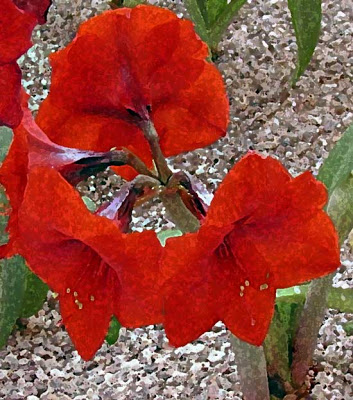
Now this fresco one is interesting, especially since in art class we looked at a video that talked about restoring frescos damaged by water in Italy. I borrowed an idea from the professional development on Wednesday and did a “word splash” based on words used in this video. With my seventh graders, I had huge success with their attention to the video – lots of questions on their part about restoration of art. Led to some good discussions. Fresco means fresh in both Spanish and Italian – now I understand why they were named that – because of being painted on wet “fresh” plaster.
The pastel effect is something I just can’t get a handle on – this is not a material I am used to working with. But the effect is interesting, if a little pronounced. I almost would like something less obvious.
The sponge is a cool effect. I am thinking of using sponges next week with the kids and developing some texture painting.
I tried the sumi-e because it is a Japanese effect that has similarities to marbling.
And the final one was on water paper, just because I wanted to see what it would look like.
A productive evening – and I even marked five sets of papers and recorded them during the school day!
