Archive for the ‘marbled fabric’ Category
Sunday Stories – Entering Fiber Shows
![]() Over the last thirteen years I have been entering fiber shows and the occasional quilt show with some success. The “Fish Follies” show each year at the Cordova Historical Museum in Cordova, Alaska has been very good to me, with acceptance both in fiber and digital categories each time I enter. I really think through the pieces I enter to be sure they fit the theme – I think I’m just not crazy enough in the “Follies” area to place.
Over the last thirteen years I have been entering fiber shows and the occasional quilt show with some success. The “Fish Follies” show each year at the Cordova Historical Museum in Cordova, Alaska has been very good to me, with acceptance both in fiber and digital categories each time I enter. I really think through the pieces I enter to be sure they fit the theme – I think I’m just not crazy enough in the “Follies” area to place.
In 2004 I took a BIG chance and entered the Expressions in Textiles show in New Haven, CT. My “Rock Garden” piece made it in, much to my delight, and when I saw the list of acceptances, I was kinda stunned. All of a sudden I was in the “big girl” league. I was thrilled. This was essentially a whole cloth quilt, a half yard of a stone marbled pattern that seemed like it was quilted to death.
This is just a small portion, but everything in this quilt came together perfectly. I had initially bordered it in a black satin, thinking of the Japanese laquerwork, but eventually Iplicked out a smooth sand-ish fabric so the stones wouldn’t seem “hemmed in.”
That same time I had my “Mandala 1: Core” accepted into a quilt show, Fabric of Legacies, in Ft. Collins, CO.
This was another whole cloth quilt, but at this point I was thinking that there were going to be a lot of venues that would look at very non-traditional fiber. I have since had my “Low Tide” piece juried into that show.
Most of my quilts were rejected over the next few years, and I pretty much stopped entering shows. I think some was due to poor slide quality, some to the whims of the juror…one piece I did for a show about changing the world’s problems. I chose endangerment/extinction and did a piece on the rain forest and was told it didn’t fit the theme. So I guess the learning from this was to continue, that not everyone interprets things the same way.
When we went through our “dry period” of marbling, when nothing was working, I didn’t even work on pieces, like my bamboo, that had already been started. Now, though, I have started to look ahead to shows, quilt and art, and plan for new pieces, since most of what I have is too old. If my early pieces were accepted, and I’ve improved a hundred fold in my skills since then, then I should be on track for a few more acceptances.
We’ll see…deadline for the bamboo is September 3, with notification around September 15. Time to make a list of new deadlines and what will be entered…and what will be new creations.
Sunday Stories – Black and White with a Hint
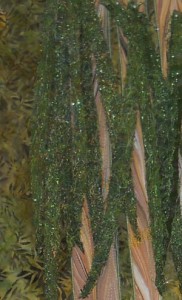
Yesterday I wrote about what’s happening with the bamboo piece. Here’s a sneak piece of it in VERY rough form:
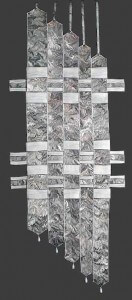
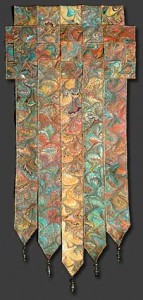
Now to today’s story – my piece for “My World in Black and White,” a show curated by Anne Copeland, like around 2003. This was a challenge issued on the QuiltArt list, and I decided to try something. Here’s the piece:
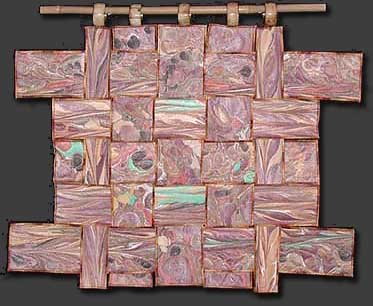
This was the first show where I realized I had to pay more attention to the theme. Mine was a more abstract look at black and white. We marbled a three-quarter-yard piece of unpolished white satin in blacks and whites. There was still a little orange left in the tray from a previous piece, so the name became “Black and White with a Hint.” I cut five strips and quilted them, following the marbled patterns. You can see the hints of orange.
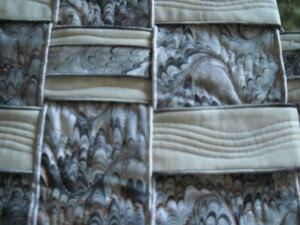
At this point, I really didn’t know what form this was going to take. I decided to stagger each of the strips, but it was pretty boring with just the strips. That’s when the “hidden” architect in me took over. I marbled some ribbon, serged the edges of the ribbon to carry the serging motif through, and attached it to some strips of gray cotton. I did eight strips all together, some of them plain with just a meandering quilting line, and some with the ribbon, and then I wove them through the other strips.
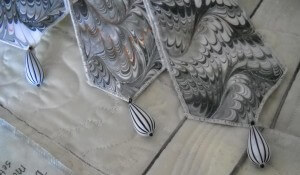
I liked how it was shaping up, and now I had to deal with a hanging system, as well as finishing the bottom. I figured I wanted some beads to hang at the bottom. I went to the local bead store and found these teardrops – have NEVER seen anything like them since then.
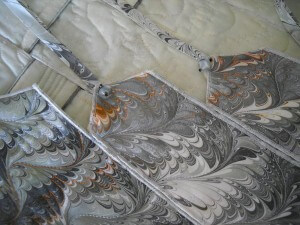
If you look closely, you can see how each strip gets hand-stitched to the ones around and underneath it. I figured I would use a plexiglass rod for the hanging system. I marbled some thinner ribbon, and with careful measurements attached the various lengths at the top, with a bead embellishment.
I learned a lot, as I seem to do on every piece, and this is still one of my favorites – my first piece to travel (to Ontario, CA as well as the online exhibit), my first piece that was professionally appraised, my first piece that “hung” in a very different style, and my first ribbon (for entering, but none-the-less still special!).
I am really enjoying revisiting these pieces and their stories. I hope you enjoy as well.
Design Decisions in Fiber Art
 So it’s been an interesting Saturday, with almost giving up at 1o this morning, thinking I would just submit one piece, rather than trying to show my overall style – which is certainly unique – any maybe too different…. My leaves are done, and my strips are done. I know how I’m going to make the grass and what stones I am going to use. But it’s the actual layout….
I want a stand of bamboo. My original idea, some eight years ago, was to have it free-hanging – strips of bamboo, with some type of hanging system at the very top. Well, I figured if I did the leaves all at the top, I could put a casing behind them for a rod. When I actually had it on the design wall this morning…didn’t really grab me.
Then I tried one of the jungle background fabrics, figuring I could make a background and attach the bamboo on top of it. Well…I ironed, pinned to the wall, added the strips, and then added leaves at the top….and…it was better, but certainly not a grabber. I tried shortening the strips – after all, they were at least 50 inches – nice, tall bamboo. Somewhat better.
I played around with a different leaf arrangement. Nope. Tried more strips beyond the five. Nope. While I like 8 because it’s a Fibonacci number, there was too much bamboo.
Last Sunday I went to my local quilt shop, Quilter’s Market (the BEST store, except for G Street….) with strips in hand to look at some other potential background fabric. I found one that was fairly “jungle-y” and worked with the browns and the greens. I pulled that out, ironed it, and cut it in half – top and bottom. I pinned the strips back on…this time I had them straight, but I had the top angled into the forest….five strips kind of angled downward from left to right….added the leaves in some different arrangements, and voila – I LIKE it! Now it’s more what I had in my mind. I needed to shorten the strips and angle them – while bamboo grows straight, it ain’t perfect.
I need to go buy about another third of a yard for binding. (They were almost at the end of the bolt last week…hmmm…) I’ve been going back and forth about a frame or not. I am thinking a simple binding, as I don’t want to constrain the bamboo with a frame around the jungle, especially as I plan to have leaves out and about the edging. There is a possibility I will need to make more leaves – I have most of what I need, but they are pretty time-consuming. At this point I can see myself making the deadline, especially with another whole weekend available. And I’m pleased…so we’ll see about progress tomorrow. I promise a small picture when it’s a little more together.
This whole process is extremely interesting. I find myself making more and more complex decisions as I learn new techniques and expand what my sewing workhorse (Bernina 1080) and serger (Bernette) will do – or what I will make them do. I will say my serger wasn’t totally happy with my choice of threads (some really fancy light-weight ones) for the edging…but except for re-threading the needle, I was in pretty good shape. I just need to remember to put the serger back into its original sewing condition for hubby to serge the new fabric for the Labor marbling…he’s not real thrilled with having to thread the machine….
Work-in-Progress Wednesday
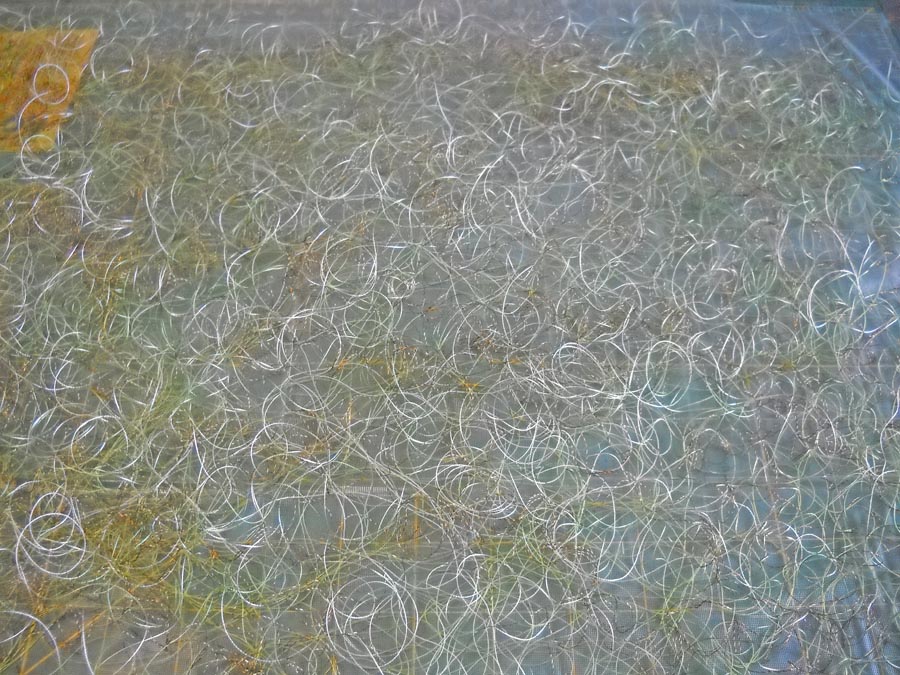
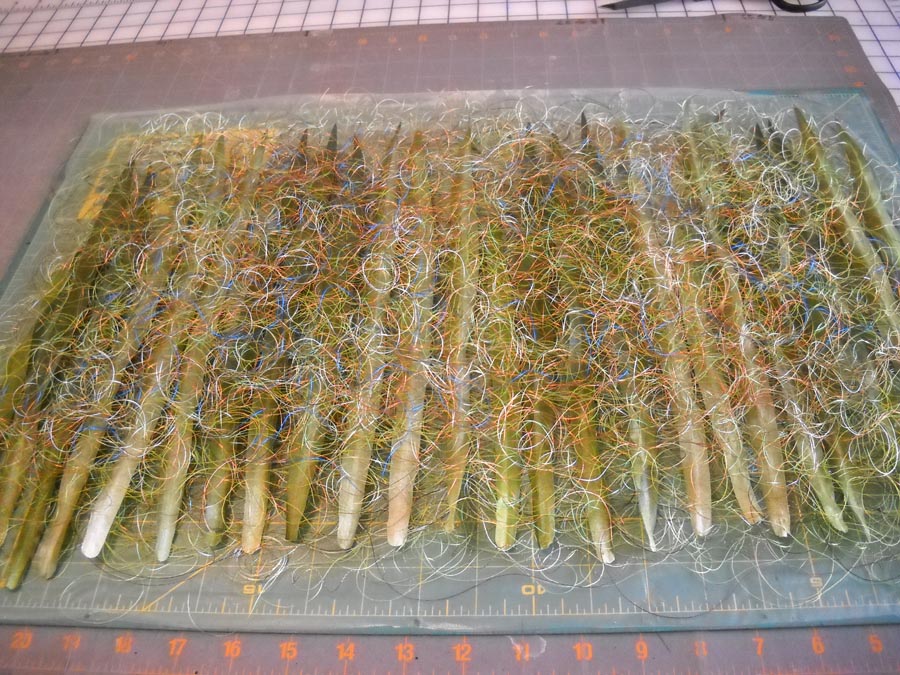
If you’ve been following along on my bamboo piece, you’ve seen these leaves in progress – all eight hours of work on them. After finishing – I hope – the stitching this Saturday, I “dissolved” the stabilizer from Superior Threads. Here it is after all the stuff washed away, before I cut apart the leaves.
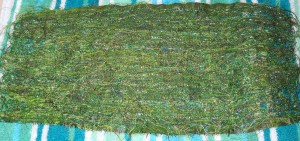 It certainly hung together okay. I starting cutting apart the leaves, saving all the pieces of thread fabric to create the grasses at the bottom of the bamboo stand.
I got more and more excited as I cut, because the leaves were looking fantastic. I think I have something for the future.
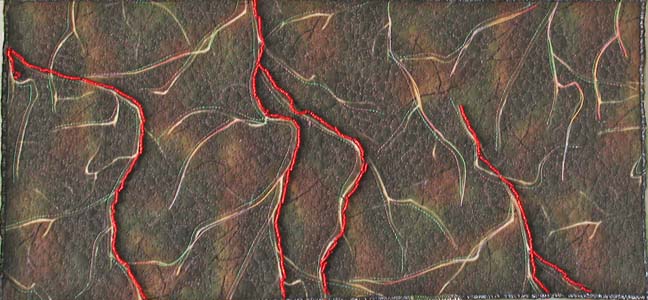
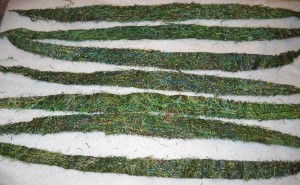 There are some problems – they aren’t as stiff as I would have liked, so I am having to revise my hanging system for the bamboo. But they look great – I used some RazzleDazzle in the bobbin and got nice shiny veins. I have two shades for the leaves, as I have a front and back for the original silk leaves.
I’m trying for a close-up….(click it to see closer….)
 Now i just have to put it all together…maybe it’ll be done for next week Wednesday……
Sunday Stories: Gaia 3 – Autumn
 I have lived in New England, specifically Vermont and New York, for a good amount of my life. My biggest regret living in the desert is not seeing Autumn each year. A number of years ago I had a chance to put some work in a small gallery in Jericho, Vermont – the town my husband’s family settled in the 1600s. The gallery is also the original home of Snowflake Bentley, the man who photographed snowflakes and proved no two snowflakes are alike. I wanted to do something that would honor autumn in New England.
We marbled a piece of polysatin in autumn colors. Now there are some purists in quilting and marbling who insist 1) everything has to be cotton, and 2) you can’t marble polyester. Well, I’m a great one for breaking the rules…which is interesting, because I was such a linear, rule-follower growing up. But not where my art is concerned, evidently. We have discovered since we started marbling that polys take the marbling and paints extremely well, and almost all our art pieces are done on some type of polyester. The detail is exceptional, and the colors are consistently bright.
Once we had the great colors, then it was…hmmm, how to show this off? This would be my third piece in my Gaia series, and I knew I wanted to keep the weaving aspect. But I didn’t want a square or rectangle of strips. So I looked to weave just the top part and have the lengthwise strips hang down in points.
The draft looked like it would work, but the copper thread was not cooperating. This was before I really knew much about threads and machine tension and adjustments…so I did a lot of ripping out to try and get the stitched somewhat even. The other problem was the serging. Again, I wanted to use some decorative threads, but the machine wasn’t cooperating. And…I wanted to have points at the end of my strips, and I wasn’t sure how to manage that.
Now the visual effect was what I wanted. I cut the length-wise strips so the pattern would not be broken. This is a traditinal marbled pattern, the reverse of the peacock/bouquet design – which we call “bat wings,” because that’s what it reminds us of. The vertical strips are attached until about 6 inches from the bottom, because I wanted the effect of leaves/branches in the wind. This was actually the second piece I added beads to, and they worked out quite well.
The serging is rough. I have since learned all kinds of tricks to smooth out what I want for a decorative edge, and the piece I am working on now reflects all that I have learned. This is one where I wish I had better pictures – and more of them. If you visit the website, you can enlarge the pics there for a better view. The piece sold about a year later to a quilting buddy. I still miss it, as it is so New England autumn.
Be sure to become a subscriber! We have a drawing (good ole Random Generator) before each newsletter for a free Sampler 1 package. See the form to the right. Join the family!
Photoshop Friday – Repeats!
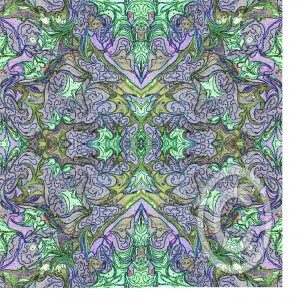
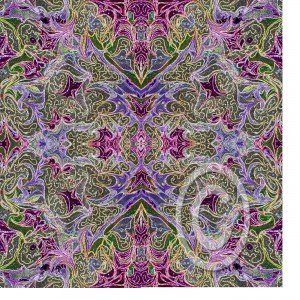
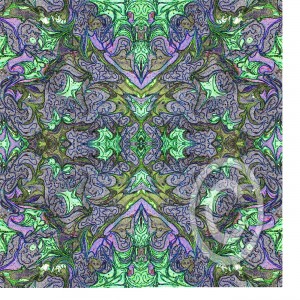
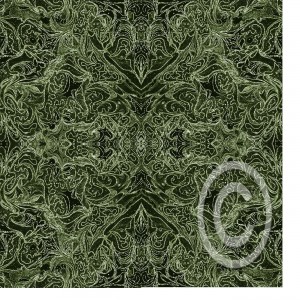
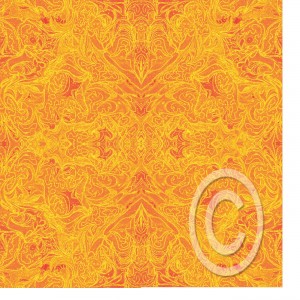
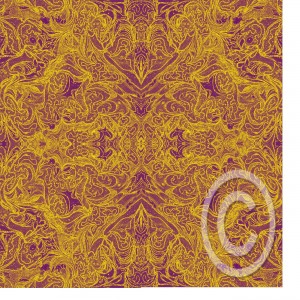
![]() That’s design repeats, not repeat columns…..I think I finally got this figured out. Readers of the blog know I’m interested in getting more mileage out of my marbled fabrics. I’ve been trying to see what would happen in Photoshop, and I end up with some great ideas. But for me to pursue licensing, I need to be able to create repeats…..so I think I’m on my way. Now, these are all copyright, so if you’re thinking about “borrowing,” don’t think any further….Nope.
That’s design repeats, not repeat columns…..I think I finally got this figured out. Readers of the blog know I’m interested in getting more mileage out of my marbled fabrics. I’ve been trying to see what would happen in Photoshop, and I end up with some great ideas. But for me to pursue licensing, I need to be able to create repeats…..so I think I’m on my way. Now, these are all copyright, so if you’re thinking about “borrowing,” don’t think any further….Nope.
I don’t know that I even have the original quilted piece of this fabric, but I have played around with it a lot. But here’s the deal…I’m posting these and then I want you to go to our Facebook fan page (link on the right) and tell me which one you like the best, and what you might do with it. Let’s see just how creative everyone is!
Here it is in its first incarnation…looks pretty springy to me. Version A:
Here’s Version B:
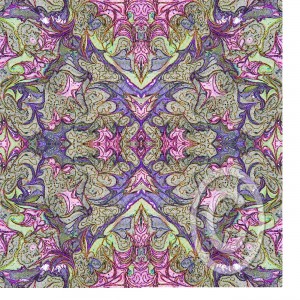 Version C: (Wouldn’t this look great with gold?
Version D:
Version E:
Version F:
Version G:
Can you tell I had a lot of fun? I have learned that if I get stuck on a project, to just put it away to “ferment,” and eventually I solve the problem. Now get over to Facebook and Vote!!!
Thursday Thoughts – Digital Marbling (TN)
Sometimes a piece of marbled fabric just begs to be used more than once – or find rebirth in a new form. That’s how our Digital Marbling (TN) was born. Playing around with the fabric and Photoshop leads to some very interesting effects. One thing I am hoping for with all this playing around is the development of some fabric lines, so I’m working on the idea of repeats right now.
Over the last decade or so there have been several runs of marbled fabric designs among some manufacturers. While the patterns are bold and colorful, I think there is a missing element in designing marbled fabric. A variety of colorways, bolds and subtles, and patterns that look like they would be easy to work with. I know when I started making fabric in 1993 it seemed like I was only comfortable putting the bold colors with blacks and whites. I want more flexibility, and to a certain extent I have found it.
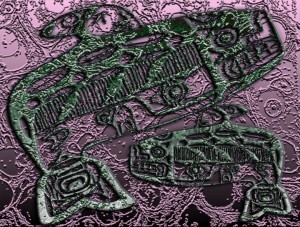
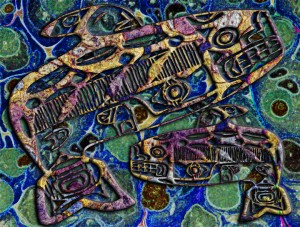
But as I work toward designing fabric, I’m using these new artistic creations as my learning. In our newsletter, I posted a pic of “Alaskan Whales,” a piece my digital partner Suzan and I had entered into a show at the Cordova Historical Museum in Cordova, Alaska. It was our first really successful digital collaboration, and I’m going to pull it apart for you.
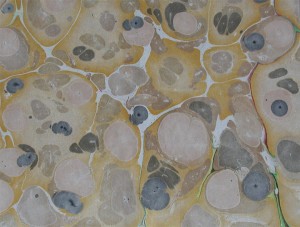
Here’s the original piece of fabric. I am amazed at just how blah that piece of fabric was, yet there was something appealing…if just means you have to do a lot of playing around to see what happens.
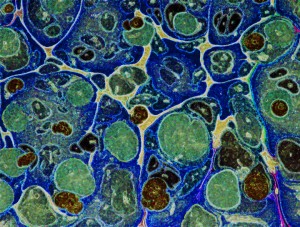
 This is the same fabric with a duplicate copy and some adjustments added.
 Now it’s approaching the water effect we were looking for. Then we looked for a graphic to use. We liked the whales, just rotated them a bit. We also added some adjustments: bevel, outer glow, some transparency. It looks like there are extra colors added, but it’s a transparency with some curve adjustments that adds in the extra colors. There are a few more things done to this piece, but I have an old version of Photoshop, so it doesn’t show.
 Here’s another version, saved from the layers we chose not to use…never know when you will come across something unusual with stuff you didn’t throw out, but just left “invisible….”
Who’s manipulating fabric digitally? I’d love to hear from you!
Don’t forget to become a subscriber and be entered to win some marbled fabrics. Check the box at the top right.
Work-in-Progress Wednesday
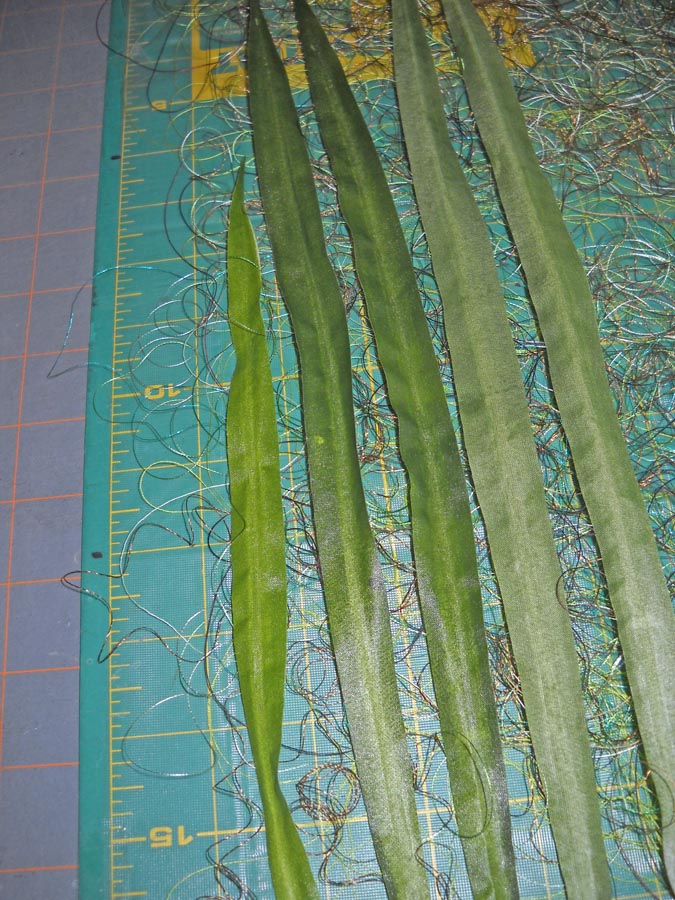
I have been thinking about the leaves for the bamboo piece. As I mentioned last Wednesday, I think the silk leaves would be too plain, and I didn’t like how they marbled, and I think thread leaves would be too fragile for such a sturdy plant. Then it occurred to me to do what I do in the classroom – it’s not an either/or, so why not combine the two.
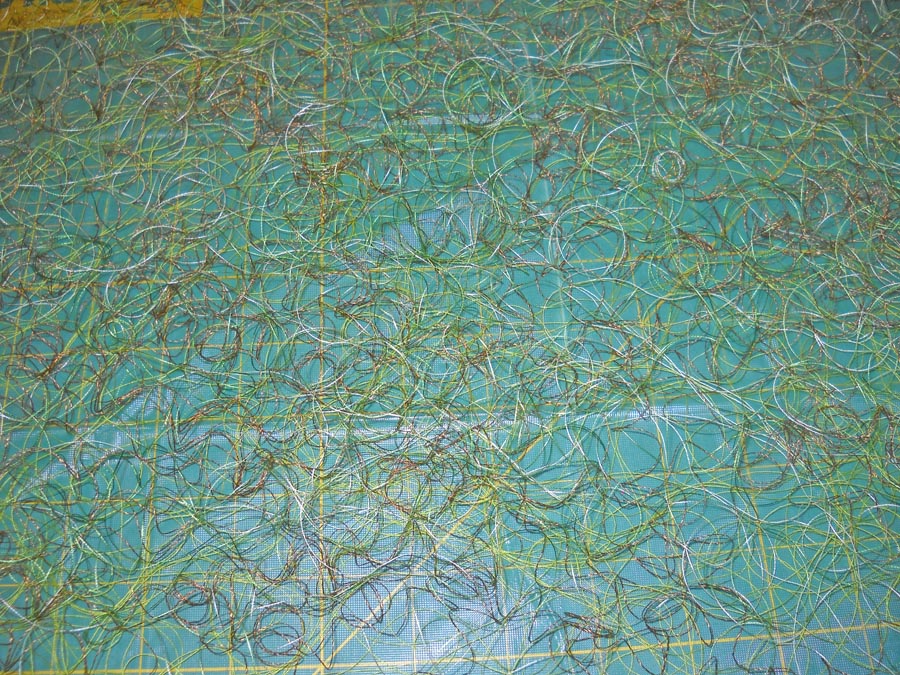
I started by cutting a piece of Dissolve from Superior Threads and taped it to an old cutting mat – that stuff is slippery. Then I started layering some of the old yucky threads I have.
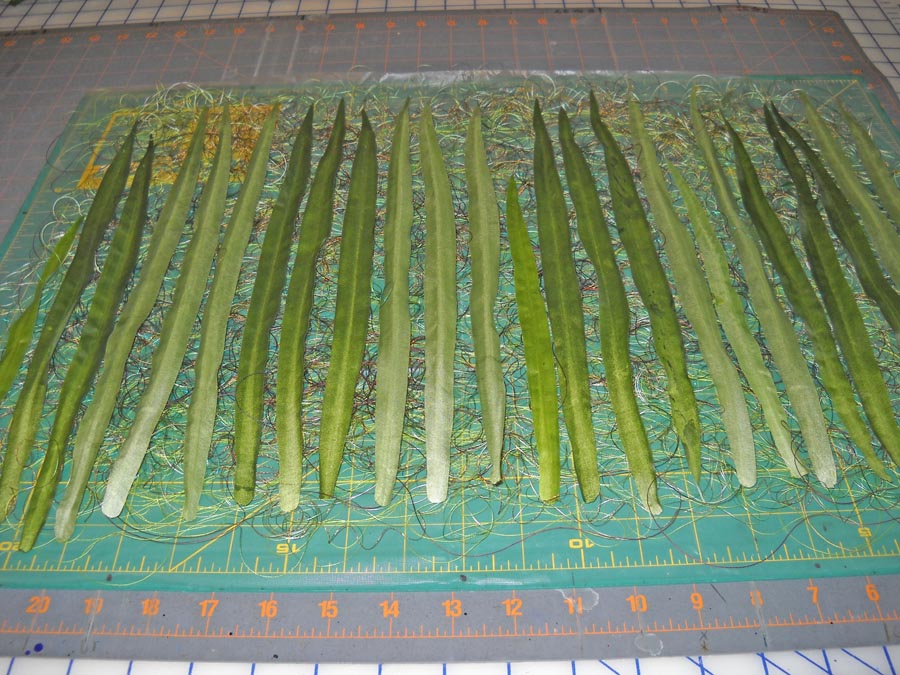
At this point it occurred to me that I could layer the silk leaves across this base of thread, after I pulled off the wire from the backing.
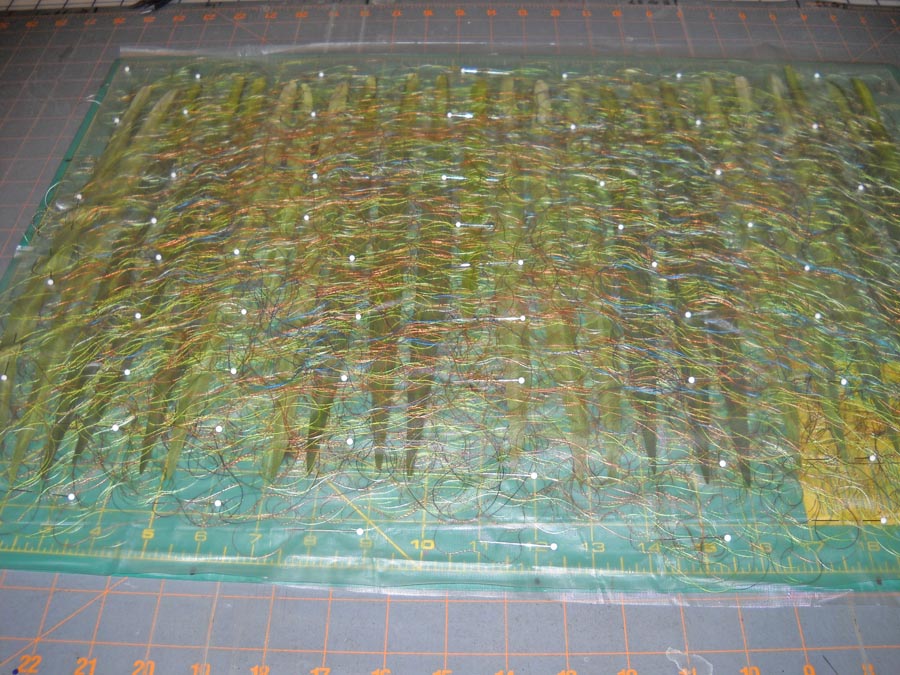
I turned some of them wrong side up, figuring I would be stitching on both sides of the sandwich, so I would get some additional effects front and back.
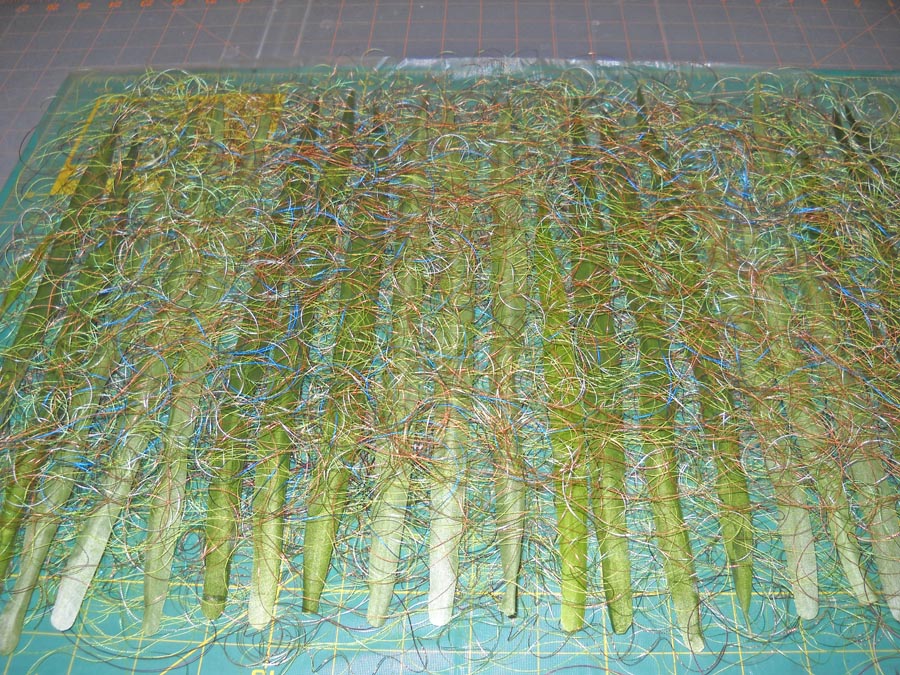
I am pleased to say it occurred to me earlier not to run the overhead fan in the studio while I was working on this….At this point I am ready to layer more thread on the top of this. Keep in mind I have no idea if this is going to work….
Now at this point I need to cut another piece of Dissolve to go over the top of this.
Now it is ready for stitching. I need to order some thread – Razzle Dazzle to use in the bobbin, and some green Lava for top and bottom. I figure I can order this week and while I’m waiting, I can finish up the bamboo strips. Once I cut everything apart, all the little slivers will become part of the base where the strips are mounted. I don’t know if I will need more leaves. I am counting on the leaves at the top to hide the hanging system. I do have plenty of silk leaves – I would need to get some more cheap thread if I need to do more thread work.
Any of you try anything like this? Suggestions? Ideas? Pitfalls? Inquiring minds and all that….
(Think Horschak) Oooh, Oooh, Oooh……I have some great tree agate I have been collecting from the gem shows….they would add some interest and weight to the bottom of the piece…I knew there was a reason I was collecting them……
Sunday Stories
I love reading blogs about the stories behind the art we create. It occurred to me I could document (primarily for myself) the process and story behind some of our pieces in our gallery on the website. There is a page on the site with some very early quilts, including an original design for a math program I participated in.
This is the PRIME quilt – the name of the program was Promoting Reform in Mathematics Education, and it was a total of 6 weeks over three summers at the University of Arizona. We gave this quilt to our professors at the end of the third summer, and it still resides in the math department.
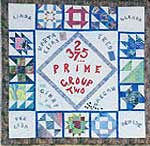 The center is the program itself, with the first few prime numbers. Each triangle attached to it is the name of one of the professors, with a little graphic representing each one; Fred, for example, had the calculator. The four corners are the teacher assistants we had, and each of the blocks is made with marbled fabric and a PRIME number of pieces. Let me tell you, the block with 37 pieces was a doozy to do.
We all signed the back of the quilt and presented it with the message that a puzzle was built into the quilt. Five 9 years later I filled in two of the professors as to what the puzzle was – the prime number of pieces. This was a fun quilt to design.
The quilt that started me on my present journey with marbled fabric is Gaia 1: Interdependence.
This is kind of a cross between a traditional stone pattern, some basic combing of paint, and some chevron pattern. When the fabric came out of the tray, I liked the interplay of the turquoise with the earthy colors. The turquoise reminded me of the gifts from the earth. I don’t know why I started to cut into strips – maybe just because I wanted to try weaving something. I really don’t remember.
I had five strips and nothing was working. Then I decided to just weave it back and forth and see what would happen. I liked where it was going and cut the strips in half so I would have more to work with. I used a thin batting (which I since use exclusively) and backed it with a fossil fern fabric. Then I started to quilt, just by following the lines of the fabric. I went for three hours without stopping because I was loving how it was working.
I didn’t want bindings. I thought it would detract from the message of interdependence of all the elements on earth. Then I hit on serging the edges. Now this was before I really understood what a serger can do. I still hadn’t figured out rolled edges. But I knew I wanted some type of variegated thread, so I just experimented.
Then came trying to hold it together. I used a LOT of pins and very carefully pulled the weaving off the design wall onto the quilting table upside-down and started to stitch all the strips together. Let me tell you, that took forever….
Well, the problems weren’t over. A basic sleeve wasn’t going to work for hanging, so I spent a few weeks trying to figure that out. I ended up buying a set of napkin rings with an earthy feel to them and looked for a piece of bamboo. The big problem was anchoring the napkin rings to the strips – with a lot of delicate sewing….but the piece has hung for five years in an office in Tucson with not a single problem.
I knew when this was finished I was on to something. The bamboo I am currently working on will be the fourth in the Gaia series of weavings. I do want to do more…the images I saw of rice paddies in southern China would make another interesting weaving…..
Work-in-Progress Wednesday
I have to say, I have been busy. I originally was thinking nothing was going to happen art-wise in July because of so much work on the business. I was wrong…the last week has been incredibly productive. Last Wednesday I wrote about my lava piece just telling me it really wasn’t finished. Here’s last week:
And here it is now, since it told me it was “finished:”
Turns out it needed actual lava – those little round pieces are actual chunks of lava I collected over a couple of visits to the Tucson Gem Show each February. I also added more lava flows, and nothing really interferes with the quote on the back. This is going to go up in the newly-developing Etsy store.
My “purse” didn’t make it as a purse…I loved the play of the fabrics together, but I couldn’t get handles to work the way I wanted them to…so now it’s a nice new basket for collecting fabric scraps.
If you were reading on Sunday, you saw the finished “Desert Heat” quilt, now on the wall in our bedroom.
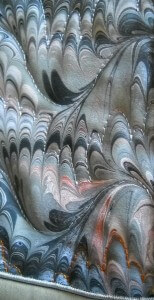
Now I am working on my “bamboo” quilt, started about 5 years ago with a piece of marbled fabric in the chevron pattern. One of the things I like about this quilting is that it is very zen-like, in that you can just follow the lines of the patterns. You can see the original piece of fabric here. You’ll see what I mean about the lines of the pattern.
As I was quilting yesterday, it occurred to me to take pictures of the process, and then that led me to think about putting together a tutorial on quilting marbled fabric. There is an interesting story behind the quilting. Years ago I pretty much just put marbled fabrics with blacks, as I wasn’t sure at all about my color sense. I did slowly branch out, but it was Quilt artist Ellen Kohen who took a piece of fabric and quilted it. I knew there was more I could do with the fabric, but I wasn’t sure how to approach it. Once I saw what Ellen had done, I was hooked, but it took confidence to start the free motion needed to accent these patterns. Starting this Sunday, I’m going to introduce “Sunday Stories,” and I’ll take a look at the story behind each of the pieces in my gallery on the website.
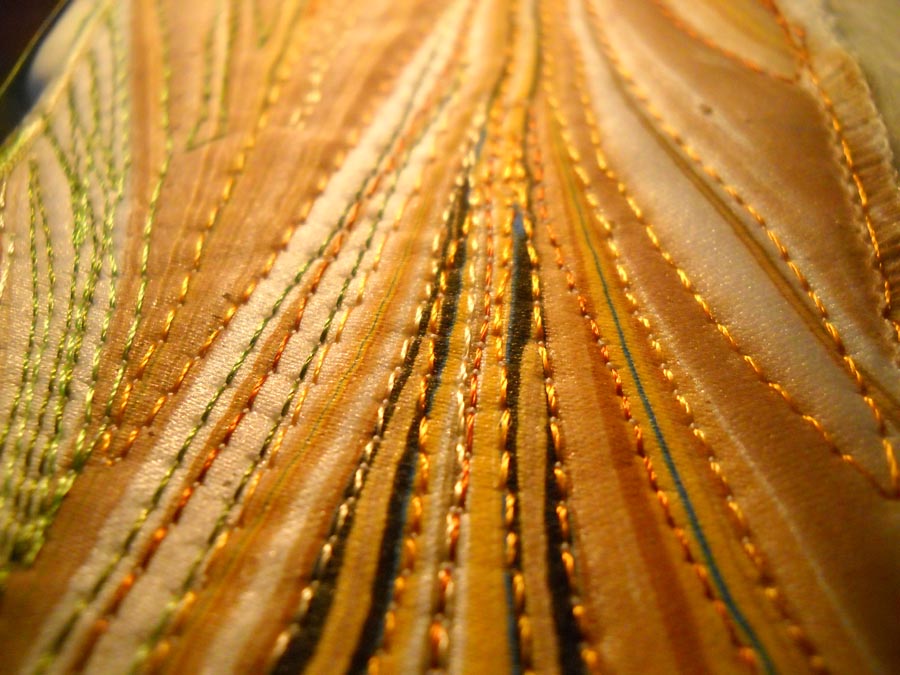
For today, here’s a close-up look at one of the bamboo strips (which I am aiming to finish by mid-August, as I want to enter it into an art quilt show with my “Ocean’s Bounty.”) You can easily see all the “lines” in the pattern and how I have followed the lines with a variety of different colored threads. The problem you might run into (as I have) is when to stop with the lines – you can get easily sucked in to quilting everything.
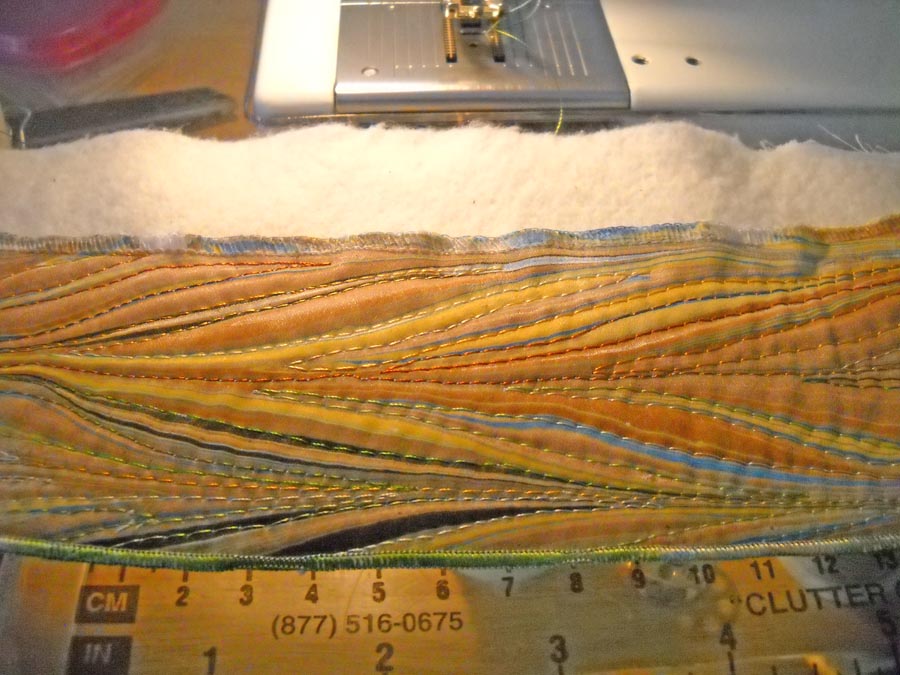
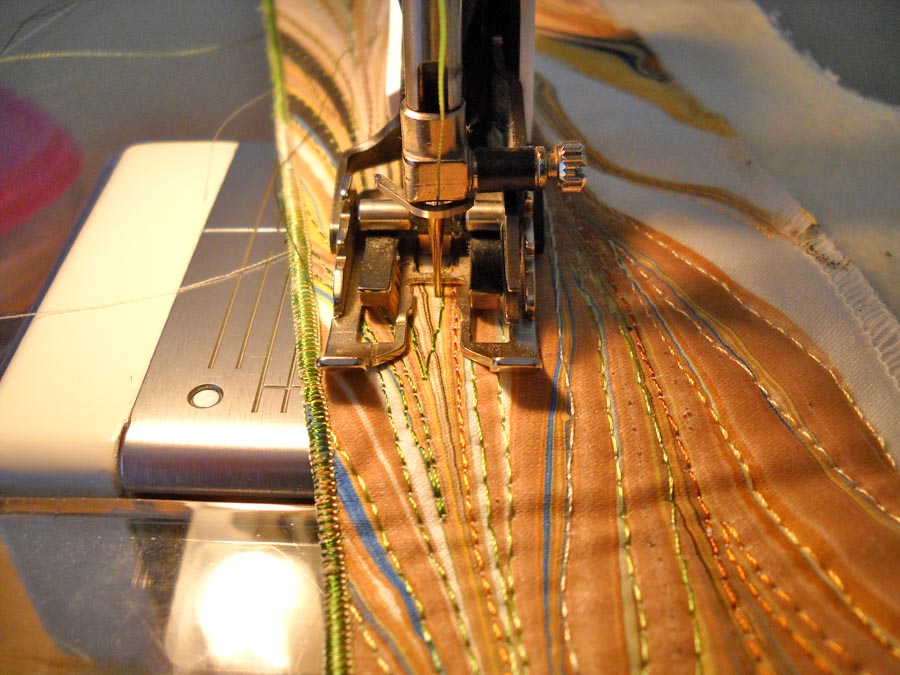
You can see the serged edge in this piece – which is how I usually finish these weaving pieces. I’ve learned over the years not to serge until I am finished with the machine quilting.
This is with my walking foot, but I’m not totally happy with the control with this foot. Because there are slight curves to these lines, I use my regular foot and am quite happy with it. I think this is probably a personal preference. I tried the free motion foot on this, but I didn’t have the control and even stitches I wanted for this design.
I have four and a half “strands” of bamboo finished at this point. I can quilt for a couple of hours, listening to some John Denver and just kinda zone…as I mentioned earlier this week, I am amazed at just how much I get done when I think a project will take forever. Now what probably will take forever will be the leaves. I’ve tried marbling some silk leaves – not happy with them. I am thinking some thread leaves, but they may not seem “sturdy” enough for this hardy plant. I do know thread leaves would be a great use of all my lousy threads I have hanging around. I haven’t broken any threads with some 6 hours of quilting – have I told you how much I love my Superior Threads?
If you would be interested in a tutorial on quilting marbled fabric, please leave me a comment and let me know. If you’ve got pictures of some marbled fabric that you have quilted, I would LOVE to see it.
Quilting Breakthrough….
 I’ve been away from the sewing machine for a couple of weeks, and I was experiencing withdrawal…I am almost finished basting my Desert Heat quilt, but I had been thinking about my Sunrise piece, since I want to finish it for Show and Tell at our January meeting. I started work on it tonight as I got home from school early (7 teaching semesters left till retirement!!). Getting home early today was like a half-day off.
The piece to the left is similar in color and pattern to my Sunrise piece, but the piece of marbled fabric I am using has more subtle blues to it. I started out free motion quilting the waves to accent the clouds, and suddenly I found myself following the curves of the marbled patterns – rather successfully, I might add. Quilting marbled patterns can be interesting – stone is fun and easy, and freeform just is zen-like. But the more complex patterns call for lots of curves and steep turns. I just kept at it – which I really shouldn’t because too often I end up having tension problems that I never check till I’m done. This time – everything seemed perfect. I pulled it out of the machine to look at and realized it was a breakthrough – I have found a way to quilt some of these curves while “staying on the lines” and accenting the curvature of the pattern.
That’s the breakthrough – more fabric is getting pulled out for possibilities in quilting. In the meantime, I think the name is getting changed – to Salmon Sunrise, and I think it will become my entry for the Cordova show this spring. I think it’s going to look subtle scaley – if that’s even a state of being…..
Speaking of zen-like, I have my grades done, as well as my lesson plans for the frst week back – almost unheard of for me. I want to look at linear relationships a little differently, pulling in careers where being able to figure slope is important. Then it occurred to me, since these are straight lines, that we should look at some zentangles, and then have the kids do their own – straight lines only. I did a couple with just straight lines and incorporated them into my power point – here they are:
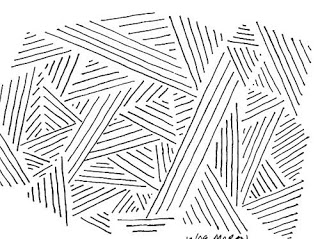
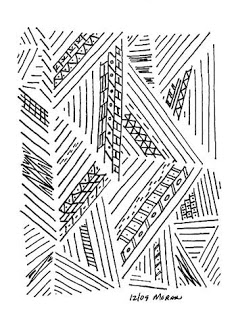
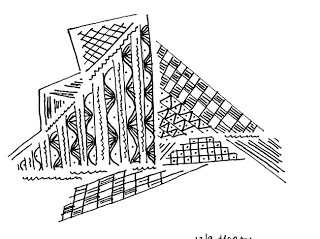
So I started cheating on the last one – just a couple of curves…..
Top Ten Marbling Sites
copyright 2008 by Linda A. Moran, all rights reserved
Marbling is such a fascinating process, hundreds of years old, and much of it still “hidden” to the public, given that the Guilds used to be very protective of their skills and secrets, and would put marblers to death if they shared secrets outside their guild. Not in these days – you have paper marblers involved in antique book restoration, commissions, and marbling fabric. We spent ten years learning the craft, just to consider ourselves passable at marbling. We have so much left to learn! What follows are a collection of links to this amazing art form. What I am trying to do with my blog is document how I am using the marbled fabric we create into other forms – quilting, abstract, wearable, and digital.
All of these videos are pretty good – gives you an idea of just how meditative this art form can be. Some of the videos are 7 minutes or longer – but worth the wait. Plan to spend some time, as the work is gorgeous! The websites have amazing work on them, so enjoy!
From YouTube:
Paper Marbling
Turkish Marbling
The Art of Marbling
Ebru Sanati
Ebru Sanati 2
Marbling Websites:
Marjorie Beavis
The Art of Fabric
Galen Berry
Society of Marbling – loads of links here on marbling – some amazing eye candy!
Iris Nevins
Playing Around…
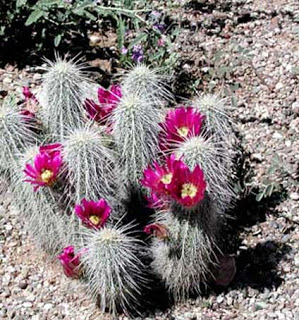
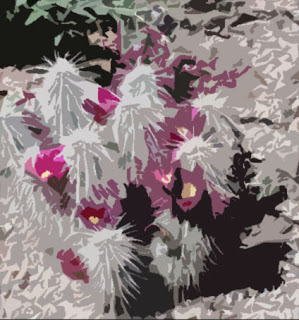
This is the original of a cactus in bloom at the Gardens last weekend. It’s smaller than I would like, but it still would make a good small print. I tried a lot of different filters and cropping and adjustments, until I was satisfied with this one. This is the “dry brush” filter, and I like the effect. It would not have worked without the bright pink blossoms for contrast.
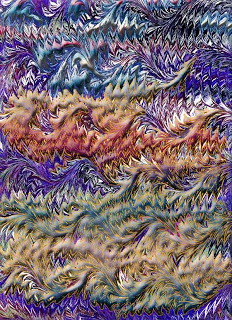
Then I decided to take one of the pieces of marbled paper and see what I could do. This is a pattern, a variation of a chevron, that we have been trying to do and having no success with. So I might as well get some mileage out of this piece of paper. One example is the dry brush, after some color adjustments, and now I have a piece that could work with water. It seems like once we get a really good background we can then play with possibilities for a foreground image.
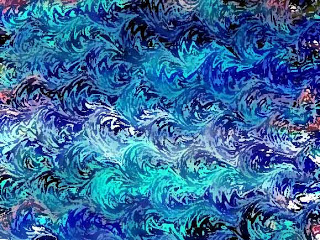
Here is a different chevron pattern. I did a lot of different filters and wasn’t satisfied. I reoriented it and was somewhat happier. I need to go back to some earlier lessons and review how to get a basic line drawing to work with – evidently not the “sharpen” filter – I think it’s the “blur” and then an “inverse.”
Then I really went to town with copying pieces of the pattern and putting them on a new layer and adjusting that layer, as well as using a few gradients. This is tentatively titled “Swimming Upstream.”
History of Marbling, Part 2

The article has long been submitted – but here’s the rest of it!
Turning fabric into art was a long time coming. Dean and Linda worked initially to perfect their marbling skills on fabric, experimenting with tools to create patterns, as well as refining the pretreating process. Like the Middle Ages guilds that would keep marbling techniques secret, it was very difficult to get accurate information about tools, combs, and patterns. They learned the basic patterns of nonpareil, bouquet, stone, and chevron and experimented with free-flowing patterns and swirls. They started selling to crafters, quilters, and sewers interested in wearable art.
Marketing was originally limited to local groups, but after hearing the price to set up a website of their own, Linda undertook the steep learning curve of html in order to get their product out to the world. After 10-plus years on line, they worked with a web designer who also was a quilter and digital artist. Linda discovered the need for a more professional online portfolio that emphasized the artistic end of marbling, as opposed to the more commercial one of just selling fabric.
Linda stumbled into “fabric as art” at a meeting of a local critique group. She felt there was more that could be done with a piece of marbling. She and Dean loved creating new fabric, but they wanted a way to enjoy the truly great pieces. One new friend bought some fat quarters and came back to brunch the following week with a quilted and embellished wall-hanging – exactly what had been in the back of Linda’s mind but unable to exactly see. She started cutting and quilting strips and weaving them into unusual forms, leading to their first trunk show at Textures Gallery in Scottsdale, Arizona.
EBay provided an unexpected outlet of getting fabric out into the hands of fabric artists over the last three years. Blogging became a way of recording progress on art pieces, as well as musing about the artistic process. The realization that they wanted to do more than just create fabric to sell to others was no longer what they wanted to do. Dean joked that no fabric was safe from marbling – they would try to marble just about anything to see what would happen. Forget lace, velvet, nylon in favor of linen, velveteen, organza, brocades – and, yes, polyesters.
Now Dean and Linda have a dedicated studio space where potential half-yard pieces hang on the design wall, waiting for discussions about the stories they will tell. One of the most wonderful moments in learning marbling was realizing that a piece of fabric could tell an amazing story through simple lines and spaces of paint and color. One series is called Gaia, and the weavings focus on the abstract beauty of the planet, told through color, line, and shape, accented with quilting and embellishment. Another series explores the power of the mandala, the circle of life. Yet a third takes on the small beauties of everyday nature: the simple rock garden, the quiet pond, the rough water. Then there are other pieces that just have to be: a detailed rock, a comfort quilt for a friend, a stream for a geologist, a tide pool for an environmentalist. Using environmentally safe products and processes, it was a natural leap to develop series based on nature.
This art form has become a major part of their lives. It’s not only a chance to share their creativity with each other, but the two are able to bring different styles to the marbling. Dean is more studied in the dropping of paint, working very methodically. Linda likes the randomness of the paint globs and the unexpectedness of new designs. They love the study of a good piece of fabric to decide just what the finished story will be. They spend weekends when they are not marbling scouring galleries to breathe in art and look for interesting subjects and techniques that could carry over into the marbling process.
They experienced a two-year period where nothing about the marbling process worked. Fabrics from overseas were treated differently and it was harder to remove chemicals. Paint formulas changed, and certain colors were no longer bright and distinct. The local water wasn’t conducive to the marbling process. The worse part was feeling like they would never be able to marble large pieces of fabric again. They would take out special pieces and moon over them, wishing they could create again. One by one they eliminated problems and were finally able to marble once more.
There was no question that this was what they were meant to do together. Facing the two years without their marbling sessions was very difficult. For Dean especially, coming to marbling after years in wholesale/retail, this art form brought out hidden skills. For Linda, this was recognition that she could be an artist in a medium of her own, without criticism from others.
Sharing their art pieces with others still brings a thrill, especially when visitors watch the marbling process. The oohs and ahs as the patterns develop are like notes of joy from others as they see new beauty. One gallery owner, in jurying some pieces, said the work was amazing, gorgeous, and too high-end for her gallery. Feedback is important, and the list of accepted jury shows continues to grow. But for Dean and Linda Moran, and Marble-T Design, it will always be about the creative process.
Same Piece of Fabric….

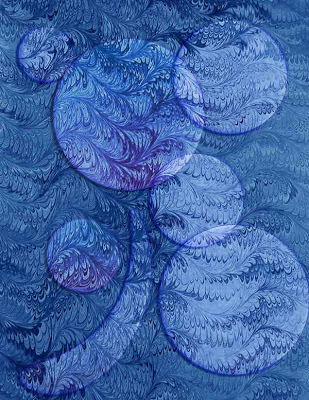
The last couple of designs have all been from the same piece of marbled fabric, as is this one. What follows with the green shades is interesting, but it needs lots more work. Very agricultural….
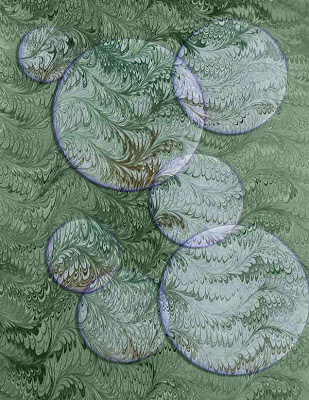
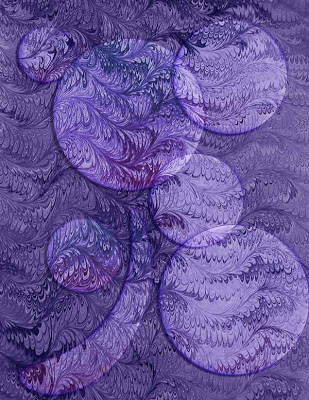
These next two are variations of the same, with the hue and color balance changed. In the blue, I was able to “twirl” one of the circles, and I really liked the effect. I wasn’t able to get any of the other circles to do as cool an effect, but I do like it in purple.
