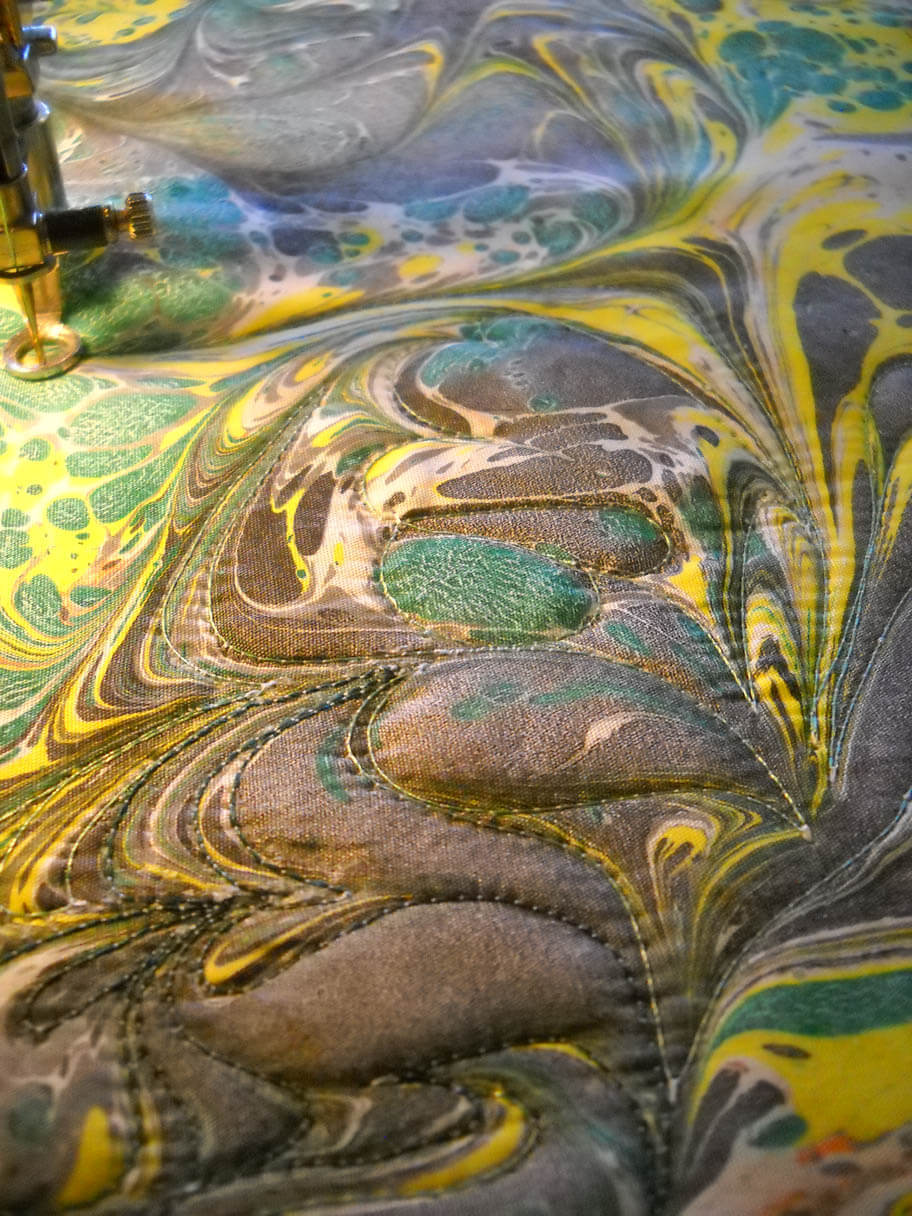
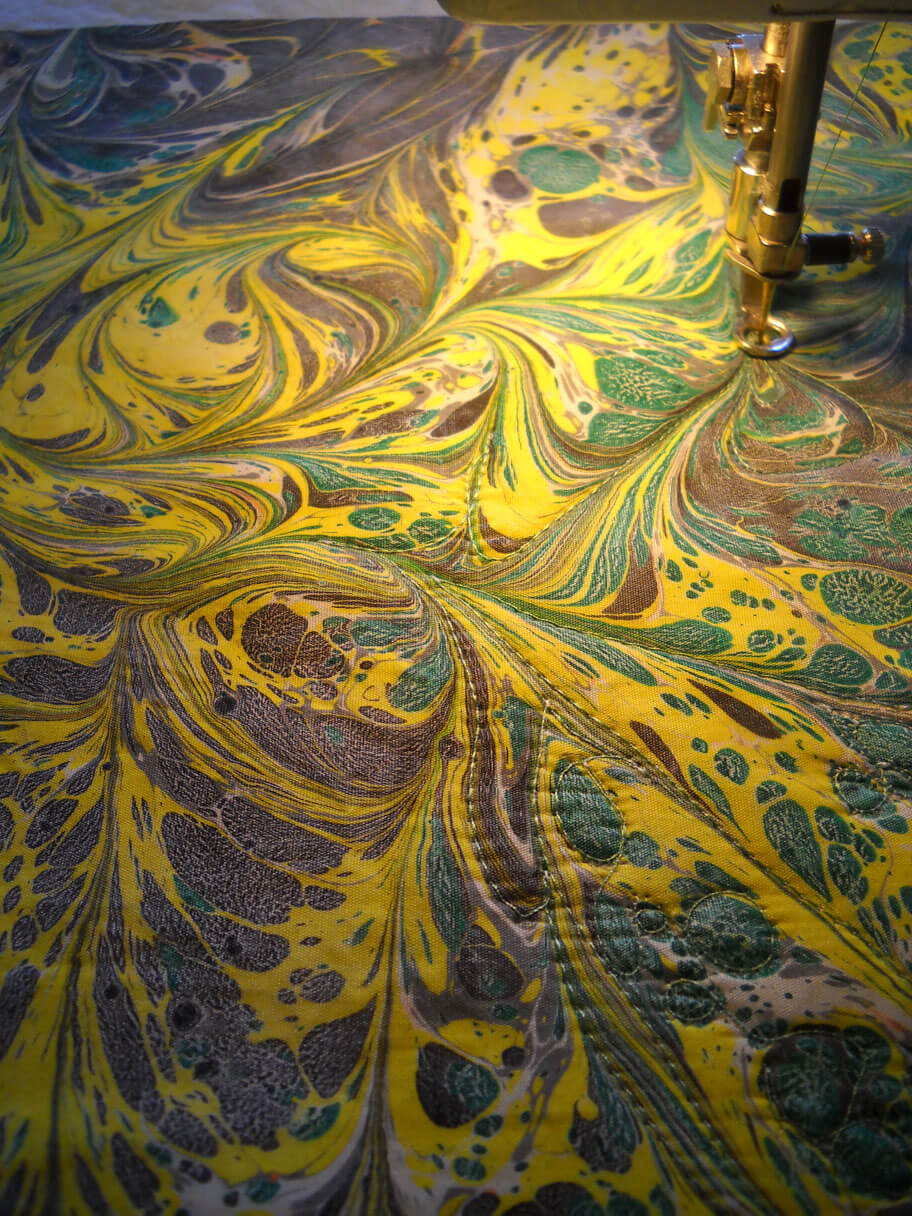
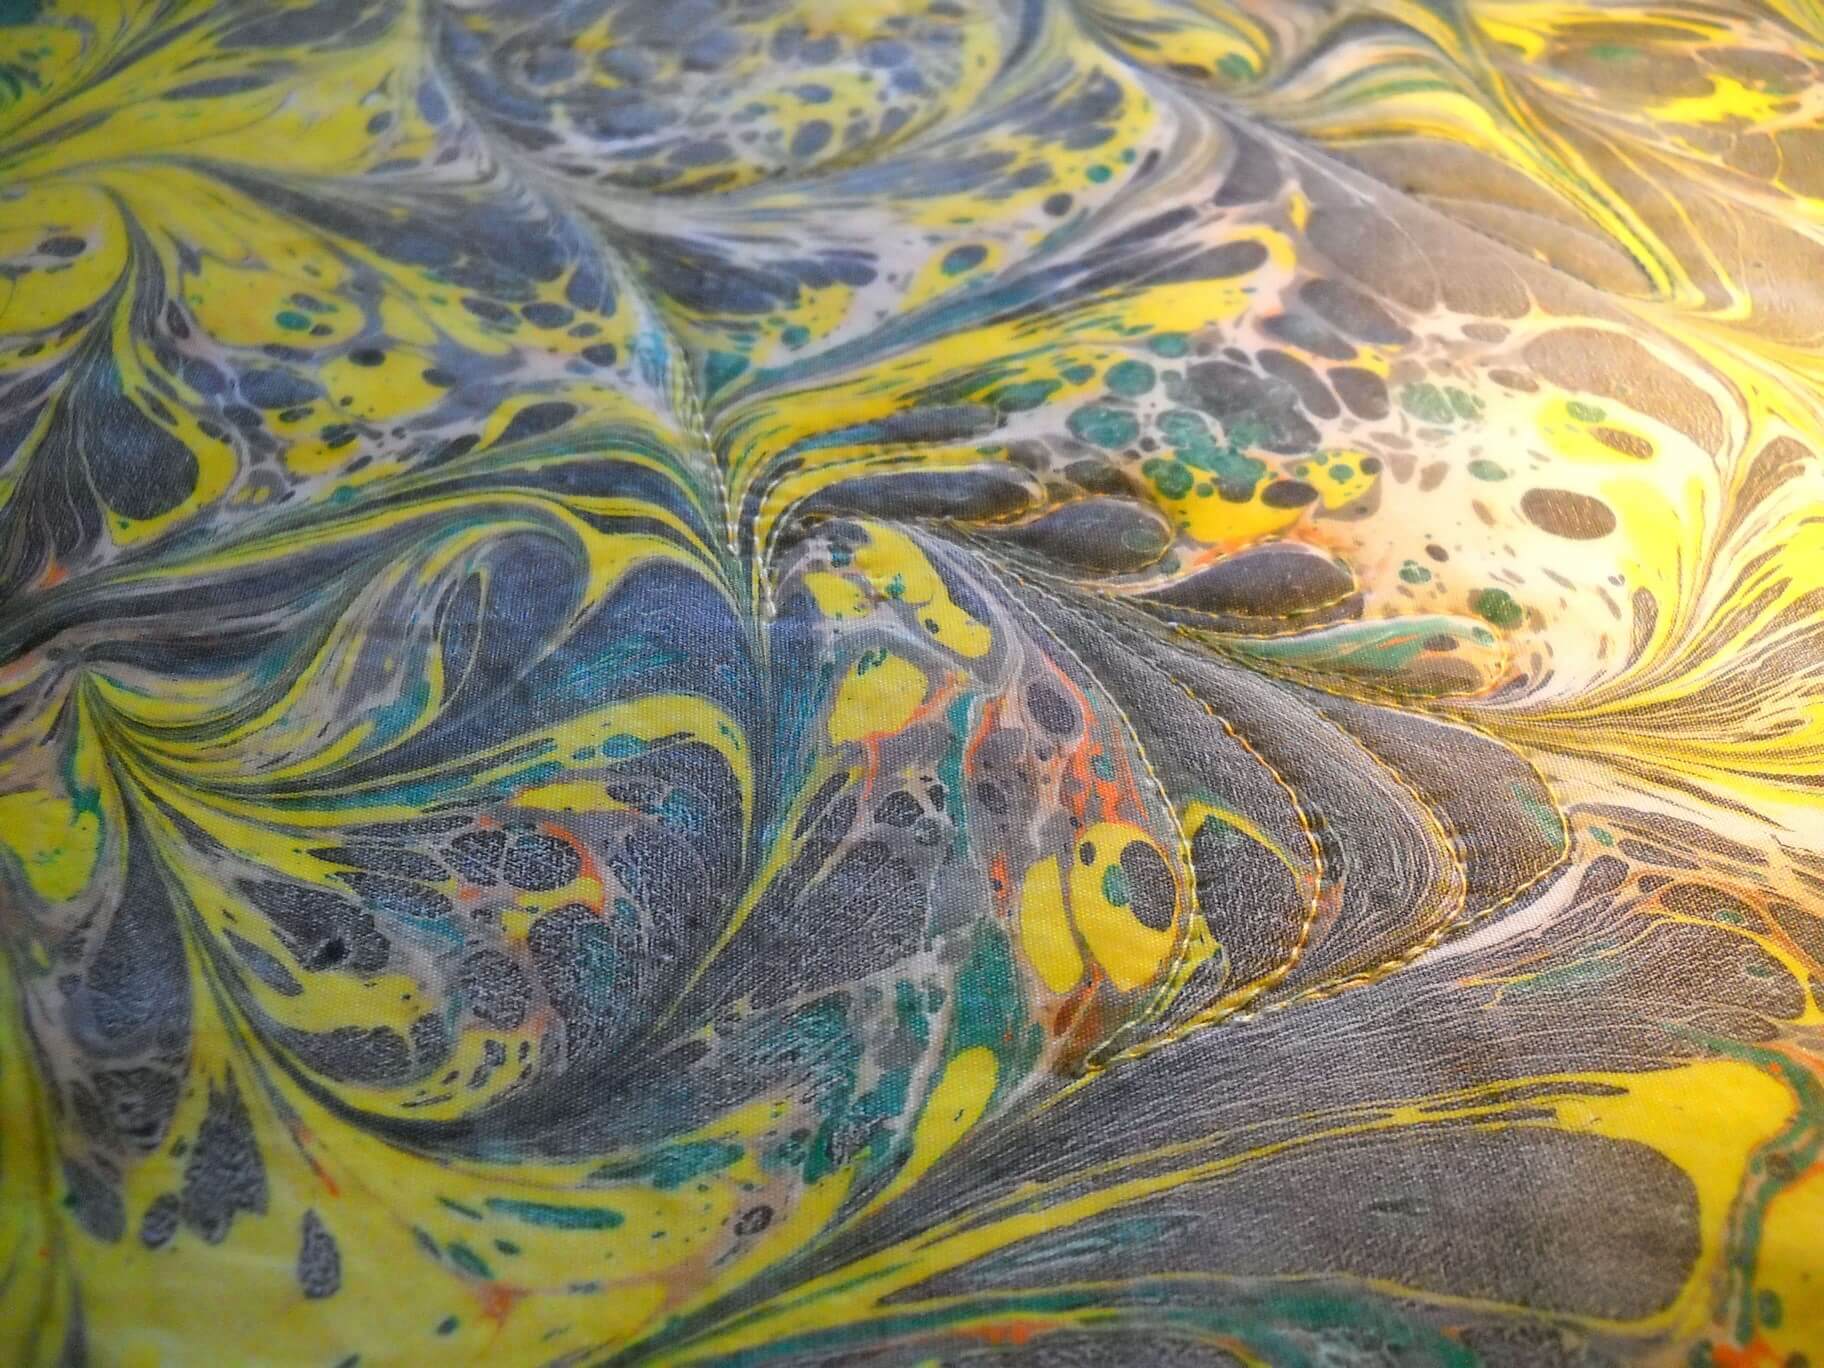
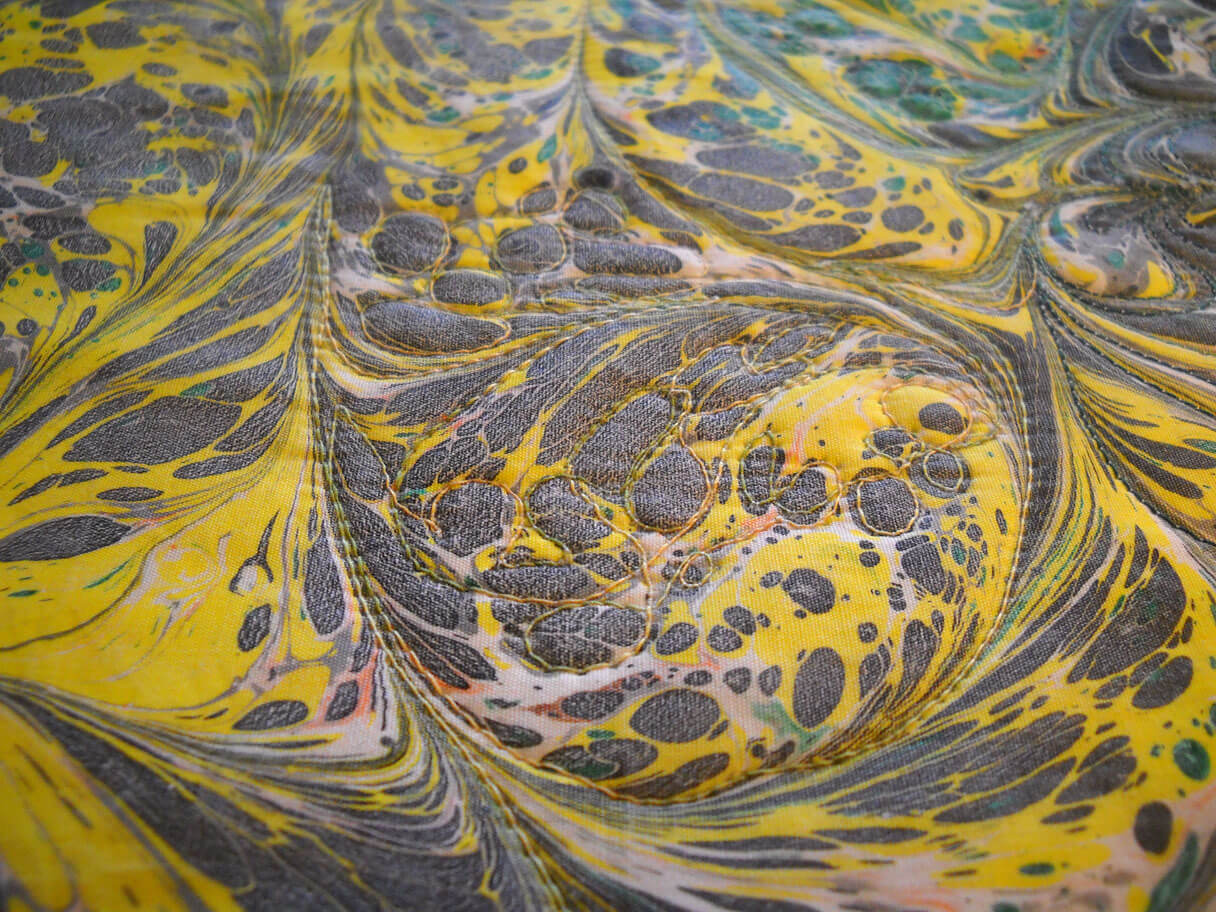
Archive for the ‘quilting’ Category
52 Sparks – Week 4 – Aloneness
This was an interesting question this week: How do you feel when you are by yourself?
I spend a huge amount of time time by myself, usually working on something artistic. It seems like I have always been by myself growing up…and yet, you can never be by yourself when you have a good book. And that is still true.
But I never had a lot of friends. I am quite the introvert, so moving to something artistic just seemed a natural. I think my introversion became even stronger, given my position in a family of extroverts, coupled with emotional abuse. So I am accustomed to being by myself. My husband and I do most everything together – we are each other’s best friend. The fact that we can – and do – work at art together is a great plus for us.
I can remember my dad asking me how I was, one time when he came to visit. I said I was lonely. I did a lot of things by myself, and I could always read, but I think it was more a case of seeing friends with others of the opposite sex, and I would wonder what was wrong with me. I finally decided if I was going to be single, then it would not keep my from doing whatever I wanted to do. Alone can be very good – I get a lot of work done on fiber pieces, a lot of planning. Especially with retirement. So when I do have “alone” time, I plan projects or lose myself in a good book.
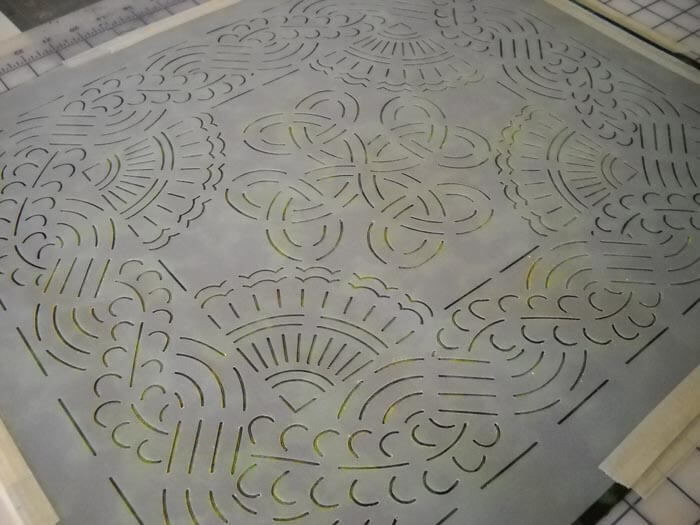
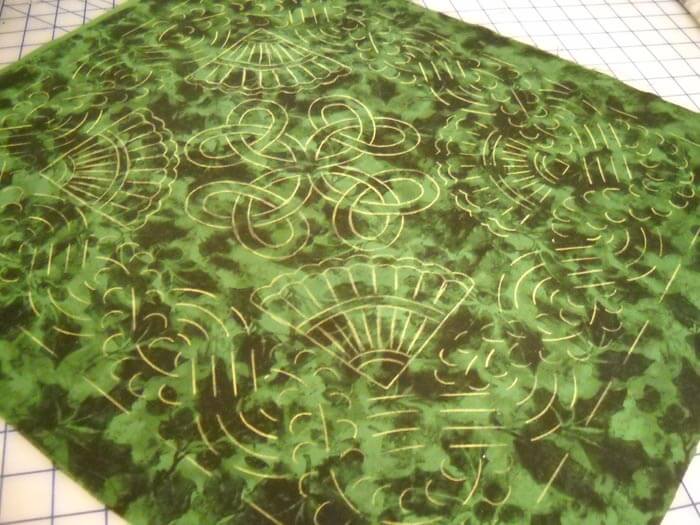
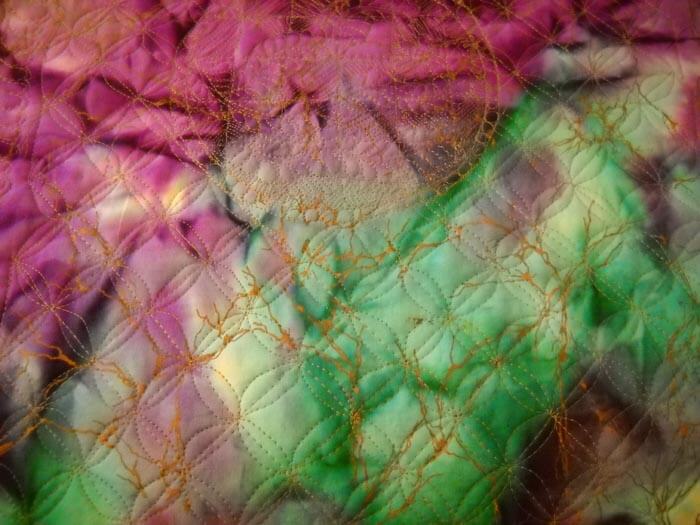
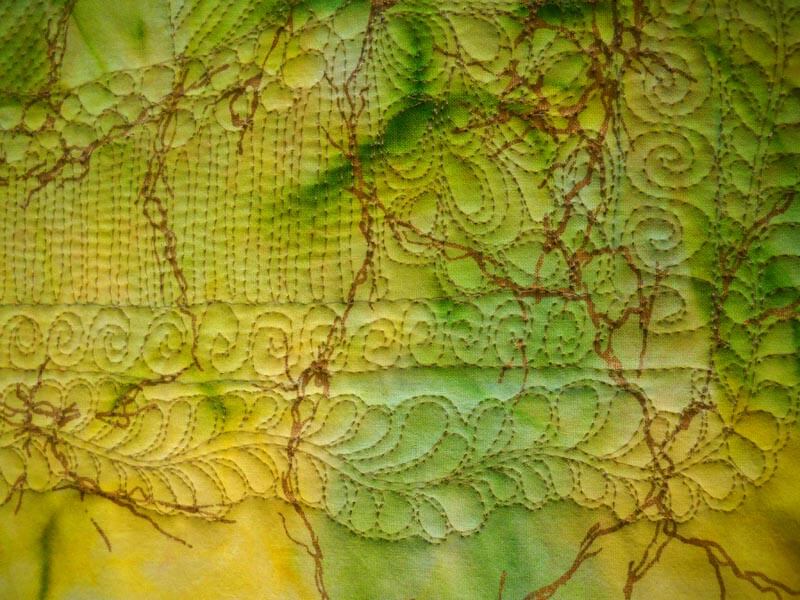
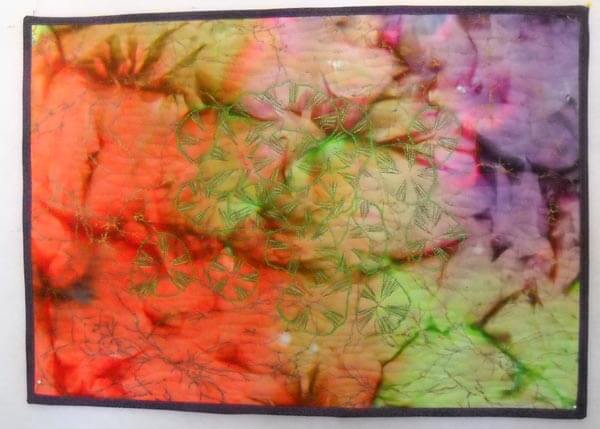
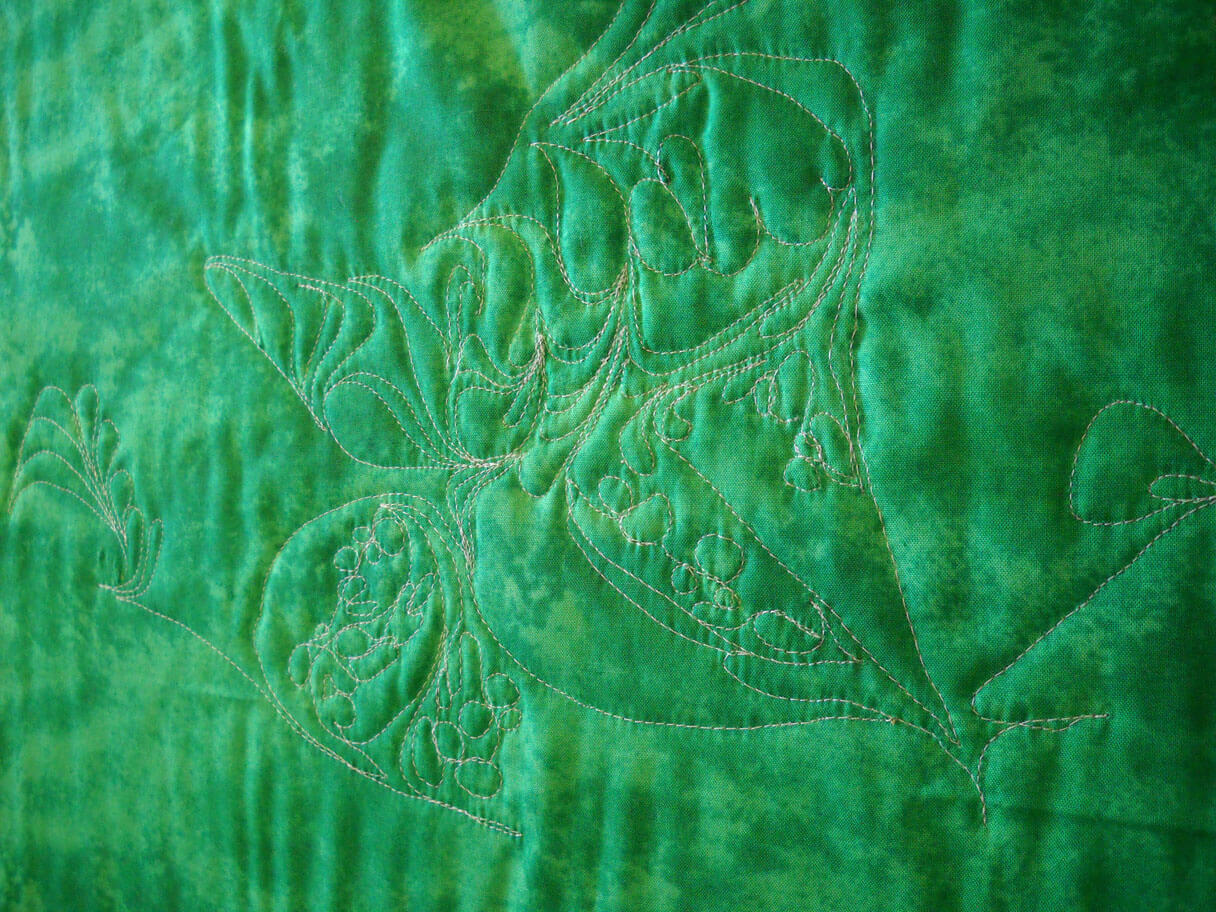
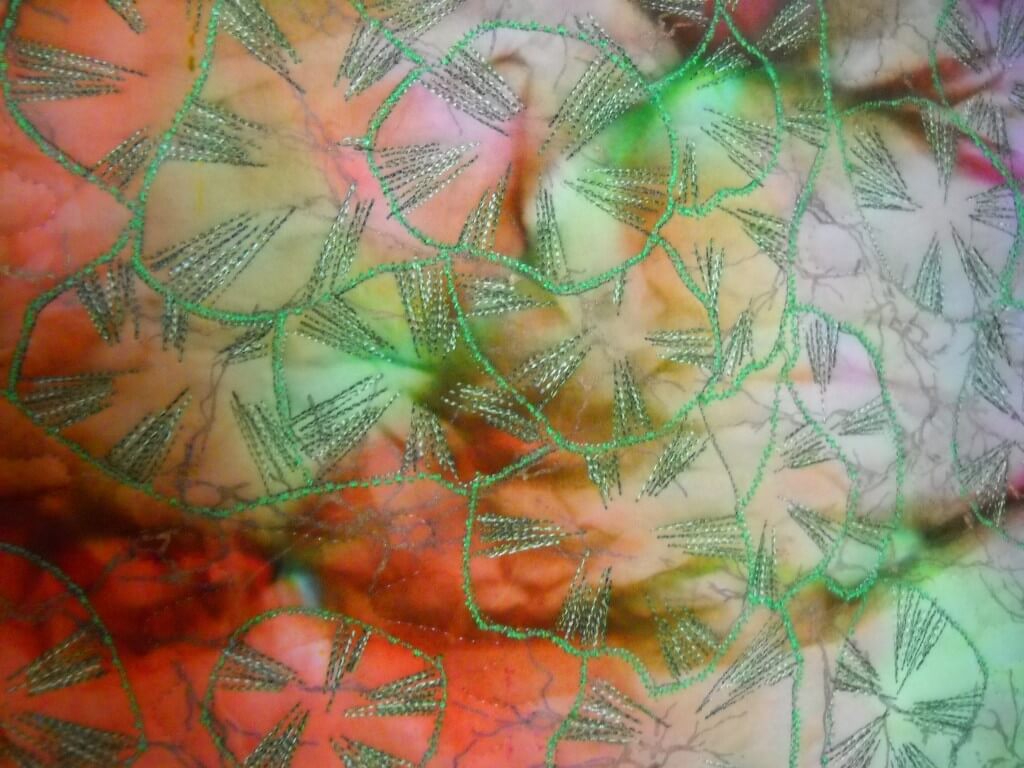
So since I haven’t started something new, I decided to try a “whole cloth” quilt because of the class I’m taking on Craftsy with Cindy Needham. I had the really great stencil from about 12 years ago…..I finally found where I had “stored” it. I pulled a green piece with some interesting tonal print to see what would happen. Here’s the latest “in progress:”
Of course, most of the yellow marker has already rubbed off…….
Works in Progress….or Works That are Finished….
Yes, I am finishing things, some of which I can’t show yet, but I do have an “oldie but goodie” from the far past, from at least 25 years ago…….this is an afghan I made of a teacher colleague for her first child. She sent me a picture a few weeks ago, and I can picture exactly where I was in Phoenix making this little bear. The bear has now been passed on to a grand-child, so it’s good to know Bear won’t be lonely. I didn’t have a picture of this, as it was WAY before I started documenting my work. So thanks, Ann, for sending him along to me!
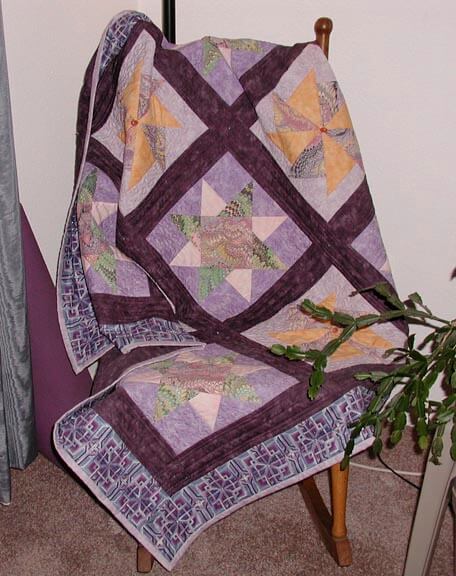
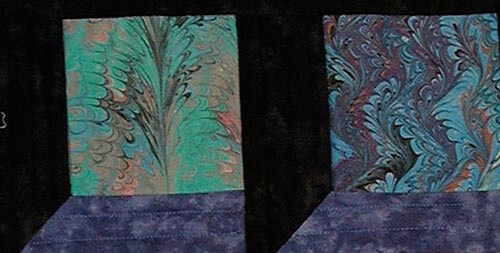
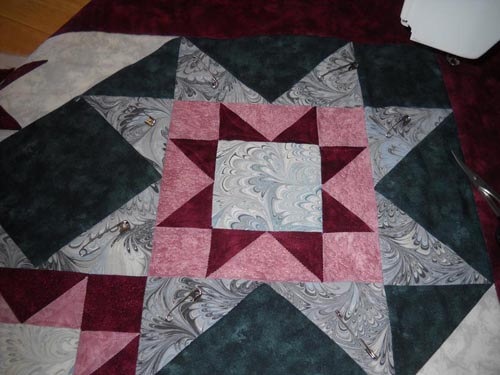
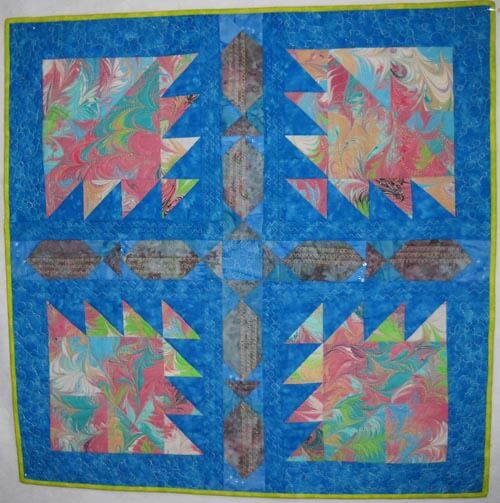
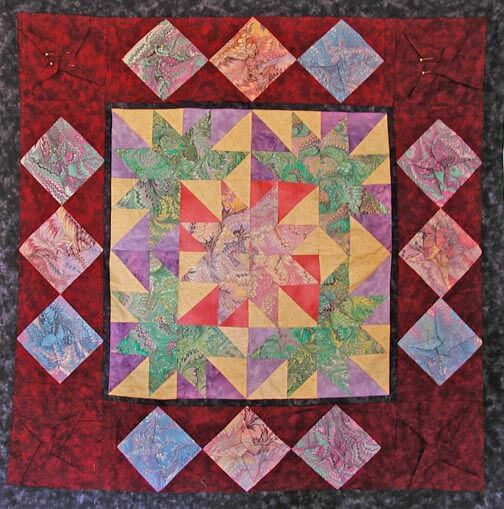
Also completed and never photographed (and needs to go under “early quilts” on the website) is my purple quilt – a really original title. This quilt happened in several stages. First, I did the basic blocks as part of a different quilt I was trying to design. There were 9 blocks, 5 of one design and 4 of another. Probably five years after originally making the blocks, I sashed them and then added a very geometric print for a border. This was the first time I actually started mixing some prints with the marbled fabrics. I did some beading, but I probably need to go back and re-do because I certainly didn’t do the beading well. What I particularly like is the secondary design in the blocks, where the marbled fabric actually looks like it is swirling.
Another completed project – the dresser scarf for hubby, based on what I’m learning in the Craftsy class with Cindy Needham. I may decide to take the serged edging off and replace it with binding to eliminate the curl on the edges. But it has been a great practice piece. Now I need to finish mine…….
I love how the cathedral window quilting works with the hand-dyed fabric.
This next is a work in progress, a type of self-portrait, but my own distinct version of it. Think of “marbled end pages of a book.” More to come the end of January……
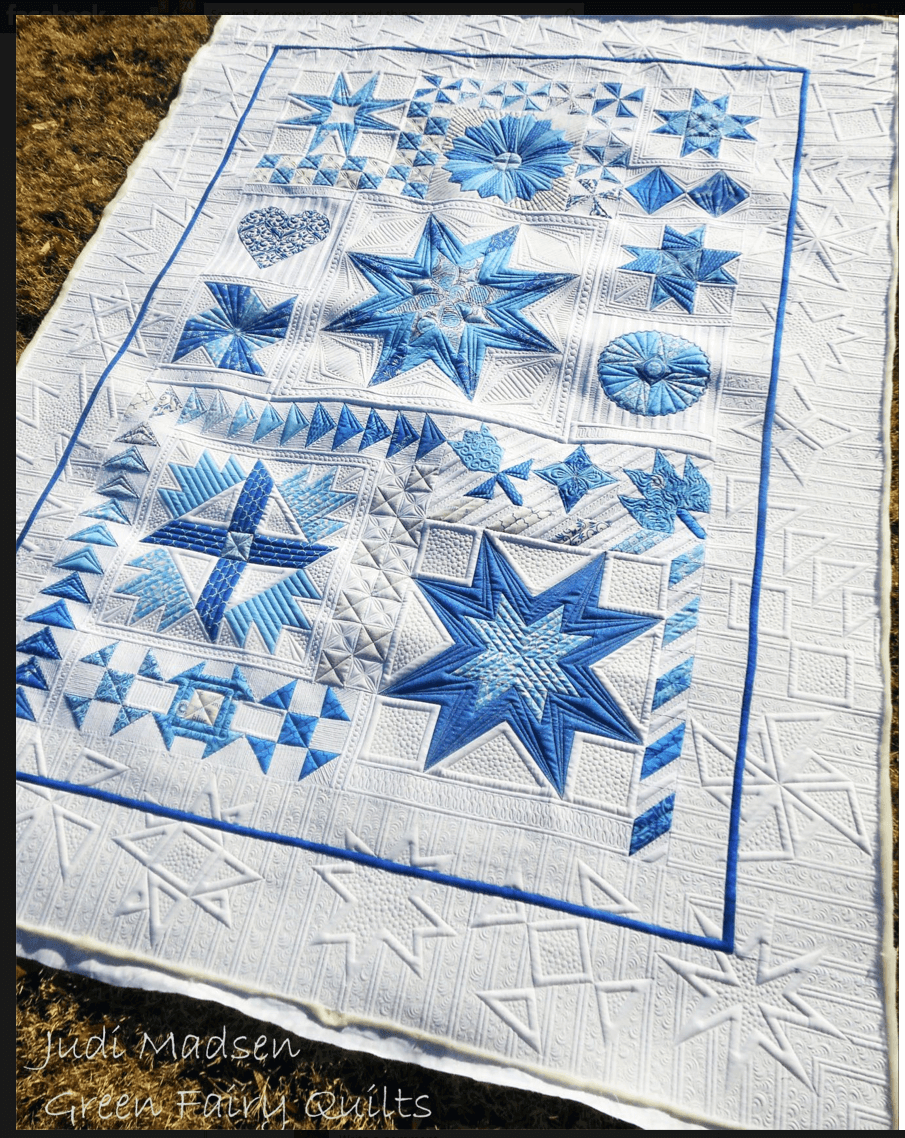
This is a snapshot of a quilt completed for a customer, where the quilter did this A.MA.ZING. quilting. I can only hope to aspire to this level of free motion quilting….from Green Fairy Quilting. You have to check out the blog and see all the close-ups……drooling…….
Work in Progress Wednesday – More FMQ
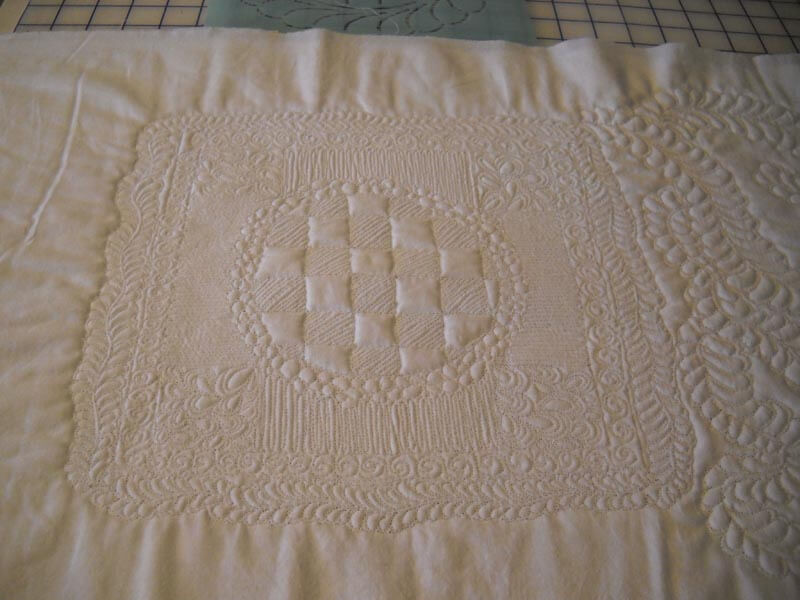
In order to cope with the depression that has settled, I set a goal of sewing for a couple of hours every single day. It is helping. I’m taking Cindy Needham’s Craftsy class and getting LOADS of ideas. Plus, the FMQ challenge has a great tutorial on borders. So I started experimenting with both. I’m using the dresser scarf (one of two) to practice on. This middle section doesn’t really coordinate with the first one (or the soon-to-be last one), but these are for practice.
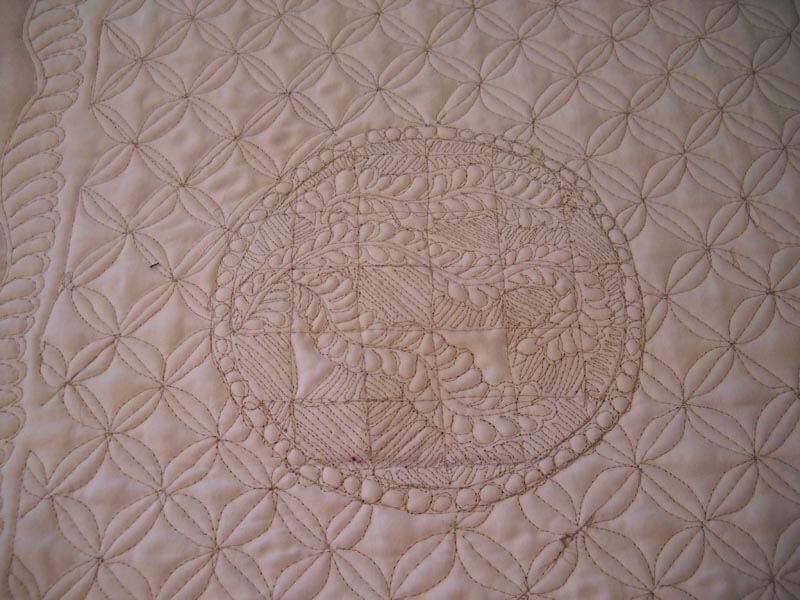
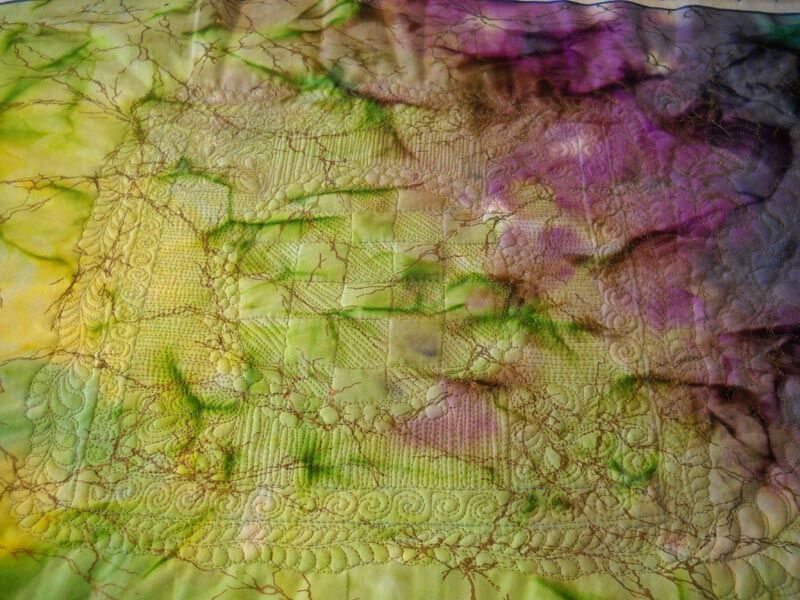
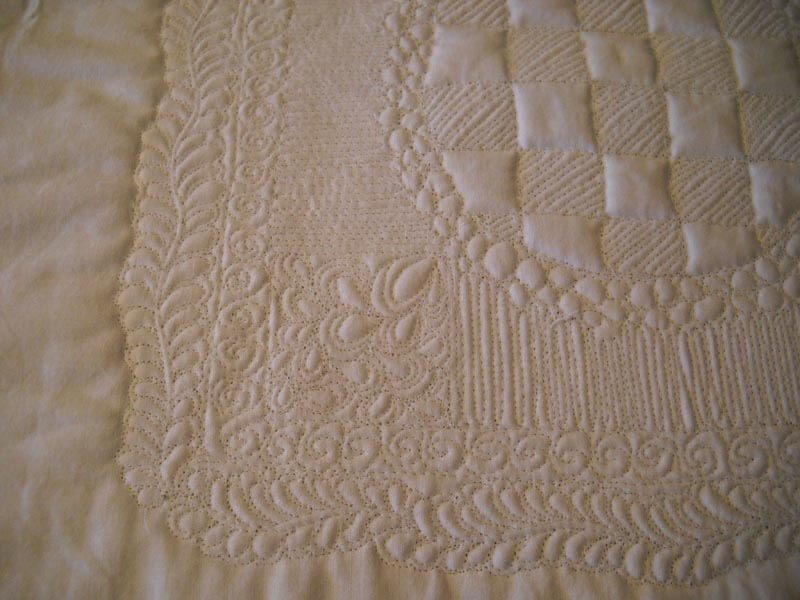
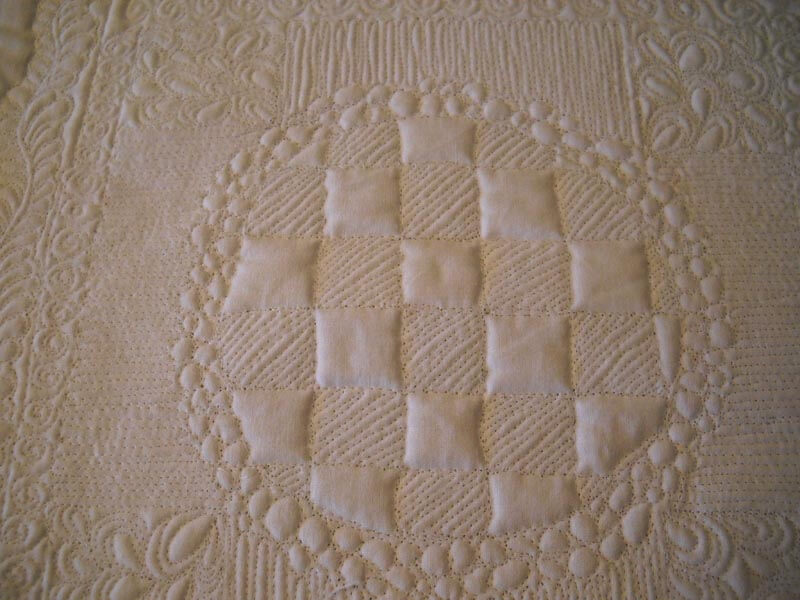
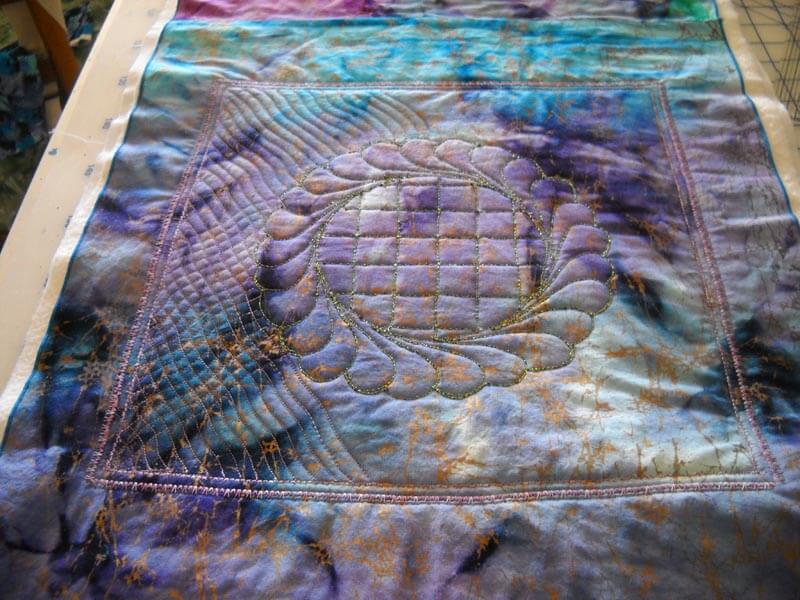
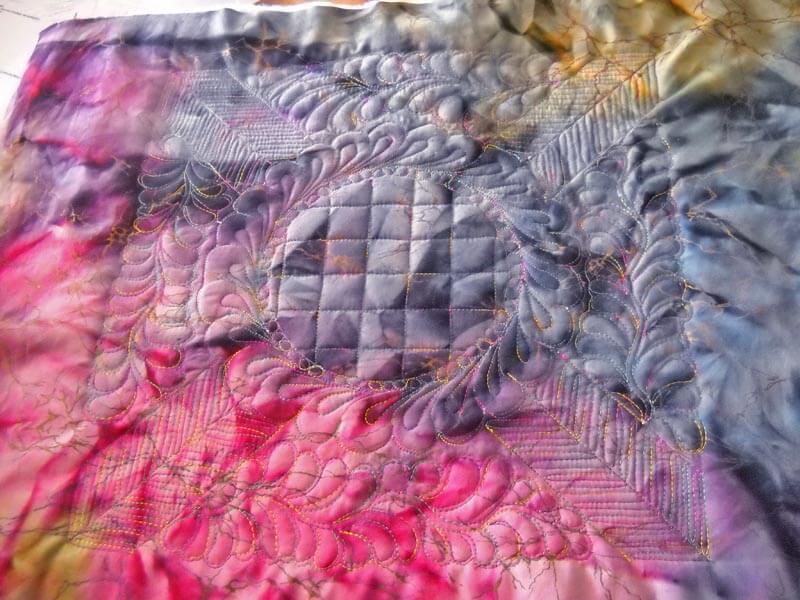
I am maintaining the circle stencil motif in the center of each third of the piece. Then I started with some of Cindy’s “sunshine and shadows” in the center, and then a round border of some pebbles. Then I took some ideas for borders from Patsy Thompson’s tutorial. Even added a paisley corner from Leah Day. LOVE the back – I actually managed to get the tension to work. I used Bottom Line in both top and bobbin, as I was trying Cindy’s suggestion to use that to add texture. I used the freeform feathers from Leah Day that Cindy talked about to unite the two sections. Liking the freeform there! This center part is about four hours of quilting – incredibly therapeutic. There is definitely a whole cloth quilt in my future!
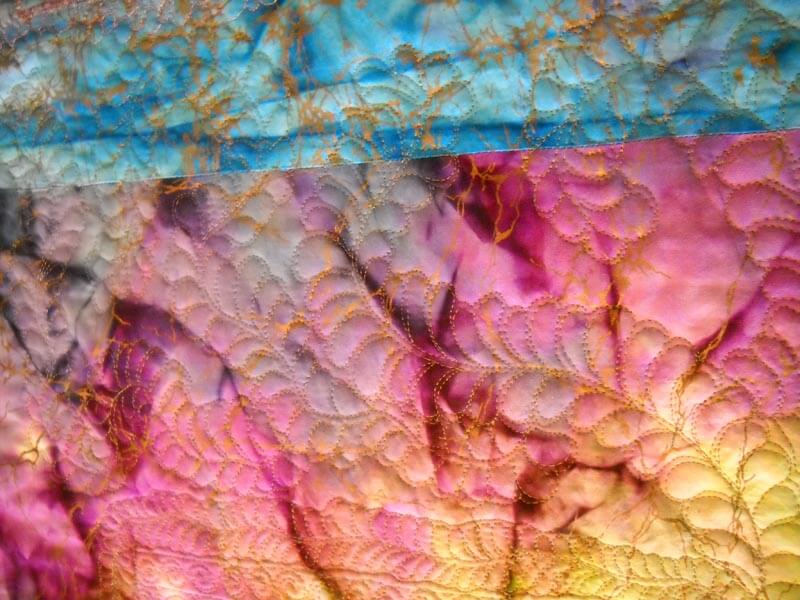
Here are the free motion feathers…could have done more in the blank spaces, but I was running out of steam……….
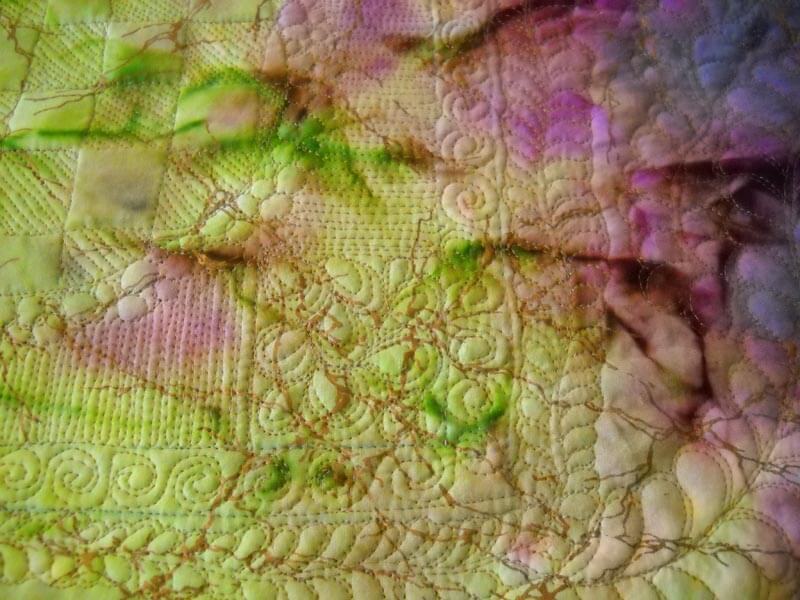
A look at the center, with the edge of the circle, first, second, and third borders.
More of the center section.
Some pics of the back – LOVE it!!
Work in Progress – More FMQ
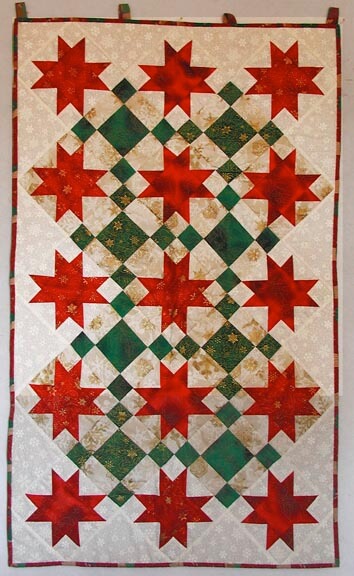
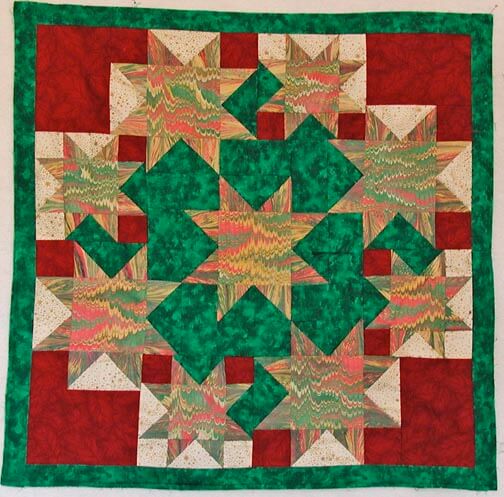
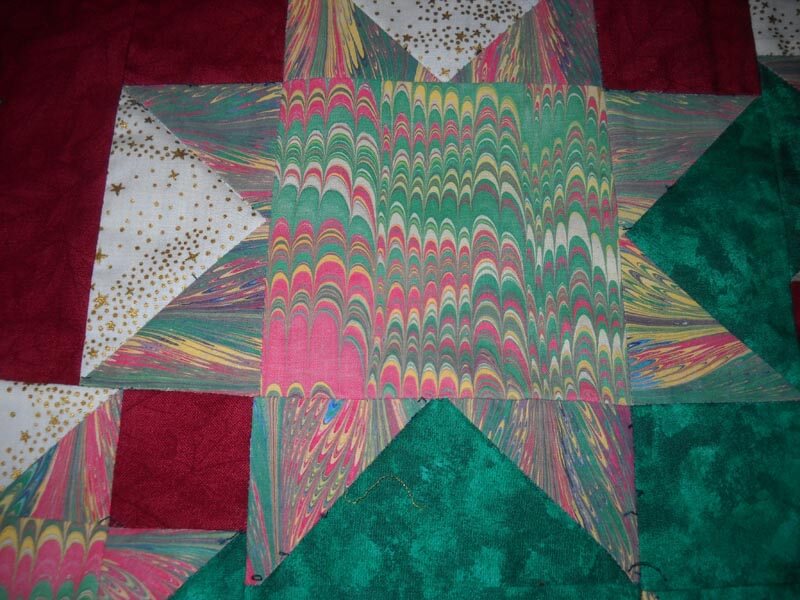
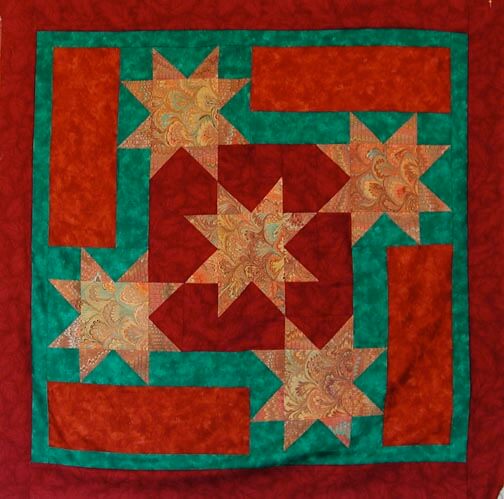
Sewing sewing sewing…lots of thinking and planning and actual sewing. Loose ends galore, but I am slowly working through them. I don’t have enough projects, so I took apart a second Christmas quilt I made when I was practicing rotary cutting and piecing from either Better Homes and Gardens or American Quilting. I pulled it how for the decorations, but the quilting is appalling, given what I know now, so I took it all apart one night. This time I was smart enough to take a “before” picture. The lighting is off, as the top portion is as white as the bottom part.
One of the things I learned in doing this quilt is that we have borders for a reason. When I did the layout, I was surprised to see that I had unwittingly planned the stars on a white and a beige, and everything went together perfectly. It looked fine to me, I didn’t think I needed a border. Once I got the binding on, the quilt just looked so unfinished. Since all the Christmas fabrics are out again, I know I can get some more of the red and green that will be the same tones. I also don’t like the backing – too “dull” in color, and doesn’t really work with the reds and greens. So this goes on the list.
I took advantage of the sales on classes at Craftsy, and I bought two of them: Cindy Needham and Jane Dunnewold. I am five lessons through Cindy’s already, and it has been more than worth the money – learned loads so farm, and as I progress, I will have several quilts that I can practice on.
Including the two dresser scarves to complete the set in our bedroom. I started the long one on one end, planning to do a lot of experimentation. So I used some Razzle Dazzle thread in the bobbin and did a complete stencil in the middle of that fat quarter. Not bad. Then I was thinking about how to finish off this one-third. I squared off the stencil motif and did a small decorative stitch around the stencil. Wasn’t happy with it, so I made the decorative stitch larger and went around again. It certainly stabilized the quilt. The I decided to do a variation of a tangle, with curved criss-crosses. Biggest lesson? Space the lines further apart…..this is going to take a while to finish….Here’s progress so far.
It will be good to use these scarves to practice all the FMQ patterns that Cindy will be showing. And then I have this “portrait” project to work on….and the pattern….and the list goes on…..
Some Finished Projects
A busy week, no question about it! Since we are leaving for a few days away and up in Sedona, I had a long list of things that needed to be finished before we left. I’m happy to say I got it ALL done….as well as start the list for next weekend! Cannot stay idle – too many projects to do!
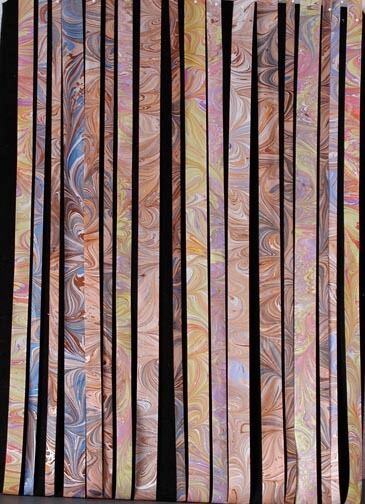
First up is part of an order we really can’t say too much about, but we sent off a load of marbled ribbons to Manhattan for a magazine shoot coming up. When we can say more, we will….it’s pretty cool…..
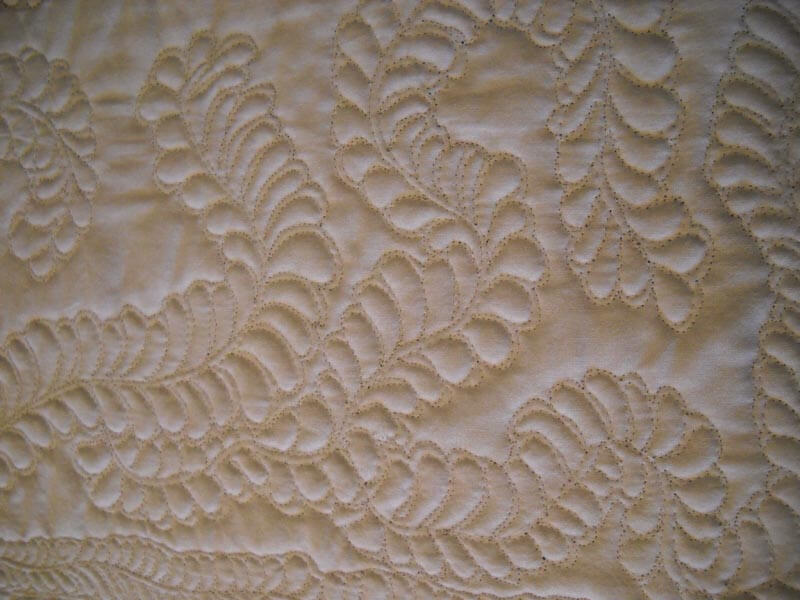
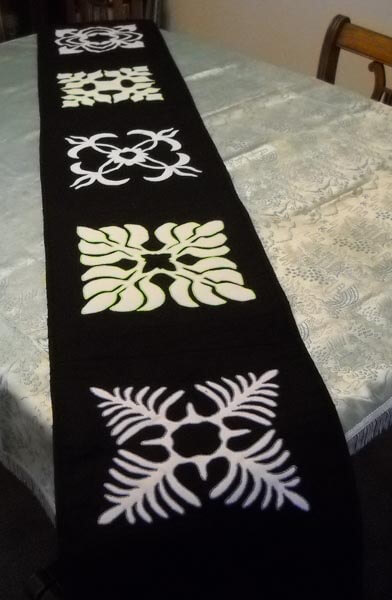
And…as part of the ongoing table runner project for my second mom, I finished the last of the 5 table runners and delivered it in time for set-up for Thanksgiving. I am finished with old white polyester, but the runners did work out beautifully. This last one was really hard on the eyes, so I only did three motifs, rather than the five. I extended the size by making the connecting pieces wider, and then I went to town on feathers. Love doing feathers, especially since I never figured I’d ever be able to do them. This was the one delivered in June.
This is the last of the five.
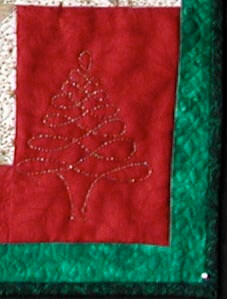
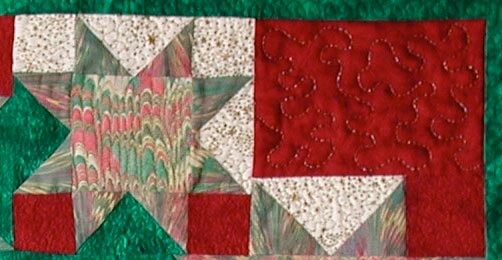
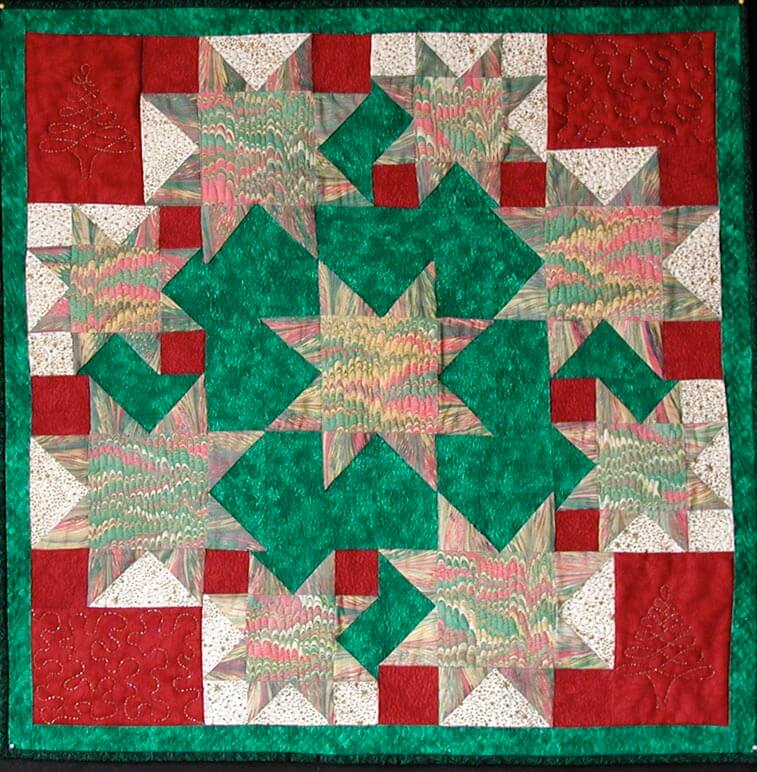
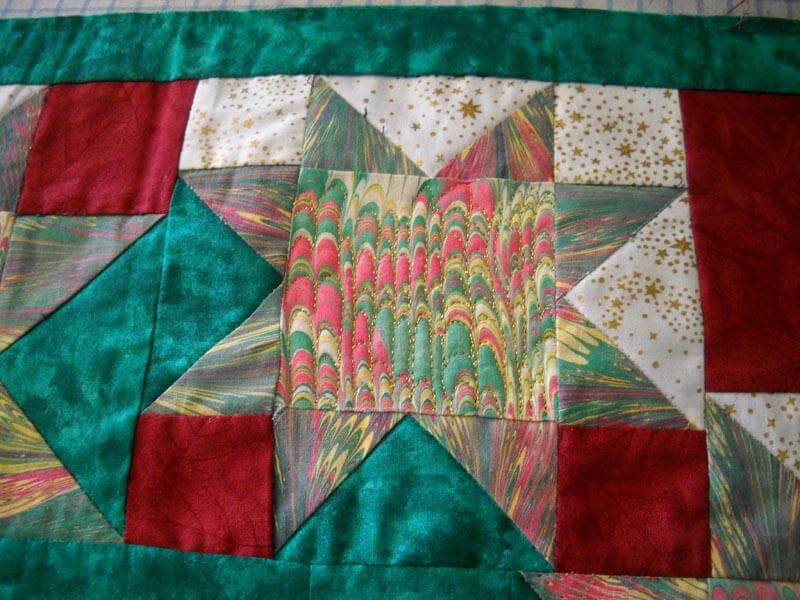
And…I finished the makeover of my Christmas quilt. I learned a great deal. I still have to work at the trapunto, but my goal with this makeover was to get the star blocks to be the prominent feature of the quilt. I did three kinds of stippling, from micro to very large. And I did bobbin work for the first time, using the Razzle Dazzle thread from Superior. I picked up a small Christmas tree stencil, traced it on the back (and learned I need some new markers), and then quilted with the front facing down on the machine. It worked really well and I love the effect. I am planning to add a few beads as tree ornaments when I get a chance. I did a lot of machine quilting on the marbled centers of the stars, on the nonpareil pattern. I can tell I have definitely done a lot of machine quilting this year, because it was far easier to follow the pattern than it has been in the past. I now understand what quilters mean when they say “pedal to the metal,” as I was very speedy with the tiny and medium stippling. I also tried a new pattern in the border and it was moderately successful. Again, fast speed, and from a distance you really can’t tell that a lot of it is uneven. I liked the pattern. Here she be:
Work in Progress
I definitely have work in progress…I just never manage to get it up on a Wednesday….so here goes anyway. I finished my table topper for my bed stand, and I was really pleased with how it turned out. I used ideas from the October and November FMQ challenges. First time I used a stencil when I wasn’t hand quilting, and I tried all kinds of techniques, including a not-really-successful trapunto, but I’m learning. Both table toppers are bound in the same purple, even though the designs are totally different on both of them.
This is hubby’s topper.
From Last month:
I was very pleased at how it worked out. My first experiment with water-soluble thread was somewhat successful. But the amount of free motion I managed to do really surprised me. We still have two dresser scarves from the same set of fat quarters. I have an idea for hubby’s using some of the techniques I’ve seen in Diane Gaudynski’s book, but that will have to wait till after the holidays. I am still working on the last table runner for my second mom, due next week in time for Thanksgiving, so that’s the next priority.
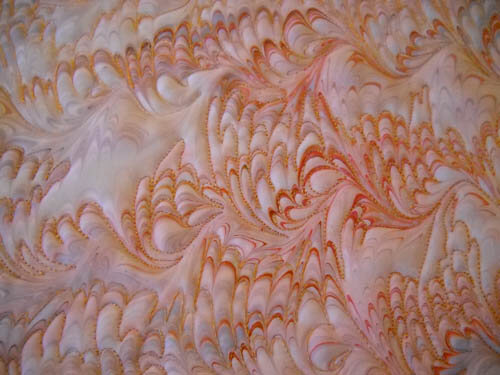
However, I had to take some sewing time strictly for myself. I took this ten-plus-year-old quilt apart late summer, and I finally am getting to redoing it for the holidays, plus turning it into a new tutorial for quilting marbled fabric, this time the nonpareil pattern, a very traditional marbled design. It was just quilted in the ditch and looked really blah…..
Now I have some photos of quilting the marbled fabric in the center of each of the stars. I really want them to pop out.
I’ve just started quilting the center of the star.
I’ve got the centers of the stars done now, and I am doing micro-stippling in all the green. Going pretty fast, which bodes well for getting the tutorial completed! Hopefully more time tomorrow….
Using Marbled Fabrics in Quilts
When we started marbling, we were hooked from the very first piece. The problem was…what do we do with the fabric? Each piece was so gorgeous it was hard to cut into it. We knew we had to get over that mindset. Folks consistently asked, “What do you do with the fabric? I don’t know how to use it.” Confession time – I wasn’t quite sure either. I saw a book and thought marbled fabric would look cool. Now it was “put up or shut up.”
I was a beginning quilter with virtually no good color sense…that was hubby’s field. I figured black goes with everything, so my first quilt was an attic window pattern.
This was a nice way to show off smaller pieces of marbling, but I had to stretch further. It took a number of years before I stopped being afraid of any color except black. I started a Block of the Month, using blocks from Judy Martin. I became more daring…this time it was not black…..but other solids. I built the designs on the colors in the marbling. My January block had a definite “coolness,” so I looked for solids with some texture that would work. I started to expand design ideas and felt that traditional blocks could be the key to using these fabrics.
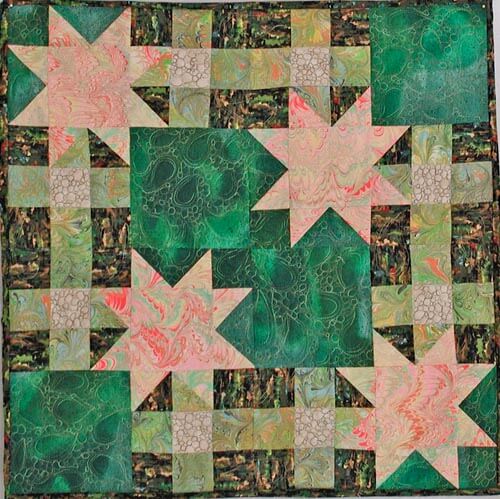
Now another confession…..when I first started doing quilting, I was pretty much “stitch in the ditch”….with metallic threads, no less. The quilt above is 12 years old, and I took it apart (oy) and used my newly acquired FMQ skills. I didn’t stitch the marbled blocks, as I wanted them to stand out.
The completed quilt – marbled fabrics within traditional blocks. You can read more about the actual quilting here.
I was hooked on finding some great traditional blocks that could spotlight marbling and go together harmoniousl. Summer……..I had some great neon orange cotton, a nice piece of Moda Marbles, but I needed additional fabrics so the quilt wasn’t overloaded with green. I stretched with the print fabrics I added to complement the marbled fabrics.
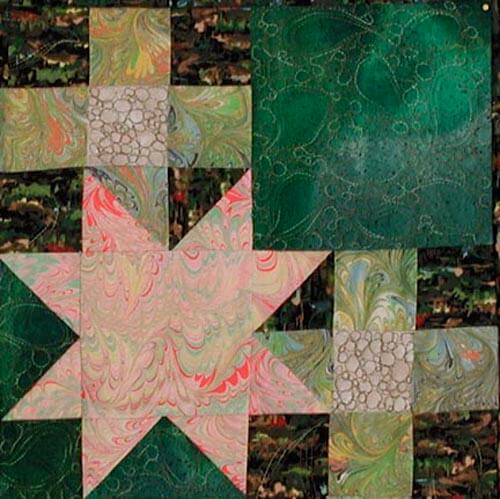
There’s lots of machine quilting throughout, but the marbling has been left on its own. (I also took this quilt apart…. kind of obsessive. But as quilters, we KNOW what we want. More about the quilting here).
At this point, I had a great piece of marbled fabric that said “I want to be fish.” I found a traditional block that could be used as fish. Thus the “fish quilt” was born (you can read about that quilting here). This time I quilted the marbled fabric by following the lines of the pattern and used stitches from my workhorse Bernina.
I started getting very bold – it never occurred to me to just quilt the marbled fabric itself. This was a major breakthrough. Traditional is fine, and I still work with traditional patterns, but quilting the marbled pattern gives a completely different look to a quilt. This quilt, “Nature 1: Rock Garden,” became my first quilt accepted into a juried show, “Expressions in Textiles.” It is very zen-like, and the quilting emphasizes the rock garden and sand.
Go traditional or go contemporary. Don’t be afraid of the marbled fabrics. They can be the spark that makes your quilt.
Work in Progress Wednesday….The UFO’s
I have been working on a guest blog post on using marbled fabrics in quilts, and it occurred to me to look at some of the more traditional quilts I have done to inspire people. Well, turns out most of them are UFOs…….so here’s a look at what I still need to quilt – now that I have some really good free motion skills. I’m really inspired to start working on these….after the patterns are finished…..
Needs to be taken apart so I can determine why there is the fold there…..The fabrics worked so well!
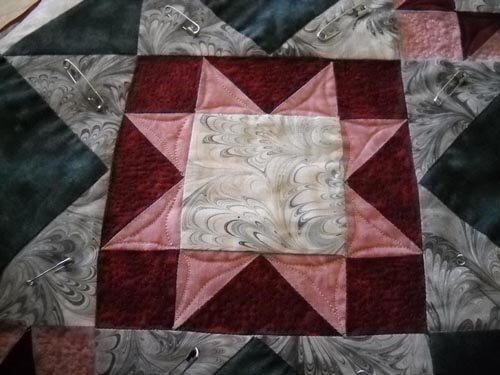
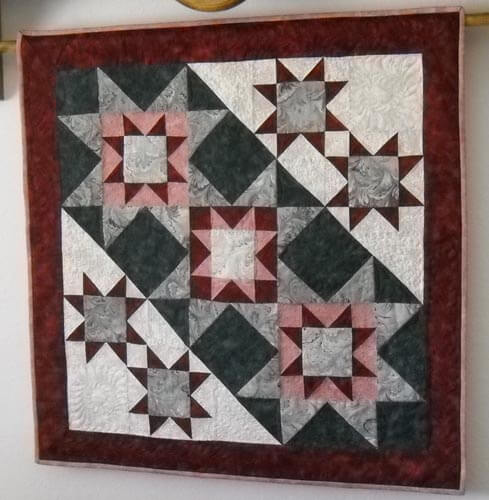
Known as my origami quilt…..complete with pins…..
One of the first quilts I really started to expand my thinking….(forgive the thumb…).
Gotta think about how to quilt this one……going to definitely quilt the marbled blocks.
And…..here’s part of my October FMQ challenge – LOVE LOVE LOVE how this is turning out! I have a few more things I would like to do to this piece, so maybe it will be finished by next week Wednesday. It’s a combination of a lot of ideas.
I have some really cool ideas for using the trapunto technique on marbled fabric…going to be the next piece.
Quilting Marbled Fabric – A Tutorial
Ever since we started marbling in 1993, people have asked us “What do you do with the fabric? It’s too gorgeous to cut in to.”
We’ve made lots of quilts, both traditional and art-quilts so that folks can see how marbled fabric can fit into a quilt or wearable garment. That got us started, but there was always the feeling that we could be doing more with the fabric itself. A friend took a fat quarter to “play with,” and the following week she came back with a gorgeous piece of completely quilted marbled fabric….simply by following the line of the pattern.
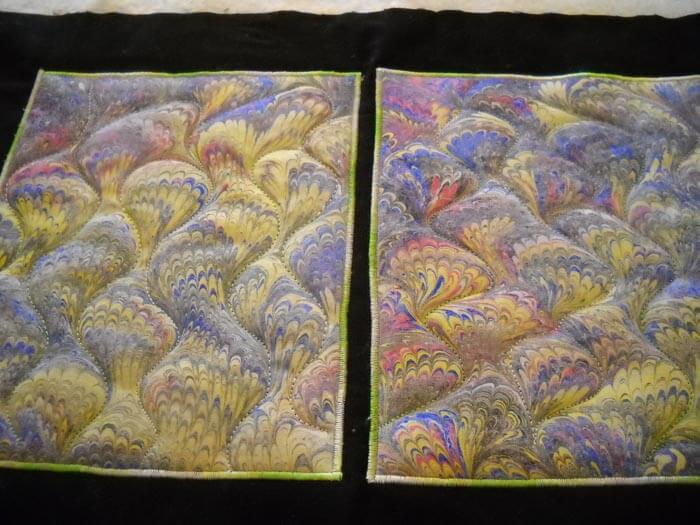
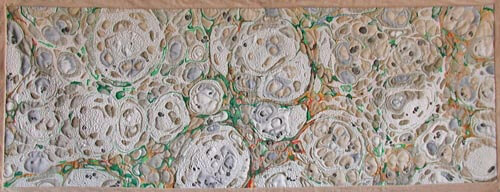
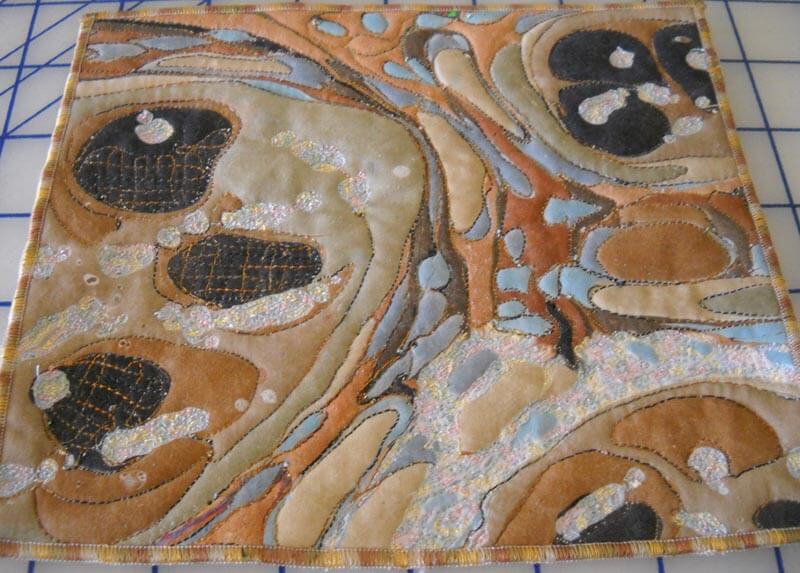
Well, that was truly the beginning of taking marbled fabric and really working with it in a quilt. My first attempt was to work with a freeform pattern, just following the lines of the pattern. This uses the stone pattern, as well as a beginning chevron pattern, both of which are easy to follow.
This piece, “Gaia 1: Interdependence,” used a free motion foot, as well as a regular basic stitching foot. Because the strips are relatively narrow, and the batting was thin, I chose not to use a walking foot. Your mileage may vary; if you are comfortable with a walking foot, by all means use one. I find I almost exclusively use my regular foot and my free motion foot.
Here is an example of quilting a line using a regular foot. I like having the even stitches, which I don’t always get with my free motion quilting (and no stitch regulator….).
You can have a great piece of marbled fabric, but sometimes it just needs something. I’m finding that more and more…it is an addiction…..
Getting Started
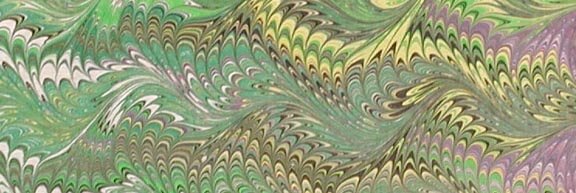
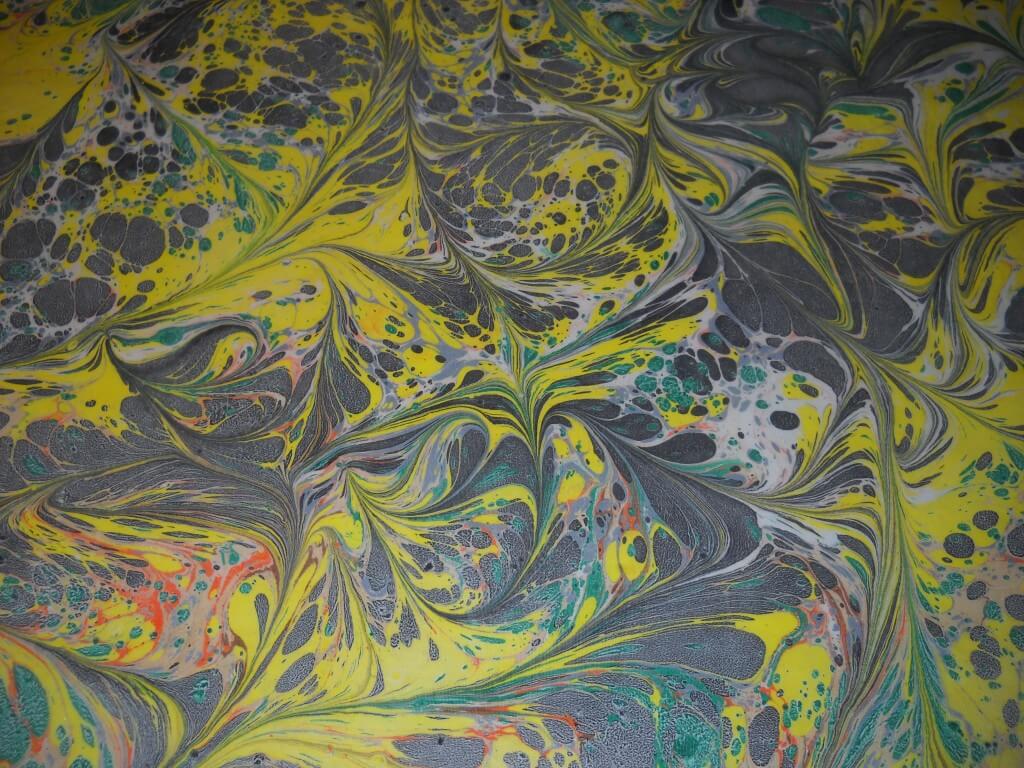
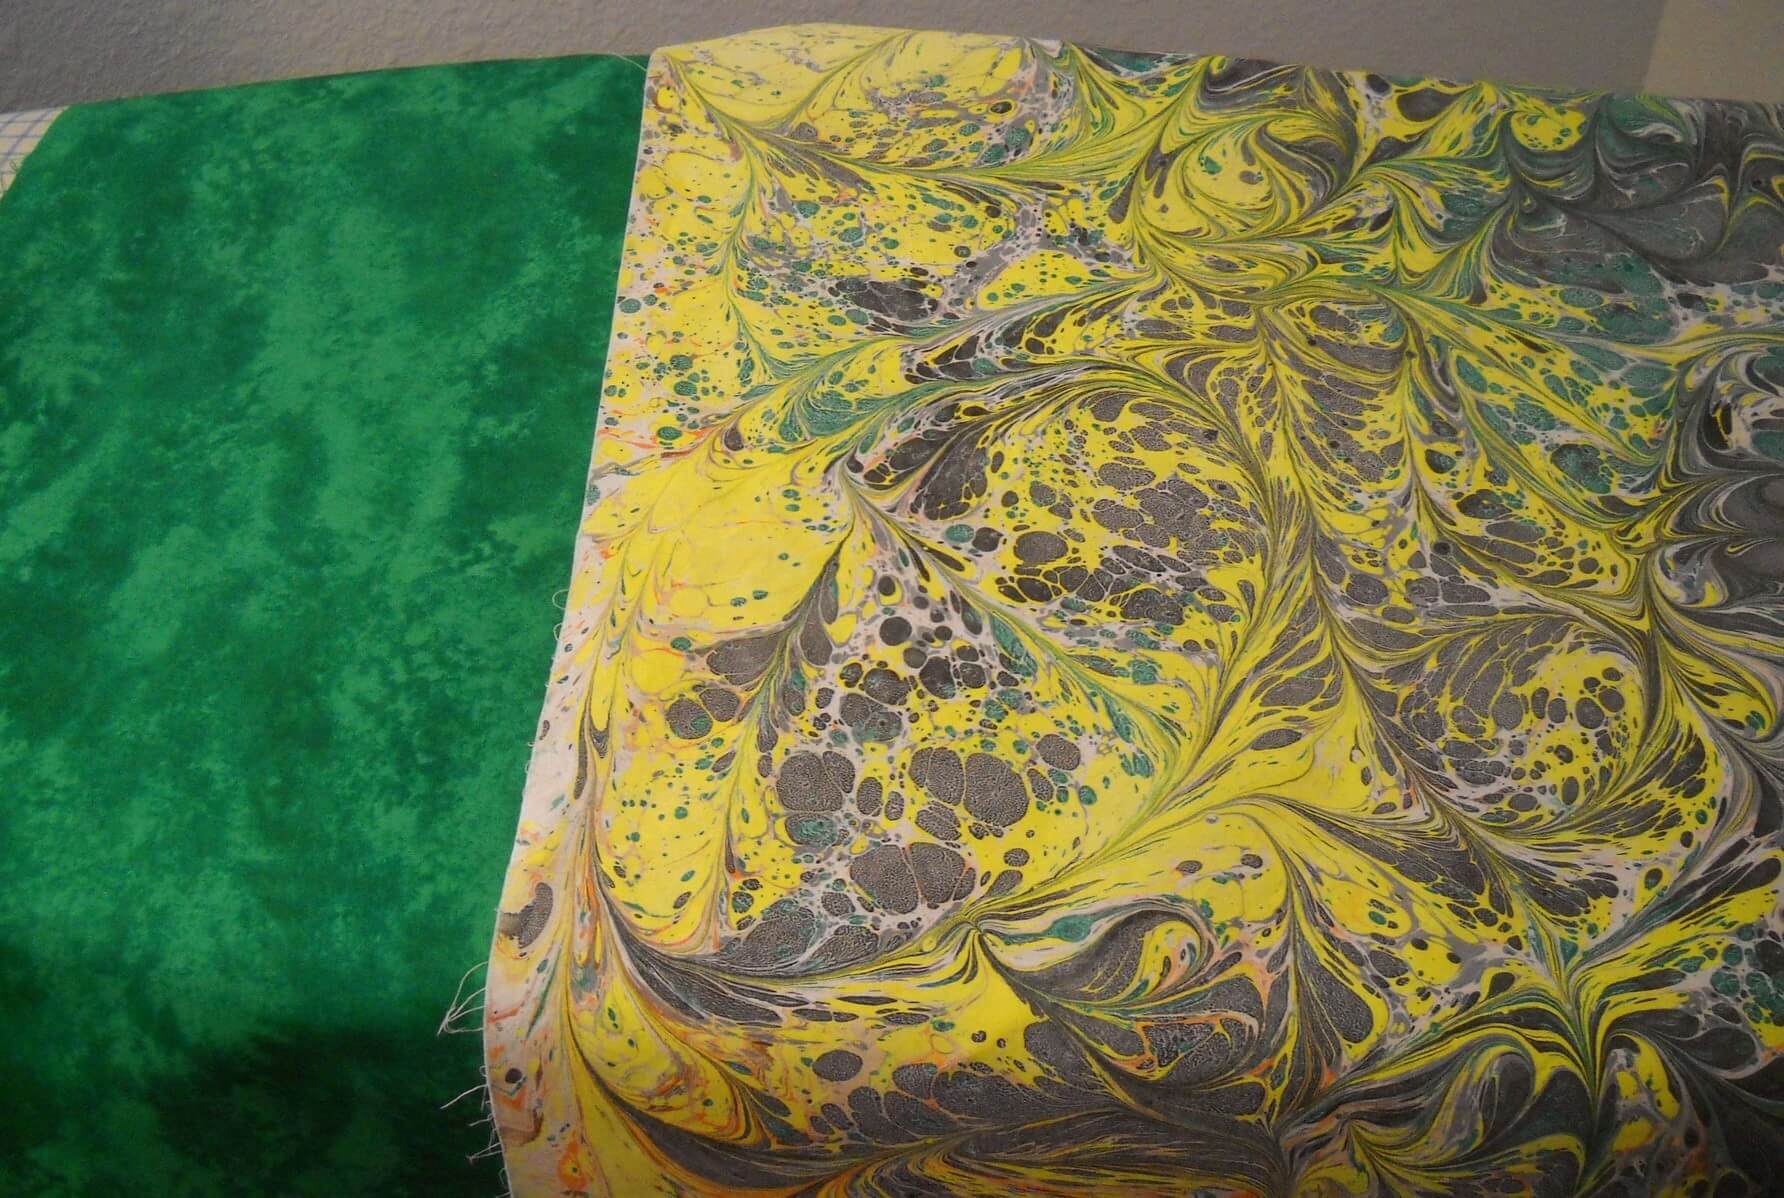
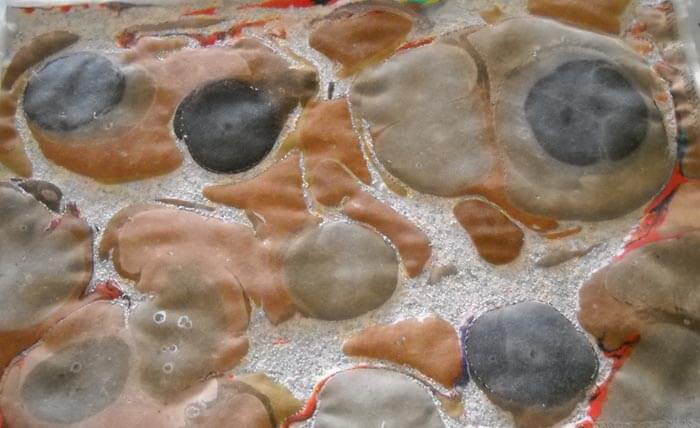
You need a piece of marbled fabric. We’re starting with a freeform pattern, made by creating the stones by dropping paint on the carrageenan bath. Then using a stylus, we swirl the paint around the whole piece. This gives us the effect you see here. This also involves the first very basic marbling pattern, the very organic-looking stone. From this pattern, using a variety of different combs and rakes, you can get very complex patterns. But let’s start with this pretty basic pattern.
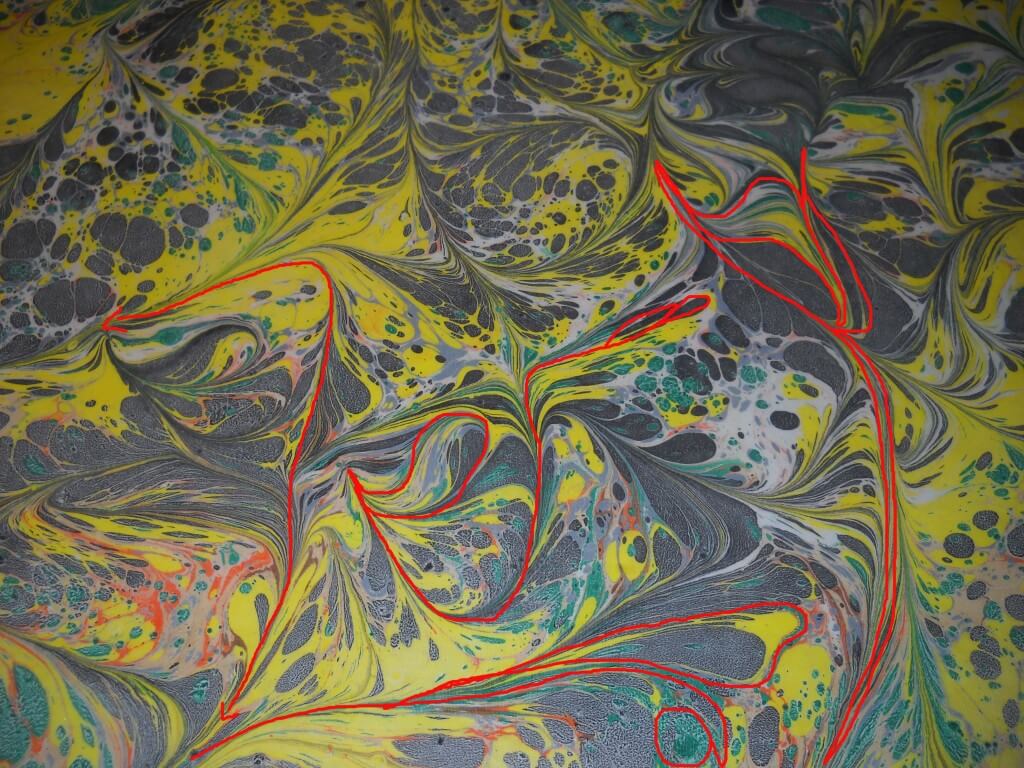
When you have a marbled pattern, look at it closely for lines that lead to other sections of the pattern. This is a different type of free motion quilting. You aren’t deciding the whole quilting schema, like in most regular quilting; you are just analyzing and deciding where you want to go with your thread. A pattern like this one has gentle curves to it, unlike more complex marbling patterns. This is a good one to start with.
Using this next picture, see how you can travel from one end of the pattern to another. Once you’ve studied a pattern, you can decide if you will do individual sections or travel across some pattern lines to do a new section. With this first marbled pattern, you have several possibilities. You can outline the little stones. You can follow most of the curved lines. You can do a combination.
Some marbled patterns are pretty intense, and you end up doing a lot of quilting in very small areas. These take more control, but the results are fabulous.
You have some decisions to make at this point: backing, batting, thread choices. I chose a green cotton for the backing so it would play off the green in the marbling. I used a left-over piece of Fairfield cotton low-loft batting, and Superior Thread’s Bottom Line in the bobbin. I chose a white thread, because for the purposes of this tutorial I wanted you to see the design aspect on the back. You get some very interesting quilting effects on your backs.
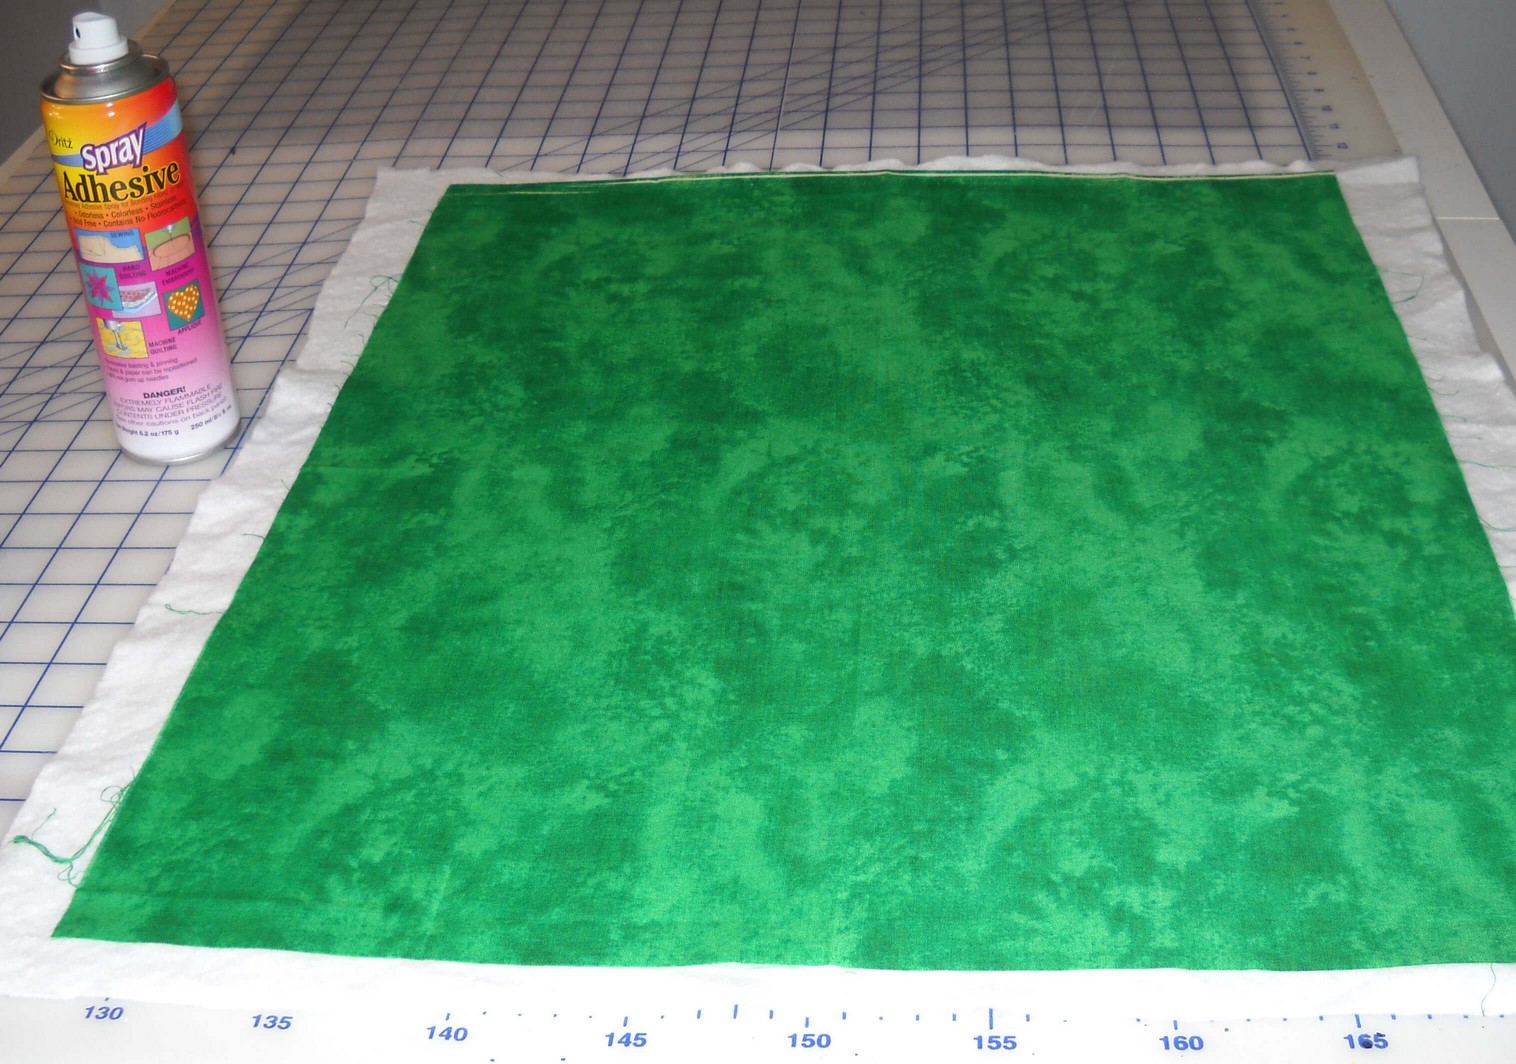
When I put my pieces together, especially if they are small, I spray baste top and bottom to the batting. For larger pieces I also use safety pins.
All of these are various threads from Superior. I am a bit of a thread snob, as I only use Superior Thread and needles (their titanium needles are pretty amazing). Ever since I did the School of Threadology in St. George, Utah, I have been hooked on their threads…and I NEVER have thread break. The threads above are Rainbows, Brytes, and Art Colors.
I thought this bottom thread, Bryte, would work the best, so that’s what I started with. I thought the dark green would emphasize, but not be obvious.
I checked my tension, according to Dr. Bob’s thread guide for Superior Threads. Then I picked a place to start the free motion, did about an inch, and checked my tension again.
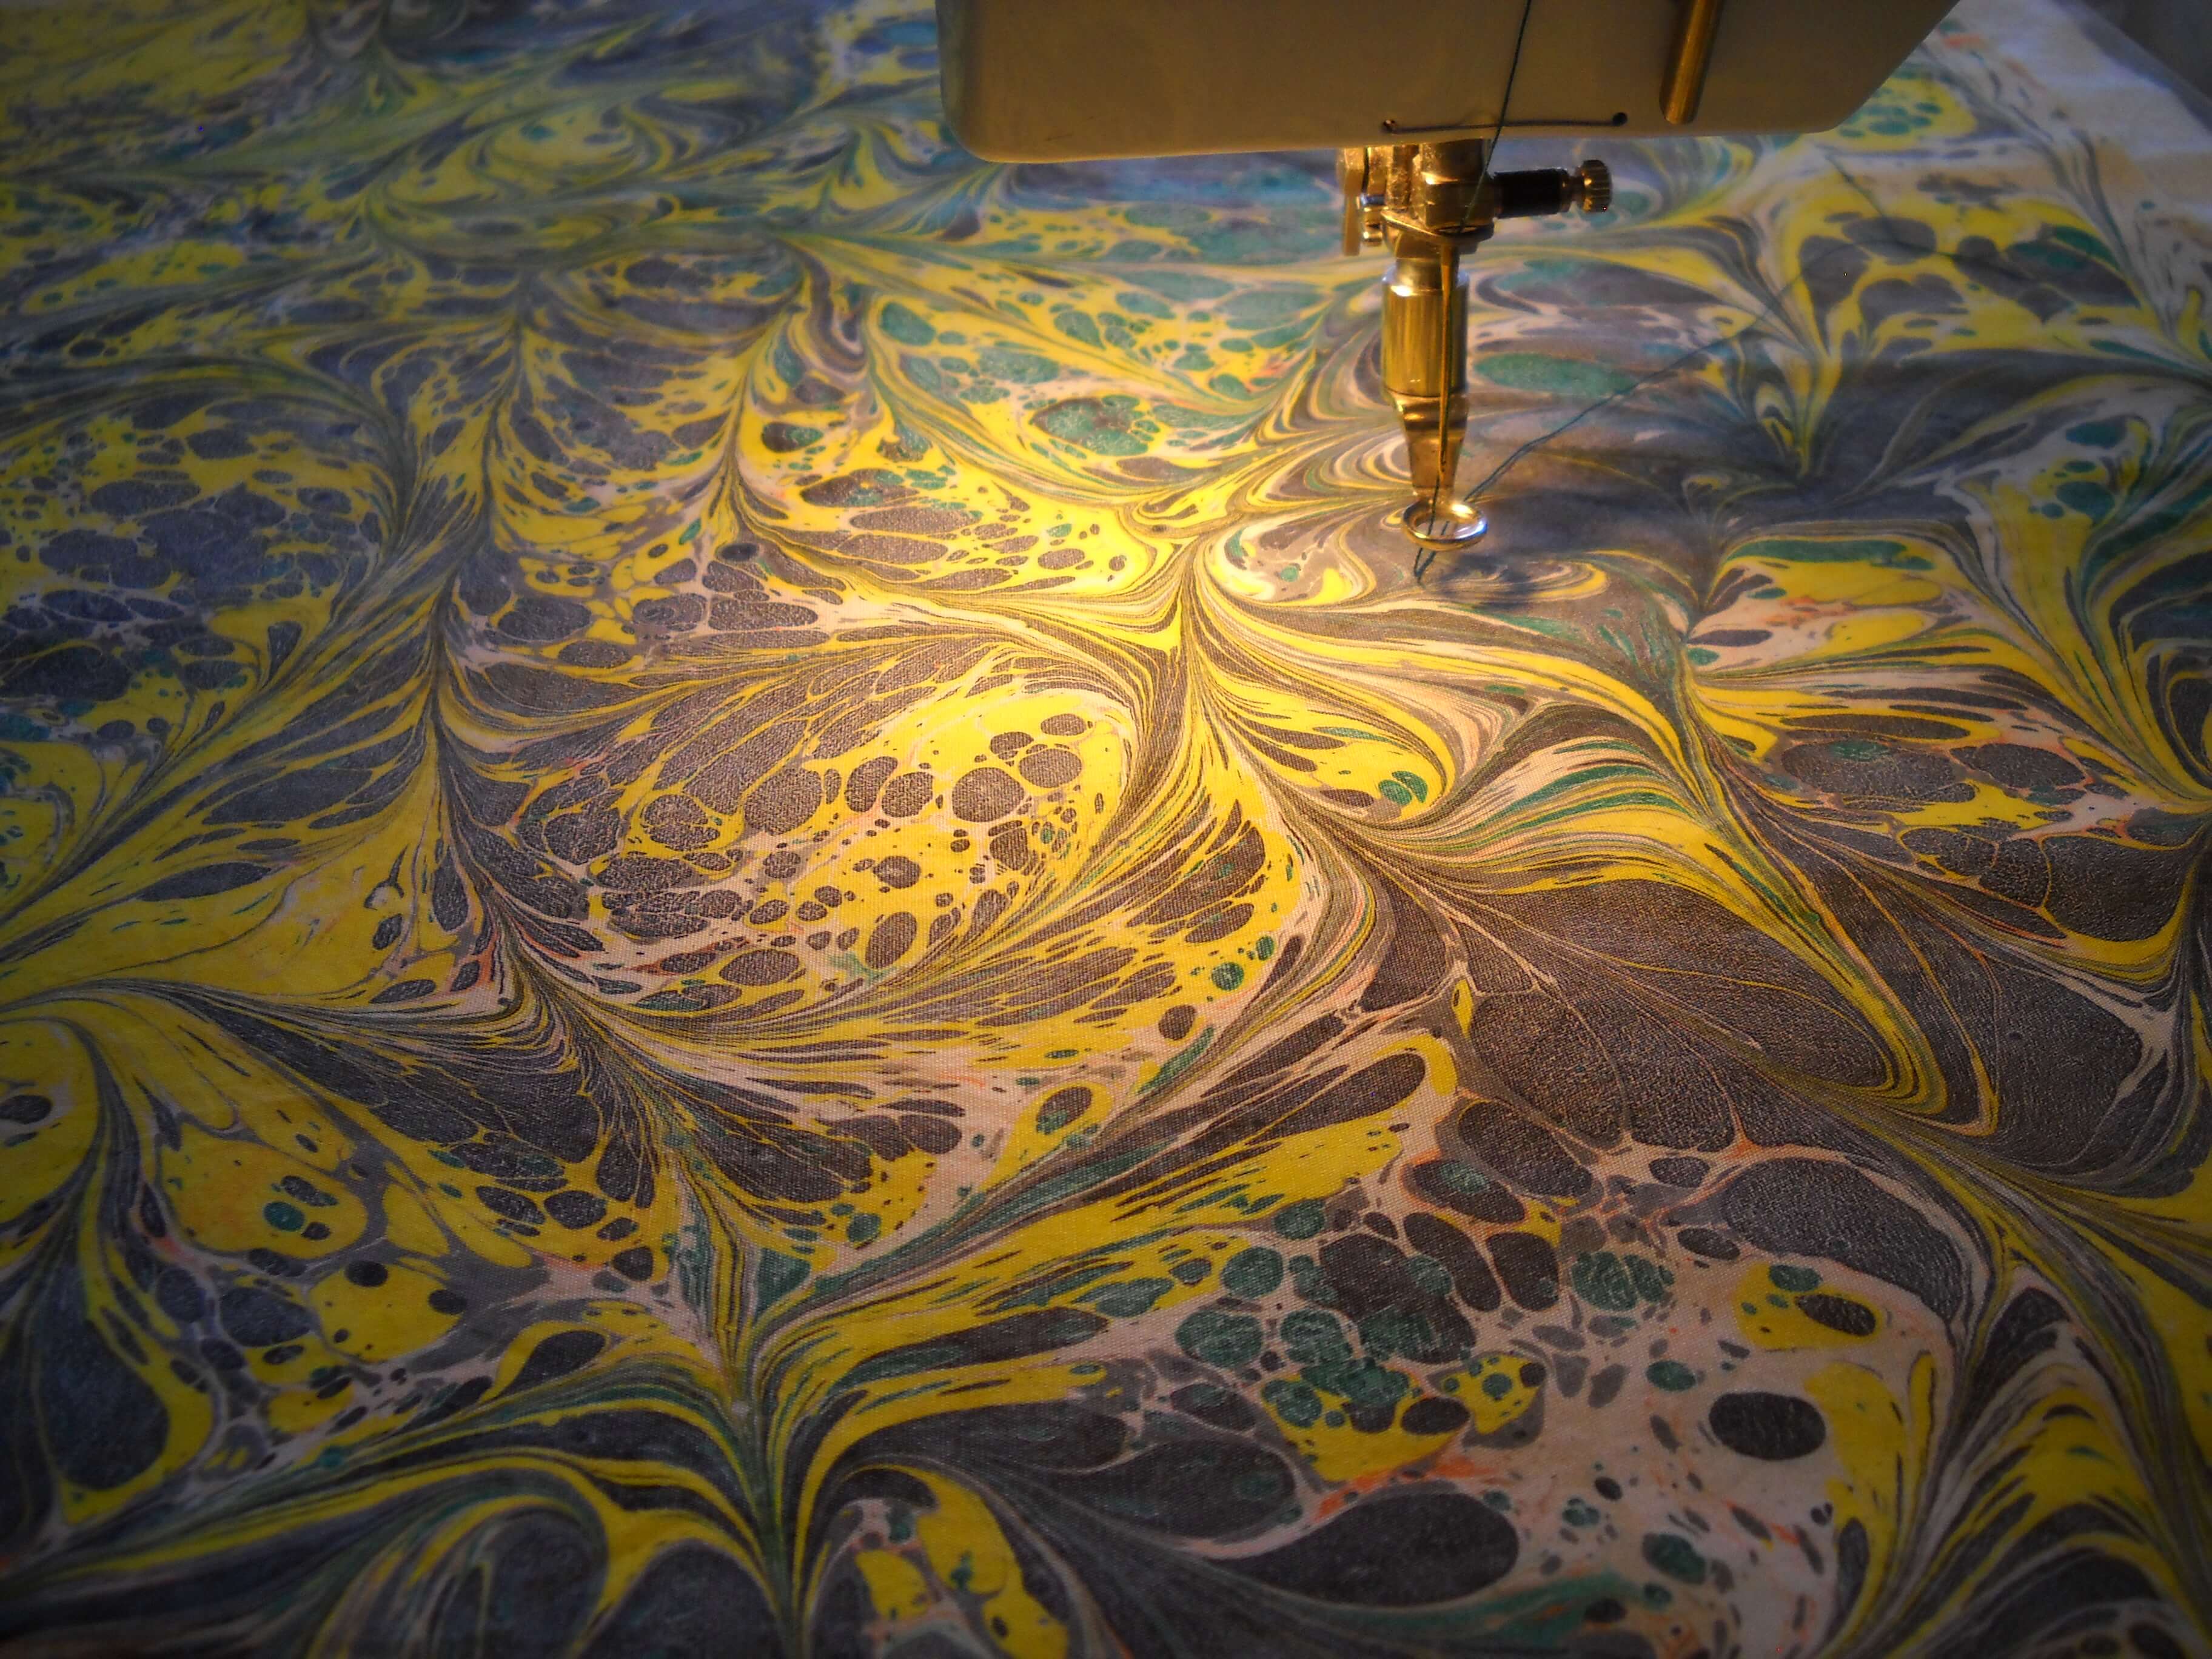
You can see how I just followed the basic line of this first swirl. I usually pull my threads to the back and tie them off or bury them, depending on how the piece is going to be used. With the next photo, you can see how I chose another swirl and followed that particular curve.
You can move around the fabric and pick different areas to quilt, but if you are going to quilt the whole piece, continue quilting out from the area where you started.
I also decided to change colors of thread, as I wanted something lighter to accent the pattern. Don’t hesitate to do this if you feel it will add to your design.
In this next example, I have changed thread color again, and this time I am outlining the smaller circles. The circles are part of the “stone” pattern, which is the first layer of paint in developing a marbling pattern. The circles take more control in your free motion, but you get great results in texture. You will want to plan your “traveling” stitch as you move from small circle to small circle.
Every now and then take a look at your back. Check for tension, secure your knots, and just admire the developing design. I used white in my bobbin because I wanted you to see the actual stitching on the back. You may choose something else, but the backs of marbled quilting can look spectacular.
Hopefully you will enjoy this technique. Email us with questions, and we are always interested in seeing your finished projects. To get you started, you can order fat quarters in this swirl pattern at a discount from us. Just email deanm@marbledfab.com, and tell us you want the quilting special fat quarter for this tutorial, and give us an idea of the three or four colors you would like. Cost is $6.00 per fat quarter, plus $2.00 shipping and handling, up to three fat quarters.
Keep in mind that this marbled quilting works best if you have some definite contrast with your color choices.
Copyright 2012 by Linda Moran and Marble-T Design, LLC. You may NOT reproduce this handout/post in any format without express permission from the author or Marble-T Design, LLC.
Work in Progress Wednesday
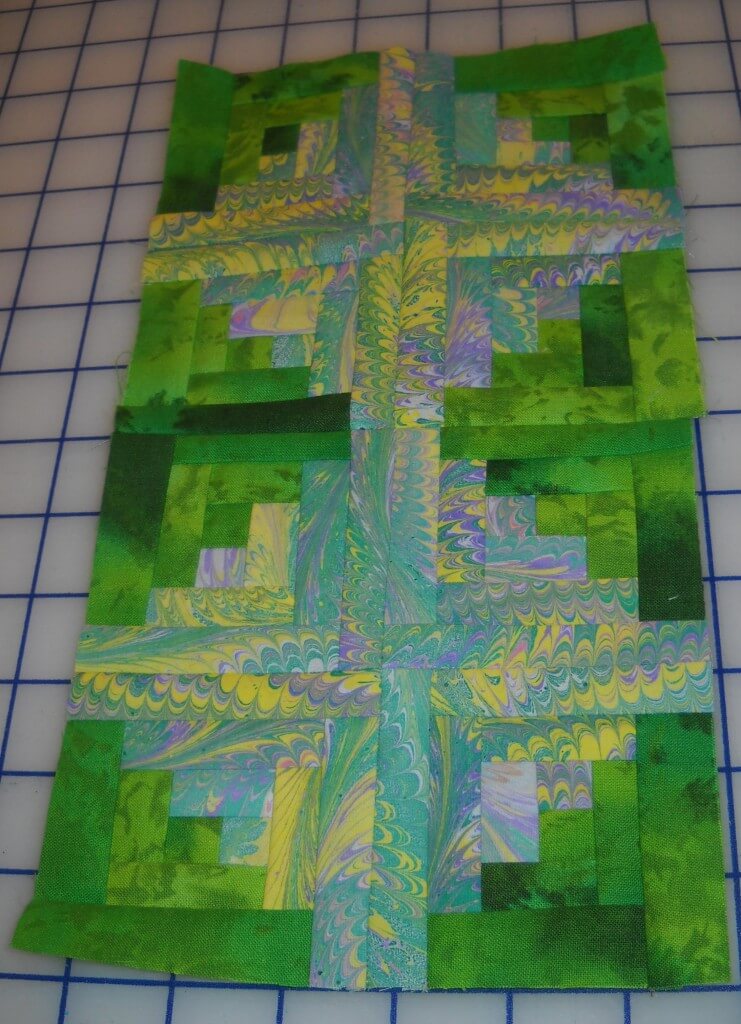
I have been working, even though I haven’t posted anything lately. I’m trying to finish some patterns and start the last of the seasons hangings – Summer. “Spring” turned out so much better than I anticipated. When I first started the log cabin blocks, I wasn’t sure they would really look like spring, and if there would be enough contrast within the blocks. I think it turned out wonderfully well.
I so hope I can get “Summer” to be as vibrant.
And now…a few new pieces just out of the marbling tray…..
Back to work!
A UFO Finally Finished!
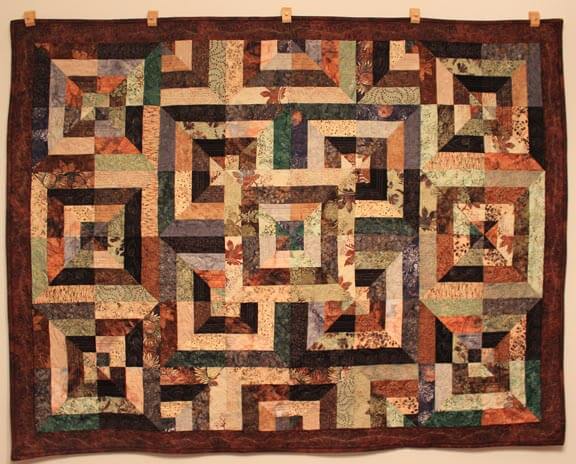
![]() About three years ago (I date time from where I remember living while making this piece) I started what I called my “forest quilt,” as a result of Stripper’s Club, at my local quilt shop. The quilt looked masculine, so I figured it would be good for hubby. I got the top done in about a month of working on it school nights…and then it sat, because I just didn’t know how to quilt it. Didn’t want to do stitch-in-the-ditch,” and I just couldn’t imagine stippling the whole thing.
About three years ago (I date time from where I remember living while making this piece) I started what I called my “forest quilt,” as a result of Stripper’s Club, at my local quilt shop. The quilt looked masculine, so I figured it would be good for hubby. I got the top done in about a month of working on it school nights…and then it sat, because I just didn’t know how to quilt it. Didn’t want to do stitch-in-the-ditch,” and I just couldn’t imagine stippling the whole thing.
This past January I started the Free Motion Quilting Challenge with SewCalGal. I have learned SO much! From the very first pattern of leaves, my skills have grown by leaps and bounds. When I made my list of unfinished projects, this was on it. When I finished the last table runner for my second mom, I decided to work on this, because now I had a bunch of ideas for what to do in a quilt with a lot of straight lines and ninety-degree angles.
Before I actually started the quilting, I read Karen McTavish’s book of McTavishing, which I got for my birthday. I really liked what she said about adding texture to the quilt by using threads that are thin and blend in with the background. So….Bottom Line by Superior Thread in the bottom, and a light and dark Bottom Line for the top. I decided on a rosette (a variation of a feather) for each of the centers, and partial rosettes for the partial blocks. Along the way of quilting this large quilt, I got very used to moving it through and around the machine. One of the best lessons in free motion came early on, with the advice to learn how to do your pattern sideways and upside down. The only place I had to wrestle and turn the quilt was with the straight lines in each block.
Frances Moore leaves, Angela Waters swirls, Diane Gaudynski feathers/rosettes, and about 15 hours later the quilting was done.
The back looks amazing, if I say so myself. And….my border is to die for! Love the feathers, done with a Rainbow thread also from Superior. The quilt overall was a lot of fun to do, as I had a lot of variety within the quilting designs. The safety pins worked for basting, and I think I only had two tucks in the whole backing. I used a thin batting, and I’m so glad, because the quilt is actually pretty heave. It’s hanging on the wall right now, because since it’s still 90-plus degrees, I’m still weeks away from needing it to stay warm.
Here it is. For no blocking, it hangs pretty straight.
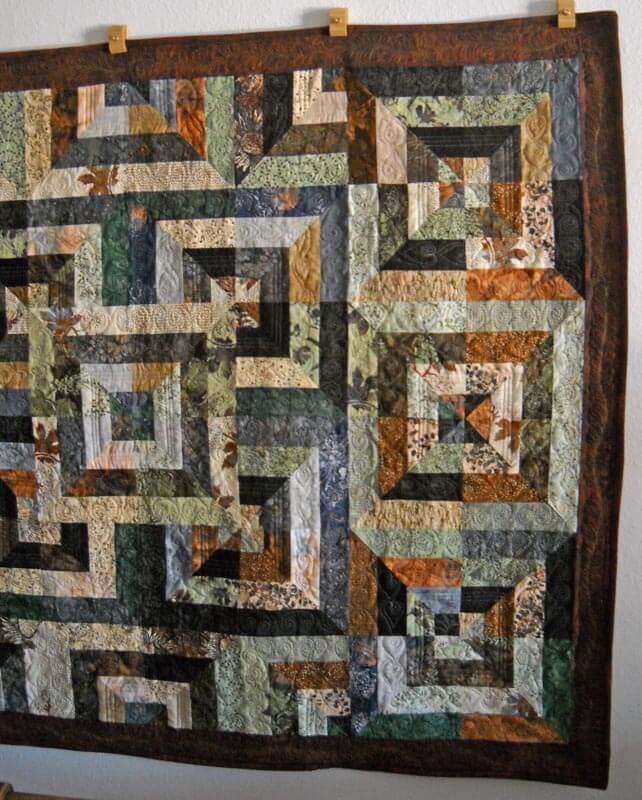
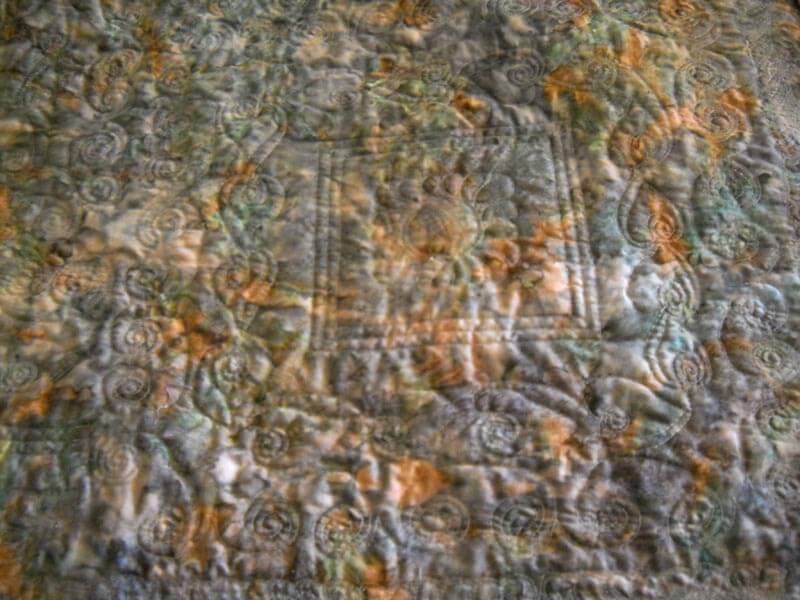
You can see the texture from this angle. I was looking at it the morning after we photographed it in the dining room, and with the natural light coming from the right, I could see the quilting. Lesson learned for the photography in the future.
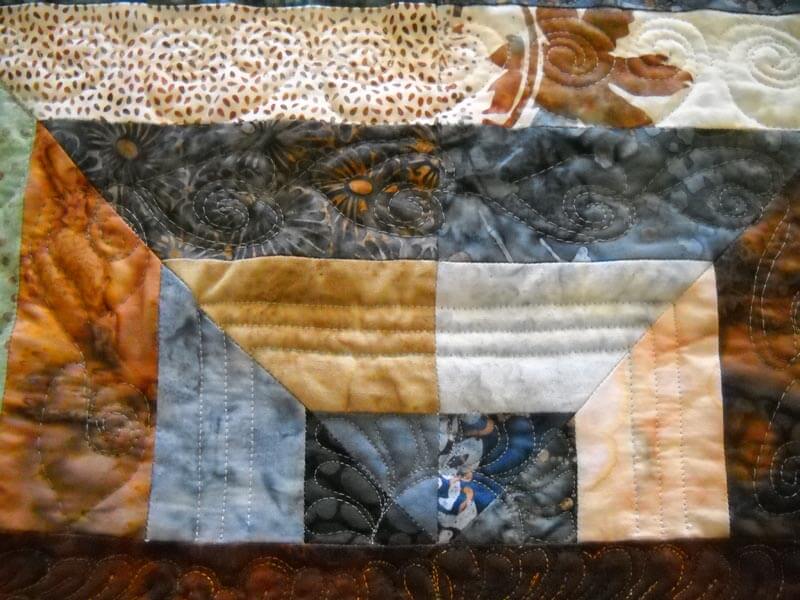
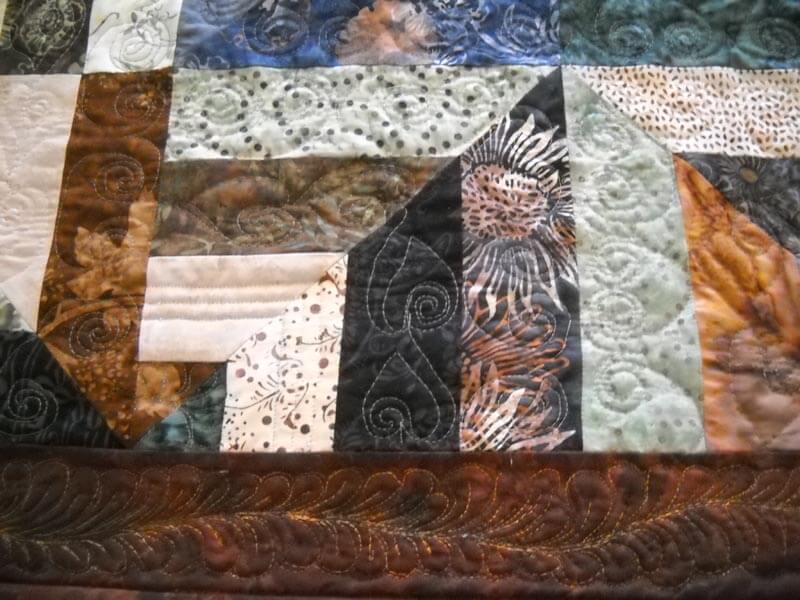
Close-up of one of the edges. You can see the partial rosette.
The border – all the way around – and it really didn’t take that long. I LOVE LOVE LOVE the border!! NEVER thought I would be able to do feathers!
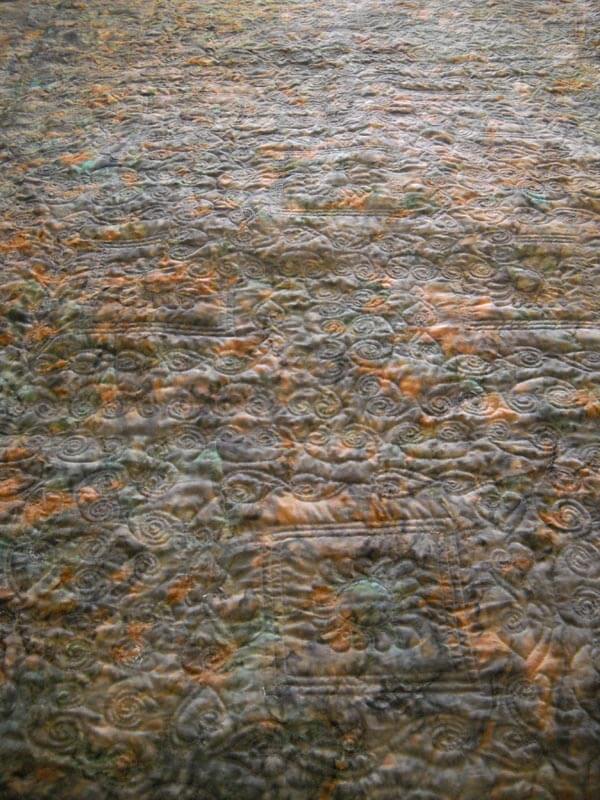
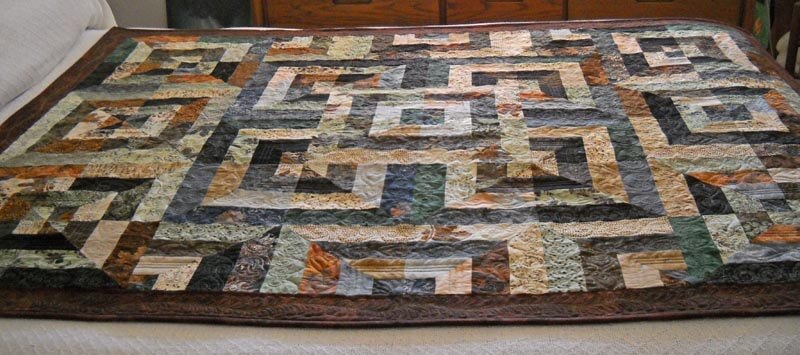 On the bed – another look at texture.
The back….
…and the back again…..
Learned so much! Thanks SewCalGal for this amazing year of challenges!
Free Motion Quilting – a New Design
 Oh my, have I learned some new stuff! The Free Motion Quilting challenge, hosted by SewCalGal, had a bonus tutorial by Susan Brubaker Knapp that piqued my interest. Basically you can create your own quilting design from your pictures. Well, I kinda figured you could, but once I read through this, I knew exactly how to do it. Bingo! I had loads of pictures that I would be able to use. I was having trouble with the drawing of the pattern for the August challenge; I planned to use that design on one of our bed stand runners. Now I had a new idea.
Concurrently, I am working on my Quilt University class, Inspired to Design, with Elizabeth Barton. I was looking at one of the photos I had morphed into a new design and suddenly realized I had a free motion quilting pattern right in front of me. Here’s the original picture:
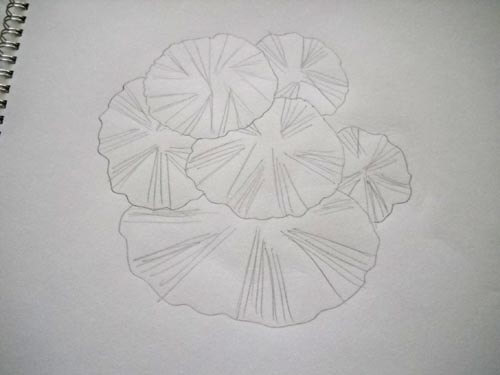
Here’s the design element I developed a little further:
I added more pads to the design, made my pattern, and traced parts of it to the cotton. I realized, after my arms started to ache from tracing, that this was very free-flowing, so I really didn’t need to trace any more. I went with a brighter green for the outlines of the pads. Sometime in July I watched The Quilt Show episode on Stupendous Stitches, and after that I took a serious look at the other stitches on my Bernina workhorse 1008. Not many to work with, but I had one that I thought would work to give the idea of a ragged edge to the lily pad. Then I used a variegated green to do the stitching in each pad. I used a monofilament to create water waves on the rest of the background. Here it is:
Lessons Learned:
The background fabric actually worked pretty well, as did the thread colors. I wouldn’t stack the lily pads as much the next time. The most important lesson for me was going back and studying the original photo and realizing I could do much more with the interior lines. I became much more aware of that element in the original picture. I also did my binding a little differently, since I managed to cut it a half inch too thin. I used one of the stitches of a wave on the machine and made it very small. I tacked the binding down by maching, and you can’t really tell unless you’re looking at it close up.
And speaking of close-ups, here is one of the pads:
For the purposes of the table runner and the learning, I’m done. Next time I would use more color within the pads, spread the pads out more, and probably add stems. Overall, I love it! Thank you, Susan and SewCalGal!!
Top Ten Tuesday
Slowly getting caught up on blogs, as well as working on a class at Quilt University. If you are interested in online learning in quilting and other fiber art techniques, check out QU. This is my 5th class with them, and I have been very pleased with every single class. I mostly focus on the design classes, and right now I’m doing a class on design with Elizabeth Barton, whose work I really like. Pretty great stats, wouldn’t you say?
I discovered a new photography blog, Sun Gazing. Great list of resources. Actually this is more a New Age site, and a lot of Buddha images, but the photography is amazing.
Look at this amazing photo!
Once again from the 365 Project, some glorious photography.
I’ve just discovered Alison Schwabe’s blog, and this post on making samples was very good. One other blog has talked about stitching things out ahead in samples, and I think I’m looking at a new piece of my process. Should at least keep me from pulling out several inches of thread……
Readers of this blog know I love TED talks, and on the TED blog today is a list of the top 20 TED talks. There are a bunch here I haven’t seen, so I have some fun stuff to watch this week!
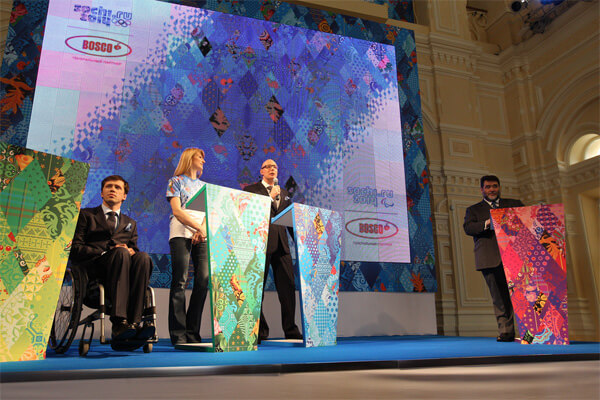
Discovered a new quilting blog this morning, with examples of some of the motifs being used for the 2014 Olympics in Sochi, Russia. Inspired patchwork! The blog is With Heart and Hands by Michele Bilyeu.
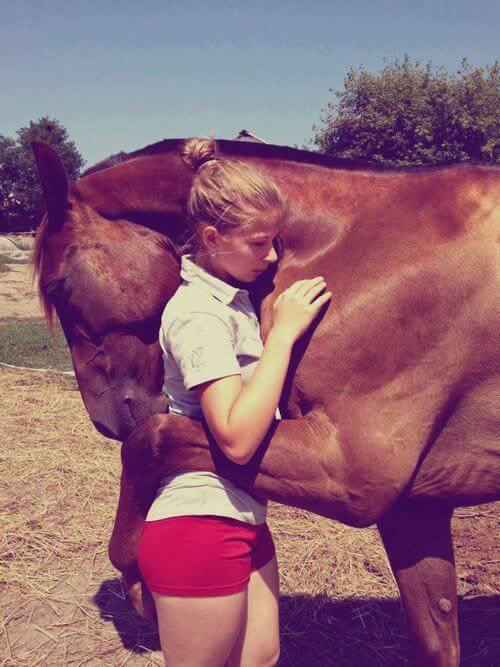
Animals Talking All in Caps is exactly what it says. Folks send in a picture with animals in it, and our moderator does a caption. Some are hysterical – well, most of them are. And some are very poignant.
I’M SORRY I KICKED DARREN IN THE FACE FOR CHEATING ON YOU.
I’m sorry I yelled at you for doing it. I was just startled.
HOOF TO GOD, I THINK HE DESERVED IT. YOU’RE A PRINCESS.
I love you, Shelly.
I LOVE YOU TOO.
Not every parent appreciates the pursuing of a liberal arts education, especially if it involves the classics. From Letters of Note is this letter to Ted Turner from his father, questioning his stupid quest to study Greek.
I love Vi Hart. She’s a recreational mathematician, and she teaches you stuff about math that is fun, simply through doodling. Here’s her latest video….warning – you need to concentrate!
And we’ll end with an interesting tidbit of history: Who Stole Helen Keller? How has history rewritten her story?
“Helen Keller worked throughout her long life to achieve social justice; she was an integral part of many social movements in the 20th century. Yet today, she is remembered chiefly as a child who overcame the obstacles of being deaf and blind largely through the efforts of her teacher, Annie Sullivan. While she may be hailed as a “hero” in lesson plans for today’s children, the books recount only a fraction of what makes Helen Keller heroic.”
Have a great week – let me know what you find on line that’s interesting!
Continuing Lesson 1
 I have been ruminating on finishing this first lesson in my Quilt University class, especially since I am now a week behind due to our vacation in San Diego. But it was not wasted time, even though I never opened the sketch book. The exercises I had done at the beginning caused me to start looking at my surroundings in terms of line and shape, focal points, unusual camera angles, and textures. I ended up with a lot of unusual shots, just to remind myself of what caught my eye.
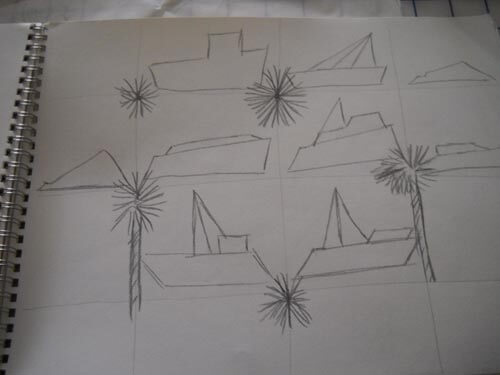
Last night I sat down with my selected pictures, tracing paper, and my sketchbook to see just what I could come up with. First, here’s the original picture, from sitting in Spanish Landing Park and admiring all the boats, and masts, and straight lines….and triangles……
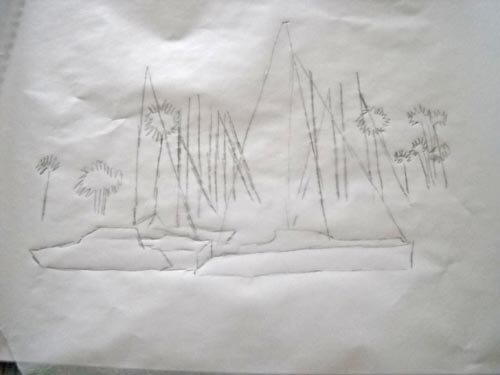
I cropped the picture and then used tracing paper to get basic outlines. I am not comfortable sketching freehand with this activity – it kind of intimidated me at first.
What I liked about this was that I could definitely see the trapezoids, triangles, and straight lines. From here I tried a grid to repeat some design elements.
Not happy with this – not at all pleasing to me. Probably because the exercise itself is so new. So worried – like always in the past – about what this was going to look like. Then I went to my triangles and straight lines:
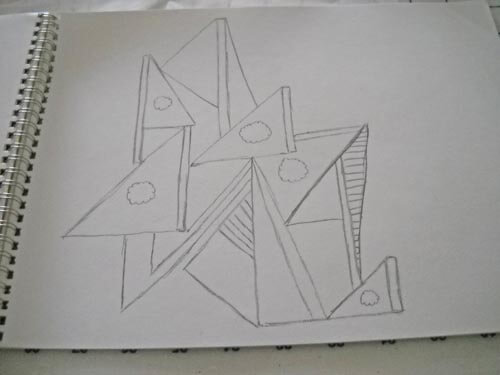 This has got possibilities, but it would seriously need reworking. I might pick up tree color in the sails. Once again, I can see just how linear I am in the design….
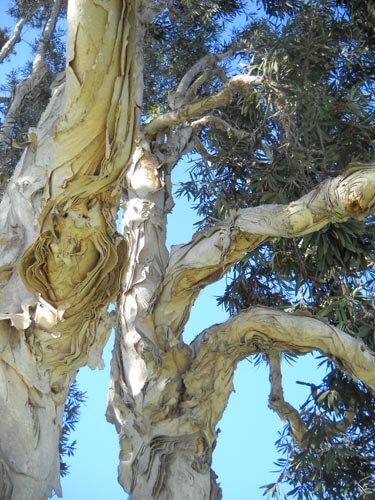
From here I went to the photo of what hubby and I called “our tree” at Spanish Landing Park, since we sat next to it for three days. Here’s the original:
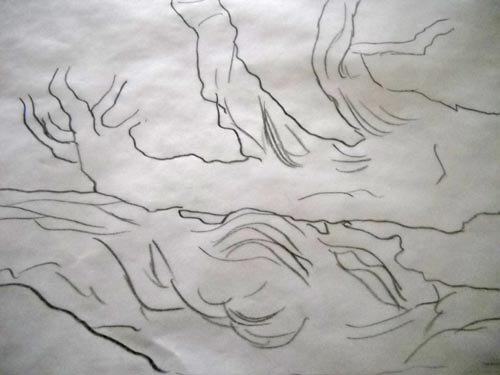
I ended up turning this on its side for the outline – something I NEVER do with a picture…..and I liked it!
I already could see some possibilities in this, and at this point I was kind of amazed at how my thinking was changing. In the past I had always looked at trying to work with the whole composition, instead of just pieces of it.
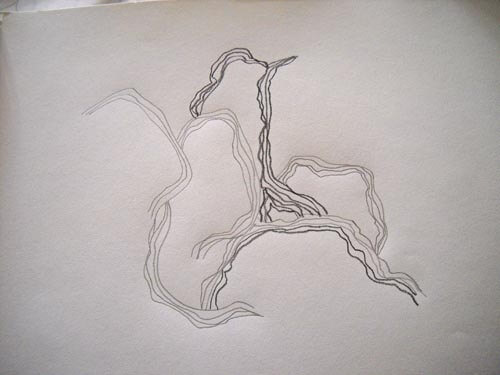
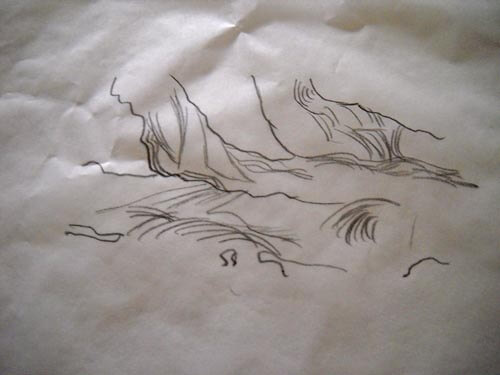 Here’s the close-up, and as I was trying to add some texture, it occurred to me that all the lines were pretty much ovals…..the beginning of inspiration and a real change in my thinking, which led to this…..
I LOVE this! The linear part of me was going to do all the ovals equidistant apart, but I had trouble with that in the second line and I realized the wonkiness of the “in and out” of the line gave me even more texture. Then when I changed pencil hardness I was really hooked……which led to “Oh, my, I need more thread and yarns….” I think I’m on to something. Plus, this was so freeing. This process really works, and I can see working this activity much more.
So then I went to another photo:
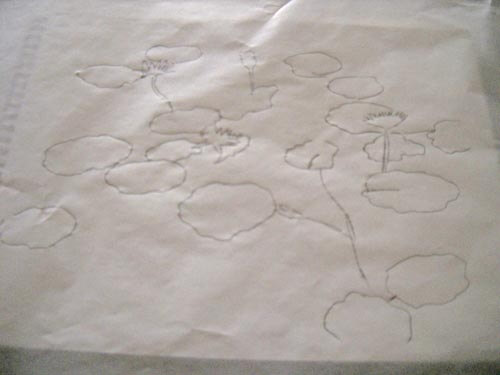
This was taken in Balboa Park, the reflecting pools near the Botanical Gardens. LOVE these lily pads, especially the variegated leaves. Here’s the outline.
And here’s the close-up:
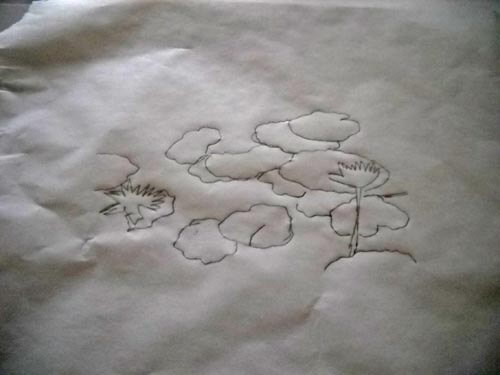 I really like the shape of the lily pad, so I decided to use not-quite-regular circles. I ended up with this, and again, really happy with it. I already know what stitches I would use….and again, I need more thread…..
I have a couple of additional photos I want to do this exercise with, and I can see myself using it a lot. I had ideas come out that I wouldn’t have seen otherwise. Definite progress.
New Work and Progress….
![]() I have been participating in the Free Motion Challenge this year sponsored by SewCalGal, and it has done wonders for my quilting skills. Each month a different machine quilting instructor, and I now have a variety of patterns to use. Part of my goal for this second year of retirement is to complete some of the unfinished projects over the last few years. Now I feel like I have way more tools than just stippling. I am working on a quilt from Stripper’s Club of three years ago at my LQS (Quilter’s Market), and it is looking amazing. I anticipate being done by the end of the weekend, as the quilting really doesn’t take that long. I just need to take breaks every half hour or so since my neck and shoulders are tightening.
I have been participating in the Free Motion Challenge this year sponsored by SewCalGal, and it has done wonders for my quilting skills. Each month a different machine quilting instructor, and I now have a variety of patterns to use. Part of my goal for this second year of retirement is to complete some of the unfinished projects over the last few years. Now I feel like I have way more tools than just stippling. I am working on a quilt from Stripper’s Club of three years ago at my LQS (Quilter’s Market), and it is looking amazing. I anticipate being done by the end of the weekend, as the quilting really doesn’t take that long. I just need to take breaks every half hour or so since my neck and shoulders are tightening.
In spite of feeling pretty lethargic over the last two months, I finished a small green color study, the June and July free motion lessons, completed the samples and wrote the pattern (which is now being tested by my new pattern testers), started work on my forest quilt, and completed a small piece called Desertscapes.
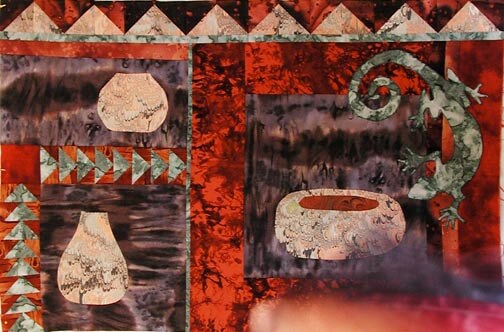
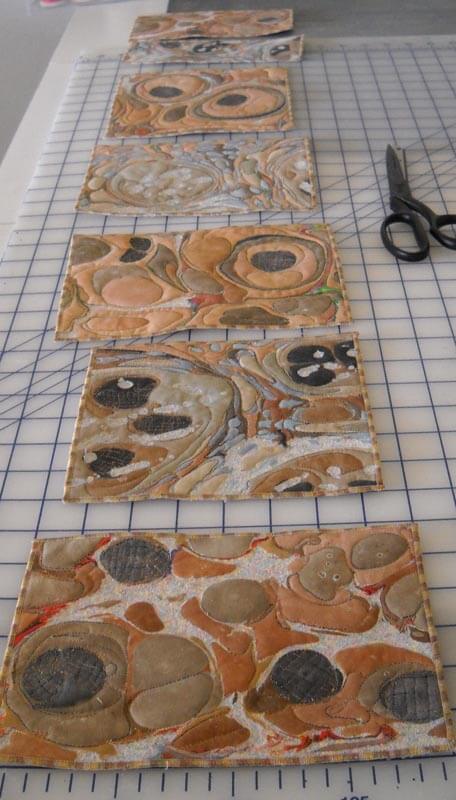
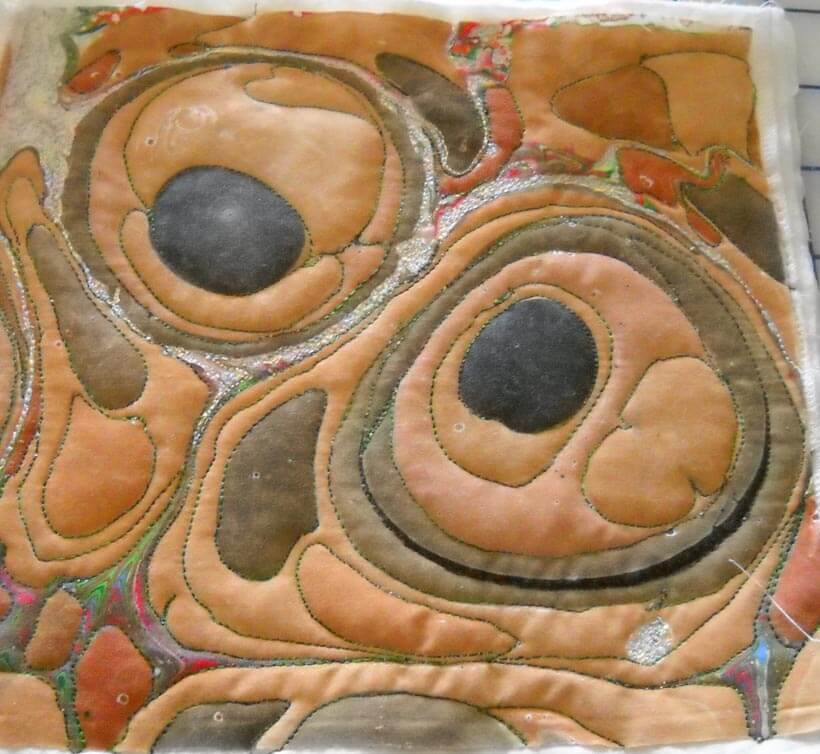
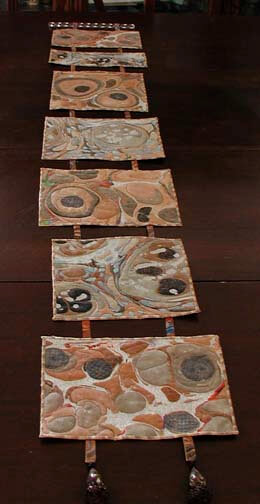
Desertscapes started as seven separate pieces that I knew would go together, but I wasn’t sure just how that would work. I just started with some free motion to accent the idea of geodes, as well as desert landscape. I loved the use of microstippling to mimic sand.
Here’s the finished piece, which already has a home. It looks so much better – and straighter – on the wall! Loved the way the marbled ribbon brought everything together.
