Archive for the ‘quilting’ Category
Monday Marketing – Update
 I’m going to just think as I write for this post. After four full months of almost non-stop marketing – and a whole lot of sewing in there also – the business is very busy. We have some things coming up, some things we’ve dropped, and it’s time to evaluate where we have come and where we need to go.
We have dropped a potential art show for a variety of reasons, none of which are really positive in the long run for both us and the business. That was a hard decision to make, and I learned a couple of things. One, we don’t have to jump at everything and say yes to a possibility if it doesn’t feel right. When we were first starting out, I wanted to go after every possibility, even if it was unrealistic. Two, if we have to “push” to make it work, then chances are it isn’t for us. Three, I really like being able to take things at our speed. Even though we have limited years to build our art business, it is more important for us to enjoy each other, take opportunities to be together, and be able to actually create art when we want to. Those were some good lessons on which to ponder (for my English-language friends, no “ending with a preposition”….).
I have started working again on publicizing Art from the Heart, something I really want to do. I am behind on it, but I am slowly seeing progress. I am working on a major commission and learning lots, and I’m nearly half-way through. We are marbling a lot, which we are enjoying, and it seems like we are back to where we were before water and paint and so on became issues. And….we have a guild workshop to do the beginning of November.
Now, we used to do a lot of workshops, and we – not realizing it at the time – blew lots of opportunities to sell fabric. We would go and demonstrate, but never have fabric for folks to buy. Nothing like violating one of the basic rules of marketing – always have product because you never know when someone will want to buy. When I went to the School of Threadology at Superior Threads a year this past April, I took some fabric and sold out in 10 minutes – I could have sold a LOT more. Lesson learned.
So for this workshop we are doing things very differently. We will go with fat quarters and a couple of gift baskets. We will have hand-out of all our contact information, supplies connections, order forms, and class sign-ups. We need to get back to dealing with all the guilds (and there are a lot more in the city since we were doing this), especially since we have more to offer than when we were originally doing this. And….since we are talking about going east again next year, I need to put the word out and see if we can book a few gigs.
We will do a demonstration in our cookie sheet, so we can create a lot of small pieces to demonstrate patterns, and everything will be easy to transport. Then I have a lot of quilts (as opposed to art pieces) to show a group of beginners. The first quilt I show is my small Attic Window, where I felt the only color I could use with the marbled fabric was black. We’ll come forward to the fish quilt, which I am in the process of re-quilting, since those skills have tremendously improved. Hopefully people will feel inspired to buy/order fabric, and we’ll be busy for the bulk of November.
I need to take pictures of those quilts and get them online to document the journey. October and November hopefully will be extremely busy making and selling fabric!!
Quilt, Sewing, and Gift Show
 This weekend is the Tucson Sewing, Quilt, and Craft show, which has not been publicized much. I only know about it because I had a call from a vendor trying to sell me stuff, and I found out they would be here in town. Plus, the show is at an “expo” center that’s not in a great part of town, and entrance was around the back – and not well marked. That said, I enjoyed two things about the show. One, I could go on a SCHOOL DAY!!! I didn’t have to wait until the weekend. Two, I met some really cool people and saw some unusual gadgets that I really want…..that’s always a good sign….
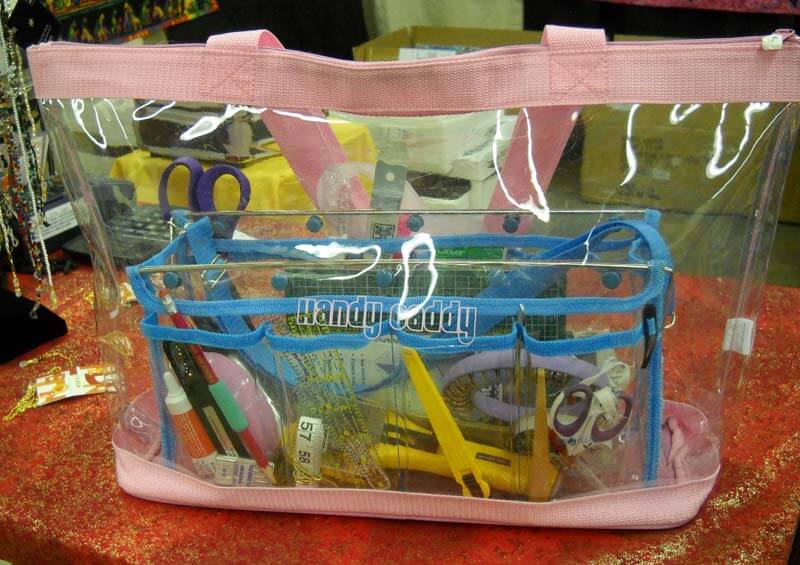
The Handy Caddy – I don’t normally buy impulse items, but I could immediately see a use for not only organizing my sewing table, but also carrying my sketch materials with me a whole lot easier than dropping everything in the bottom of my purse. The bigger tote will hold my sketchpads and assorted material for trips.
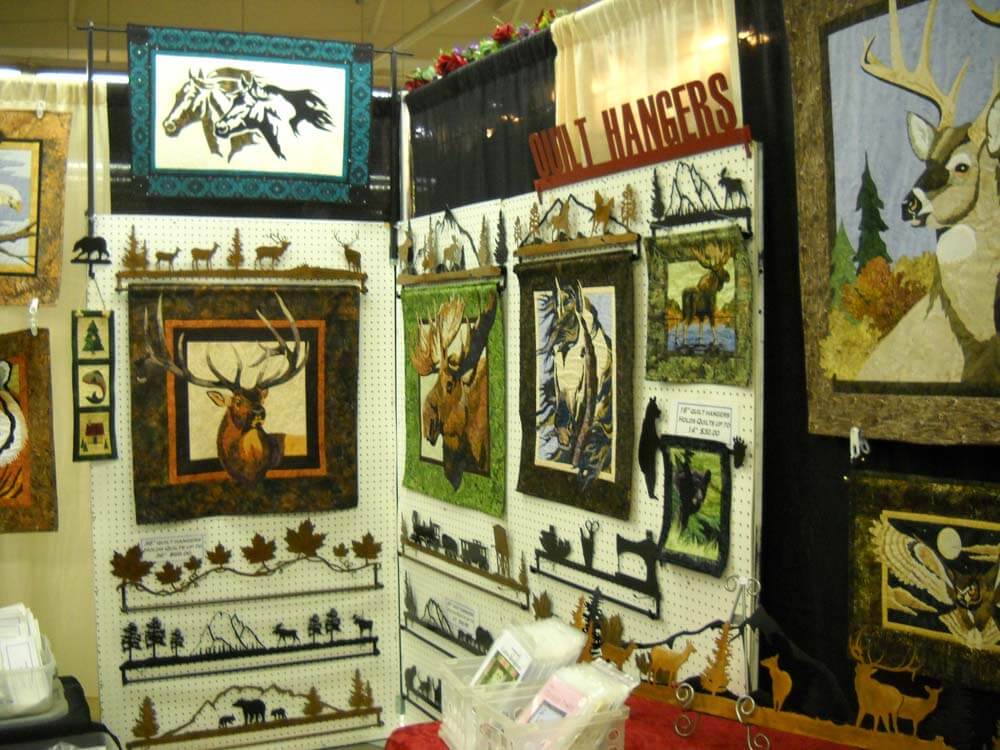
Also of interest were these really cool custom quilt hangers. I could see using these to hang pieces of fiber art for a quilt show, from Summer Sky Creations. The owner is local to us (well, norht of Phoenix, as opposed to East Coast) and can do custom work.
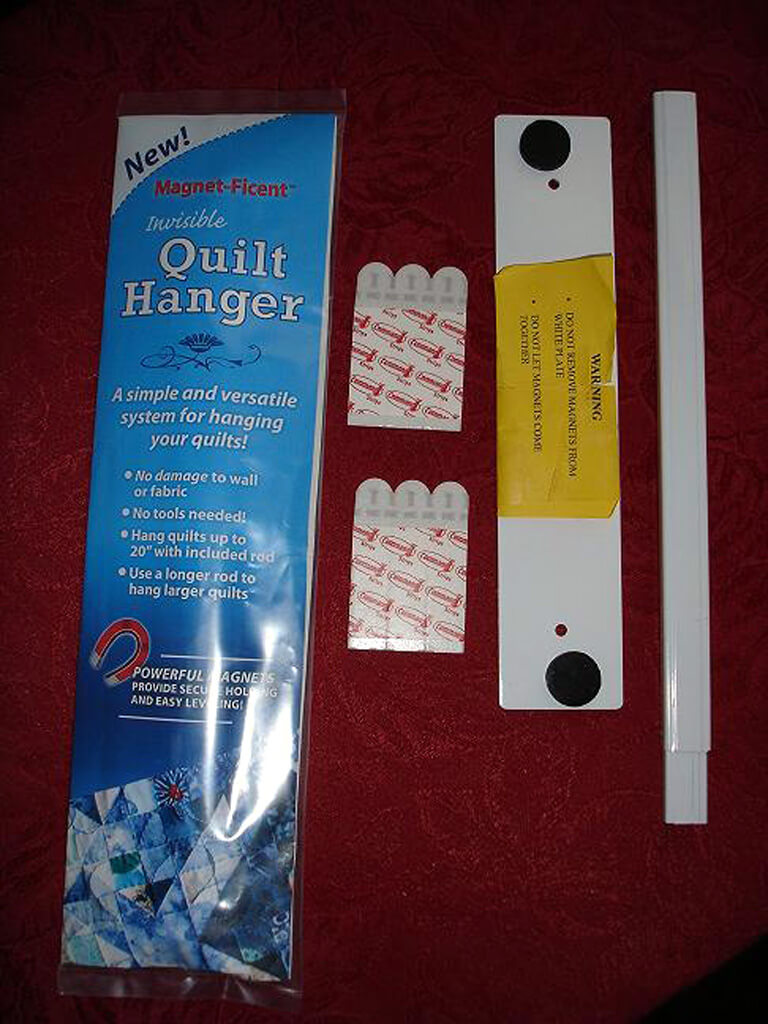
There was another quilt hanging system that uses magnets that I thought was brillian – even better for hanging shows at a gallery, and no tools needed or holes in the wall. From Rom Woodworking (check under Miscellaneous) comes Magent-Ficent: “$35.00 – Magnet-Ficent(TM) Invisible Quilt Hanger A simple and versatile system for hanging your quilts without using push-pins, screws, nails, or levels! Magnet-Ficent(TM) Invisible Quilt Hangers allow you to easily and securely support your quilt for display, yet it will appear to be floating very close to the wall with no means of support. This hanging system uses a small mounting plate attached to your wall using removable adhesive strips. ” We saw it displayed and LOVED the idea.
PS – his wooden thread cabinets are gorgeous!
From VJ’s Creative Designs come additional quilt hangers, and they are also even more local to us – just south of Tucson. Gorgeous wood designs for hangers.
This is within the first hour, and we could already of spent lots of money. I did pass on the $300 iron (down to $200 as a show special). Loads of bells and whistles, but I really don’t need steam…..
Then we saw THE cutting system….on our wish list. From Sew EZ Quilting comes this QuiltCut2 Fabric Cutting System. We saw it demonstrated, and when we get a little busier, it will help us save a lot of time preparing fabric.
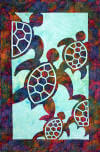
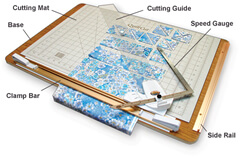 Love this! Then I saw some GLORIOUS patterns from Pacific Rim Quilt Company that would be gorgeous in marbled fabrics. I love this pattern:
So it was a wonderful 2 hours of browsing, shopping, and talking to vendors. Now I need to go get busy!!
It All Started with the Yucca…..Wednesday Work in Progress
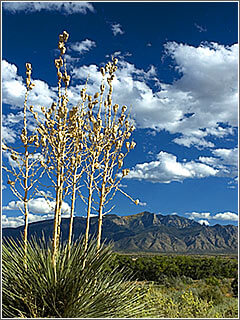
This new piece has had an interesting origin…..we were in Cornville , AZ visiting friends, and our driver wanted to stop in the high desert and see about getting some yucca stalks for walking sticks. If you look at the picture, the stalks are what’s left after the gorgeous blooms are done. They are evidently extremely strong and hold a lot of weight. So we have two collected stalks in the car, and I’m thinking, hmmmmm – these could make interesting wall hanging “hangers.” Turns out we got as a gift two really strong, perfect-height-for-hiking sticks from another friend we were off to visit, so I decided to keep these two, one as a walking stick for me (I just need it for balance) and one for a potential hanger for a wall piece.
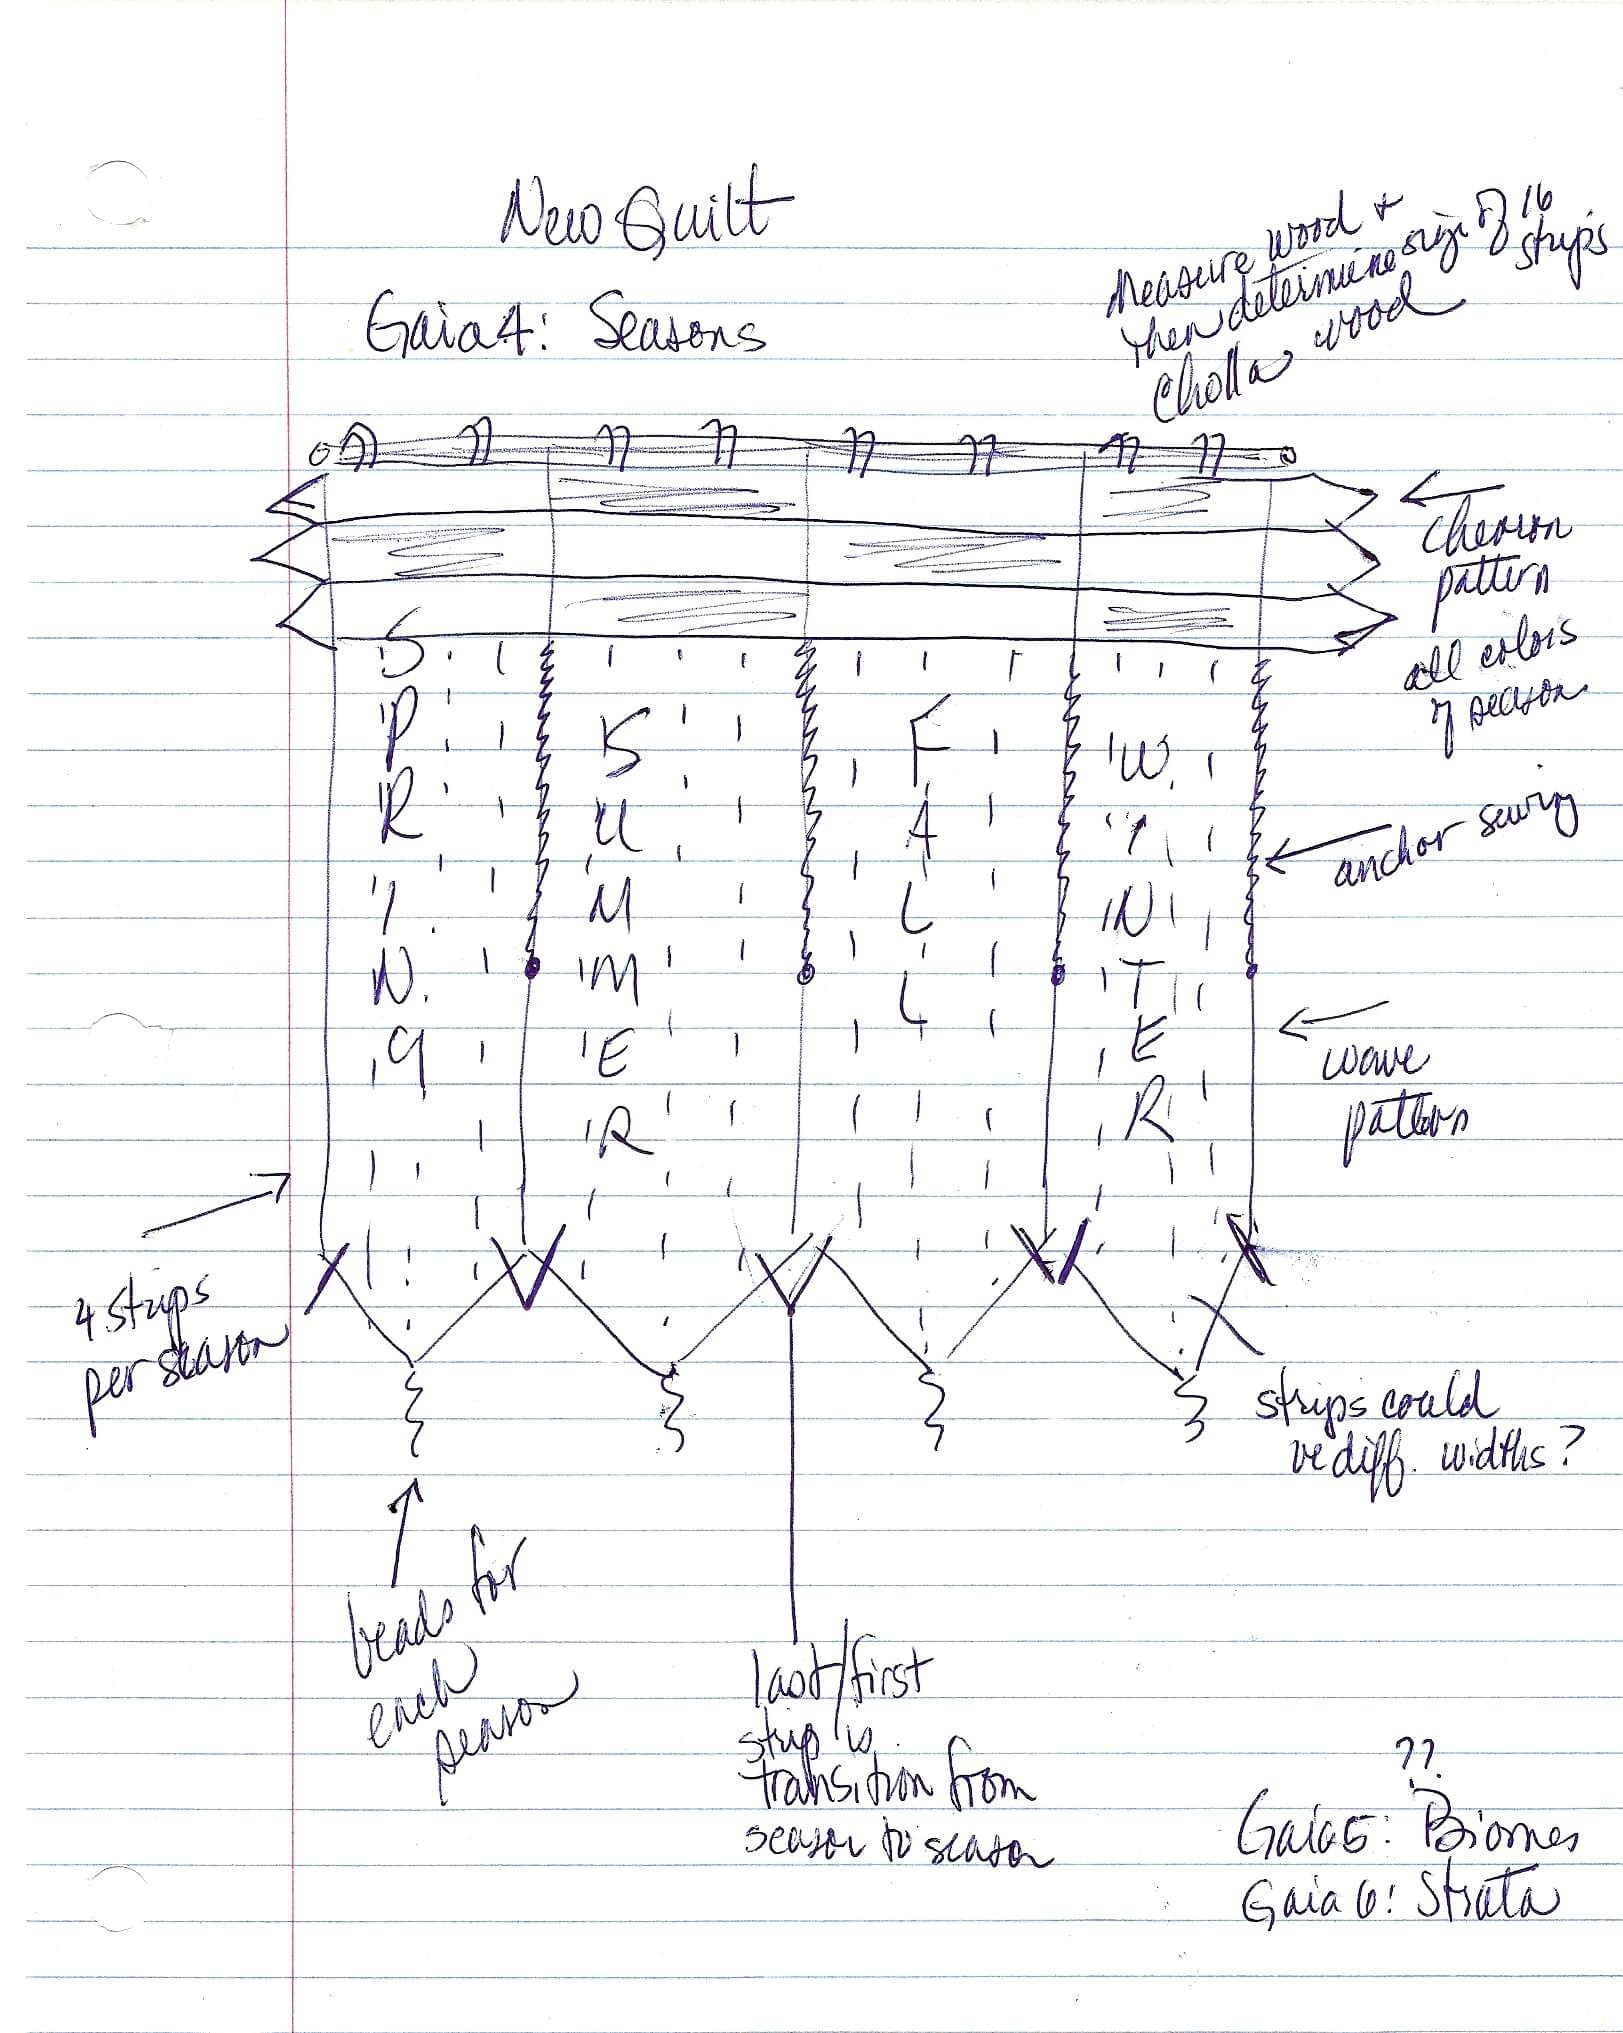
I was looking at it today, as I was kicking around another weaving piece. It would make a good “topper” for a new piece. I had in mind a set of seasons pieces, and then suddenly I got the thought to create the fabric and weave them all together for a year of seasons.
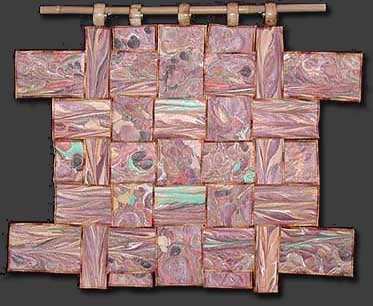
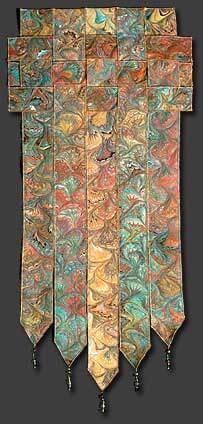
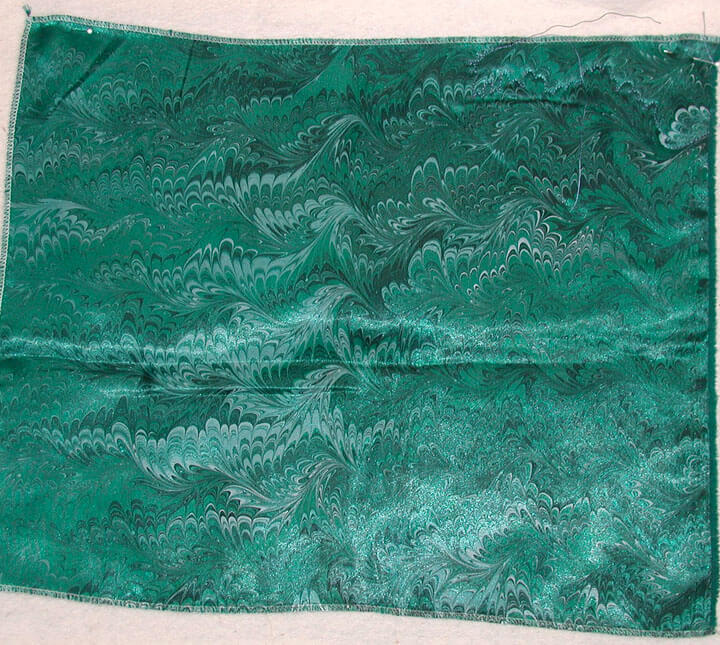
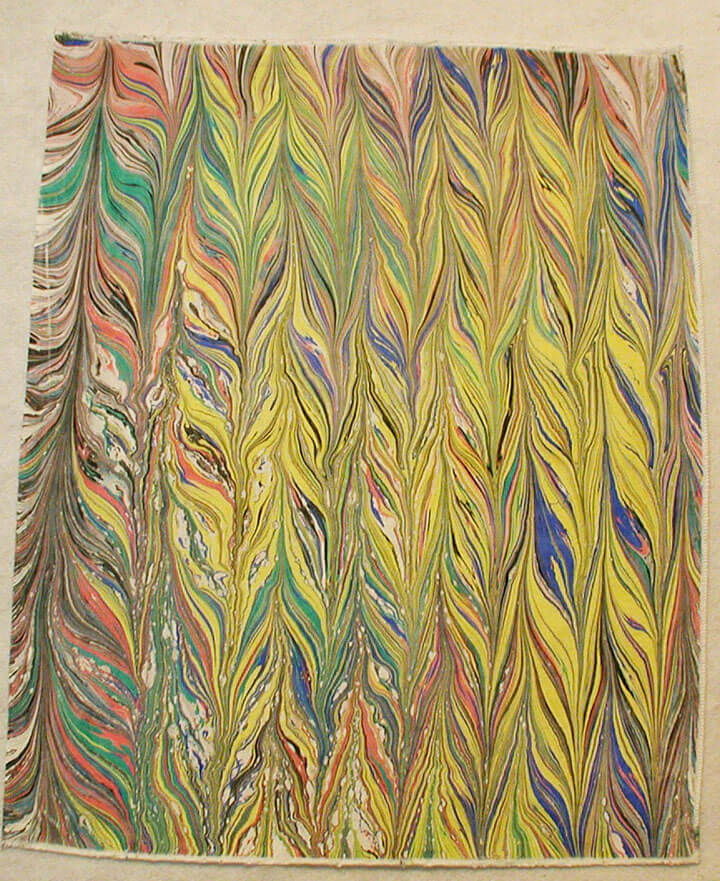
Here are two samples of some of the weavings I have done with marbled fabrics. The first is my very beginning one, Gaia 1: Interdependence. The second is Gaia 3: Autumn.
All of a sudden the design was in my head, and I sketched it out, something I don’t normally do. Here it is:
Creating the fabric will take some time, and I know with other projects in the pipeline, I won’t get to this until mid-September. Hubby is the main marbler, so he will have his work cut out for him. I will need to also watch the proportions in this piece – ever mindful of Michael Kors and Nina Garcia from Project Runway…..
Stay tuned for progress. In the meantime, here’s a few stories for past weavings in the Gaia series.
Work-in-Progress Wednesday
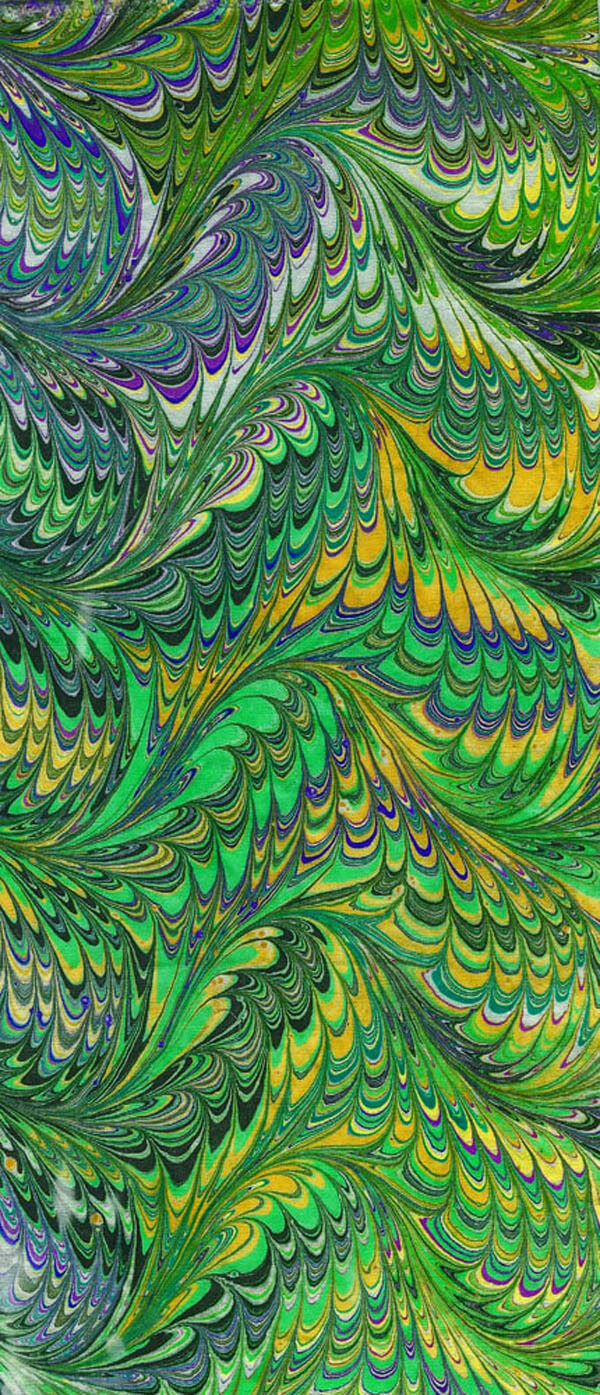 It’s usually about this time every summer that I become productive, knowing that my time is short before school starts. Not this year! I’ve been productive since the end of May, with a lot of projects in the works, and a whole bunch already completed. It feels very very good! The commission is done, I have two shows to create/finish pieces for, another commission to complete, a bunch of small studies to do, and about 6 unfinished quilts that have been around for a lot of years (some more than a decade). I do LOVE being productive, busy, and above all creative.
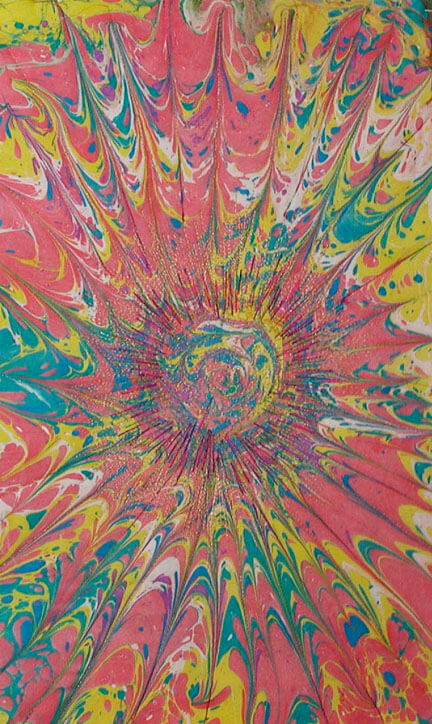
Now, I finished another small study on movement for the class I’m taking from Lyric Kinard and Quilt University. I realized as I finished quilting that I really do need to take a “before and after” photo of the fabric, because there really is a dramatic difference. For this piece, I tried a new marbling pattern – actually, I tried to create a pattern that would show movement. I really liked what I came up with – very festive, 4th-of-July feeling. The question was could I make it feel even more of an explosion with movement. I wanted to put this up for a challenge using the word “spark.” I thought of fire crackers, and then I wanted to combine it with the class assignment. Click so you could see the details.
One thing I have found as a result of the class – well, two things actually – I now feel I can create any type of line I want with my quilting, and I spend a lot more time thinking about how the quilting will accent the message of the piece. I started by doing a “loop” in free motion from the very center outward to the edge of the “center.” From there I quilted lines to accent the “rays” from the center of the piece. I used a Superior metallic for the center, and three different threads for the outer rays – a Rainbow in purple, yellow, and green, and two shades of gold metallic.
Already I was seeing more movement in the piece – but I wanted more….So I took the multicolored thread and stitched from the center out in a zigzag motion to add more of an explosive effect. Better. Then I took one of the metallics and did the same thing outside of the circle, but less dense than the previous. I did an “envelope” backing, and I am going to experiment with mounting this on canvas to see how it works/looks.
Overall, very pleased. I just wish I had the “before” picture. With that in mind, here are the “befores” for two more small studies in the works:
I will be curious to see how they work out and what they have to teach me.
Work in Progress Wednesday
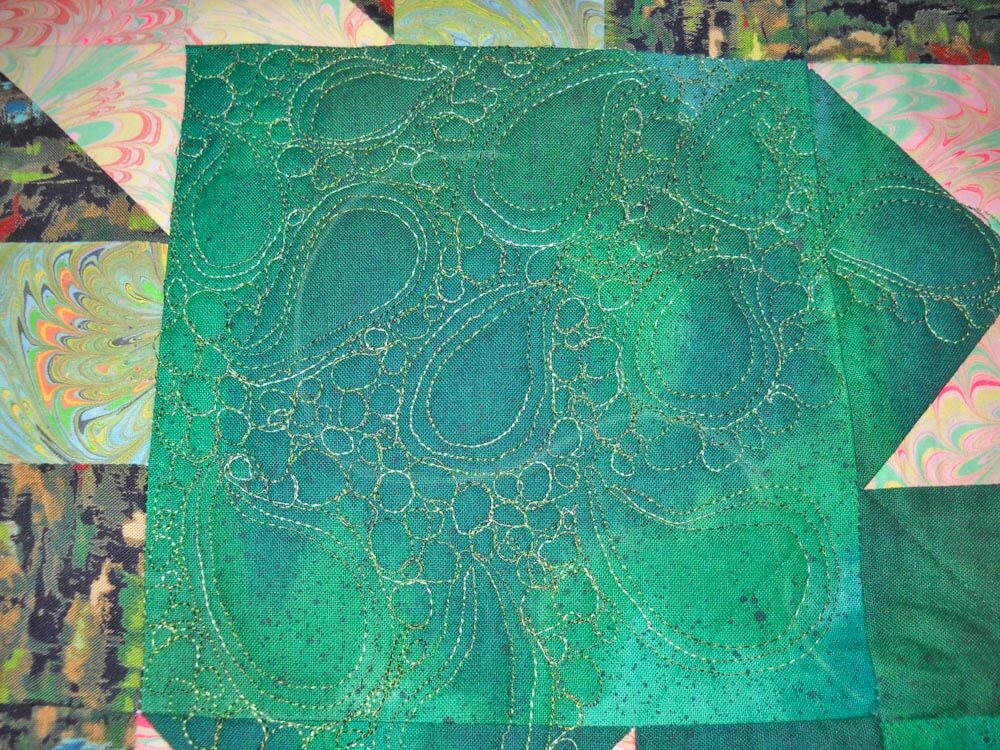
It has been a productive week, and I have two new projects on the agenda, but first – my finished quilt from last week. This is waaayyyy better! It was originally done many moons ago as a marbled BOM, and I wanted the quilt, which I have always liked, to reflect the new skills I have. It’s from a block pattern from Judy Martin’s Around the Block.
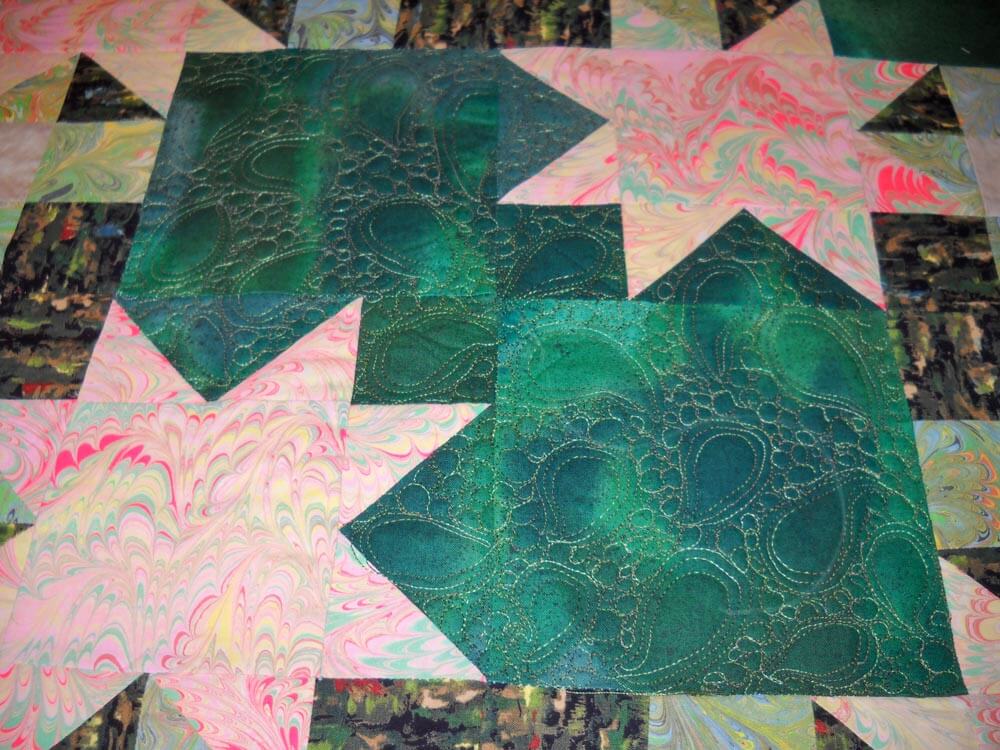
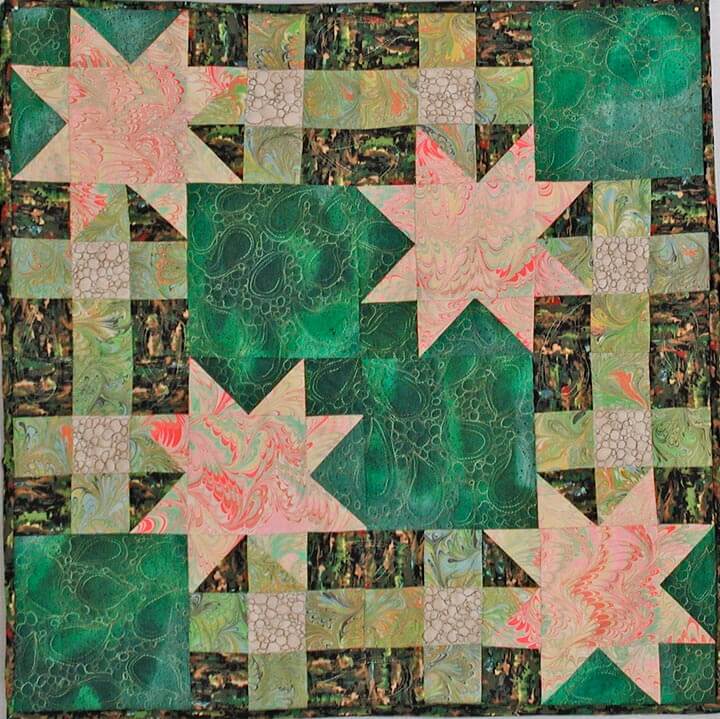 I’m calling it Monet’s Marbles, based on the mottled green fabric, which I bought years ago because it reminded me of Monet. I didn’t quilt anything in the stars, because I wanted them to stand out from the rest of the quilt. Here’s a close-up:
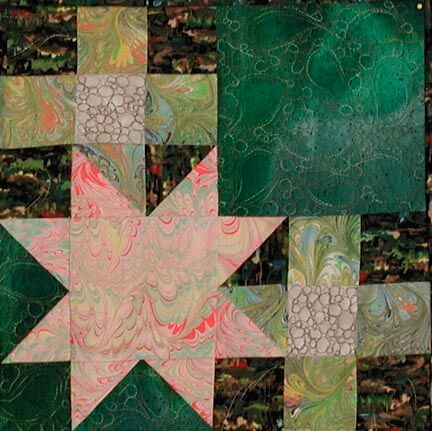 This is one of the blocks from Judy Martin – the quilt has four and uses two different marbled fabrics.
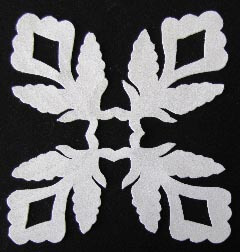
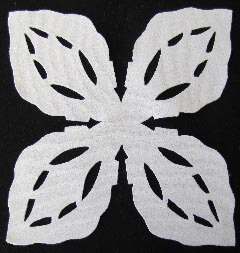
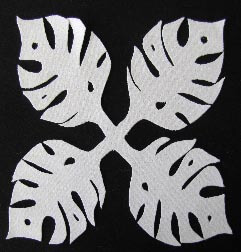
The next project is to finish up some small wall hangings for my second mom. She spent one winter in Vermont cutting out Hawaiian designs for a potential quilt – they never made it into a quilt, and I am trying to put them into something that Momcat can use. There is one major problem….these amazing blocks are all cut out of a heavy white polyester fabric…that ravels…………so I am using a lot of satin stitch, which also adds a slight bit of color to the blocks.
We decided on a black background to emphasize these wonderful patterns. I am hoping for one of the small wall hangings to be done for next Wednesday….we shall see…..
Many of these are original designs , and they are certainly a challenge in corners, heavy polyester, and satin stitch….but they will be gorgeous!
Work in Progress Wednesday
Sometime this past autumn, I posted a picture of a quilt completed at least 10 years ago, asking for suggestions on quilting it. I had used invisible thread (waaaayyyy before the improvements in threads) and did basic in-the-ditch quilting. Pretty darn blah. So I took ALL the quilting out, including taking the binding off, and washed it to hopefully remove the shadow lines.
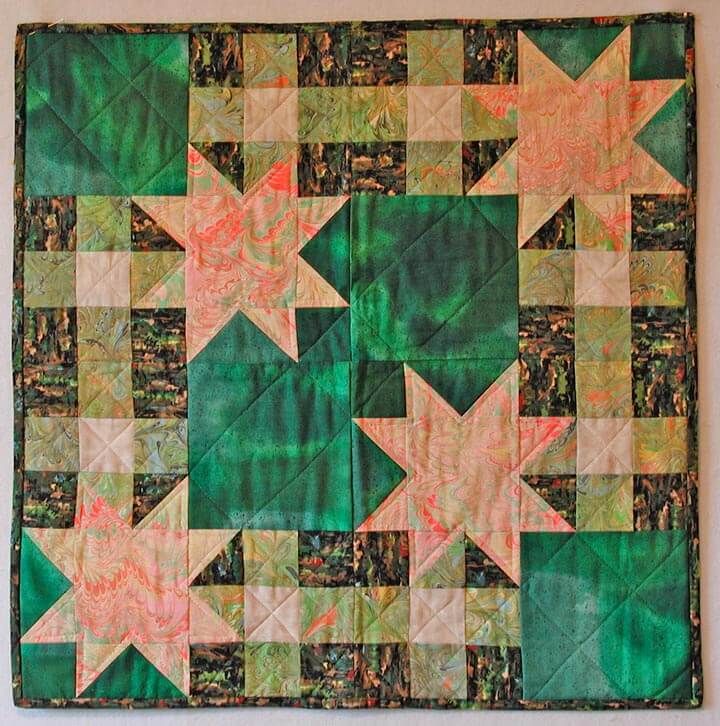
Silly me, I was thinking of having it available for sale at the art show we did in November. Well, that didn’t happen, so it moved to my “to do” list for when I retired, and then to the top of the list as I saw the studio coming together. I thought of attempting some feathers, because most of what I have done for quilting has been stippling or stitch-in-the-ditch.
Before I could start, I discovered this video on stippling, and I was hooked. Sharon Schambler had an hour-long video (actually longer) with 9 free motion patterns she has used in one of her quilts. Easy to watch and very easy to do!
I chose the second pattern, used some variegated thread from Superior (of course – I am totally hooked!), and started. I wasn’t sure I could really do this. So voila –
I was thrilled at this point, because I realized 1) I could do this, and 2) the quilt was going to look SO much better!!
This is the completed center. I’m not going to quilt the marbled stars (unless someone has a really good idea for me?? Hint hint…). I ABSOLUTELY love it! I’m doing a variation of the pattern on some of the side strips, and it’s coming along well. Hopefully pictures this weekend…..
Work-in-Progress Wednesday – Seasons: Ice
I am enjoying not feeling pressure to finish or make something under deadline. So I started another new quilt that I would like to make into a pattern. That’s one thing that’s been appealing to me…ever since I sold off the rights to several early quilt patterns. This one just seems to be happening.
It started with my Desert Heat Quilt.
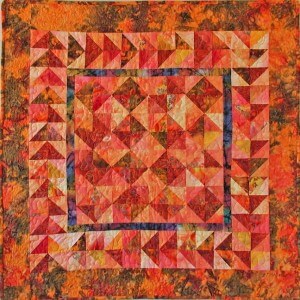 I really like how this came together, and everything I wanted it to do (especially radiate heat), I was able to get it to do. Once it was up on the wall, I decided I needed a companion piece, called Winter Ice. So since the move happened, and I had to rearrange and clean the studio, I pulled all the fabrics that spoke to me of “cold.”
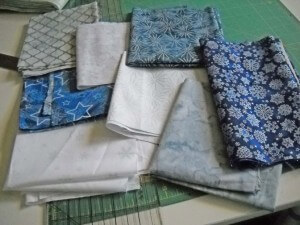 A beginning selection to work with. The center white one is full of glitter.
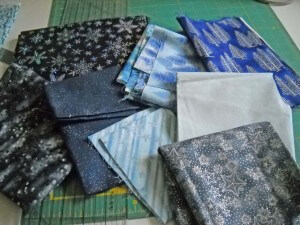 Except for the bottom right, ones that didn’t make it into the selection. I try to match a light and a dark, a light with a medium, a medium with a dark. I make waaayyyy more triangles than I need, because I like to have a variety to choose from. My center block with be eight by eight in triangles. You can work in groups of fours to keep a square: 4 by 4, 8 by 8, 12 by 12, and so on. I like the 8 by 8.
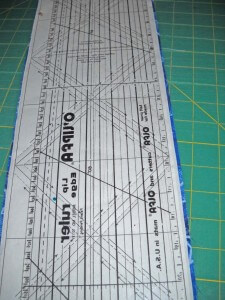
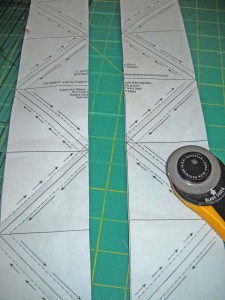
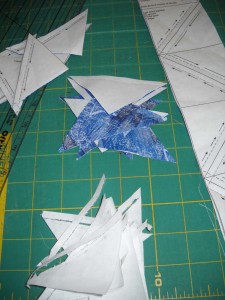
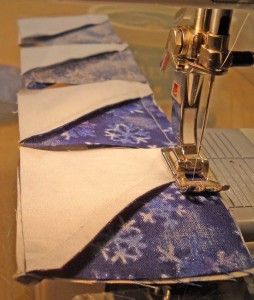
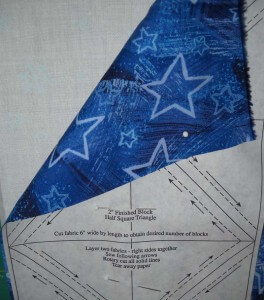 I like using the Triangles on a Roll, because you can do some mindless sewing. I cut pieces the long length of the fat quarter, about 6 inches wide. Put the right sides together. I tend to carefully pin, but if you don’t iron well first, you can get lumps in the back that may not come out with ironing, and may cause some stretching.
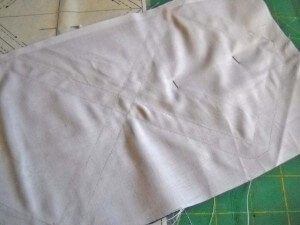 But the great thing about sewing these triangles is that you can just follow the lines. Use a small stitch, because you will be tearing the paper off each smaller triangle when you are done.
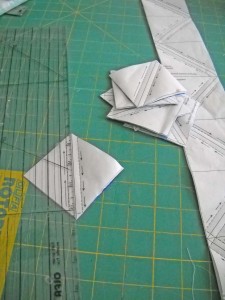
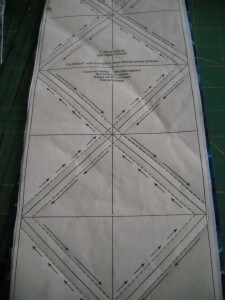 What’s nice about this also is that you can have several stages going at the same time…..sewing on the paper, cutting the triangles apart, tearing off the paper, pressing, cutting off little ears. Some at different times, or all at once. I like doing the stages.
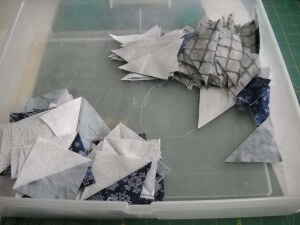
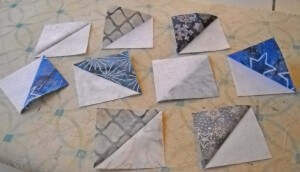
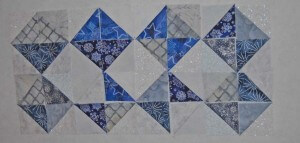
I iron to the dark piece. I tried on Desert Heat to iron all the seams open, and I ended up with major lumpy bumps, so this time through I am ironing everything to one side. I use a small container to keep my triangles, ironed and un. I just slowly work through the ironing. Once I have them all cut, I play around with a design. Below you can see how the initial triangles worked out.
First part of a layout, just playing around…..
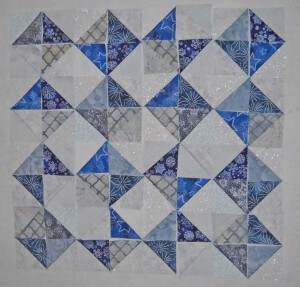 The last is the potential final layout.
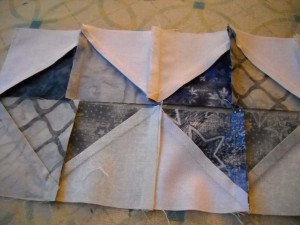
Then I strip-piece the rows together. This can be a bit tricky, as you are matching the seams on top of each other.
At this point you need to make some decisions again about ironing.
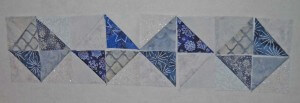
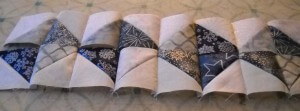 Here’s two rows pieced together, waiting for ironing. One row I press seams in one direction, the other row the seams in the other direction. Then you can “butt” each of the seams together for virtually perfect points.
 And that’s where we are at this point. I now have a draft of the beginning of the pattern, and I know all the places where I want to add more hints. So we’ll see where I am this time next Wednesday.
Any pattern-writing hints you want to share? Let me know – I’m interested in any and all ideas!
Other Work-in-Progress Wednesdays:
Work in Progress Wednesday – Two New Quilts
Awright, so they’re not technically WIPs. But I haven’t shown all of them on here before, and I really do love them. And close observers will recognize the blog heading as the fabric in “Salmon Run.”
“Salmon Run” returned from its several-month engagement in Alaska at the Cordova Historical Museum. I love having it back – I am so fond of the fabric.
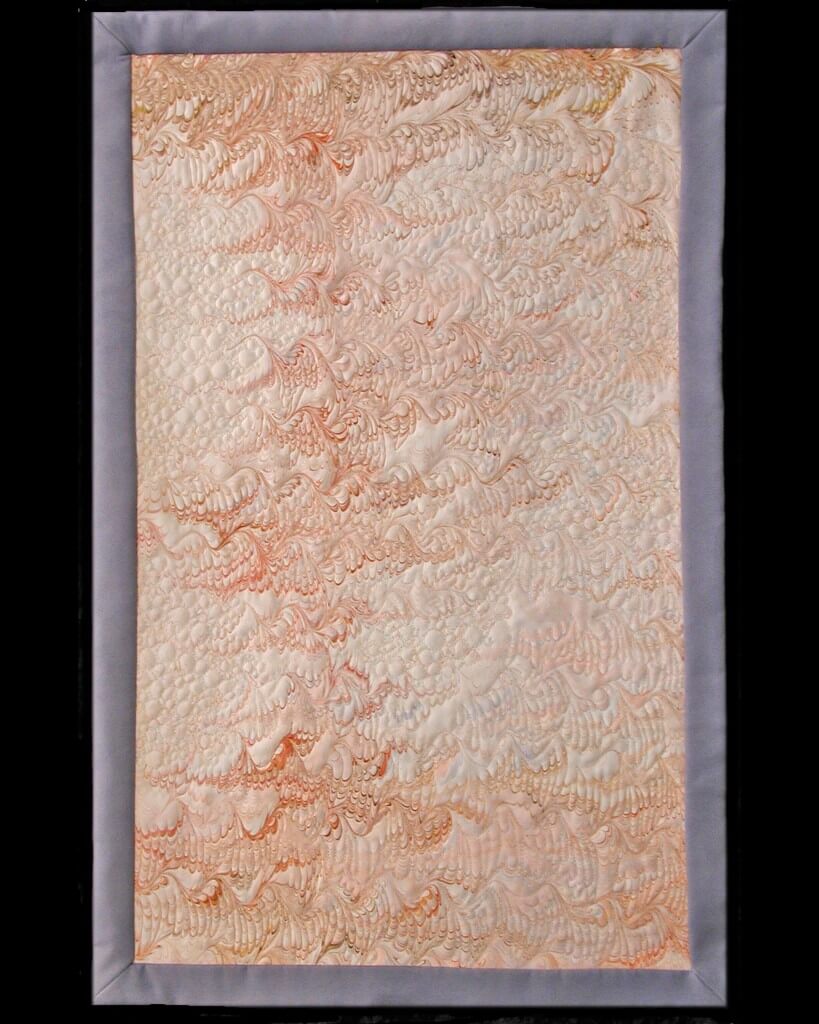 Here’s a close-up of the quilting.
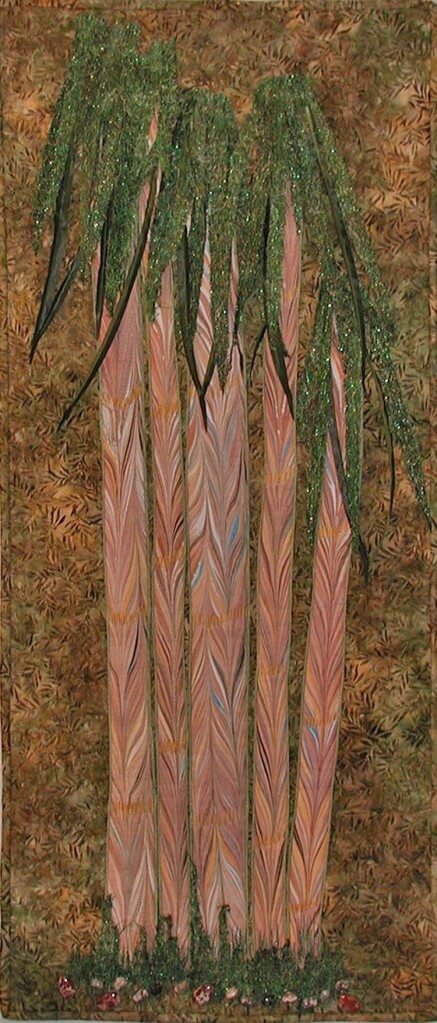
You also haven’t seen my latest piece, “Bamboo Grove,” in a full shot.
This piece had so many techniques I hadn’t tried before. I am reconsidering the tops of the bamboo stalks…I may decide to take the leaves off and try another way of attaching them to increase their fullness. So I guess it still is a “work in progress.”
What am I working on now? I am doing an art show on November 20 with the Tucson Art and Craft Association, so I am preparing fabric for that, as well as requilting a few small quilts. I am thinking of revising my still-unfinished “Iceberg” piece from several years ago into a series of Icicles for Road to California – I have till December 15. I can still use all the techniques I had planned, just in some different forms. I am still thinking about the next “large” piece with marbled fabric and don’t quite know what it’s going to be……I have some really great large pieces of fabric lying around.
But…I also have about four other quilts in various stages that I need to get to! Such decisions we all have….what’s waiting on your list of to-do?
Quilting Designs and Illustrator – and a GIVEAWAY!
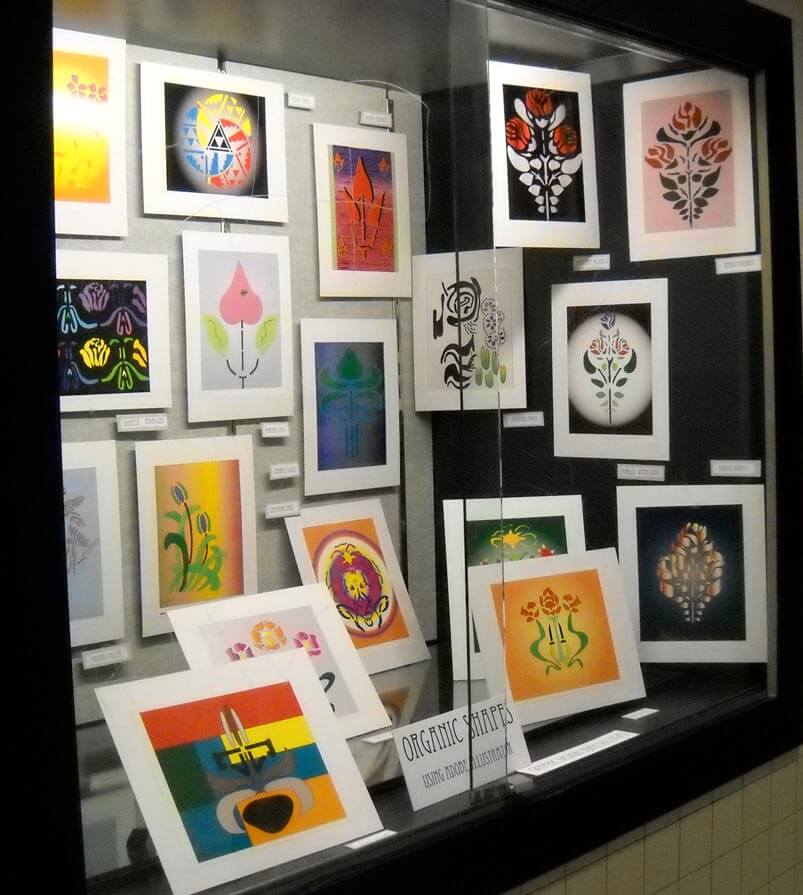
The high school I work at is the arts magnet high school for the city. The kids have some amazing opportunities in both performing and visual arts. Imagine taking a class three times a week in all the Adobe programs – all updated, where you don’t have to worry about buying the programs, getting updates, and making sure your computer always works, plus hands-on instruction rather than learning yourself. Can you say “jealous?”
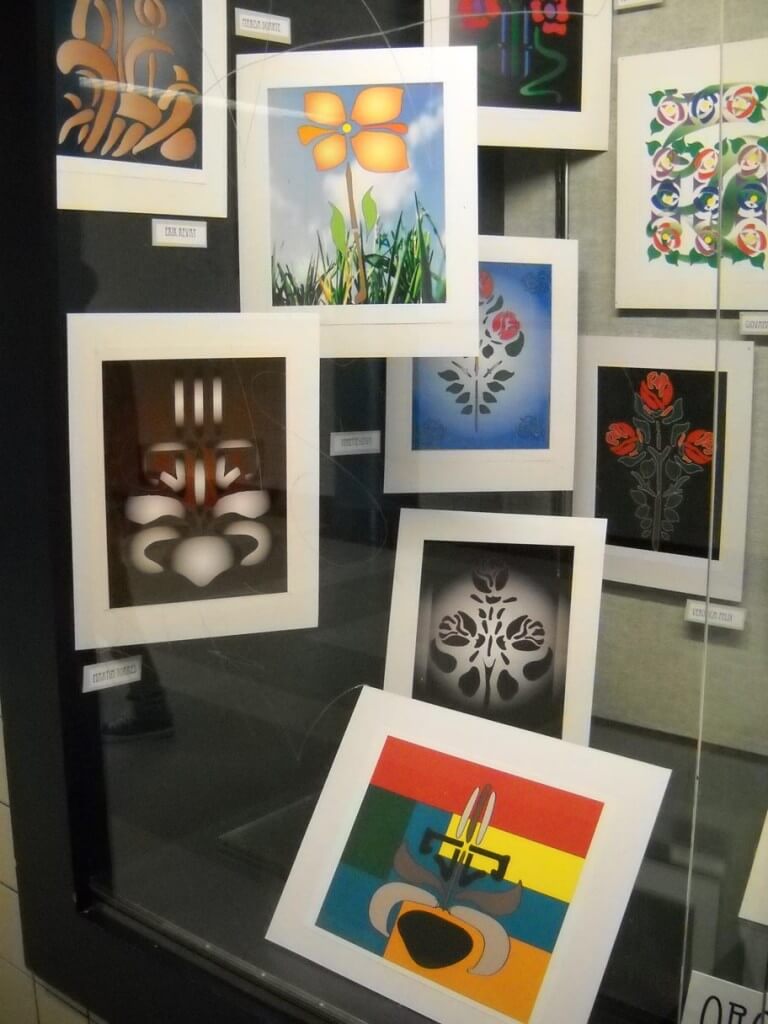
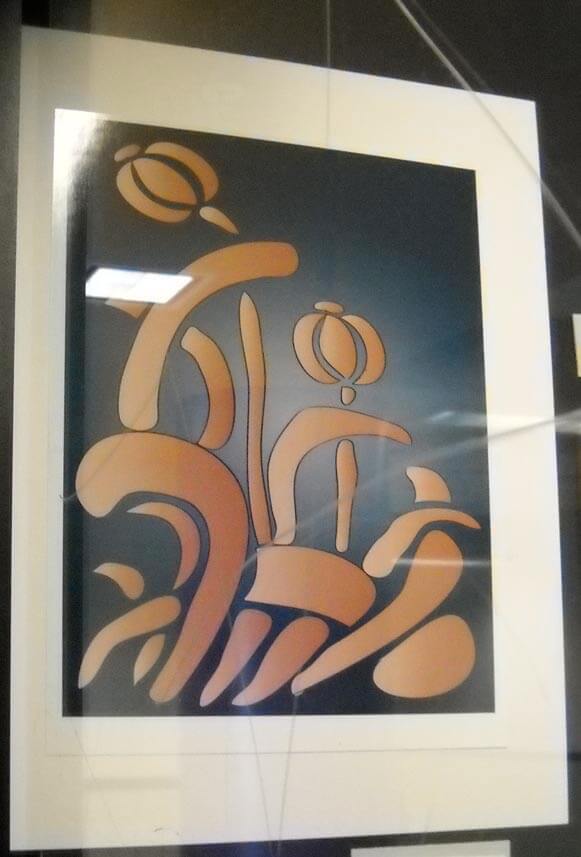
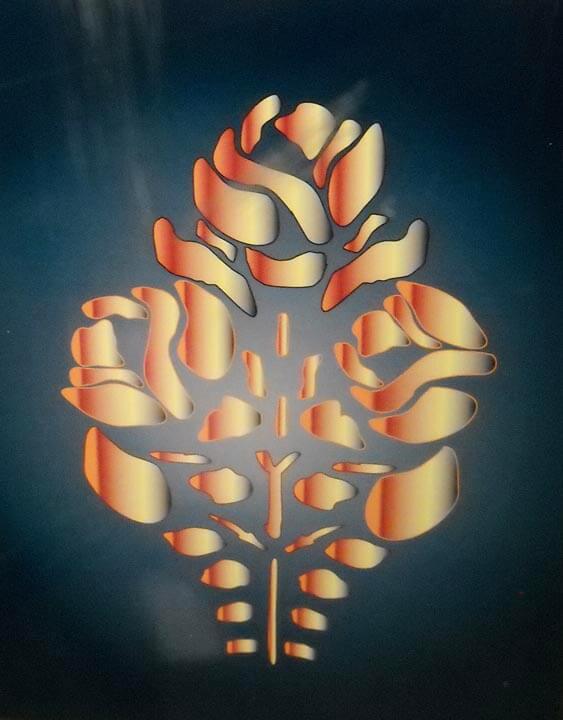
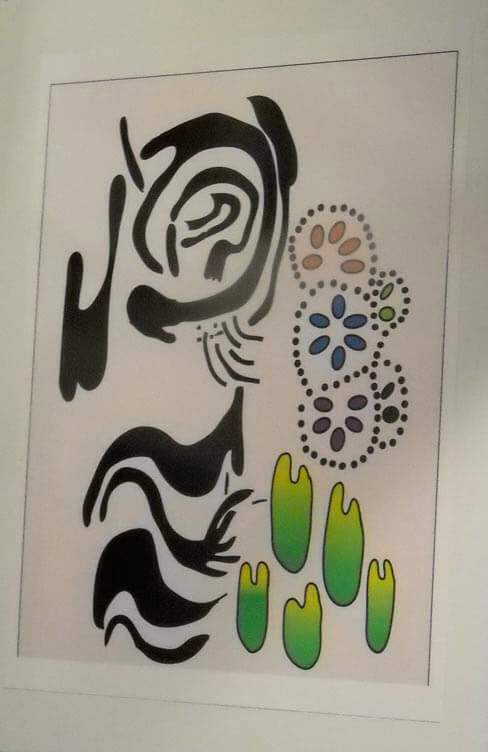
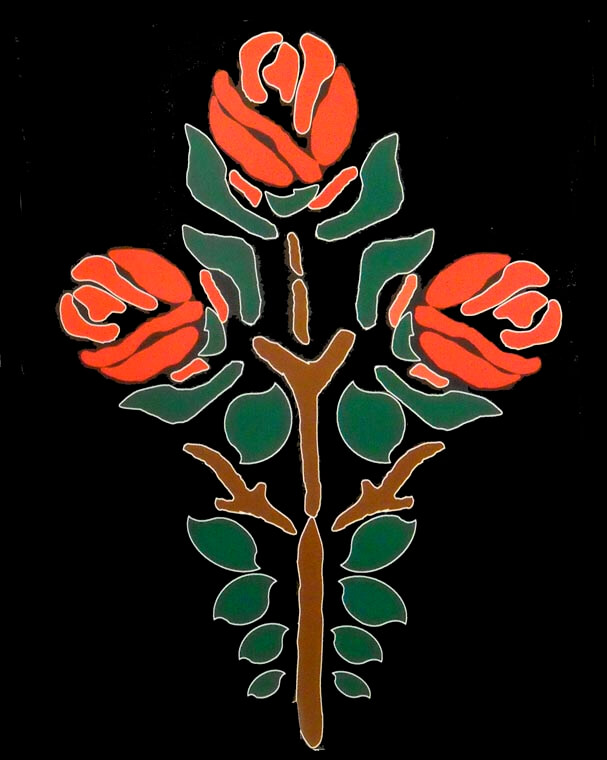
I think back to learning Pagemill waaaaayyyyy back when I was just starting my website in 1998…I still know a little code from teaching myself. Everything I’ve done has been self-taught, so I love the opportunities the kids have. About two weeks ago I walked to the end of the hallway to discover a new exhibit of student work, using Illustrator – a program I just haven’t had time to explore. The kids had to recreate some organic shapes (the pen tool makes me nuts….) and use some filters to develop their piece even further. All I could think of was what cool quilts these would make. There is glare (and the remains of some graffiti) on the showcase window, but I think you can get a good idea of what the kids are doing.
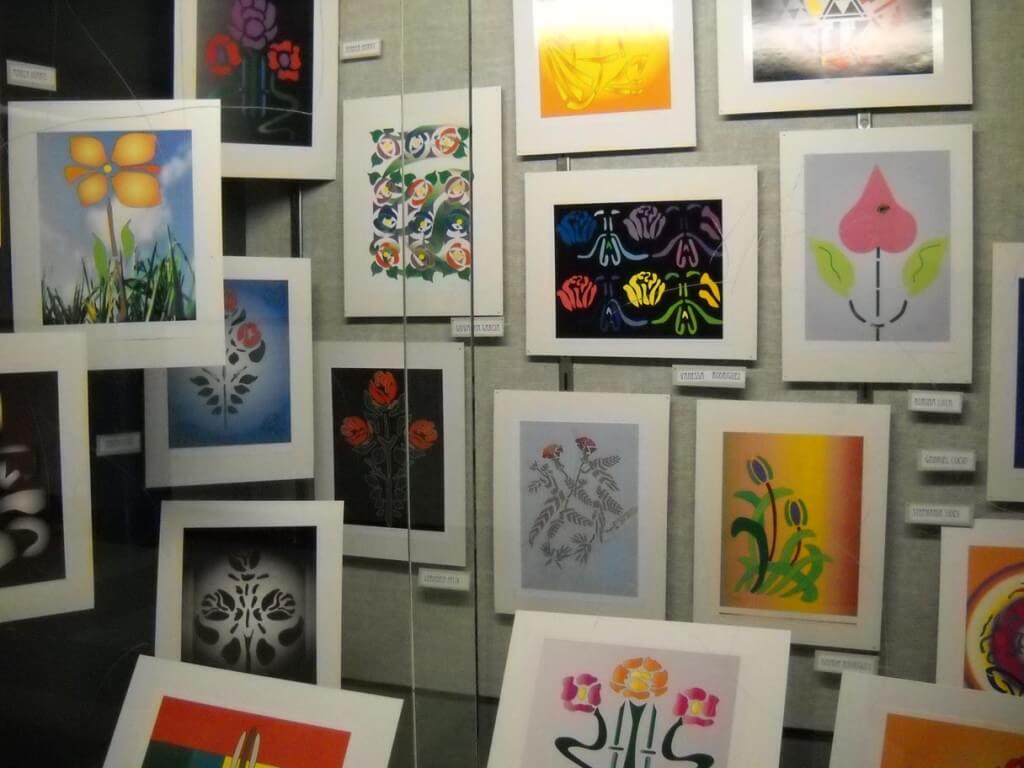
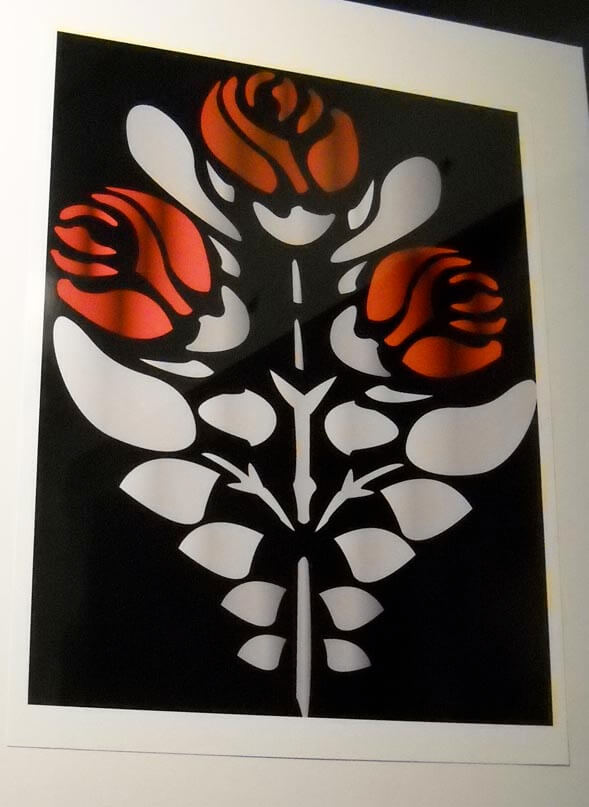 What I like about this is the blossoms. I am thinking they would look good in free-motion on a solid area of a quilt. See my dilemma below the pictures…….
Now, speaking of quilting designs….I need some help. I have two “older” quilts that I am requilting. I took the stitches out of one while in the hospital, and I’m working on the other one. I need suggestions as to quilting. I have grown beyond stippling, but I am still having trouble with actual designs that will work with the patterns. Here’s the first – four traditional blocks with marbled stars in a neon paint.
You can see all the old quilting. When I get all the invisible thread out, I’m going to soak it in warm water to see if I can make the lines disappear. But what should I do for quilting?
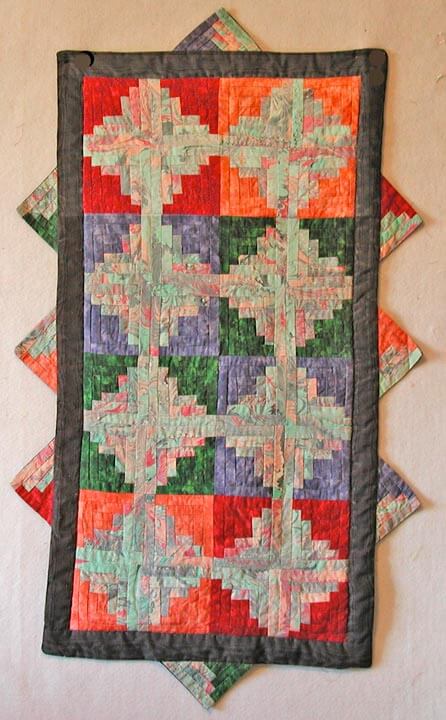
Here’s the other – a log cabin table runner done with marbled fabrics. What do you think? Just stitch in the ditch??
Leave me comments on the blog, and I’ll do a giveaway for the best suggestions for each – some digital note cards based on marbled patterns. Come on, help me out!!
Sunday Stories – My Sewing Machines
 At one point I had three, with another on layaway. I guess four, counting my serger. It was the HUGE, HEAVY Singer that my mother had that first intrigued me. I sewed mostly at college on a small Singer a sorority sister had, but when I went home for holidays it was that old heavy Singer that I used – I don’t think the needle was ever changed, and it only went forward and back, but it was enough for wardrobe.
My first teaching job was in Hawaii, and after buying my very first car, I bought a Singer sewing machine. When I left Maui, I donated it to the drama club for costumes – that machine had done all the holokuus we used for two musicals, plus a lot of muumuus for me over the years.
Back in Vermont I needed a new sewing machine, so I bought a fancy Singer – with stretch stitches…yup, time for polyesters and stretch knits. This was when I took every Stretch and Sew class I could, and pretty much bought out all their patterns. I learned a lot of design, and for the next decade I made all my clothes…and a leisure suit for hubby. I wanted the capability to do fancy stitches, so when the funds were there, I got a new Singer – computerized, with lots of decorative stitches. And…a bobbin that wound itslef right in the machine.
My dear mother-in-law got the older Singer, as she would sew doll cloths and bags for the grandchildren. That new Singer did wonders and got me started in quilting. When my mother-in-law died, the machine reverted back to me, along with her Featherweight. Finances were such that I had to sell the featherweight, much to my regret, but it went to a good home – a quilter friend of mine.
I discovered that using the zigzag to edge cotton before marbling wasn’t really working on my old Singer. I seemed to always overheat the motor, so I went looking. Enter my serger, a Bernette. Two great ladies who had a fabric store and bought marbled fabric from us fronted a used serger for me. It’s still going very strong, although I must confess a profesisonal cleaning would probably be a good idea, even though I am good to it….
Between the marbling and the quilting, my other two Singers weren’t doing it for me, so I began to investigate Berninas forther, since I loved the serger. We were fortunate in that the local Bernina folks, Bruce and Mary Sue, were very supportive of our marbling. I put a hundred dollars down on a 1080 Bernina workhorse, figuring I could get it in a few months. Well, several years later I got my machine and it’s been purring since then.
In order to fund some basic expenses we had a yard sale, and the two old Singers went to new homes, feet and all. I miss them, but I do love my Bernina. There are times when I wish it did more – like needle-down and stitch regulator, but my basic skills have improved tremendously. In fact, when I was at the School of Threadology I was using a new Bernina and I wasn’t happy – mainly because I didn’t fully understand what it could do – I knew the limits of mine and wanted it with me.
I’m still lusting for new machines – my serger is nearly 15 years old, I want an embroidery machine, I want a machine that can take designs and new stitches along with a stitch regulator, but that’s in the future. For now I love my Bernina and all it’s teaching me.
The Power of Music and Dance
![]() It doesn’t look to be smooth sailing for this year at school, with an extremely difficult class of students. After a very upsetting day and a really rotten mood, I read through Facebook to find a collection of dances from movies. I watched it twice, it made me feel that good. Then I went to my guilty summer pleasure of So You Think You Can Dance and watched Alex Wong with some ballet clips and his amazing hip hop.
It doesn’t look to be smooth sailing for this year at school, with an extremely difficult class of students. After a very upsetting day and a really rotten mood, I read through Facebook to find a collection of dances from movies. I watched it twice, it made me feel that good. Then I went to my guilty summer pleasure of So You Think You Can Dance and watched Alex Wong with some ballet clips and his amazing hip hop.
I feel lots better. I’m still grumbly, but the mood has broken somewhat. I can watch great dance, listen to amazing music, read a great book, and look at some amazing art and feel so much better. I think the only thing that is going to save me this year is working on fiber art as many evenings as I can. Then I can focus on the stitches and the design decisions and forget about unpleasant children who don’t realize how many people in the world would give anything for a free education. (Okay, political rant done….)
That said, I finished up last night on the bamboo piece and got the jpgs sent on their way. Here’s a sneak peek:
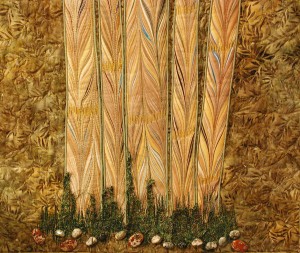 I am very pleased – now to go start something else….
Work-in-Progress Wednesday
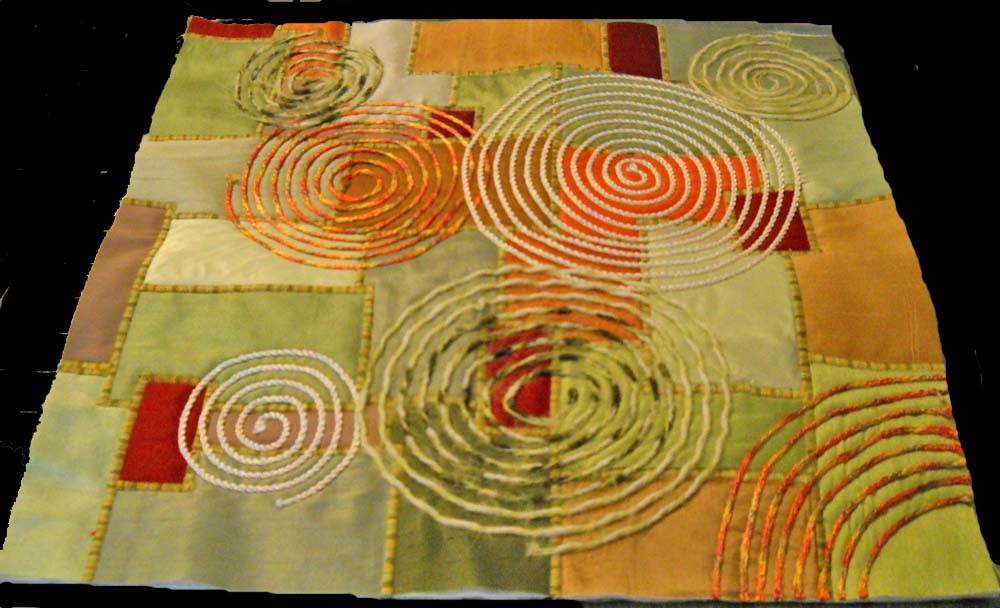
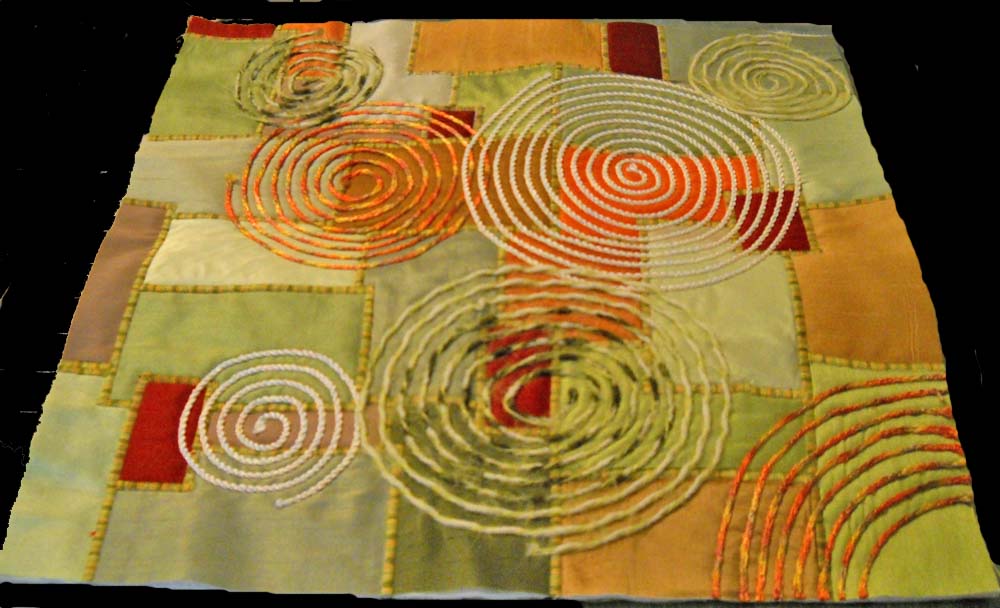
I managed to finish up the two small quilts based on the work of Carol Taylor and her “arc-i-texture” style. The DVD is from Interweave, and they have some scrumptious ones to choose from. I learned a few things, particularly about couching, and I finally got my satin stitch to work. I do want to try one with printed fabrics, but I really like the pay of light on the silk pieces.
Here’s the first finished one, in greens for Shelby, one of the twin girls I have know for a long time.
The edges were finished by adding a facing all the way around. I also showed you last week the beginnings of the quilt for Brianne, the other twin.
 It’s pretty darn bland at this point, and I was worried about how it would finish. I next did my satin stitch to couch down the pieces of silk.
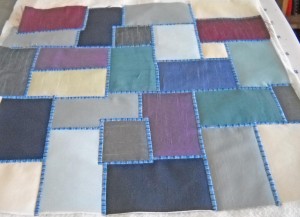 Definitely looking better. I do like the effect of the satin stitch, with a King Tut variegated from Superior Threads. From here I started the couching. I found some fuzzy blue yarns to try, one of which I liked, and one of which I ripped out.
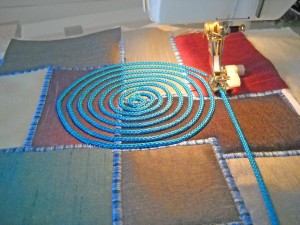 Once I got the hang of how to use the couching foot, I really liked adding the circles. I learned to trust the machine and the foot and not to pull.
Finally the finished product:
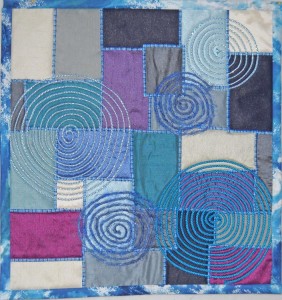 Still not totally pleased with it. It’s missing that certain spark, definitely in the picture. It looks better in person – you can’t see the rumpled silk. I used a regular binding on this one, because I felt the blues helped accent the main part of the design. But this is all part of The Process Pledge…writing about what I am doing and learning, and I did learn a lot. And I know the twins will love them.
This pic is a current shot of the bamboo leaves in progress. I started with those about three weeks ago, sandwiching the thread between sheets of Dissolve to create thread fabric. I started doing the free motion on the top, using a variety of different threads. Still have no idea how this is going to turn out. Hopefully I will have the completed piece next week – or at least the leaves, as I start back to school next Wednesday. We’ll have to see…
DON’T FORGET – sign up for our newsletter to get entered into a drawing for a Sampler 1 package of marbled fabrics! See the sign-up at the top of the page.
Sunday Stories – Gaia 2
I love this piece, absolutely my favorite so far of everything I’ve ever done. I really had no idea going in to this just what would emerge…everything was trial and error, but thankfully, very little error.
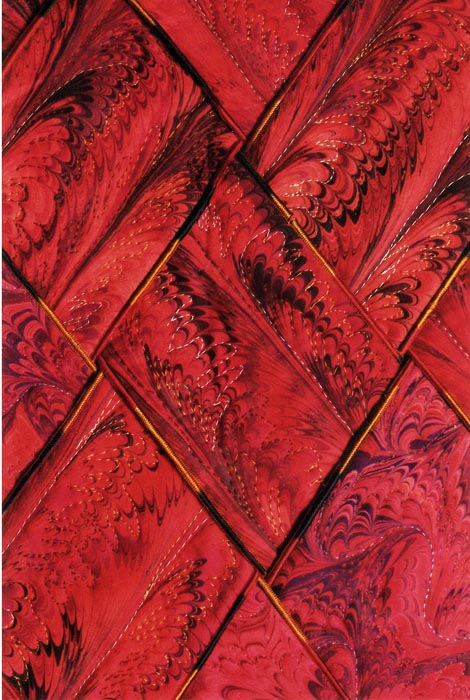
This piece started as a result of finishing a commission that was done on red unpolished satin. Six half-yard pieces were marbled, with my using a total of four of the finished pieces. My idea was to create a piece that would represent the volcanic origins of the earth and the goddess Pele. For the longest time this piece was known simply as “Pele.” I used a different marbling pattern on each of the half-yards, as I wanted interest within the piece.
Ever since my first teaching job on Maui, I have been fascinated with the stories of Pele, the Fire Goddess, and I was always on the lookout for the Lady in White when I drove home over the Pali at night. I didn’t realize it then, but Pele and fire have woven their ways through much of my work.
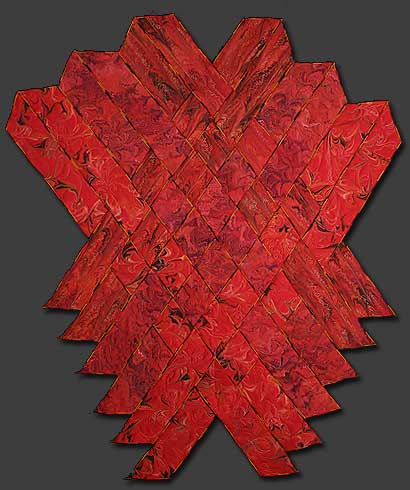
I really had no idea how these were going to weave together. I experimented and ended up with this weaving, starting with a tighter bottom and then “exploding,” much like magma does as it reaches the surface and becomes lava. The only problem with this shape came as I realized I had to figure out a way to anchor everything together. The strips are heavily hand-stitched together on the back – twice, as I discovered I had to make it much tighter to hold the weight of the piece.
A free-form pattern makes up the bottom four strips. The next four strips are the “wave” pattern, and the last four strips are what we call the ”fountain” pattern. A fourth pattern of a very small feather was ultimately not used in the weaving.
Each piece was sandwiched and serged with a variegated thread before any quilting was done. I liked the effect from the variegated thread, and I use that technique a lot now. But I have since changed how I put the individual strips together, with serging only one side or none at all, leaving another design element for later. The free-form strips were quilted using a variegated Sulky thread to accent the pattern. The four “wave” strips were quilted by following an initial curved line throughout each of the pieces and then coming back with a different metallic thread to accent the marbled pattern. The four “fountain” pieces were quilted in a distinctly different shade of thread to accent the eruption of lava.
Now, you have to understand I hadn’t done a whole lot of machine quilting to this point, beyond stitch-in-the-ditch. This was brand new territory for me! But ultimately I was hooked….I quilt most of my marbled fabrics now, and the patterns can be very zen-like to quilt. Here’s another close-up:
I truly love this piece, and I know I’ll never get another one just like it. It’s a little bold for any of our walls where we are living now, but one day, when I retire and the place is a little bigger, it will hang again!
For those of you who haven’t subscribed to our newsletter, we are doing a drawing again from all our subscribers for a FREE Sampler Package 1. You can visit our website to see this. Be sure to sign up – the form is at the top on the right.
And…tell me the story of one of your favorite pieces. I’ll include stories in a future “Sunday Stories” post.
Work-in-Progress Wednesday
 My thread arrived yesterday!! Lots of new greens, so I want to start in on the bamboo leaves tomorrow. Expect an update next Wednesday – and maybe even finished….
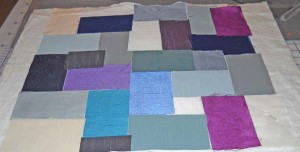
I wrote a while ago about using some dvd’s for professional instruction and how much I am enjoying this new manner of learning. One of the dvds was by Carol Taylor, about design. She called her method “arc-i-texture,” and by the time the video was done, I wanted to try it out. A long-time friend has twin girls whom we got reacquainted with in Vermont, so I am making them housewarming presents. Shelby likes greens, and Brianne likes blues. This started because Shelby gave me lots of small pieces of various silks to try and marble. For whatever reason (I think too much sizing) they didn’t marble well, so I decided to use them for this project.
While I finished Shelby’s, except for the facing, here’s Brianne’s to show you how I started out.
 All I did was arrange some rectangles into a fairly pleasing design. At this point, ho hum – doesn’t look like anything. The next step will be to anchor each of the pieces, which I will do using a satin stitch on each of the edges. That will provide another layer of interest. Once that is done, I will couch down a variety of threads for a third layer of interest. What I found with this project is that as I attacked each new layer, the piece not only became more and more complex, but also more interesting. Here’s Shelby’s, so you can see what the final piece will look like:
Way more interesting! While I have a couching foot, I haven’t used it before this, and I do like how it works. I learned to give the yarns some play and let the machine and the foot do the work. Next piece shouldn’t have the drawing up of the fabric from my pulling the yarns. I will say for the blue one I tried a whole bunch of stores trying to find some interesting yarns and trims.
Carol mentions in her video that she’s made something like 400-plus of these, and I can see getting addicted. I like the sheen and play of the silk, especially since the “nap” is going in different directions and takes the light differently, but I want to play with some lights, mediums, and darks from my stash for the next couple.
I want to know what videos and dvds you’ve watched for instruction and inspiration!
Work-in-Progress Wednesday
I have been thinking about the leaves for the bamboo piece. As I mentioned last Wednesday, I think the silk leaves would be too plain, and I didn’t like how they marbled, and I think thread leaves would be too fragile for such a sturdy plant. Then it occurred to me to do what I do in the classroom – it’s not an either/or, so why not combine the two.
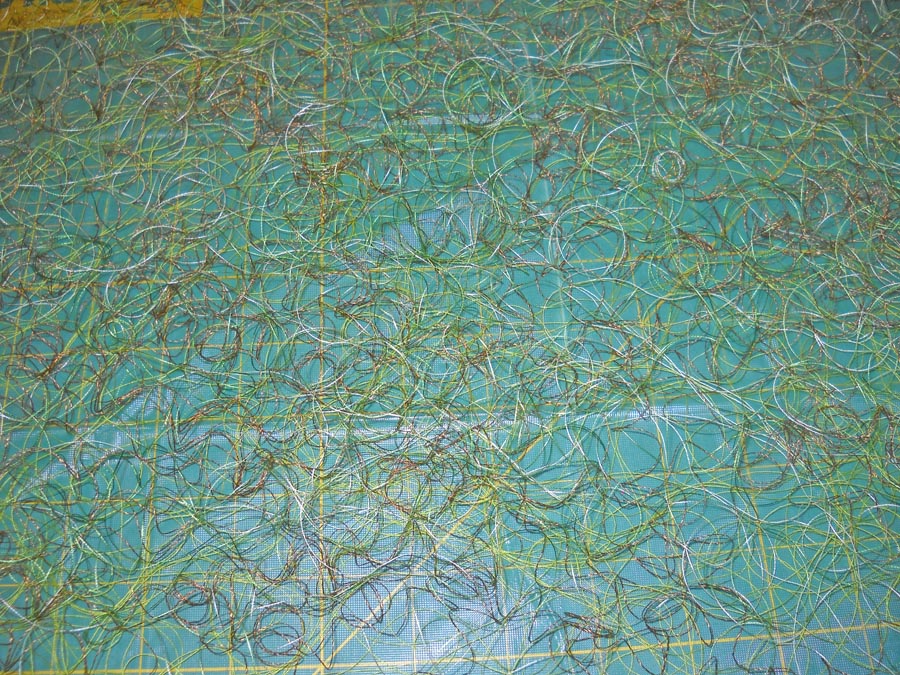
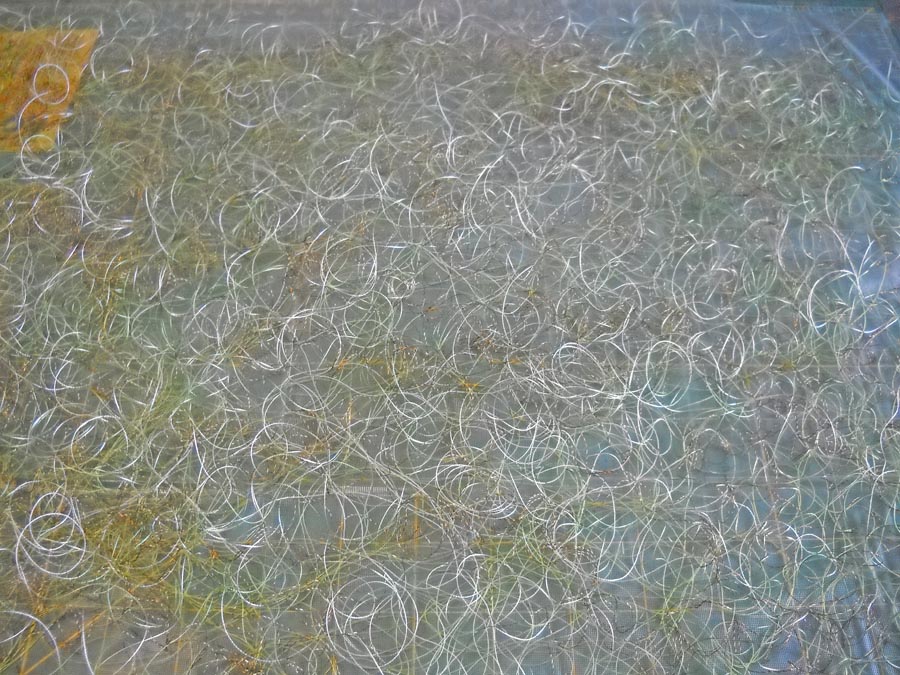
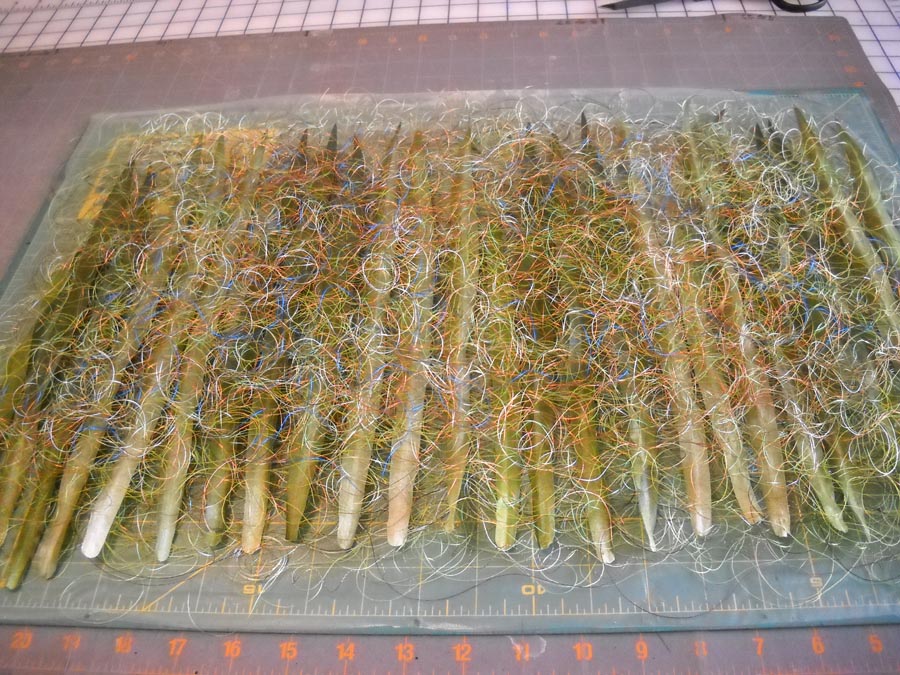
I started by cutting a piece of Dissolve from Superior Threads and taped it to an old cutting mat – that stuff is slippery. Then I started layering some of the old yucky threads I have.
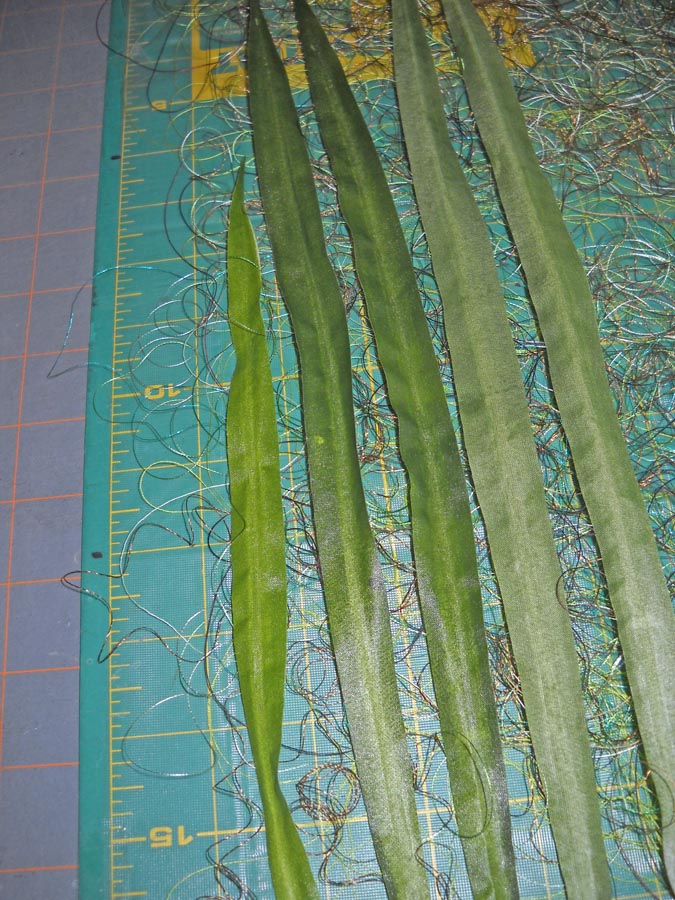
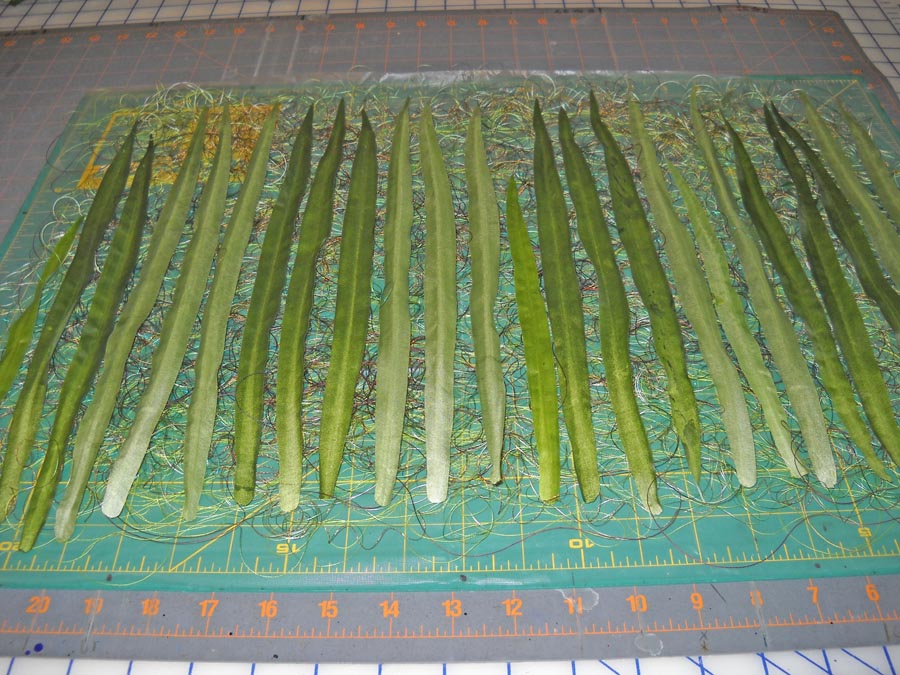
At this point it occurred to me that I could layer the silk leaves across this base of thread, after I pulled off the wire from the backing.
I turned some of them wrong side up, figuring I would be stitching on both sides of the sandwich, so I would get some additional effects front and back.
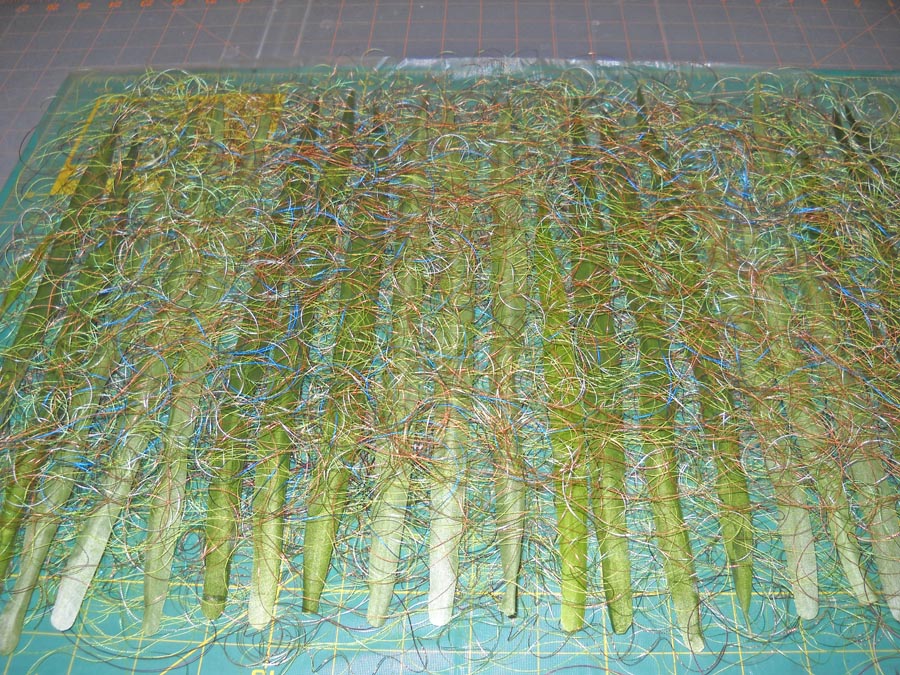
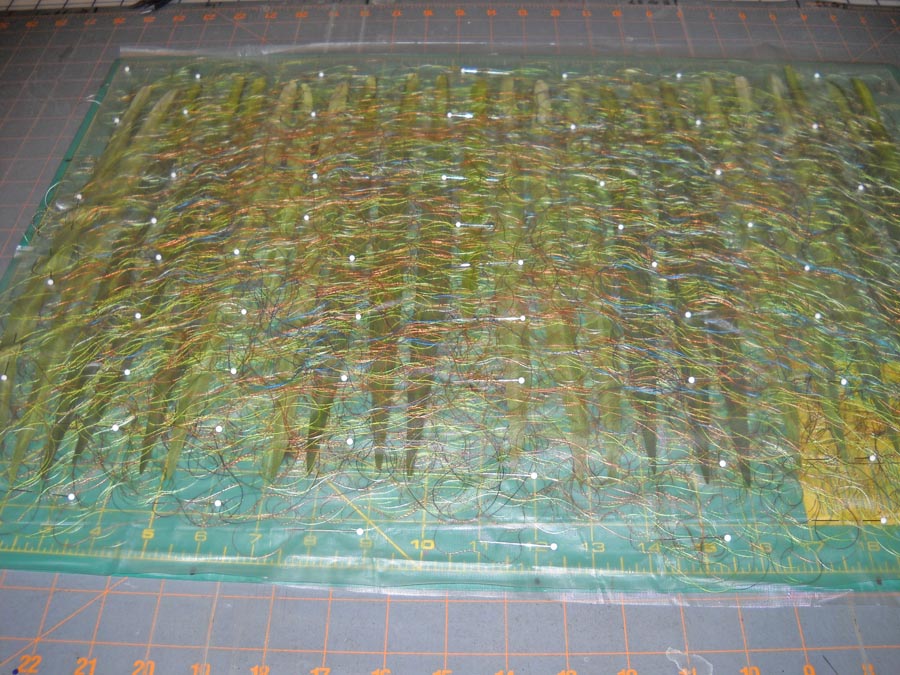
I am pleased to say it occurred to me earlier not to run the overhead fan in the studio while I was working on this….At this point I am ready to layer more thread on the top of this. Keep in mind I have no idea if this is going to work….
Now at this point I need to cut another piece of Dissolve to go over the top of this.
Now it is ready for stitching. I need to order some thread – Razzle Dazzle to use in the bobbin, and some green Lava for top and bottom. I figure I can order this week and while I’m waiting, I can finish up the bamboo strips. Once I cut everything apart, all the little slivers will become part of the base where the strips are mounted. I don’t know if I will need more leaves. I am counting on the leaves at the top to hide the hanging system. I do have plenty of silk leaves – I would need to get some more cheap thread if I need to do more thread work.
Any of you try anything like this? Suggestions? Ideas? Pitfalls? Inquiring minds and all that….
(Think Horschak) Oooh, Oooh, Oooh……I have some great tree agate I have been collecting from the gem shows….they would add some interest and weight to the bottom of the piece…I knew there was a reason I was collecting them……
