Archive for the ‘sharpening’ Category
More on Sharpening…

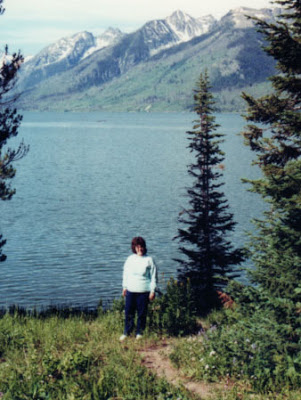
I am on a roll now. I decided to use a photo to finish the sharpening that I cropped this winter. I did the adjustments and a new cropping first. Here’s the original, me by Yellowstone Lake in 1989, early one morning.
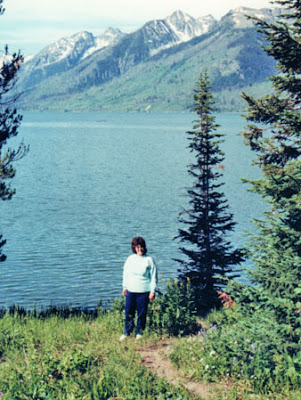
Then I worked on the sharpening. I am not quite sure what I am doing here, but I guess it’s another example of needing to spend time on several of these before it begins to make sense. Here’s after the sharpening, and the screenshot of what I did.
On the threshold, I went with 0 because I got more detail in the lake water – without the sharpening the lake looked flat. I took the amount way down because the trees looked “clumpy,” too fat and dark for what they actually were. And the radius is low because any higher and there was too much distinction between the elements in the photo – nothing seemed to blend. Plus, I think there is more a feel of early morning to the photo now than in the original. That’s my story and I’m sticking to it….
Sharpening and Lesson 6
Reading through Lesson 6 makes me realize all the things I did wrong when I undertook over Christmas to scan all the photos for a disk – and get rid of the originals. Didn’t know about destructive edits, and now most of what I have is too small for prints – I guess it means I will just have to take more photos!
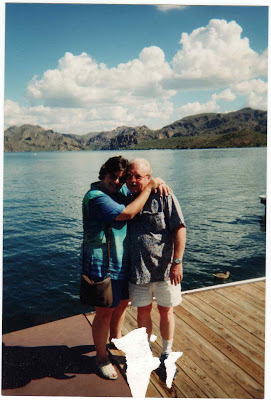
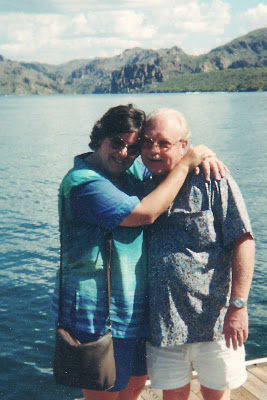
I’ve started with a photo of the two of us taken at Saguaro Lake about seven years ago. Not a great photo, can’t see much of me, and the photo got stuck under glass, so there is a lot of damage.
I did all the adjustments and levels before cropping. i have always cropped using the rectangular marquee, and I didn’t reaize the options within the crop tool. I like that. I also did a lot with the clone stamp, trying to get rid of the dust particles. Overall I am happy with the new photo. I liked the part in this lesson about resizing – I have been coming to some of these ocnclusions as I work through the lessons, so this is really making some sense now.
