Archive for the ‘Superior Threads’ Category
Work in Progress – Creating Rhythm
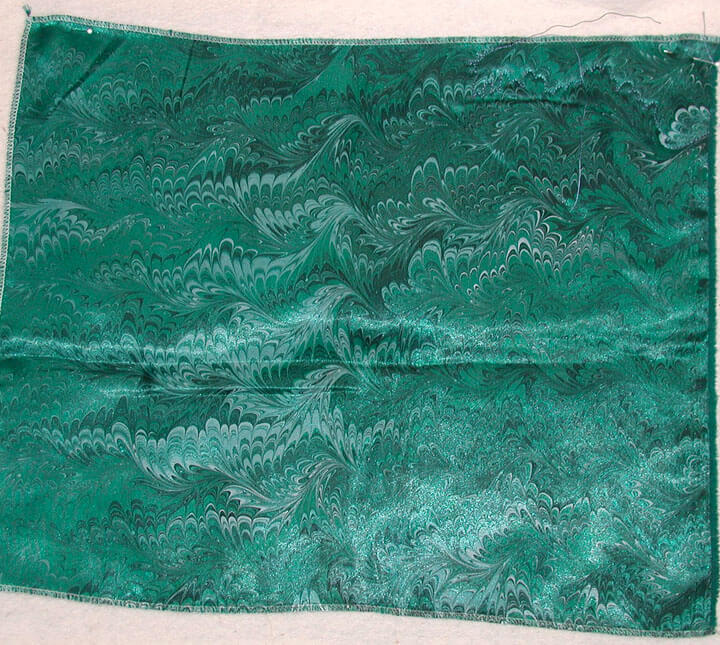
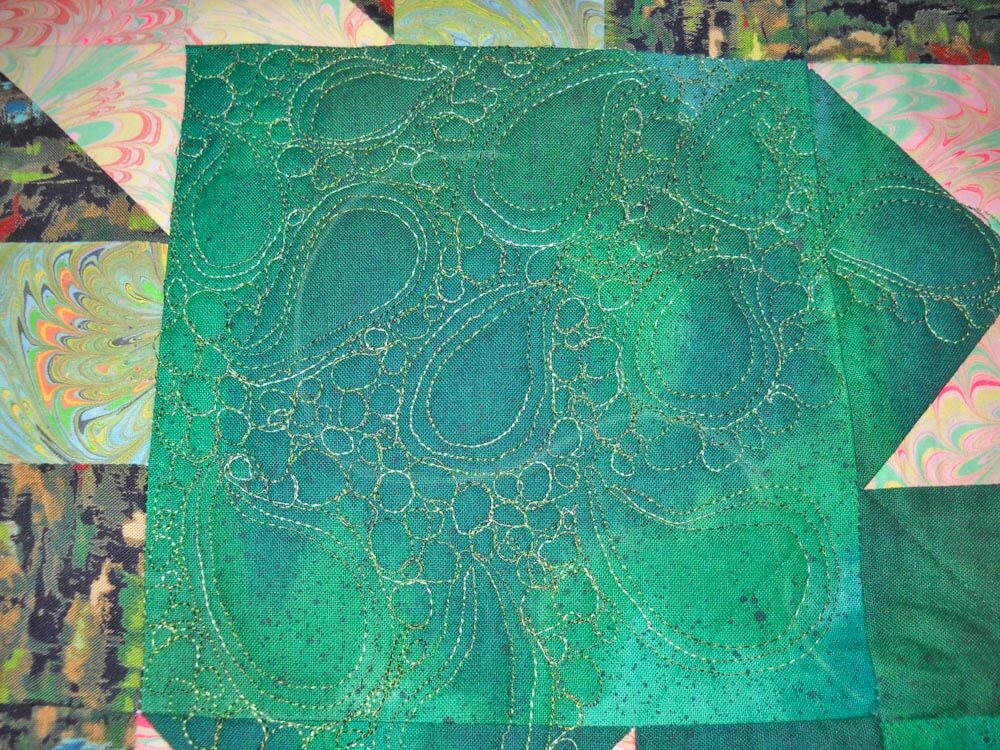
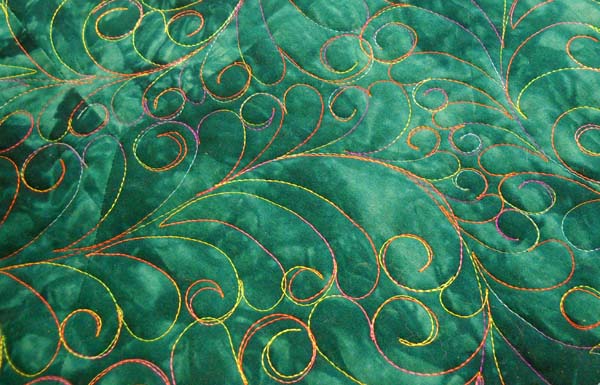
 I’ve been practicing a lot of techniques with free motion quilting. With marbled fabrics, it’s almost like your pattern is decided for you – and I love being able to work with that. I discovered a few new things with this piece of green silk. I knew I wanted to see if I could accent the movement that already existed with the marbled pattern, and I wanted to accent the water effect in the piece.
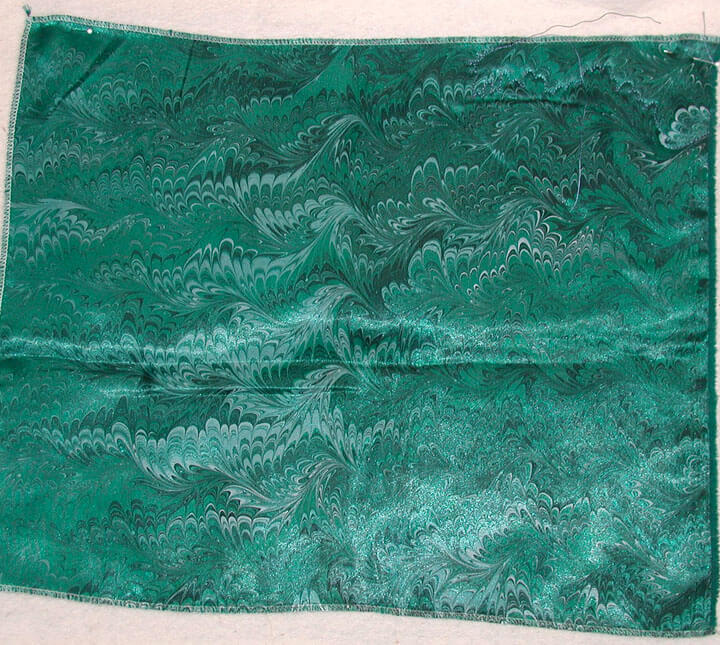 Here’s the piece without anything done to it. I decided to flip the design, so the wave effect would be more prominent. Then it was a case of deciding threads. There are some very light areas in the pattern that I wanted to emphasize, so I figured a lighter thread. I pulled four threads (Superior, of course) and started with the lightest one – and I thought it was jarring – too bright.
I ended up going with a Rainbow multi-colored green thread that I think worked very well. I used that in the very light areas, and then I turned to a dark green silk for the background. The thought here was to heavily quilt the darker background to make the lighter areas come forward even more. So here’s the piece…
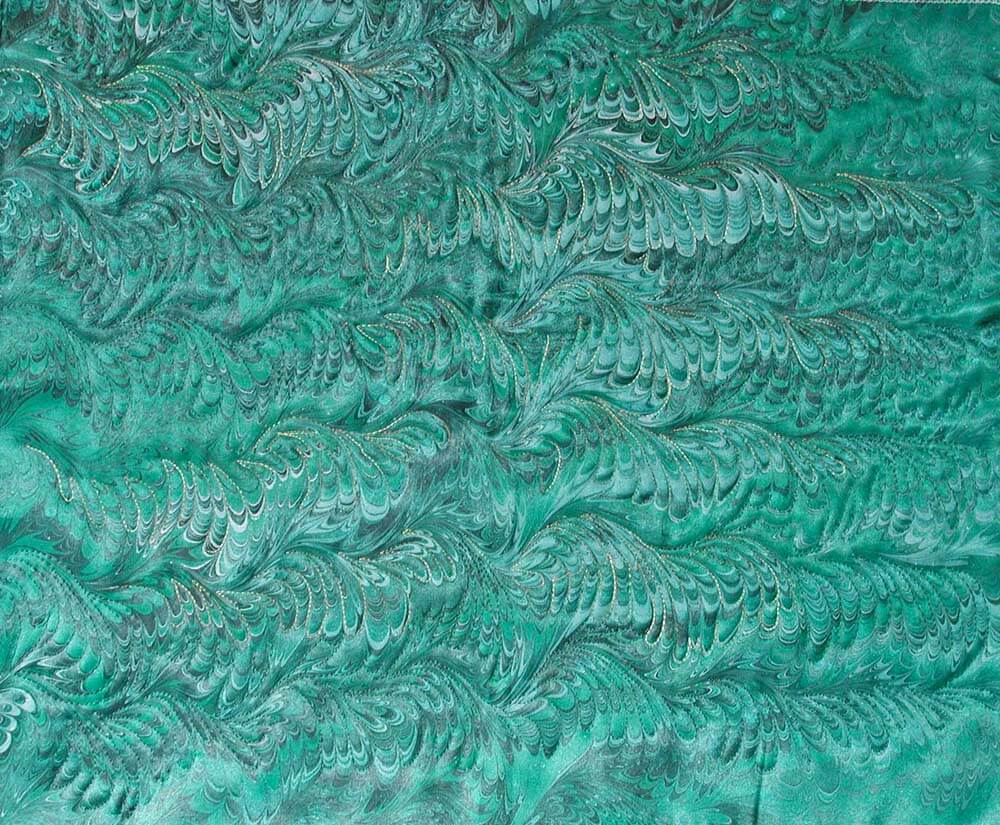 I do think the wave motion is more prominent. This was also a departure for me, in that normally I have quilted this pattern a great deal, but this time I didn’t do every single swirl. I think you get more drawn into the pattern that way.
I am contemplating some beads, but that’s just in the thinking stage at this point. I am open to suggestions, so please leave me a comment with what else I could do with the piece. The biggest success in this piece is a definite improvement in the machine quilting – the stitches are far more consistent, so that’s a great goal for me.
Leave me some comments – what would you do with this piece if it were yours……
Work-in-Progress Wednesday
 It’s usually about this time every summer that I become productive, knowing that my time is short before school starts. Not this year! I’ve been productive since the end of May, with a lot of projects in the works, and a whole bunch already completed. It feels very very good! The commission is done, I have two shows to create/finish pieces for, another commission to complete, a bunch of small studies to do, and about 6 unfinished quilts that have been around for a lot of years (some more than a decade). I do LOVE being productive, busy, and above all creative.
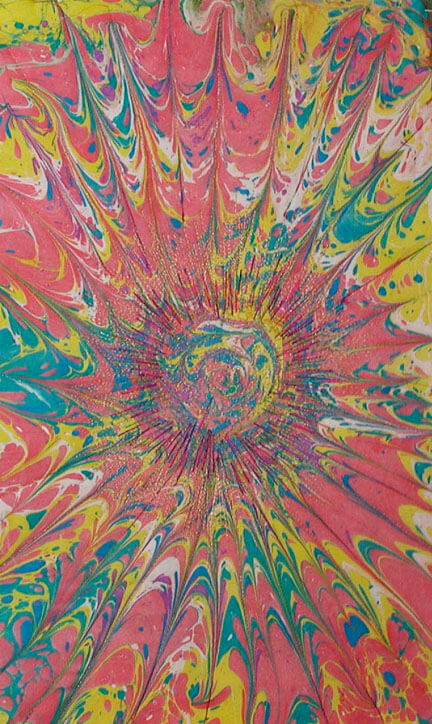
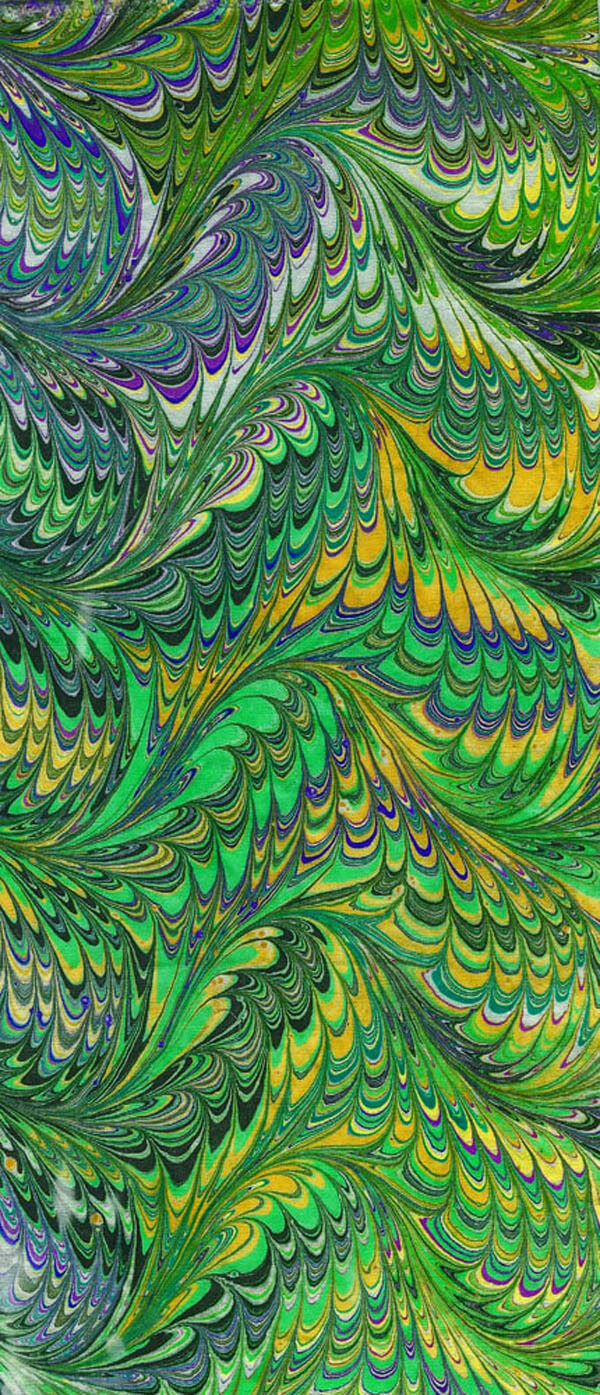
Now, I finished another small study on movement for the class I’m taking from Lyric Kinard and Quilt University. I realized as I finished quilting that I really do need to take a “before and after” photo of the fabric, because there really is a dramatic difference. For this piece, I tried a new marbling pattern – actually, I tried to create a pattern that would show movement. I really liked what I came up with – very festive, 4th-of-July feeling. The question was could I make it feel even more of an explosion with movement. I wanted to put this up for a challenge using the word “spark.” I thought of fire crackers, and then I wanted to combine it with the class assignment. Click so you could see the details.
One thing I have found as a result of the class – well, two things actually – I now feel I can create any type of line I want with my quilting, and I spend a lot more time thinking about how the quilting will accent the message of the piece. I started by doing a “loop” in free motion from the very center outward to the edge of the “center.” From there I quilted lines to accent the “rays” from the center of the piece. I used a Superior metallic for the center, and three different threads for the outer rays – a Rainbow in purple, yellow, and green, and two shades of gold metallic.
Already I was seeing more movement in the piece – but I wanted more….So I took the multicolored thread and stitched from the center out in a zigzag motion to add more of an explosive effect. Better. Then I took one of the metallics and did the same thing outside of the circle, but less dense than the previous. I did an “envelope” backing, and I am going to experiment with mounting this on canvas to see how it works/looks.
Overall, very pleased. I just wish I had the “before” picture. With that in mind, here are the “befores” for two more small studies in the works:
I will be curious to see how they work out and what they have to teach me.
The Start of a Commission…..
This past April I was asked to do a commission for a friend of a friend, based on three things: 1) she loves our marbled fabrics; 2) she wants a fiber piece for a small area in her bathroom; and 3) she would like it to draw on the colors from the new granite counter tops. So for 6 weeks I’ve been mulling over possible designs, knowing that the final one would be based on what happened with the marbling session.
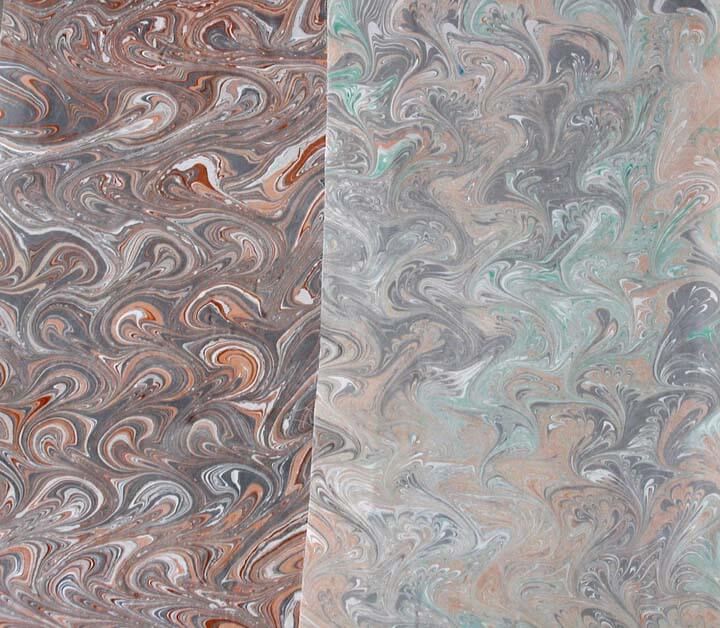
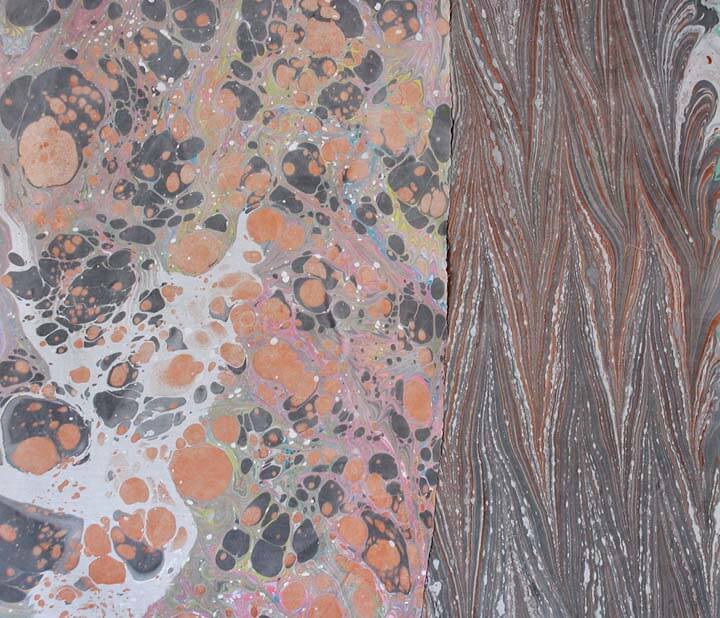
We marbled yesterday, and I worked with the colors I thought would go with the granite – gray, black, brown, russet, copper. I tried a couple of different patterns, and what follows are the pieces I came up with. Warming – they’re pretty blah in the pictures….
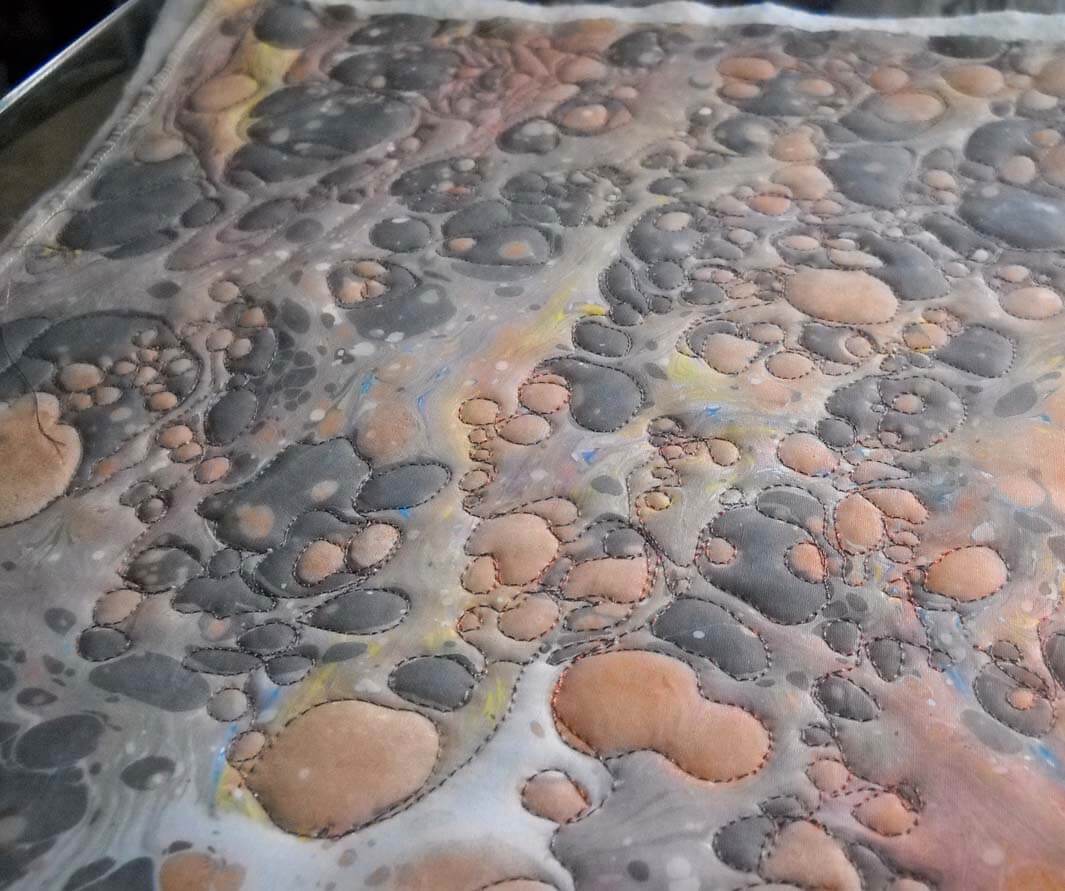
I chose the stone pattern to begin, for two reasons. One, I like quilting that pattern, and two, I figured this would give me some ideas. Well…..it sure did. I started snapping pictures as I was quilting. I used a Rainbow thread from Superior (of course) in a rust shade to bring out the rusts in the painting on the opposite wall of the bathroom. It was just what it needed.
The texture is incredible and no longer flat. The piece also now has a title, “Hiking,” as its future owner hikes the mountains and canyons of Arizona – and especially Sedona – often.
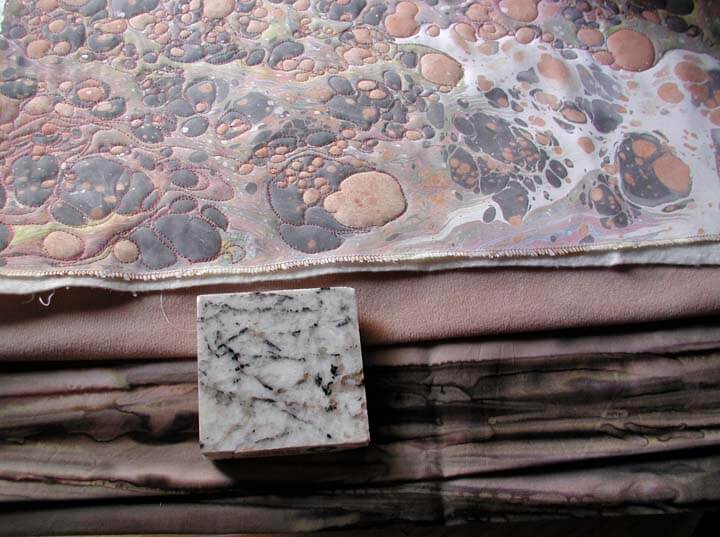
This is so totally different from what I had originally been thinking. I know that this will act as the center medallion of the piece, so I went looking for coordinating fabrics – in my newly organized studio, so selecting was a breeze.
Lots more ideas, as the white area is probably going to become a small bubbly stream, and I pretty much know what’s happening with the borders, but that’s for another post.
Ideas???
Work in Progress Wednesday
Sometime this past autumn, I posted a picture of a quilt completed at least 10 years ago, asking for suggestions on quilting it. I had used invisible thread (waaaayyyy before the improvements in threads) and did basic in-the-ditch quilting. Pretty darn blah. So I took ALL the quilting out, including taking the binding off, and washed it to hopefully remove the shadow lines.
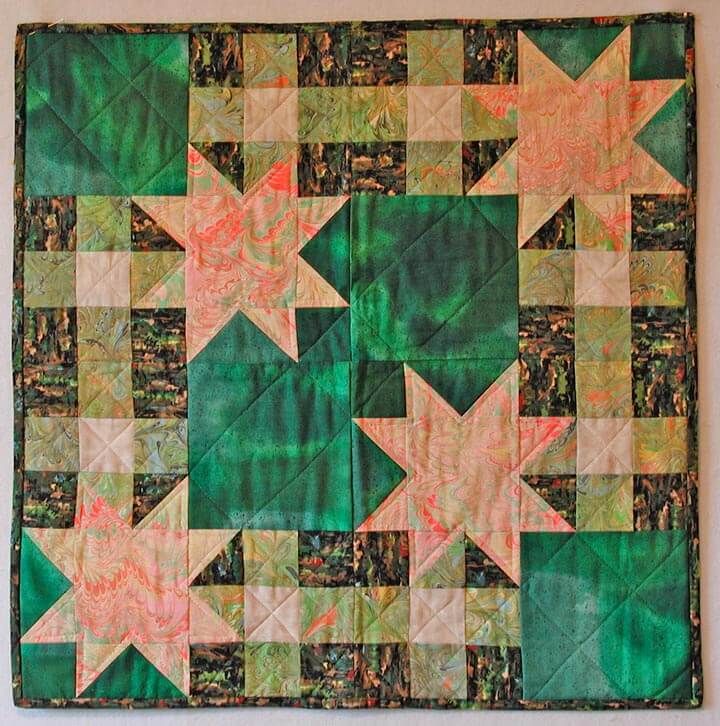
Silly me, I was thinking of having it available for sale at the art show we did in November. Well, that didn’t happen, so it moved to my “to do” list for when I retired, and then to the top of the list as I saw the studio coming together. I thought of attempting some feathers, because most of what I have done for quilting has been stippling or stitch-in-the-ditch.
Before I could start, I discovered this video on stippling, and I was hooked. Sharon Schambler had an hour-long video (actually longer) with 9 free motion patterns she has used in one of her quilts. Easy to watch and very easy to do!
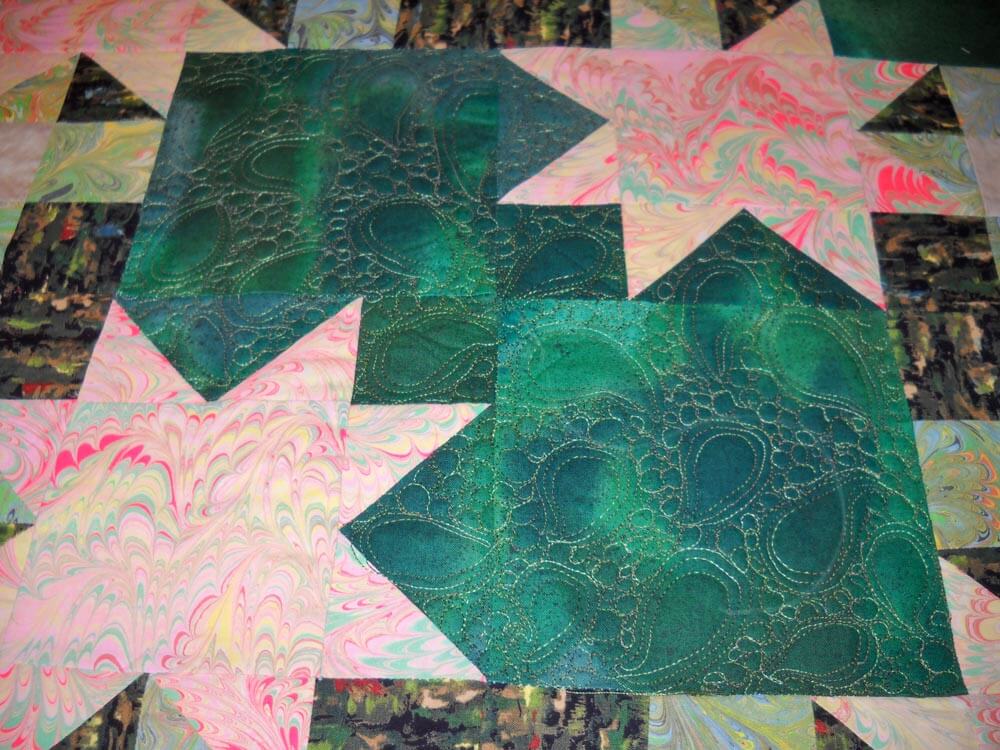
I chose the second pattern, used some variegated thread from Superior (of course – I am totally hooked!), and started. I wasn’t sure I could really do this. So voila –
I was thrilled at this point, because I realized 1) I could do this, and 2) the quilt was going to look SO much better!!
This is the completed center. I’m not going to quilt the marbled stars (unless someone has a really good idea for me?? Hint hint…). I ABSOLUTELY love it! I’m doing a variation of the pattern on some of the side strips, and it’s coming along well. Hopefully pictures this weekend…..
Work-in-Progress Wednesday
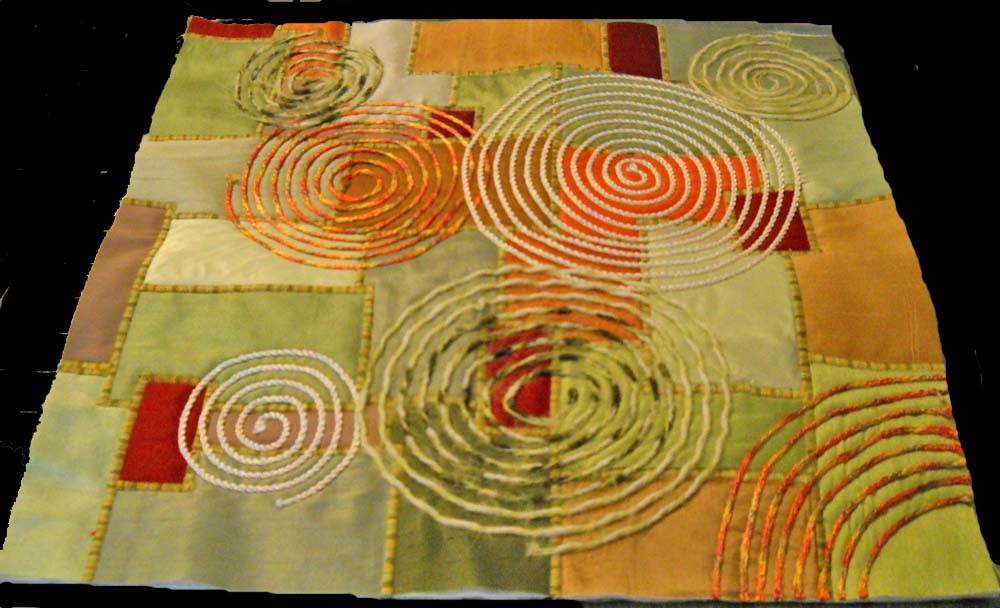
I managed to finish up the two small quilts based on the work of Carol Taylor and her “arc-i-texture” style. The DVD is from Interweave, and they have some scrumptious ones to choose from. I learned a few things, particularly about couching, and I finally got my satin stitch to work. I do want to try one with printed fabrics, but I really like the pay of light on the silk pieces.
Here’s the first finished one, in greens for Shelby, one of the twin girls I have know for a long time.
The edges were finished by adding a facing all the way around. I also showed you last week the beginnings of the quilt for Brianne, the other twin.
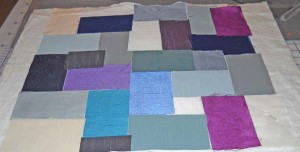 It’s pretty darn bland at this point, and I was worried about how it would finish. I next did my satin stitch to couch down the pieces of silk.
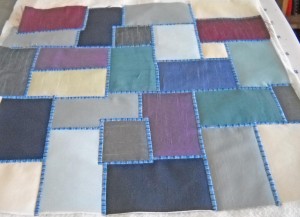 Definitely looking better. I do like the effect of the satin stitch, with a King Tut variegated from Superior Threads. From here I started the couching. I found some fuzzy blue yarns to try, one of which I liked, and one of which I ripped out.
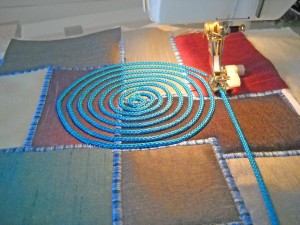 Once I got the hang of how to use the couching foot, I really liked adding the circles. I learned to trust the machine and the foot and not to pull.
Finally the finished product:
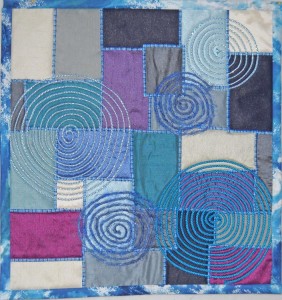 Still not totally pleased with it. It’s missing that certain spark, definitely in the picture. It looks better in person – you can’t see the rumpled silk. I used a regular binding on this one, because I felt the blues helped accent the main part of the design. But this is all part of The Process Pledge…writing about what I am doing and learning, and I did learn a lot. And I know the twins will love them.
This pic is a current shot of the bamboo leaves in progress. I started with those about three weeks ago, sandwiching the thread between sheets of Dissolve to create thread fabric. I started doing the free motion on the top, using a variety of different threads. Still have no idea how this is going to turn out. Hopefully I will have the completed piece next week – or at least the leaves, as I start back to school next Wednesday. We’ll have to see…
DON’T FORGET – sign up for our newsletter to get entered into a drawing for a Sampler 1 package of marbled fabrics! See the sign-up at the top of the page.
Work-in-Progress Wednesday
I have been thinking about the leaves for the bamboo piece. As I mentioned last Wednesday, I think the silk leaves would be too plain, and I didn’t like how they marbled, and I think thread leaves would be too fragile for such a sturdy plant. Then it occurred to me to do what I do in the classroom – it’s not an either/or, so why not combine the two.
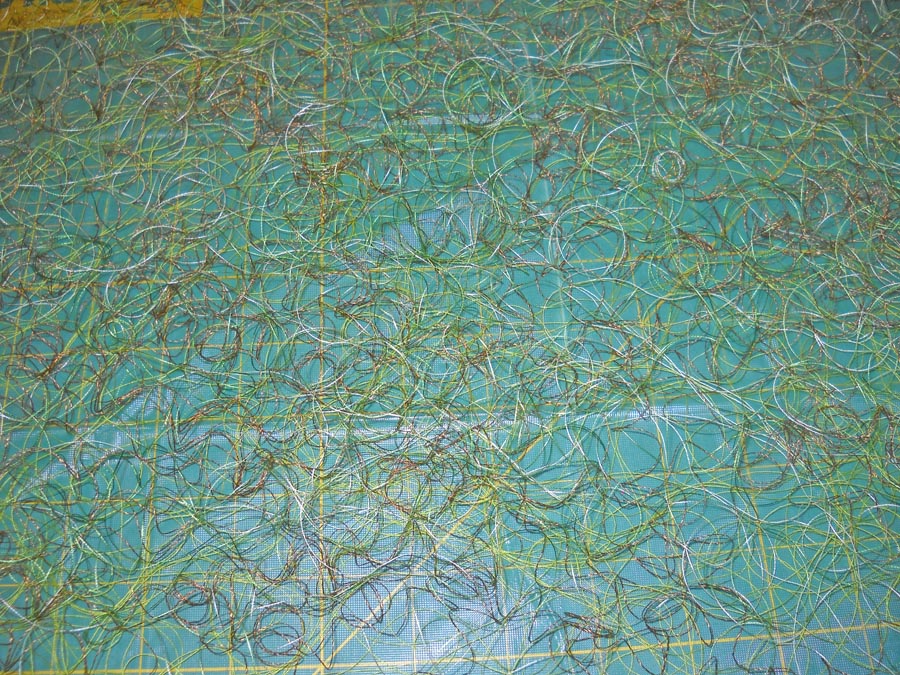
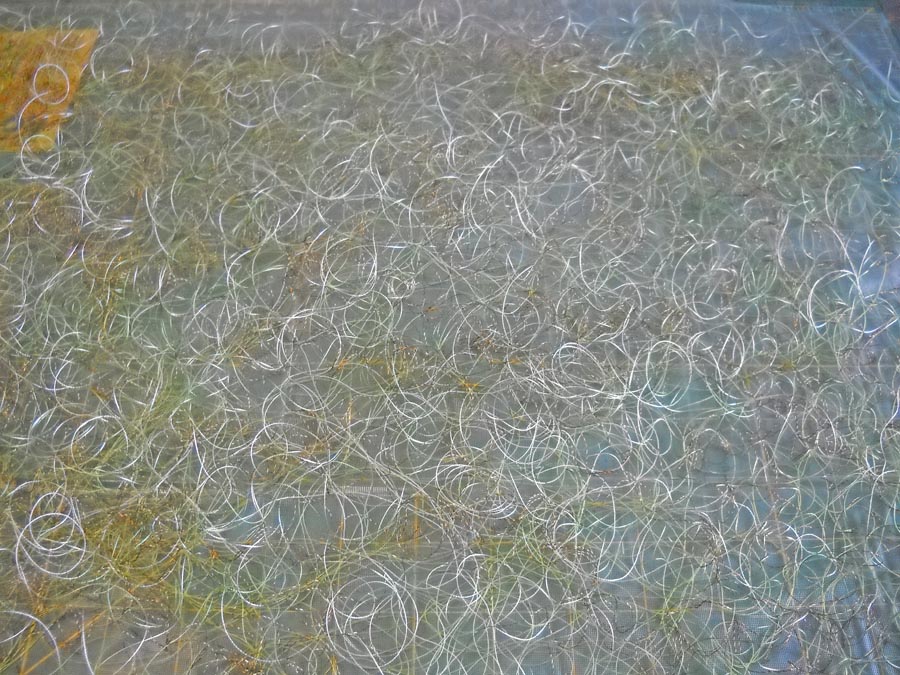
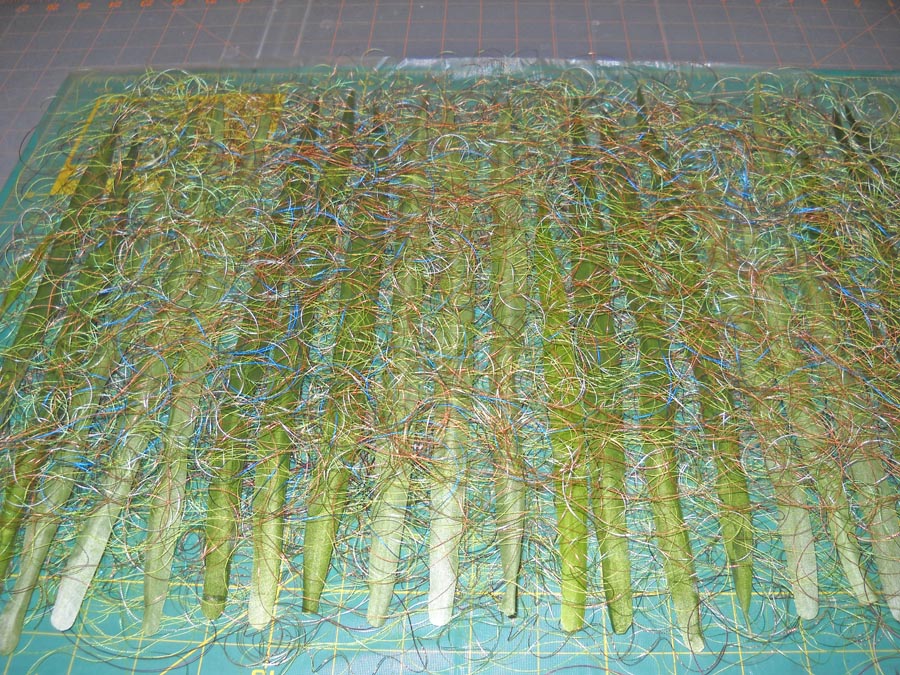
I started by cutting a piece of Dissolve from Superior Threads and taped it to an old cutting mat – that stuff is slippery. Then I started layering some of the old yucky threads I have.
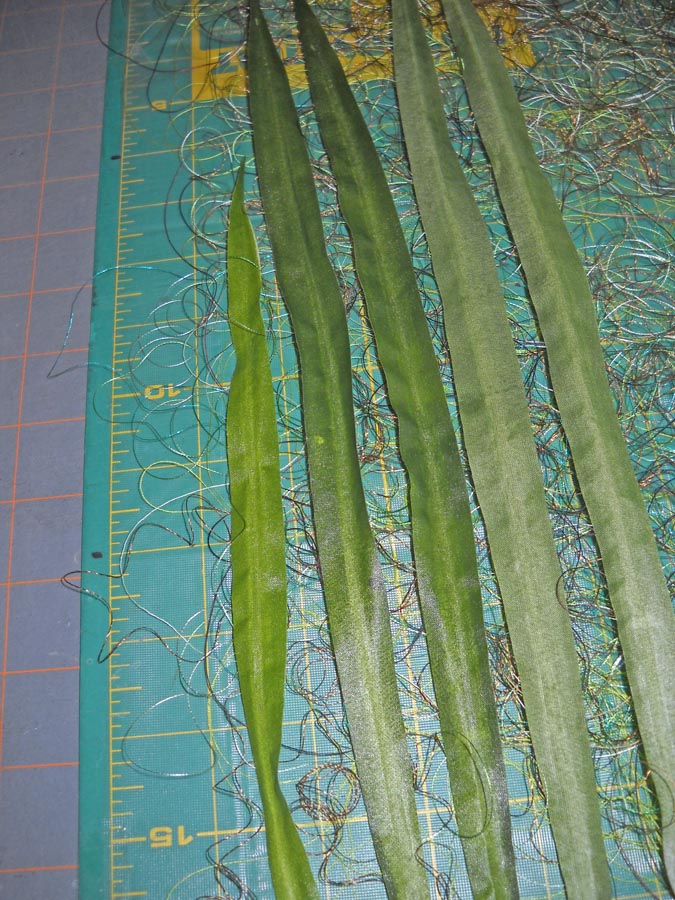
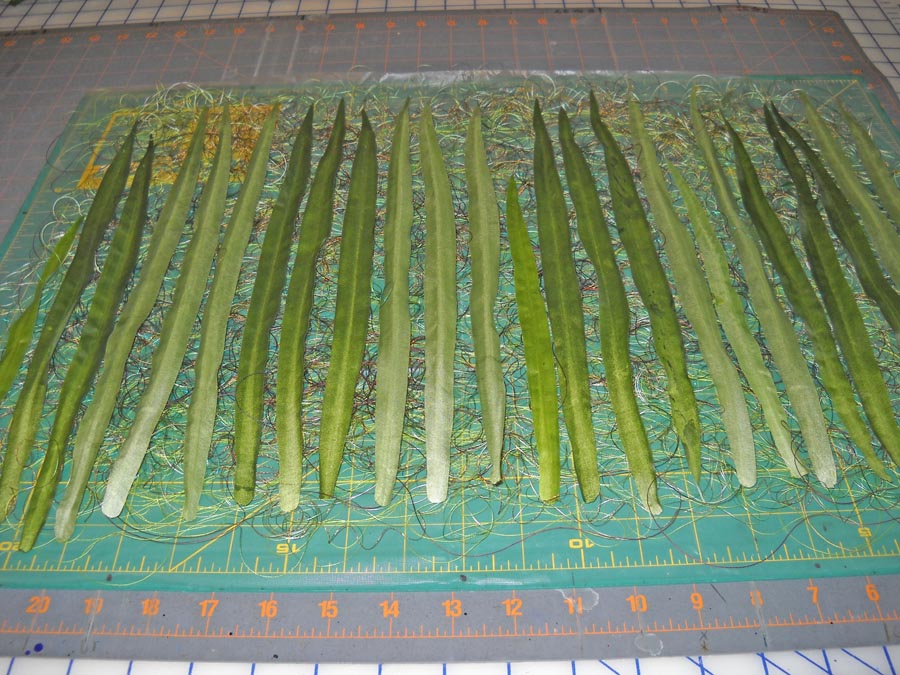
At this point it occurred to me that I could layer the silk leaves across this base of thread, after I pulled off the wire from the backing.
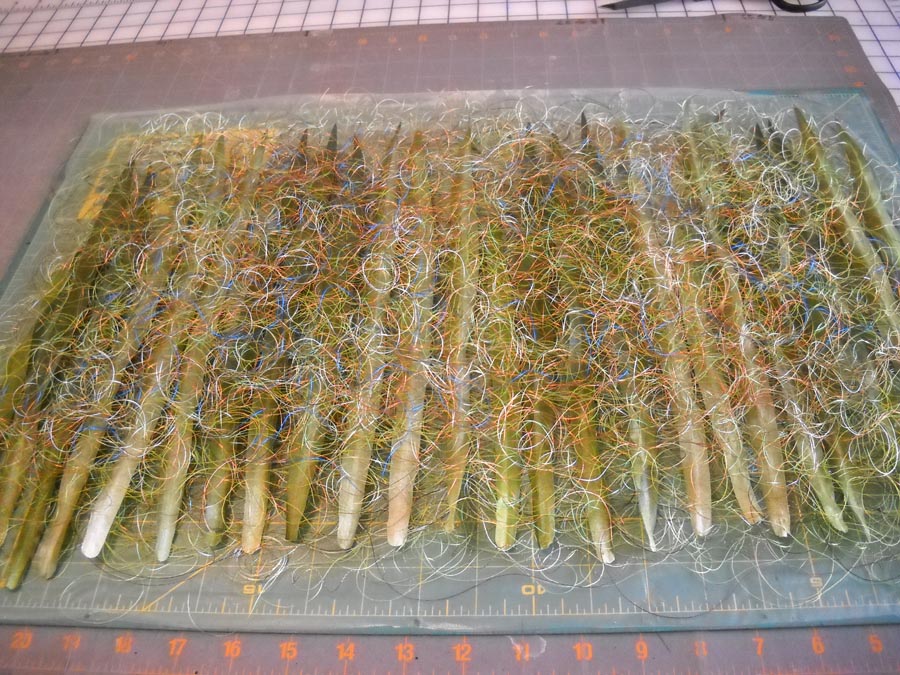
I turned some of them wrong side up, figuring I would be stitching on both sides of the sandwich, so I would get some additional effects front and back.
I am pleased to say it occurred to me earlier not to run the overhead fan in the studio while I was working on this….At this point I am ready to layer more thread on the top of this. Keep in mind I have no idea if this is going to work….
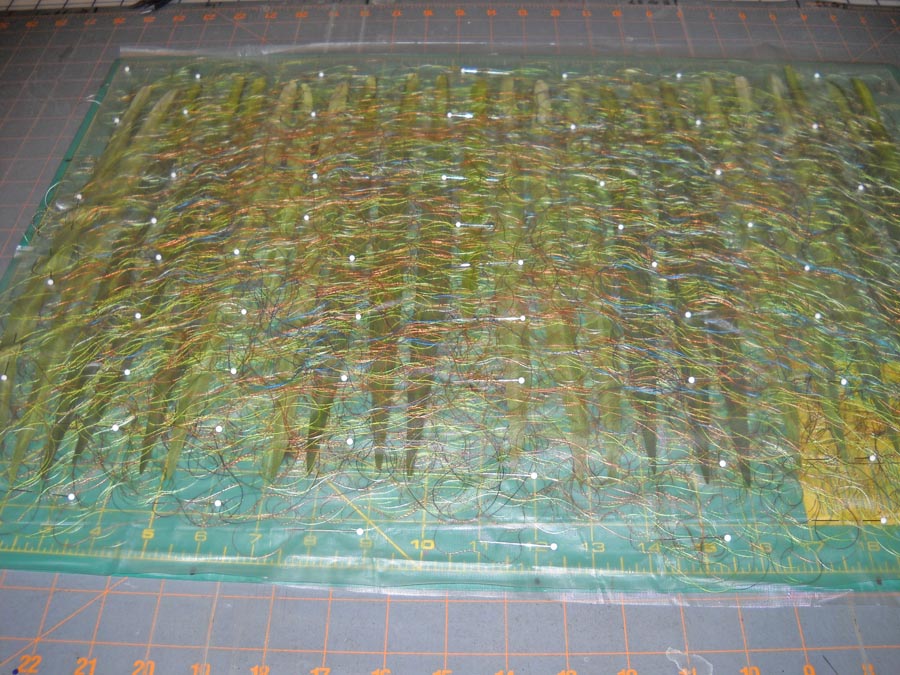
Now at this point I need to cut another piece of Dissolve to go over the top of this.
Now it is ready for stitching. I need to order some thread – Razzle Dazzle to use in the bobbin, and some green Lava for top and bottom. I figure I can order this week and while I’m waiting, I can finish up the bamboo strips. Once I cut everything apart, all the little slivers will become part of the base where the strips are mounted. I don’t know if I will need more leaves. I am counting on the leaves at the top to hide the hanging system. I do have plenty of silk leaves – I would need to get some more cheap thread if I need to do more thread work.
Any of you try anything like this? Suggestions? Ideas? Pitfalls? Inquiring minds and all that….
(Think Horschak) Oooh, Oooh, Oooh……I have some great tree agate I have been collecting from the gem shows….they would add some interest and weight to the bottom of the piece…I knew there was a reason I was collecting them……
Our Own Art Educations
 Like so many of you, I am a regular reader of Robert Genn’s Twice Weekly Letter. This latest one looked at the traditional master-apprentice role in the arts, and I was particularly taken with some of the thoughts, especially since marbling has always followed this road. Apprentices worked with masters for years, learning and absorbing every trick and skills through watching – and later on by doing.
This made me think of how we get our own art educations, a topic near and dear for so many of us. I’m self-taught in virtually everything I have done artistically. I would hazard a guess that this is true for most of us baby boomer women. We were encouraged to go into paths that would support us or provide for families, with little thought as to what would make our hearts sing. As we’ve gotten older we have become more expressive.
Self taught. It seems to be fine in so many fields to say you are self-taught – tutored in life. But not in art. At least for me, I still feel intimidated when I see in a CV of someone in an art show all their schooling and formal coursework in the arts. My own art education early on consisted of a few art projects in elementary school and then a “class” as an elective in high school where we churned out particular projects. But nothing in creativity. Which ties in to a recent article in Newsweek on the dearth of creativity in modern classrooms and education.
I’m rambling, I know. But I’ve had to learn how to be creative, to break through the “OMG, what will it look like?” phase of making art. Would working with a master have helped this? I don’t know, but it probably wouldn’t have hurt any.
Who are our masters in the arts today? From whom do we study and learn? Enter the Internet, the cheap equalizer to getting an art education. The joke in our family always was that if my dad wanted to learn how to do something new, he would read a book. Well, I got that gene. I read everything I can get my hands on if it’s something I am really interested in. But that can get to be expensive, although still cheaper than a formal education or coursework.
The internet has opened up huge resources for us. I started on TV with Sewing with Nancy and Eleanor Burns and Kaye Woods. I picked up all kinds of hints – and reasons why something I was already doing (through guesswork) wasn’t working. Like many of us, I have taken workshops when I can afford it. Jennie Rayment and her muslin creations still stick in my mind – such possibilities for texture!
The first professional workshop on marbling was with Galen Berry (over a year ago) and it was wonderful – lots of questions answered, problems solved, and energy renewed. We started to zoom ahead in our skills.
Then I went to the School of Threadology with Superior Threads. Yes, I know I rave about their threads, but the professional education I received over the three days with Bob and Heather Purcell was priceless. My work has taken a dramatic turn for the better – and I don’t break thread anymore….
Now I’ve discovered Interweave and their dvds on quilting and other artistic endeavors. Better than a book because I can see things actually being done.
I watched a leaf tutorial by Heidi Lund and already picked up a bunch of hints to try something totally new for my bamboo piece. Carol Taylor’s video on her Arc-i-Texture techniques had me making a new quilt last night to try out the ideas…and I must say I’m loving it! And Susan Brubaker Knapp’s video on machine quilting corrected a whole bunch of errors I have puzzled over.
And of course we can’t forget YouTube. I have been devouring and studying very closely the wealth of marbling videos on line.
So my question to you is: What’s the best professional development you’ve ever attended – the one that has changed how you do your art? I want to know!
PS – all of these recommendations are unsolicited – they’re just stuff I have learned from and appreciate – nothing comes to me as a result of you checking these out! (OK, FCC – happy?)
Work-in-Progress Wednesday
I have to say, I have been busy. I originally was thinking nothing was going to happen art-wise in July because of so much work on the business. I was wrong…the last week has been incredibly productive. Last Wednesday I wrote about my lava piece just telling me it really wasn’t finished. Here’s last week:
And here it is now, since it told me it was “finished:”
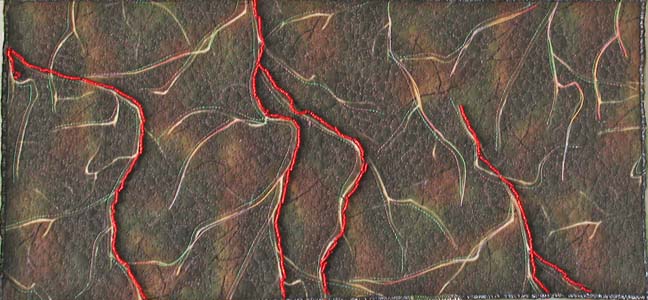
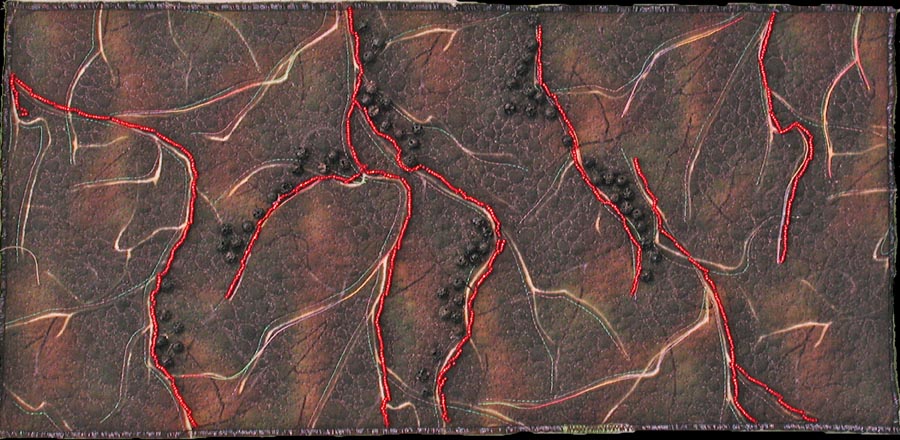
Turns out it needed actual lava – those little round pieces are actual chunks of lava I collected over a couple of visits to the Tucson Gem Show each February. I also added more lava flows, and nothing really interferes with the quote on the back. This is going to go up in the newly-developing Etsy store.
My “purse” didn’t make it as a purse…I loved the play of the fabrics together, but I couldn’t get handles to work the way I wanted them to…so now it’s a nice new basket for collecting fabric scraps.
If you were reading on Sunday, you saw the finished “Desert Heat” quilt, now on the wall in our bedroom.
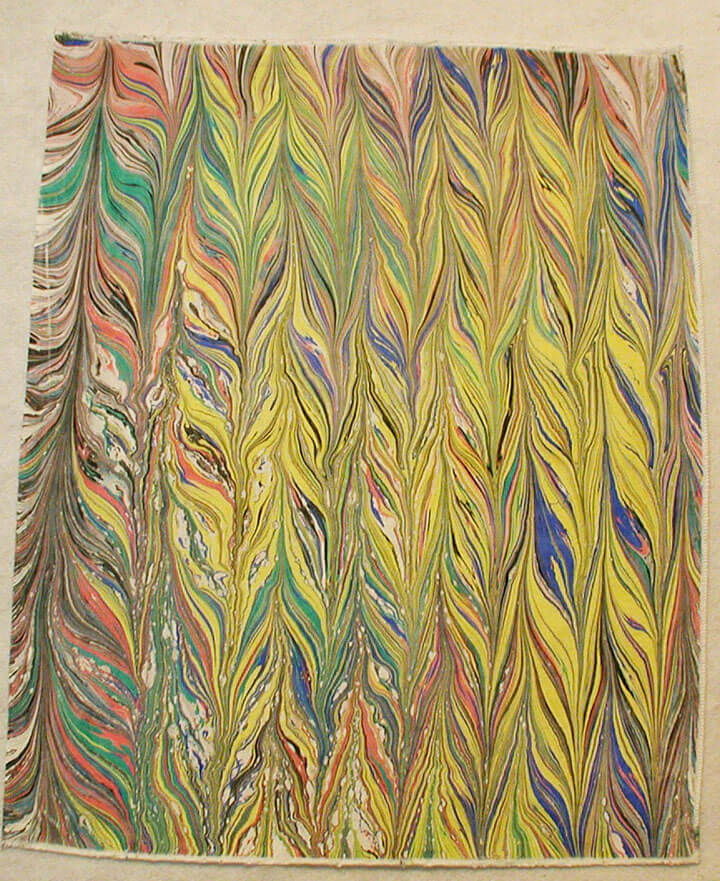
Now I am working on my “bamboo” quilt, started about 5 years ago with a piece of marbled fabric in the chevron pattern. One of the things I like about this quilting is that it is very zen-like, in that you can just follow the lines of the patterns. You can see the original piece of fabric here. You’ll see what I mean about the lines of the pattern.
As I was quilting yesterday, it occurred to me to take pictures of the process, and then that led me to think about putting together a tutorial on quilting marbled fabric. There is an interesting story behind the quilting. Years ago I pretty much just put marbled fabrics with blacks, as I wasn’t sure at all about my color sense. I did slowly branch out, but it was Quilt artist Ellen Kohen who took a piece of fabric and quilted it. I knew there was more I could do with the fabric, but I wasn’t sure how to approach it. Once I saw what Ellen had done, I was hooked, but it took confidence to start the free motion needed to accent these patterns. Starting this Sunday, I’m going to introduce “Sunday Stories,” and I’ll take a look at the story behind each of the pieces in my gallery on the website.
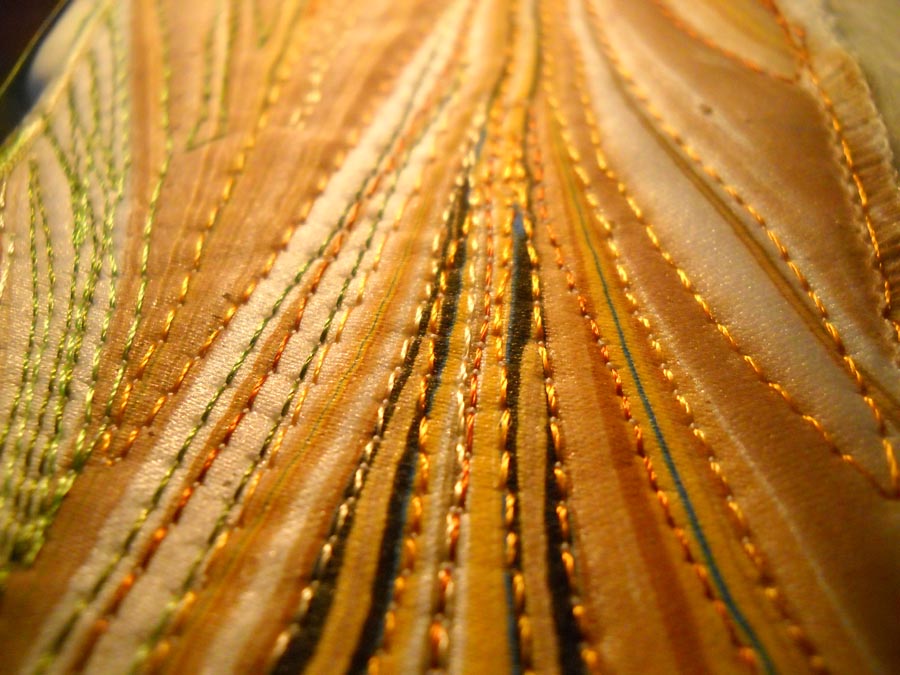
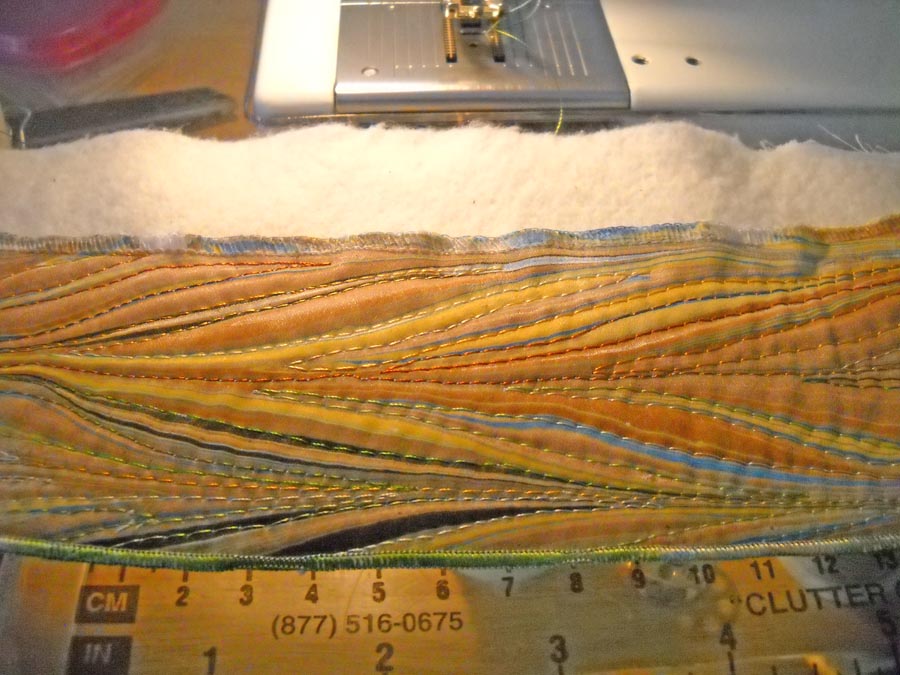
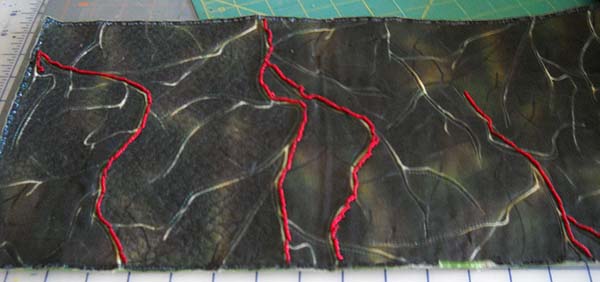
For today, here’s a close-up look at one of the bamboo strips (which I am aiming to finish by mid-August, as I want to enter it into an art quilt show with my “Ocean’s Bounty.”) You can easily see all the “lines” in the pattern and how I have followed the lines with a variety of different colored threads. The problem you might run into (as I have) is when to stop with the lines – you can get easily sucked in to quilting everything.
You can see the serged edge in this piece – which is how I usually finish these weaving pieces. I’ve learned over the years not to serge until I am finished with the machine quilting.
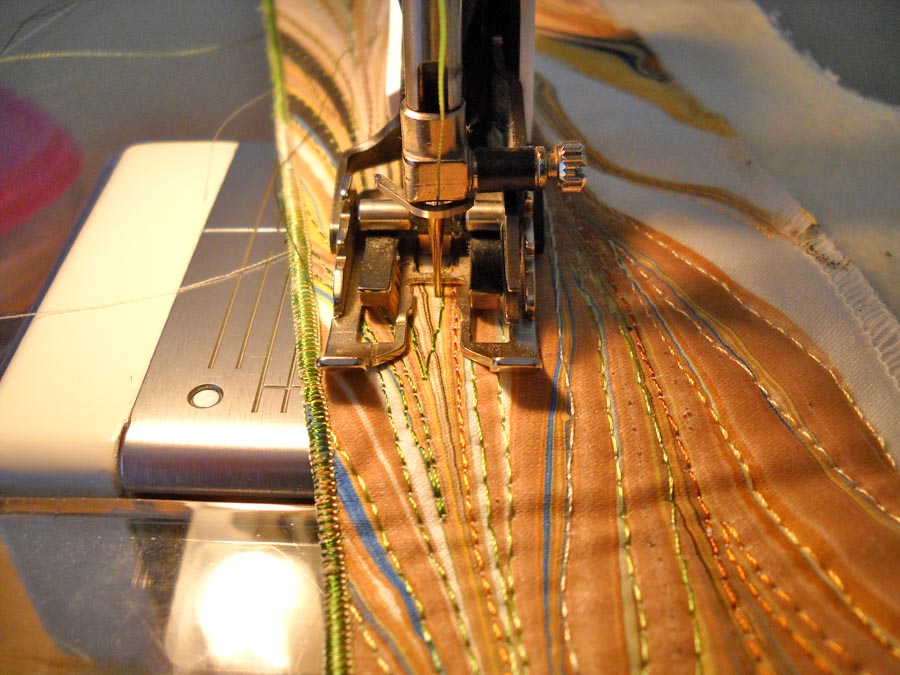
This is with my walking foot, but I’m not totally happy with the control with this foot. Because there are slight curves to these lines, I use my regular foot and am quite happy with it. I think this is probably a personal preference. I tried the free motion foot on this, but I didn’t have the control and even stitches I wanted for this design.
I have four and a half “strands” of bamboo finished at this point. I can quilt for a couple of hours, listening to some John Denver and just kinda zone…as I mentioned earlier this week, I am amazed at just how much I get done when I think a project will take forever. Now what probably will take forever will be the leaves. I’ve tried marbling some silk leaves – not happy with them. I am thinking some thread leaves, but they may not seem “sturdy” enough for this hardy plant. I do know thread leaves would be a great use of all my lousy threads I have hanging around. I haven’t broken any threads with some 6 hours of quilting – have I told you how much I love my Superior Threads?
If you would be interested in a tutorial on quilting marbled fabric, please leave me a comment and let me know. If you’ve got pictures of some marbled fabric that you have quilted, I would LOVE to see it.
Quilt is FINISHED!!!
It is so interesting to me that we can think in our minds that projects will take so much longer, and then we actually never get around to them, because we “don’t have the time.” That was the case with my Salmon Run entry and with Desert Heat. I kept thinking I was going to need more time than it actually took to complete the work the way I wanted it.
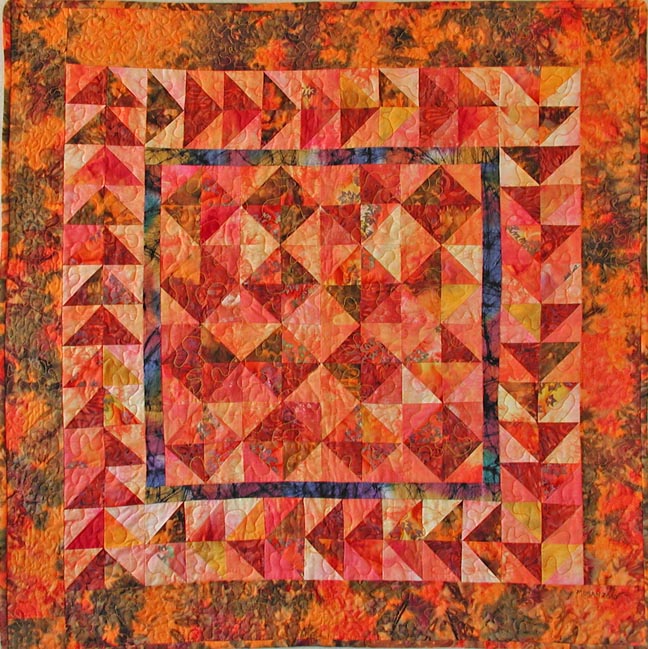
I made the commitment last night to finish Desert Heat – and I did! Binding and all, it’s now on our wall in our bedroom. What I particularly like about this quilt is a bunch of things:
* I used some of my first hand dyes, and you can’t really tell mine from the commercial ones.
* I experimented with a pattern and everything about it worked. I just started out sewing triangles because I wanted something mindless to do last summer.
* I learned that when sewing bunches of triangles like this, it is best to press the seams open for less bulk. That is probably the only thing I would do differently in remaking this quilt (I can see a “winter” quilt to change for the seasons…).
* I pulled colors based on how “hot” they seemed – turns out in the final analysis I did have a light, a medium, and a dark value without really thinking about it.
* The quilting worked perfectly – I only took out about 8 inches until I had the tension where I wanted it. I am getting much better with that – checking first before I sew a whole side….
* I love my new threads! I bought New Brytes in orange and yellow when I was at the School of Threadology with Superior Threads. I knew I wanted heat and bright – much like the desert in summer. I was given in my goodie bag a wonderful Rainbow of oranges, yellows, and greens that worked PERFECTLY in my border.
* Not once did I break any threads. I love the #90 titanium needles. And I LOVE Superior Threads!
* Perhaps the best thing abut quilting yesterday is that I think I am finally getting my quilting stitch length consistent. I have been going quite slowly with the machine quilting, so my stitches have been pretty large. I hesitated about going faster, as I can get clumps of thread if I move too slowly. Well, this time everything worked. I went faster and the stitches seemed to keep up with my movement of the quilt sandwich. So generally very pleased.
Here’s a close-up of the quilting. The center and first border have a very large stipple, as I wanted to try and get “the heat waves off the pavement” effect. It also helped to flatten all the triangle points. The quilting in the last border is a much tighter stipple, which seemed to make the quilt even “hotter.”
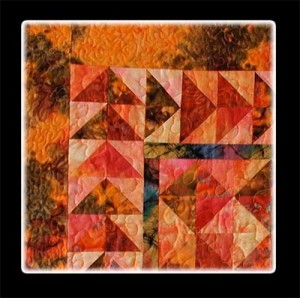 And now, the reveal (yup, too much HGTV….) –
So – anyone interested in a pattern? I am thinking of writing this up if there is interest.
I would love to hear thoughts about what you learn as you finish up quilts! We’re always learning – that’s what makes this so much fun.
Works-in-Progress
I pulled out an old quilt to work on – not that I don’t have plenty of new projects going. This is my “deer quilt,” so called because of the pieced deer at the bottom of the quilt. I found this pattern about 12 years ago when I was learning a lot about piecing. It looked like it would be fun to do – and was, until I got to the deer, which was quite the challenge. The pattern was, I believe, from Pam Bono Designs, in an old book called Rotary Cutter Quilts. I looked on her site and the book seems to be out of print. I got the top pieced in about a month, sandwiched with what I know now to be REALLY cheap batting, and I started quilting it…with invisible nylon thread.
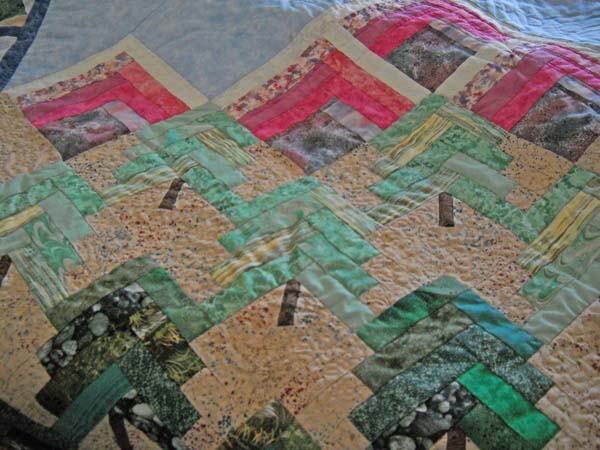
Needless to say, I have learned my lesson with invisible thread – use the poly thread from Superior Threads. I could see the brittleness and yellowing, so I have spent several hours pulling out a lot of old quilting. I had done a lot of free motion quilting in the background, which is literally ground. I loved the fabric choice, and it still looks great 12 years later. This is just a portion of the mountains, and two layers of trees.
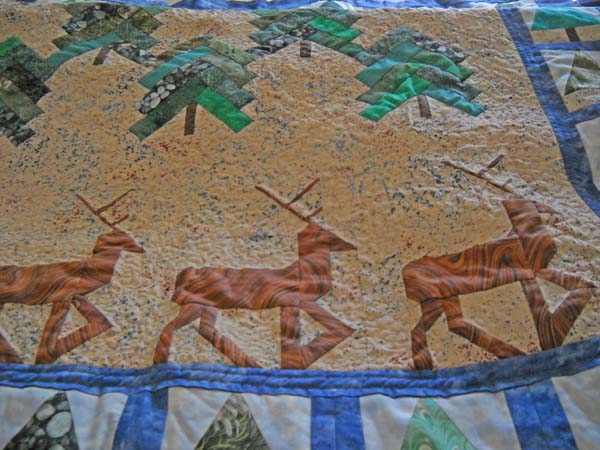
One thing I am noticing is that I am MUCH better at machine quilting, even though I think I have a long way to go. This quilt shows me where I started, and just how I have improved. Here’s the deer:
They are done in a commercial marbled fabric because I loved the texture of the fabric. I am thinking of doing some thread painting on the deer to accent the design. We’ll see….I know I’ll add a little bit of cotton for the tails when I am done….
This second piece was in response to a group of us a couple of years ago (like 5) trying to do a group art piece. I had this in mind for a lava piece, and it was so-so. I serged some edging of black fabric, with the idea of tacking it into place to represent hardened lava. Didn’t really work. Here’s the piece without it:
The left side of this is my new approach – using So Fine black from Superior Threads – another new thread I haven’t tried – and I love it! No broken needles, and just some gentle tension adjustments. This looks more like lava than the earlier version. Here’s another shot:
Color is truer in the top one. I’ll be curious to see when I finally consider it “done,” only five years later….
Thoughts for a Thursday
Yes, I am working, slowly, on a couple of pieces, trying to finish them up. I am inspired by what I saw at Superior Threads’ School of Threadology in April. I now have a wholesale account, and I certainly need some new threads to finish a couple of projects. I am also using the “crappy” stuff to start some thread fabric for a cape pattern I saw. I find all it takes is a little inspiration looking at other quilts and I am raring to go on new projects. But – I have other things to do, like backing up photo files, cleaning out files, working on three other websites, and finishing out the school year.
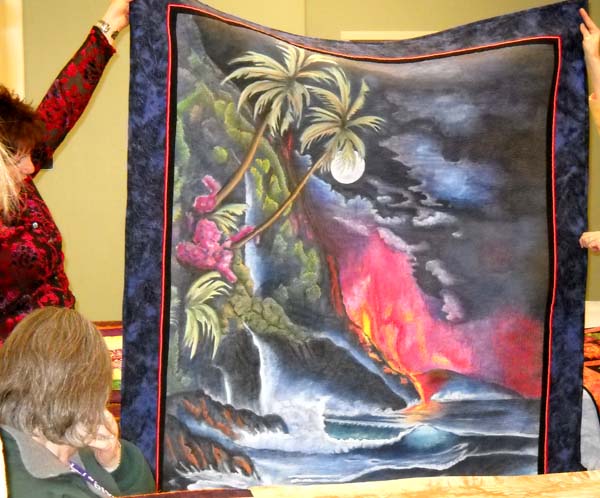
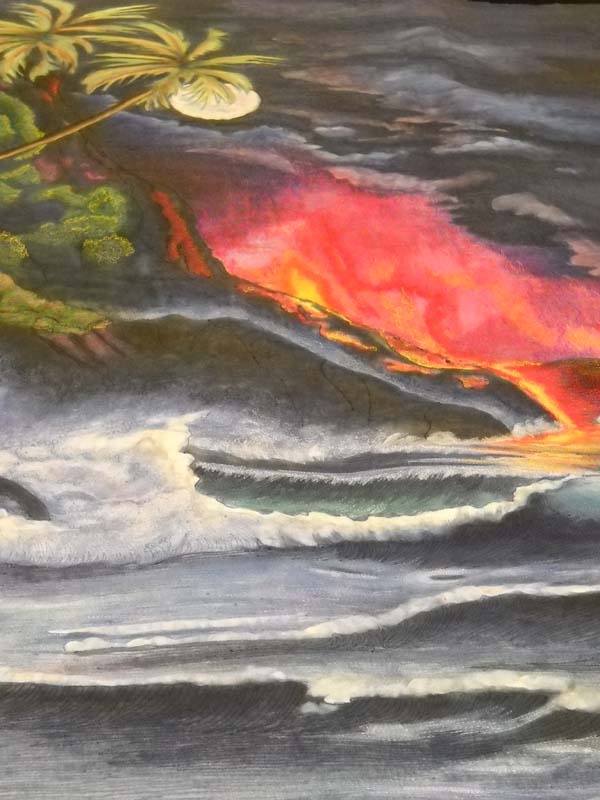
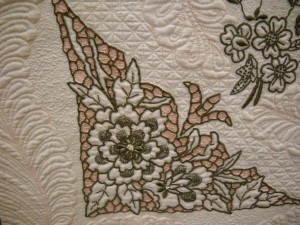
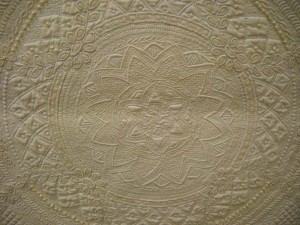
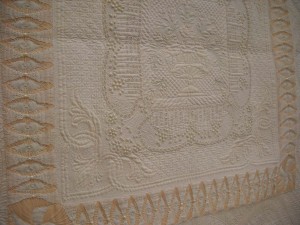
So here’s some eye candy from my three days at the School of Threadology – oh, to be able to do that kind of quilting! One of these days….
Heather and Bob Purcell collect quilts that 1) use their threads, and 2) showcase amazing machine quilting. You can learn so much just by viewing all the details in each quilt, front and back. One of the things I learned was that it’s okay to match color thread on the back with stuff on the front. Too often quilters use threads that match the backing and then show through in ways that don’t work. It’s okay to use what works back and front.
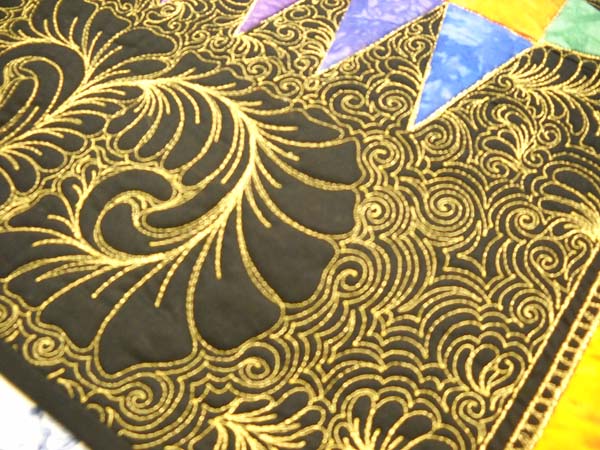
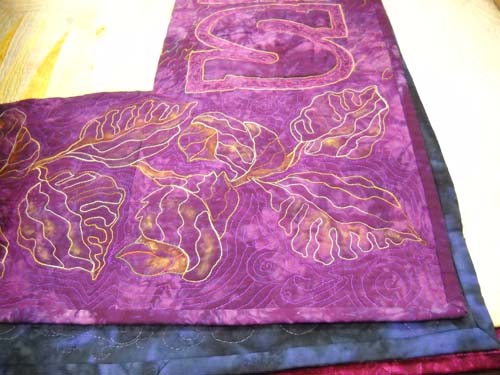
This gold quilting in the next two shots needs to be seen to be believed. The quilting just shines, and there is so much of it! I like being able to fill the spaces available, and I am slowly getting more ideas on how to do this.
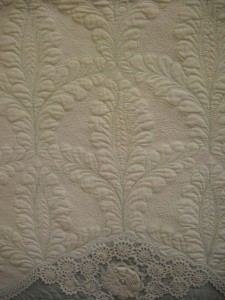
I’d like to be able to do this kind of feathering – nice and simple, and with variegated threads it should be gorgeous.
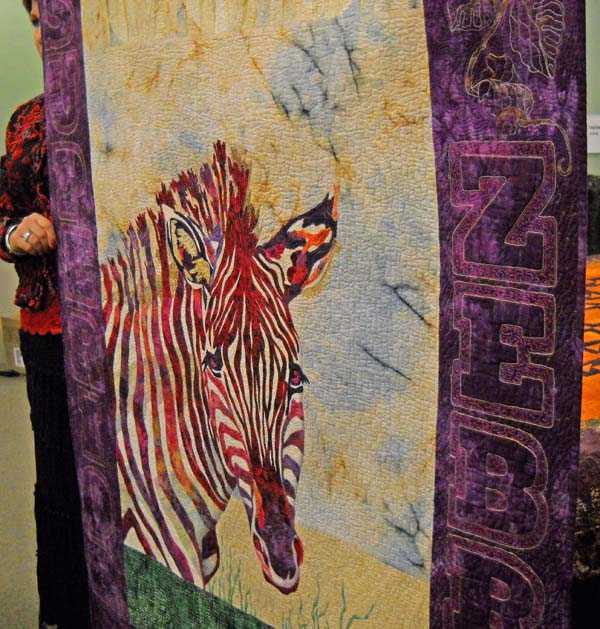
This is the Superior Zebra, done especially for the booth, and the zebra is completely thread painted. Amazing really doesn’t cover the art and technique in this quilt.
So much to quilt, at least it’s almost summer break!
Welcome to My New Home!!
Thanks for joining me here, as I move everything over from Blogspot and Blogger. I have learned that I don’t own my content on Blogger, and I want to protect my work and images, so now I have my own new home, thanks to Suzan at Saltwater Systems and WordPress. Please follow along on these adventures. I have LOADS of art-related posts coming as a result of a busy March and April.
Suzan and I decided in November to treat ourselves to the School of Threadology, hosted by Superior Threads. We spent the next few months in anticipation, never realizing what an absolutely AMAZING time we would have. These three days in April are the BEST education I have had in my art career, and by far the best educational conference I’ve attended (and there have been many!).
There were so many wonderful moments, and I will just do a lot of blog posts with wonderful art quilts, and lots of Japanese philosophy (kaizen – continuous improvement) which permeates everything Bob and Heather Purcell do at Superior Threads.
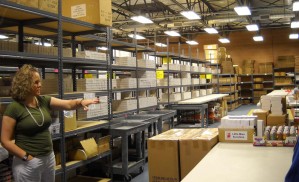
I’ll start with the first morning, and a tour of the warehouse, where we had our own labeled boxes for easy shopping (better than a candy store!).
Cindy Needham was our first instructor, and does she do amazingly beautiful work. She quilts on silk (yummy), as well as on antique linens. I’ll let her work speak for itself. Be sure to click on the pic and see some of her incredible detailed quilting.
This doesn’t even begin to scratch the beauty we were exposed to. Many, many more quilts and closeups of thread work to come. Truly an amazing experience!
