Digital Marbling
It’s about time I got this section started so you can see how we are working with this idea of digital marbling. Sometimes (well, most of the time…) the pieces are so wonderful that you just want to keep them around for a while longer. Digital Marbling (TN) allows us to do that. We received the Arizona trade name for this about three years ago, after a while on the blog, but we wanted to have a bit of protection for our work.
This was one of the first pieces I accomplished on my own. Most of my early work is with my digital partner Suzan, who is a WHIZ at Photoshop. She soaks up every bit of knowledge at Photoshop World, while I have just been playing around in my spare time. Thanks to Suzan I am getting to be rather proficient at this manipulation. Plus…the fun is you never know just what you will come up with!
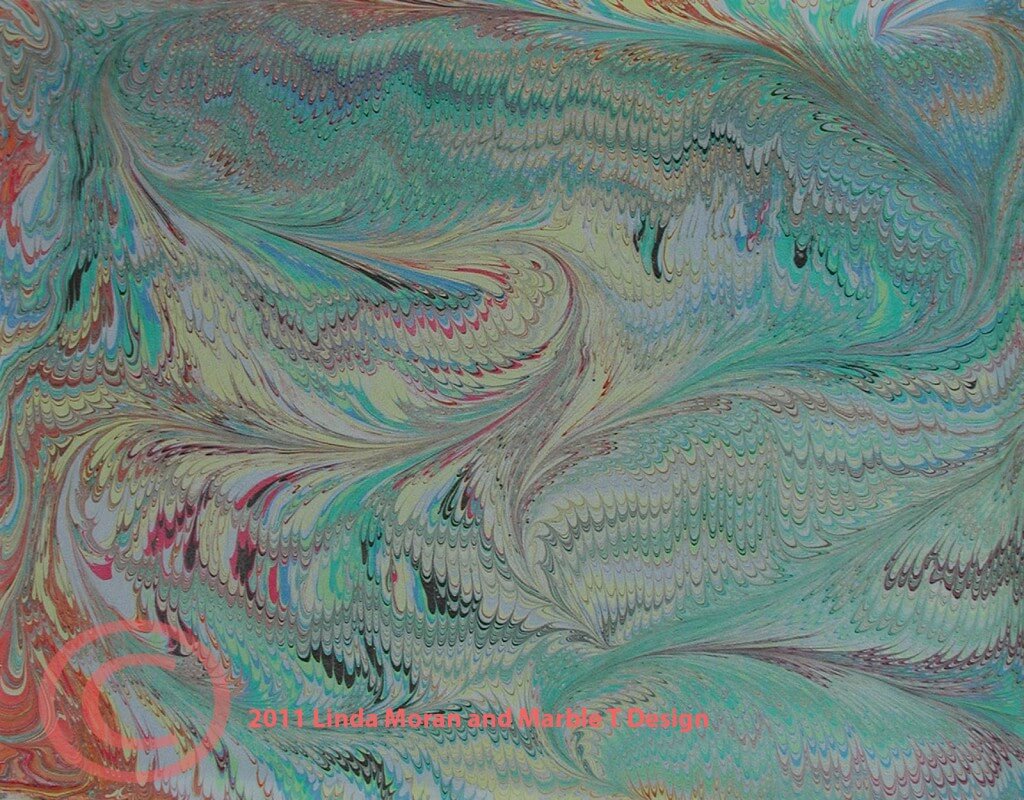
This is the piece of fabric I started with. It’s been long sold,but I remember thinking it wasn’t a great piece to begin with.
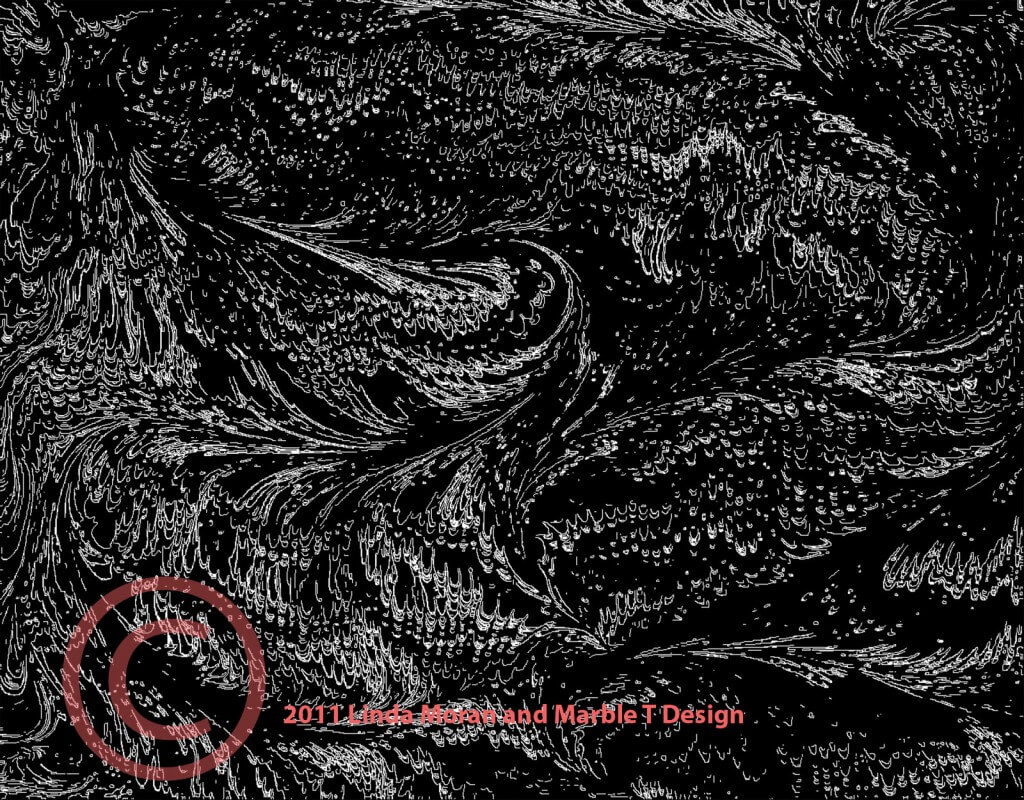
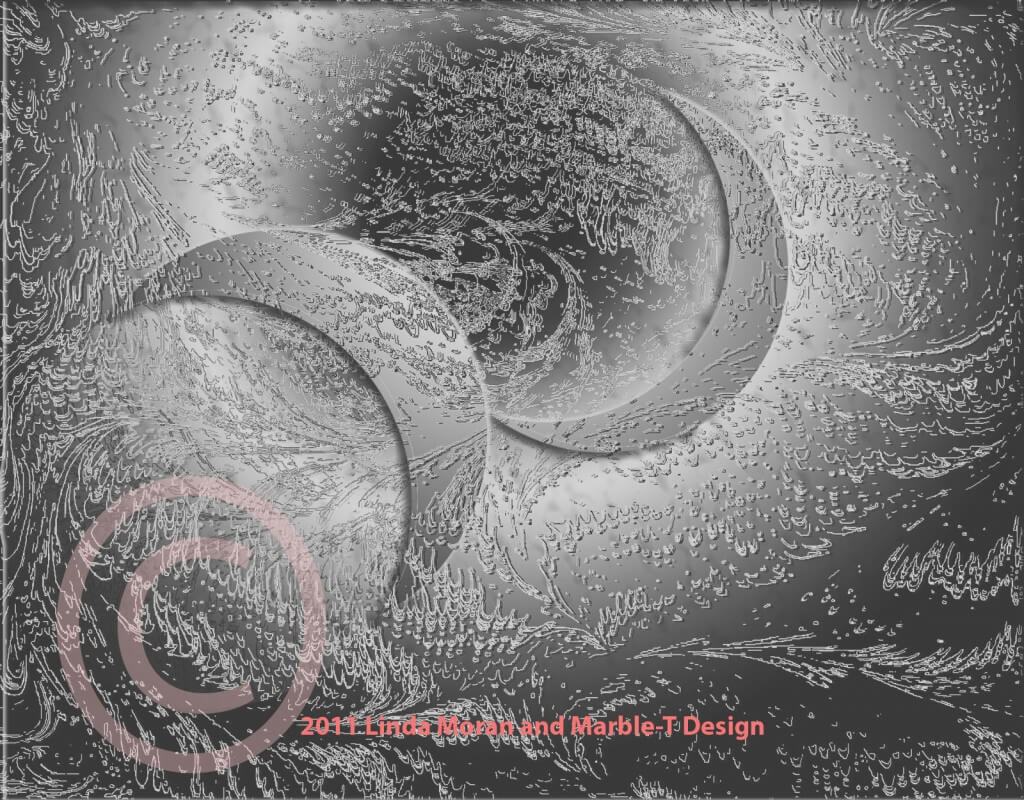
I had just learned about the blur filters and deconstructing to black and white lines.
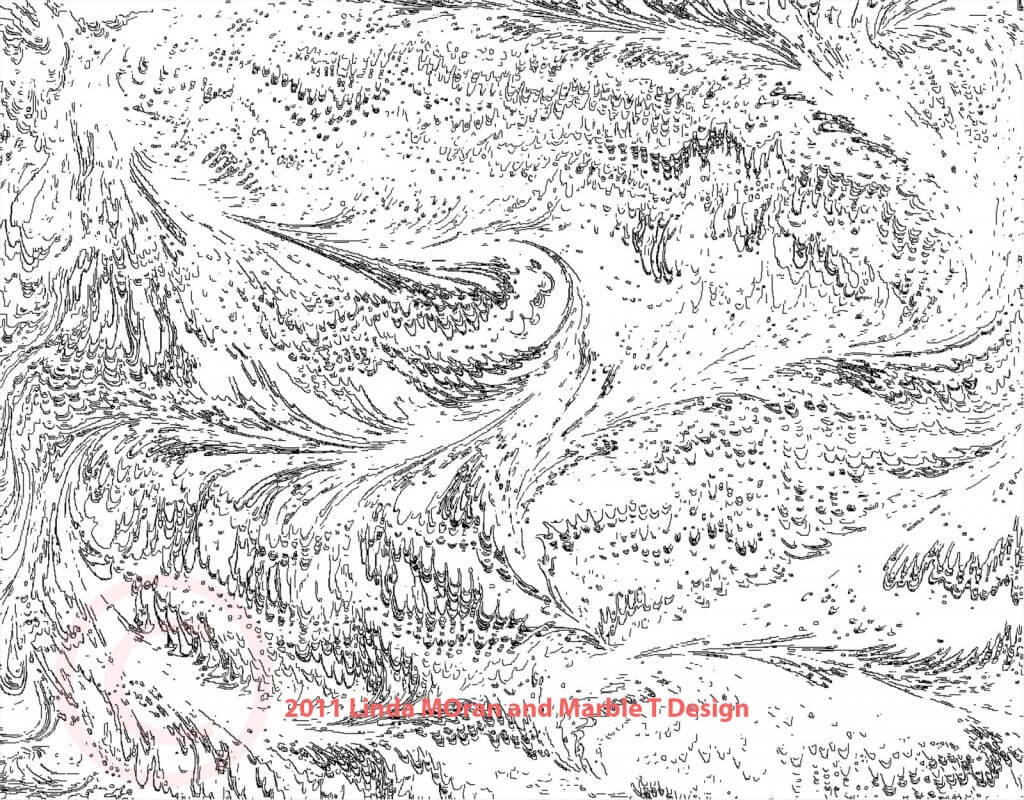
I am always amazed at how this works! THen I used the “invert” to see what it would look like with white/black.
Again, totally different….
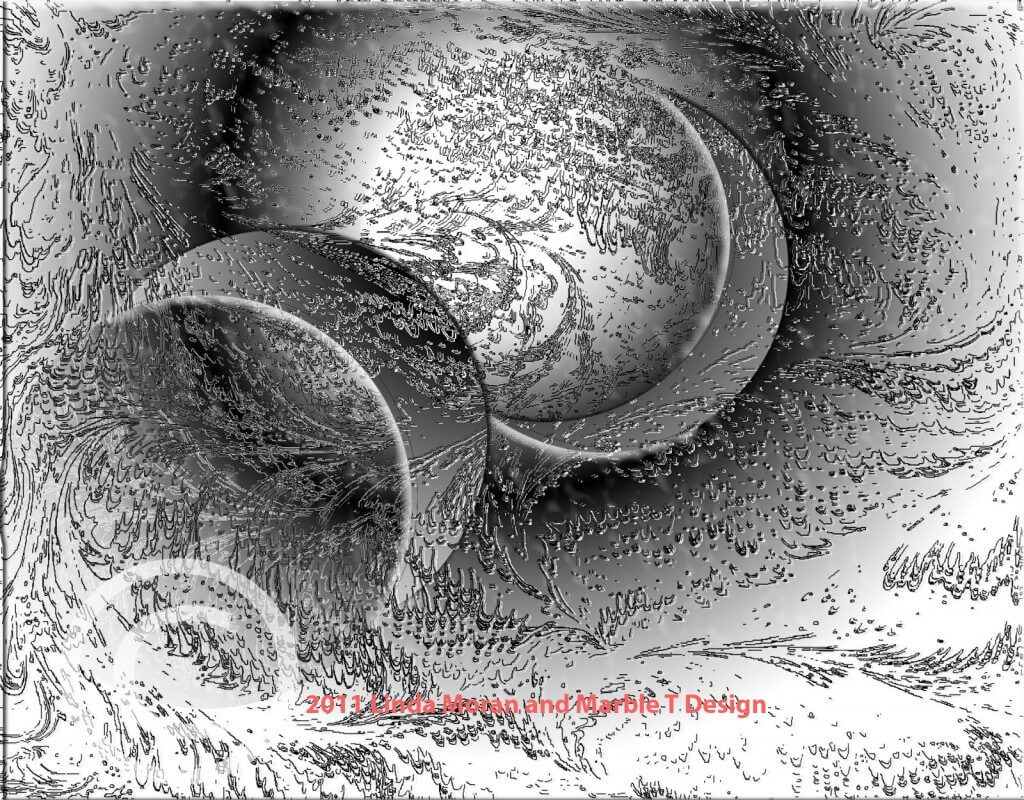
At this point in my learning and playing with Photoshop, I was intrigued with gradients. Plus, I was fascinated with the bevel/emboss features. It has been a while, so I’m not quite sure just how I got those half-moon cut-outs, but I sure liked them.
I loved what happened here. I used the radial gradient and saw some other circles appear. Now I was really intrigued and I almost left it in its black and white state.
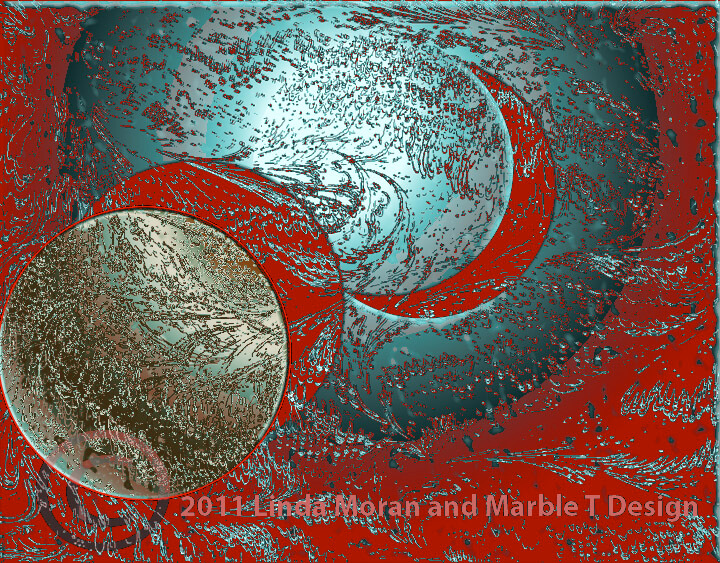
Then I went to a red-blue gradient, and I was hooked. I added a few strokes to outline the smaller circle, and I knew I had a keeper.
Hi, I was directed to your blog from the yahoo group on marbling…I just put my toe in the “size” and started a couple of weeks ago. Do you think you’ll ever teach the digital marbling online? Thanks.
I am with Karen!! would you teach this EVER?? I know photoshop pretty well (jut enough to et myself in trouble) and would love to use this tool instead of all that gloop
Okay, so with two of you interested, after the holidays I will put something together! Do you two mind if I run ideas by you and maybe use you as test guinea pigs?
Just discovered your site – love your work. I used to do a fair amount of paper marbling for collage work, but am now working in fabric and weaving, so find your work fascinating.
If you do something re online digital marbling, please let me know. I am also a technical writer, so can provide feedback re clarity of instruction for those who are not photoshop experts. 🙂
Thanks, Leila…..seems like I need to get busy on some lessons!
I am afraid you will have at least one more student. And a problematic one: I don’t know if my English is good enough to follow you, but I really like what you explained here. Oh yes, and learning Photoshop is a pending task for me. Every year I decide to give it a try, and I put it of…
So please, when you decide to teach online, please don’t forget about me
greetings from Spain
Edith
I will keep you updated, Edith!
Truly stunning final image – your students are lucky to have you! I’m really not into marbling although I have tried it, but most surface design on fabric. I’m still learning photoshop just as I’m still learning all the amazing capabilities of an apple computer!!! I recently produced imagery on silk using photoshop and various surface design techniques. I love the idea of the computer being part of my studio. Would love to learn more from you…
Hopefully something this fall!
Hello Linda! I just found your website here and I am interested in exactly what you were doing here. Just recently I have begun marbling A bit in the Ebru style I guess it would be called and I am playing around with manipulating my marbling patterns on Photoshop. I love Photoshop and I love patterns And now I love marbling to and what a great combination, right?! I would love to see what you’re doing and learn something from you if you have made a class or a video for sale or any teaching material suggestions would be greatly appreciated. Thank you so much
Marcella
Hi Marcella -sorry I’m late in replying to you – dealing with vertigo which has really set me back! I use Photoshop 3, which is plenty for me! The key I have found is to be sure you work with layers. There is no class or video – but I do have some blogs up on my Photoshop Fridays, which I would go through the steps. Let me list a few, and then I would be happy to see some of your ideas and we can jointly try and work on them.
https://www.marbledmusings.com/photoshop/photoshop-friday-9/
https://www.marbledmusings.com/photoshop/photoshop-friday-desert-botanicals/
https://www.marbledmusings.com/photoshop/photoshop-friday-its-600-time/
https://www.marbledmusings.com/photoshop/friday-photoshop-on-saturday/
https://www.marbledmusings.com/photoshop/photoshop-friday-8/
https://www.marbledmusings.com/photoshop/photoshop-friday-continued/
The key is to SAVE a lot and use layers.
Let’s try a couple together – I need to keep my hand in!
Linda