Lesson 2 – playing with adjustments

Lesson two starts out with some creative adjustments, using a layer adjustment – another new thing. I decided to work with my Tetons picture again to see what else I could so. So here is the original again –
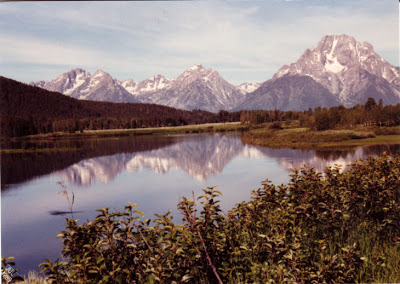
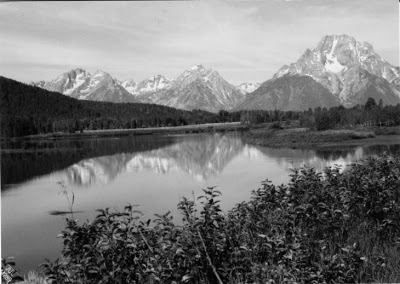
The first adjustment was to use hue-saturation – and this is cool because I love the look of black and white. This also seems to preserve a lot of the texture of the original.
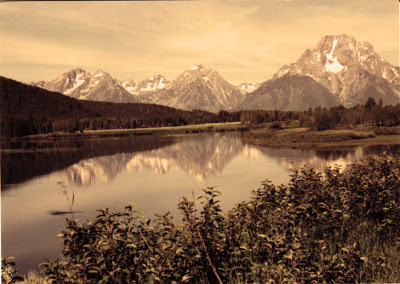
Then I decided to try the Photo filter and went for a sepia look, which again I love for the historical look.
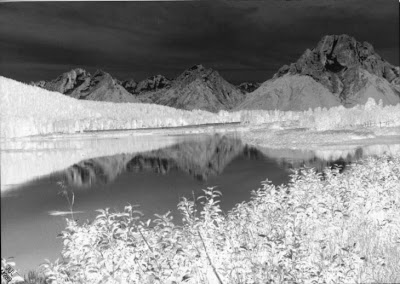
Then I decided to work with the “invert” and I like that effect. Very sci fi and icy – NASA photographers would probably look at this as an example of life on another planet!
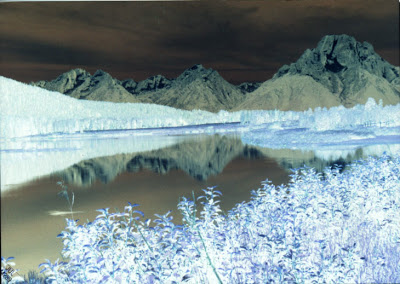
This last is a combination of hue and invert, which seems to give depth to the whole photo.
I keep learning more and more, which puts me even more in awe of what Suzan does with all her work! I was reading two Photoshop magazines this weekend – I’ve tried reading them in the past, but it’s been like Greek – this time, however, I understood most of what I was reading!