Lesson 4 – Photo Fixin’

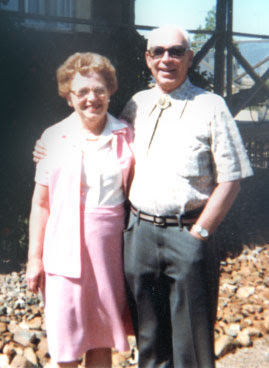
I’m finally getting back to finishing up this Photoshop class. I am definitely feeling better this week, and for a Friday night, I’m doing pretty good! This lesson is on retouching, and unfortunately all the good stuff I have I “fixed” last December when I didn’t really understand what I was doing. So some of the photos are too small, have already been lightened, and other destructive edits. I did find one of my fabulous in-laws that I’m going to work on.
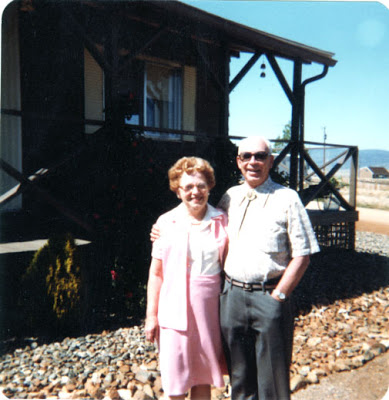
I think mom and dad are too light, there are problems with the sky, edges of the photo, and too dark for their mobile. So I started by trying to even out the blotches in the sky – which if you live in Arizona know that the sky is perfectly blue most of the time!
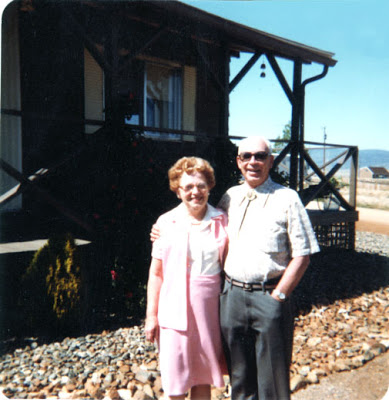
I was pleased with the results – a combination of brushes, clone stamp, and eye dropper for color. Then I decided I wanted to get rid of the antenna and house in the right background, as it’s kind of distracting. I eliminated the house by using the patch tool and then getting even color with the clone stamp. I increased the size to get to individual pixels so I could smooth things out and get rid of the antenna. Again I got down to individual pixels to make sure color seemed even.
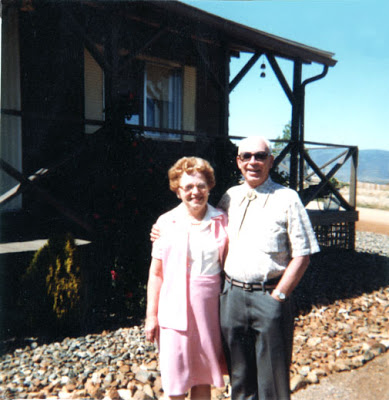
Then I started to look at lightening the house. I had a heck of a time with the mask, since it has been a while since I did it. But after about 45 minutes of repeating steps, I finally figured it out. Now you can see the dust and the age on the picture. But I think it worked, and mom and dad didn’t get too light. I did some “noise” for dust, and seemed to “flatten” the sides of the house. I wasn’t too happy – but then I added a blur for a final effect to emphasize mom and dad, and now I am pleased with the final copy.
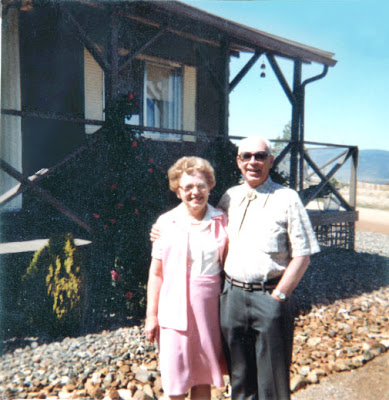
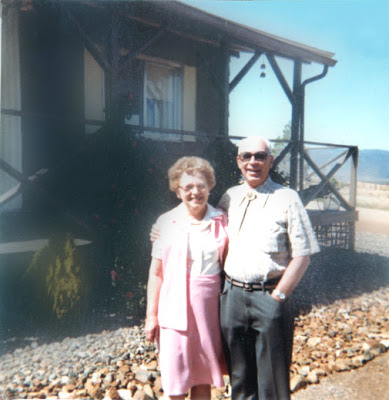
Then I felt I just had to crop the photo for a better effect.
