Free Motion Quilting – a New Design
 Oh my, have I learned some new stuff! The Free Motion Quilting challenge, hosted by SewCalGal, had a bonus tutorial by Susan Brubaker Knapp that piqued my interest. Basically you can create your own quilting design from your pictures. Well, I kinda figured you could, but once I read through this, I knew exactly how to do it. Bingo! I had loads of pictures that I would be able to use. I was having trouble with the drawing of the pattern for the August challenge; I planned to use that design on one of our bed stand runners. Now I had a new idea.
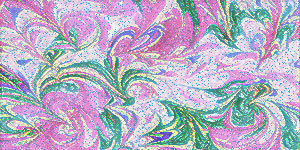
Concurrently, I am working on my Quilt University class, Inspired to Design, with Elizabeth Barton. I was looking at one of the photos I had morphed into a new design and suddenly realized I had a free motion quilting pattern right in front of me. Here’s the original picture:
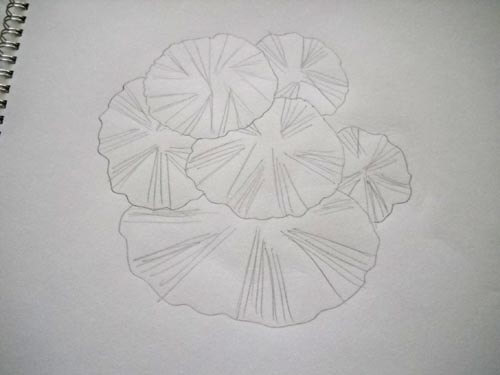
Here’s the design element I developed a little further:
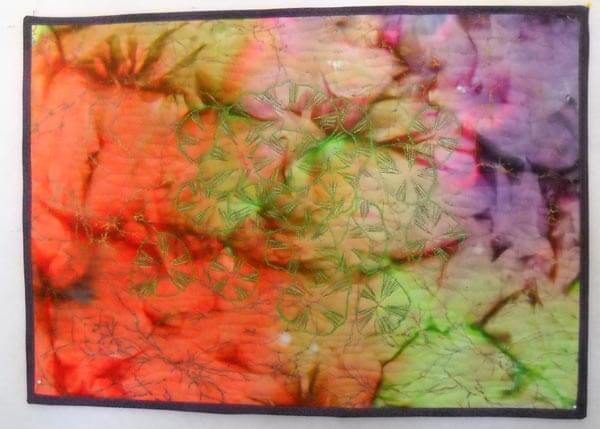
I added more pads to the design, made my pattern, and traced parts of it to the cotton. I realized, after my arms started to ache from tracing, that this was very free-flowing, so I really didn’t need to trace any more. I went with a brighter green for the outlines of the pads. Sometime in July I watched The Quilt Show episode on Stupendous Stitches, and after that I took a serious look at the other stitches on my Bernina workhorse 1008. Not many to work with, but I had one that I thought would work to give the idea of a ragged edge to the lily pad. Then I used a variegated green to do the stitching in each pad. I used a monofilament to create water waves on the rest of the background. Here it is:
Lessons Learned:
The background fabric actually worked pretty well, as did the thread colors. I wouldn’t stack the lily pads as much the next time. The most important lesson for me was going back and studying the original photo and realizing I could do much more with the interior lines. I became much more aware of that element in the original picture. I also did my binding a little differently, since I managed to cut it a half inch too thin. I used one of the stitches of a wave on the machine and made it very small. I tacked the binding down by maching, and you can’t really tell unless you’re looking at it close up.
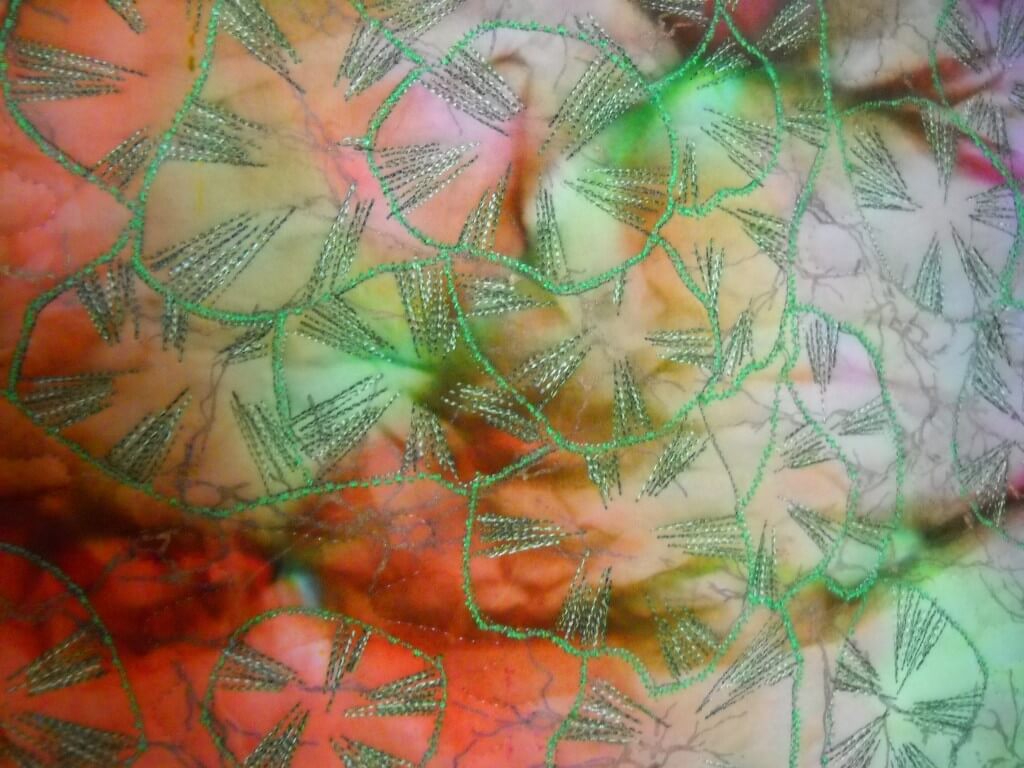
And speaking of close-ups, here is one of the pads:
For the purposes of the table runner and the learning, I’m done. Next time I would use more color within the pads, spread the pads out more, and probably add stems. Overall, I love it! Thank you, Susan and SewCalGal!!


Awesome work Linda!! I love the lily pads, they look great!!!
Thanks, Twin!!
Hello admin of this website, do you allow guest posting ??
Please let me know, i am interested 🙂
We do guest posts, but only as they relate to art and creativity.