Posts Tagged ‘FMQ’
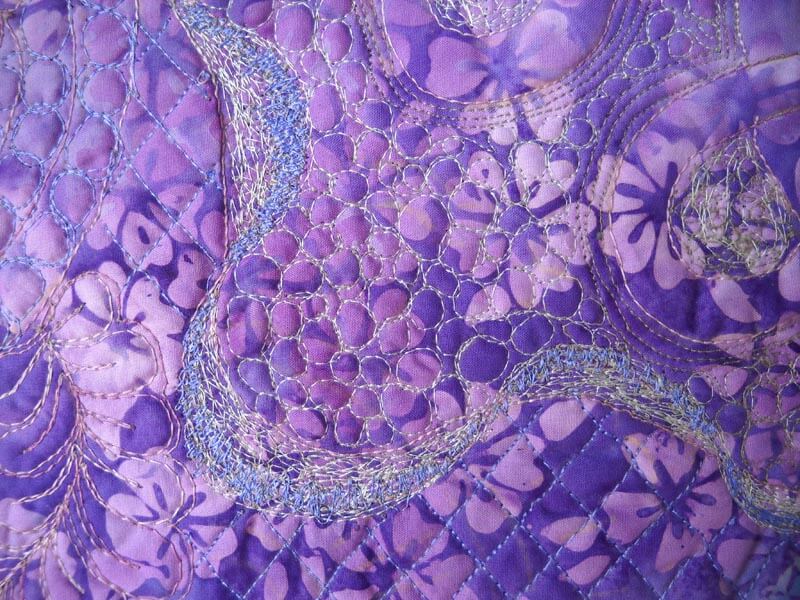
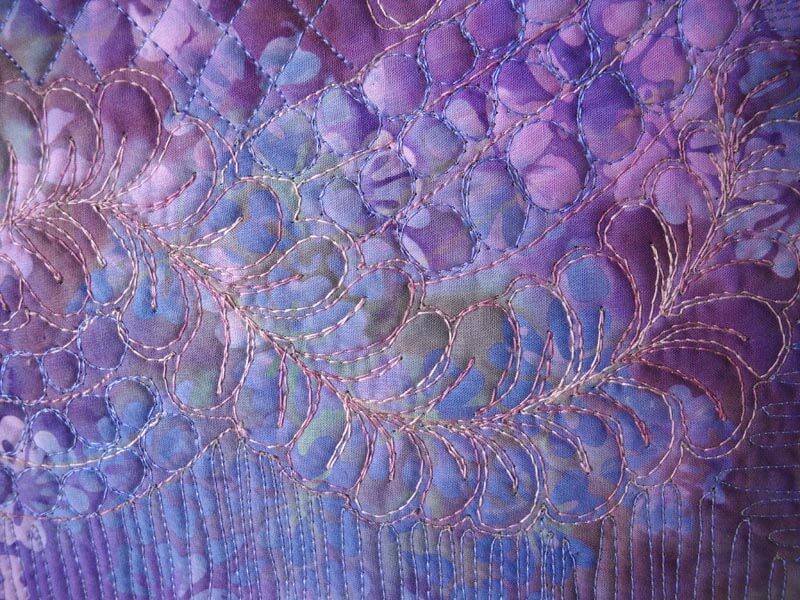
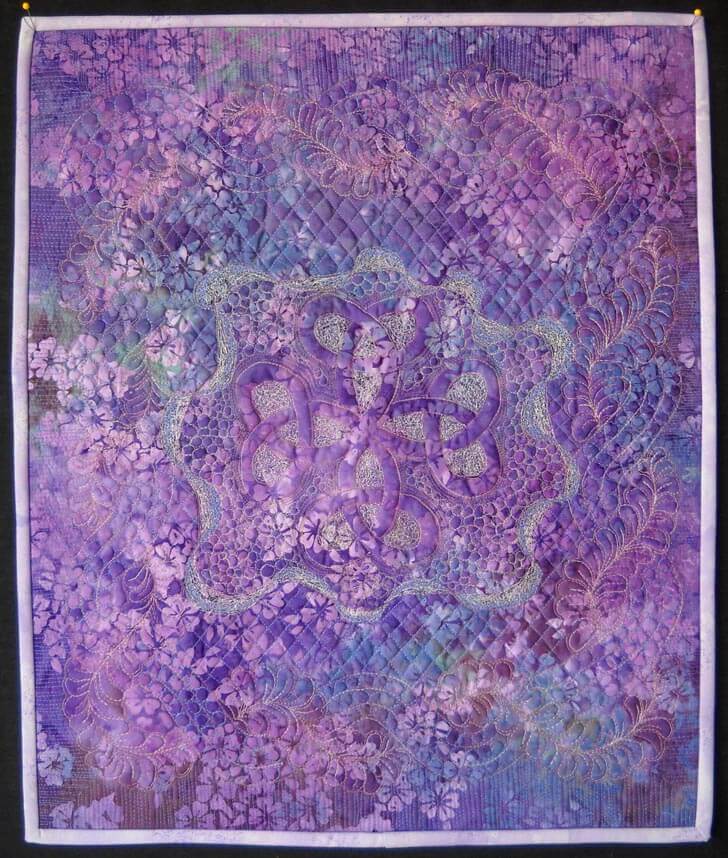
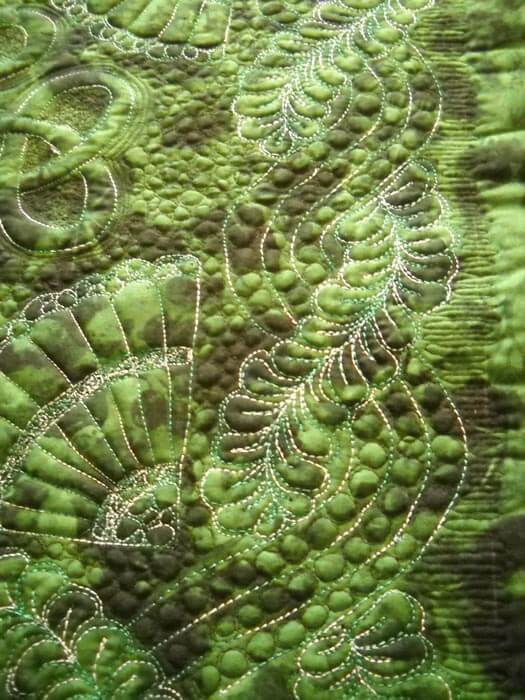
Free Motion Quilting!
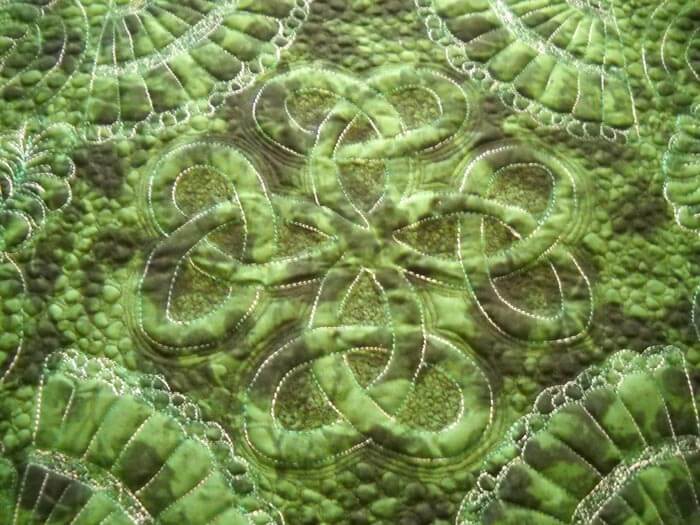
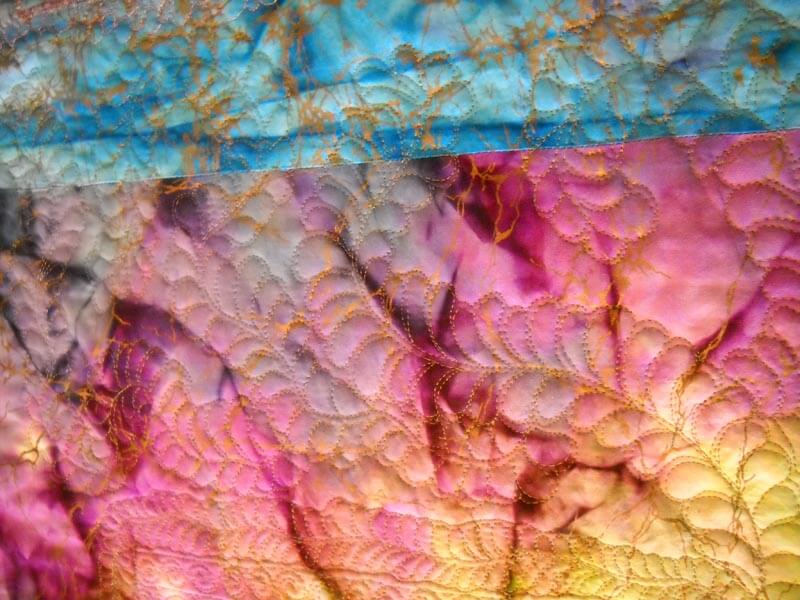
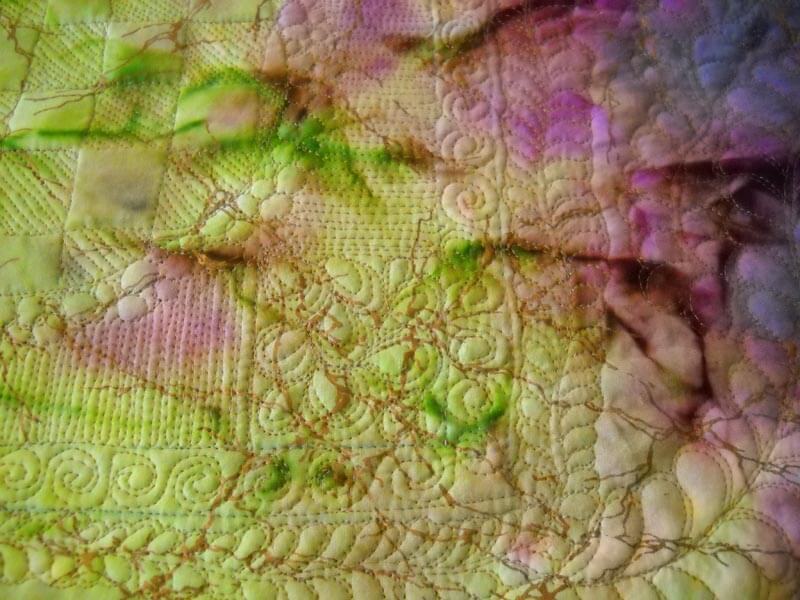
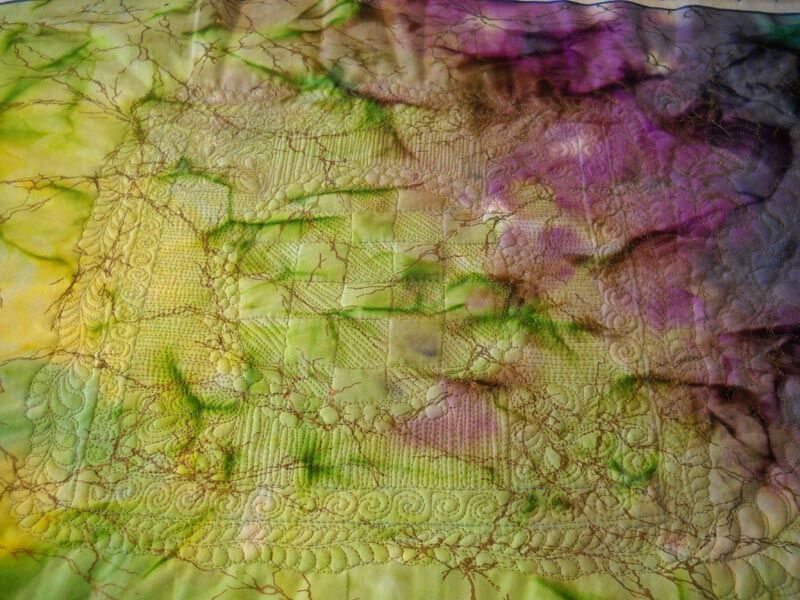
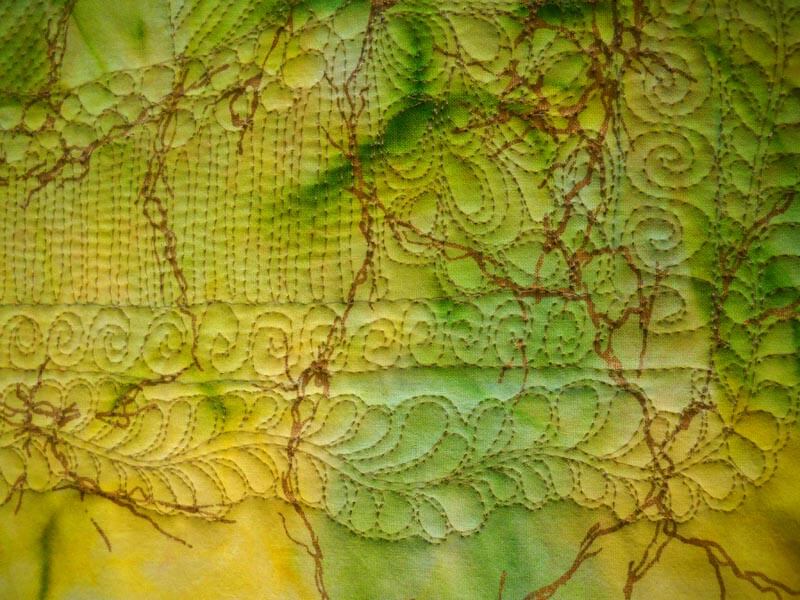
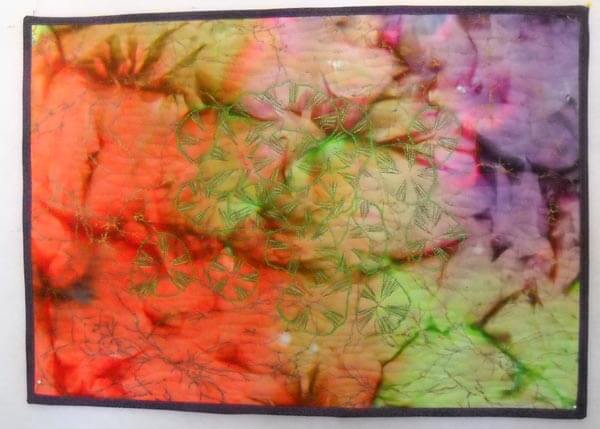
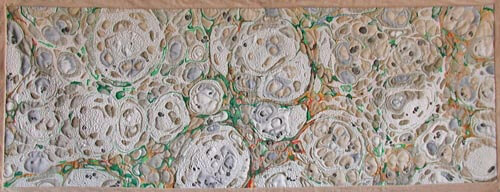
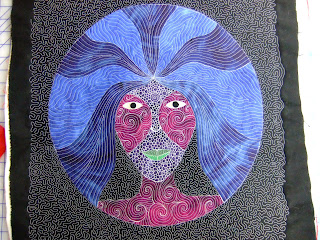
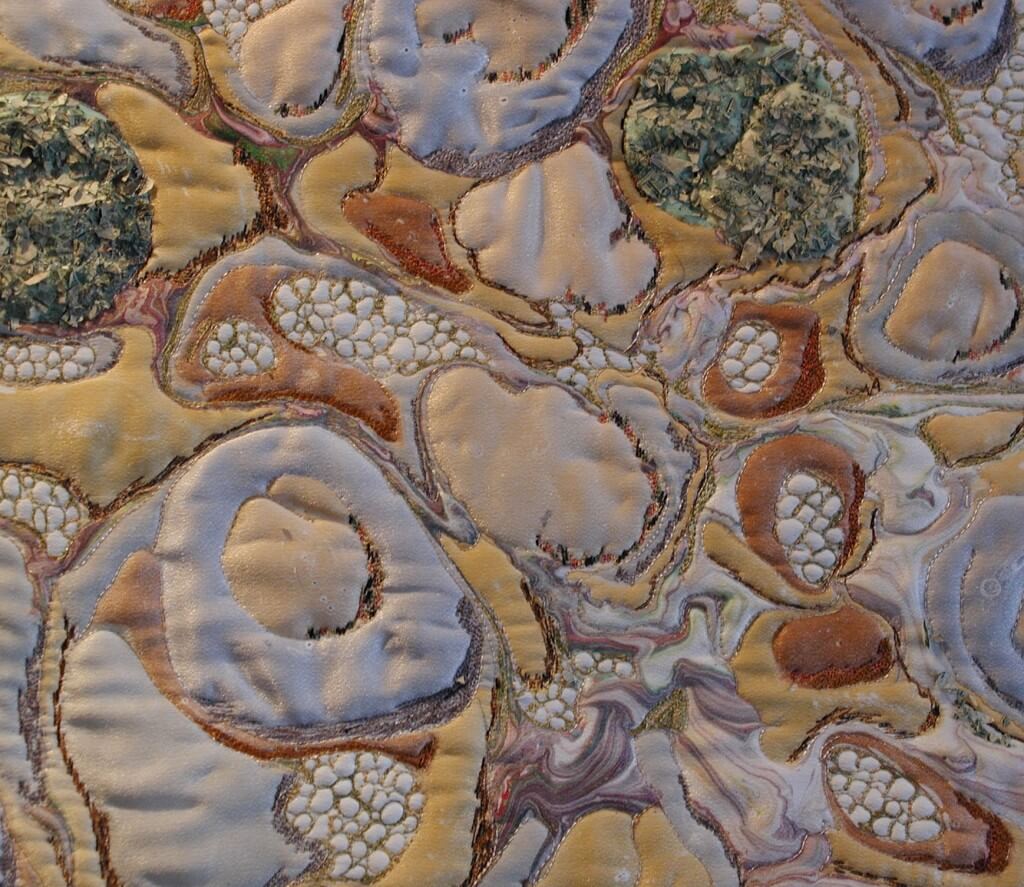
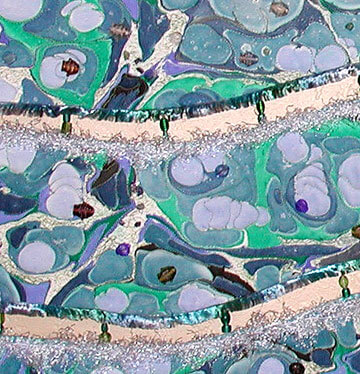
 Can you tell I love me my unpolished red satin? This is “Mandala 1: Core,” also published in Linda Seward’s book Ultimate Guide to Art Quilting Techniques. It’s free motion quilting, but the nice thing about using marbled patterns is that you have lines to follow!
I taught beginning free motion quilting this past Saturday and had a FABULOUS time!! When I did my lesson plan for the class, and then as I was going through it with my students, a few things became very clear to me.
- Everything starts with a straight line done with the free motion foot. It helps develop rhythm and hand placement. No longer will I start with a motif when teaching beginners.
- It’s easy to go from straight line to stippling (large, medium, and micro) as well as figure out how not to get in a corner and have to stop. My students found it very easy to move quickly and easily into curved lines.
- At this point we stopped to talk about threads and tension. It seemed a good point, and there were questions cropping up. The biggest problem they (and probably most of us) have is silencing that Inner Critic and realizing we have to practice – most of us aren’t willing to approach it that way at the beginning. (Ask me how I know that…). One person had bobbin issues, and the rest were concerned with moving that upper tension dial, as well as determining if their machine like same thread top and bottom, or another combination. I need to remember for future classes that “same thread top and bottom” may be more helpful to beginners. I’m so used to the quirks of my machine and how to work with different top and bottom
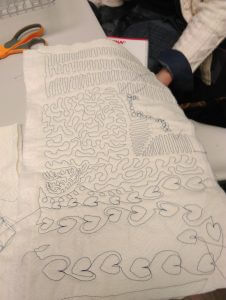
- Next pattern was a basic heart-shaped leaf, first learned by me in the 2012 Free Motion Quilting Challenge by quilter Frances Moore.
- Pebbles were next – large, medium, fill-ins, different sizes. This seemed a natural progression.
- Then spirals, grid patterns, and feathers. No one really got frustrated, mainly because they could see how previous learning morphed into a new pattern pretty easily.
Lots of samples from me so students could see practical applications within actual quilts, as well as all my practice fat quarters that I now use to practice or check tension before beginning a new project.
Best part? Everyone signed up for Intermediate FMQ in March!
Beginning Free Motion Quilting
Beginning Free Motion Quilting – Yes, You Can!
4 hours, $40.00 (plus 1/2 hour working lunch) 10:00 – 2:30,
February 11, Saturday
Quilting With Color, Williston, Vermont 802-876-7135
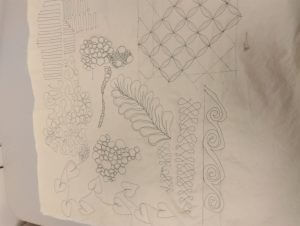
Now what? Your quilt top is done…send it out or quilt it yourself? You can free-motion your own quilt top, no fancy domestic or long-arm machine needed! YOU CAN do it all yourself – it just takes practice! From thread choice, basic supplies, setting up your machine, to learning basic FMQ patterns to build other designs on, you will learn the happy sounds of your machine as you practice six basic patterns on fat-quarter sandwiches: straight lines (without a ruler or walking foot), various size stipples, pebbles, basic feather, grid work, and a leaf/vine shape.
You supply:
* sewing machine in working order, ability to lower feed dogs, instruction manual (I can’t stress enough how you need familiarity with your machine and lowering the feed dogs)
* free motion (or darning) foot; NEW #80 0r #90 machine needles (#90 might be easier for you if you want to use fancy threads)
* a selection of threads, from “old and cheap” to “fancy and expensive” (cotton and poly are welcome)
* low-loft cotton (or 80/20 cotton) batting in fat quarter size for two quilt sandwiches
* 4 fat quarters (18 x 22 inches), one for the top and one for the bottom of two quilt sandwiches (not fancy fabrics, just for practice, and muslin is fine – tone-on-tone or solid color is best for getting started
* scrap paper and pen or pencil
* scissors
* marking tools (fabric marker or chalk
* ruler for marking grid lines on the fat quarters
OPTIONAL: small white board and marker for practicing designs; a machine extension table (you will be happier with one…), Machingers quilting gloves.
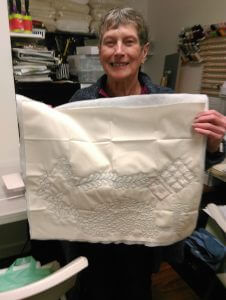
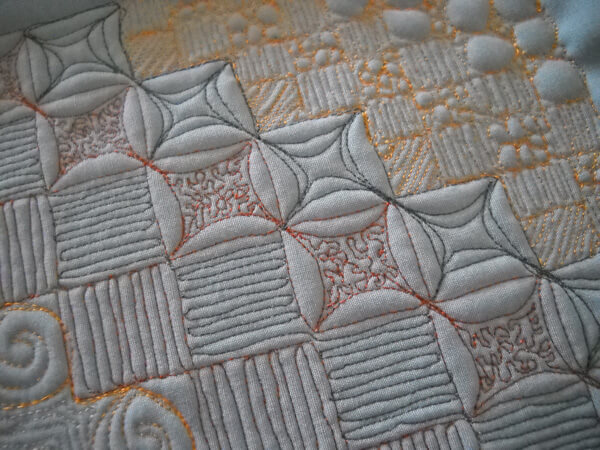
One of many samples looking at how you can add free motion quilting to your work….
COME JOIN US!!
52 Sparks – Week 6 – On Top of the World
I am behind, part of what’s making me so nuts lately. But I do so want to stay up with some of my projects for this year. So far I’m really not doing badly, and I know I need to give myself a break and stop being so hard on myself. So….Week 6: When You’re On Top of the World….
I feel giddy, I giggle, I smile, I talk a lot, and my mind goes crazy with ideas. I’ve often commented “It doesn’t take much to make me happy.” I don’t know if that’s a good thing or not! I’m thinking it’s a good thing – I like the feeling, and I want it to happen more often.
I often get this feeling when I complete a project. I just finished a commission as part of a house-warming, and about half-way through I started grinning from ear to ear. I LOVED the piece!! And then, yesterday, I bought a new sewing machine – with 90 decorative stitches…..I’m still grinning, and I can’t wait till Thursday when life is a little simpler to play with it and make my stitch sampler. I’m still giggling at the prospect.
Nature also makes me feel on top of the world, and not necessarily when I’m on a mountaintop. A favorite spot just south of the Seven Pools on Maui, the lakefront on Champlain, the Pali on Oahu, cactus in bloom during a wet spring in Saguaro National Park……get me outside and I can feel on top of the world.
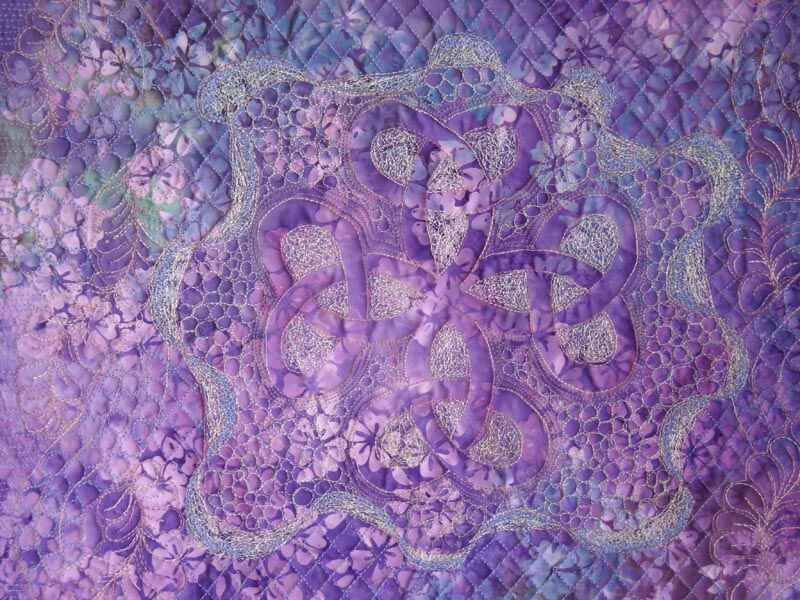
So here’s my free motion quilting piece for my friend Ali. There are SO many things I love about this piece – the colors worked even better than I thought, and I love how the blues kind of shine. The tension on the back for the most part worked really well. I used Bottom Line in the bobbin, Silk Kimono for the ribbon, Art Studio for some of the blue background, and King Tut for the overall design. The thread colors were great. The ribbon around the center celtic piece was the new FMQ challenge for this first part of the year from SewCalGal, and brought to us by Libby Lehman. I love how the ribbon is created. I’m not happy with how mine turned out – it needed to be larger, and I discovered that I really didn’t need a pattern – next time I will freehand the ribbon and not make the stitching as dense. I was even thrilled with the blocking, squaring off, and binding. Overall – on top of the world……
52 Sparks, Week 2 – Appreciation vs. Approval, Plus FMQ
This week of 52 Sparks had a really interesting question that I pondered a bit. The question: How do you appreciate yourself? I had to think long and hard about this one. I think I was confusing appreciation with approval, and it took me the longest time over the years to not worry about family approval. I needed to start appreciating me for me, and what I did and succeeded at because I was pleased, not someone else…..kinda rambling, but I hope it makes sense.
Appreciation: I go for walks to think about what I’m doing, I take time off to read – some times days at a time to just immerse myself in some books. Mostly, though, I appreciate myself by giving myself free rein to make art. And with retirement, I am taking more time to appreciate what I’m learning and creating. In fact, three new commissions over this week. It is just so delightful to quilt away for hours (with the occasional back break) and see the progress.
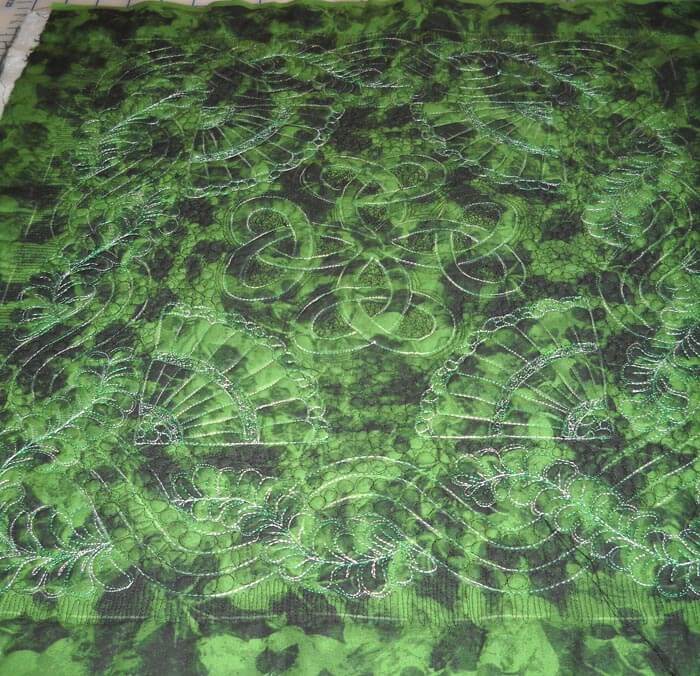
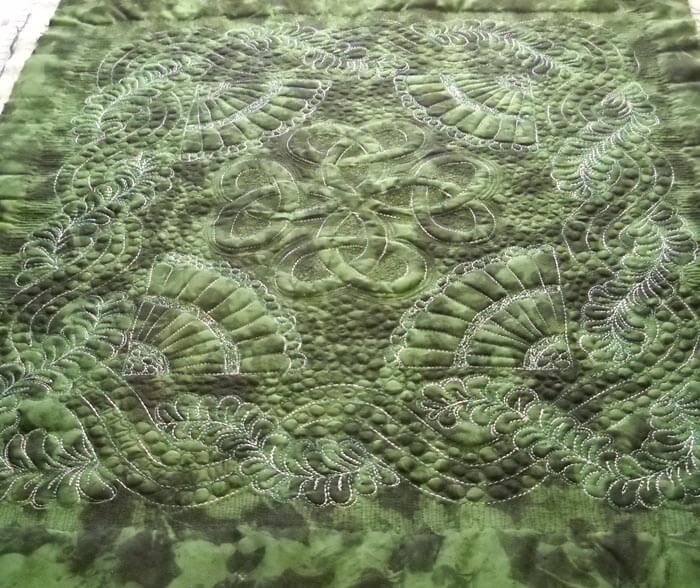
That said, here’s what happened with art this week. Last time I had the stencil traced on to the green fabric in preparation for my first whole quilt. Now all I need to do is square it off and bind it. I LOVE IT!!!! I NEVER thought I would be able to free motion a whole cloth. Yay me!
So here they are – better pics when the binding is finished.
All are Superior Threads, Bottom Line in bobbin, Silk Kimono in background, and Fantastic variegated in the design.
Work in Progress Wednesday – More FMQ
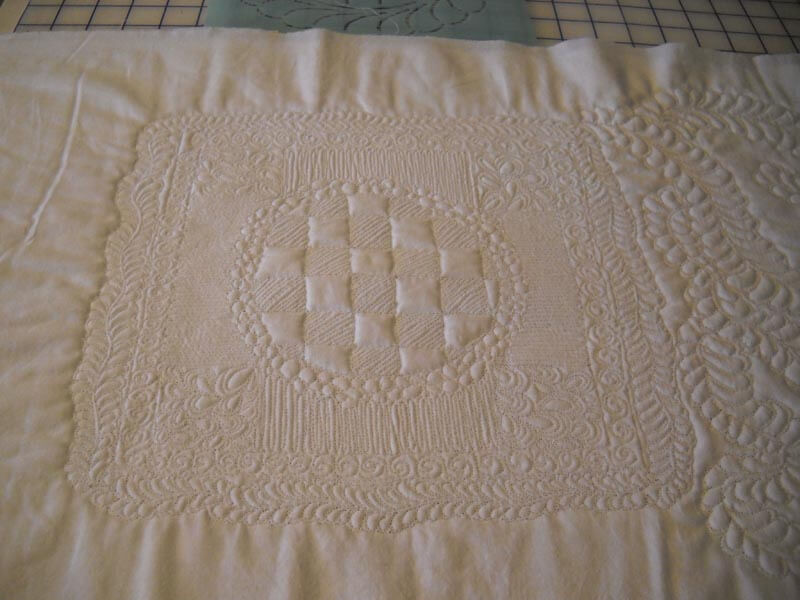
In order to cope with the depression that has settled, I set a goal of sewing for a couple of hours every single day. It is helping. I’m taking Cindy Needham’s Craftsy class and getting LOADS of ideas. Plus, the FMQ challenge has a great tutorial on borders. So I started experimenting with both. I’m using the dresser scarf (one of two) to practice on. This middle section doesn’t really coordinate with the first one (or the soon-to-be last one), but these are for practice.
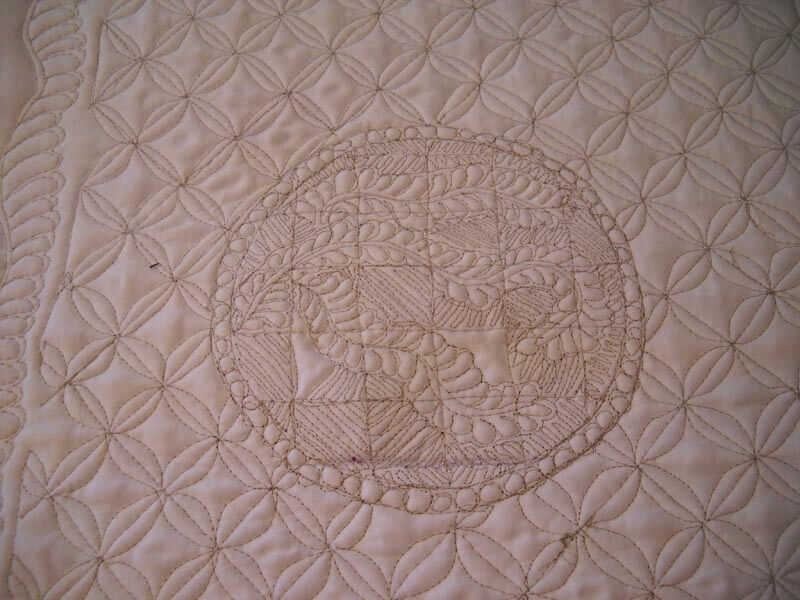
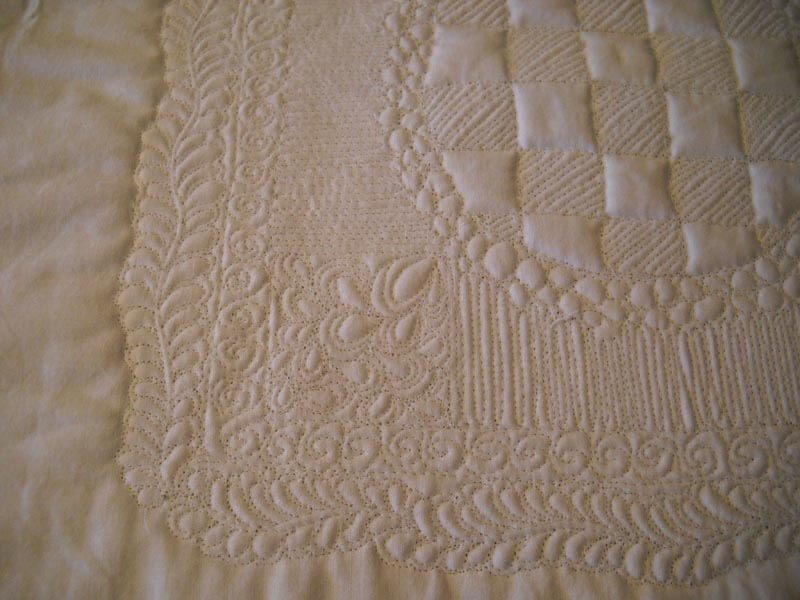
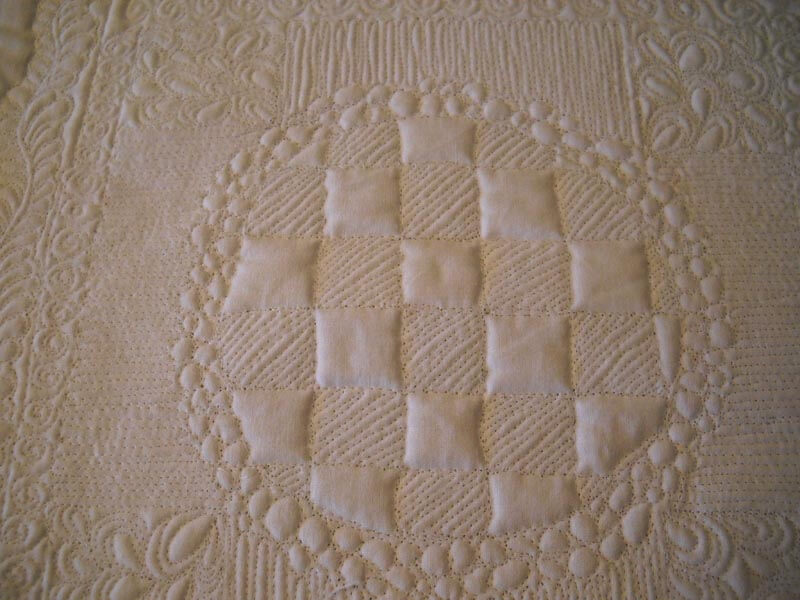
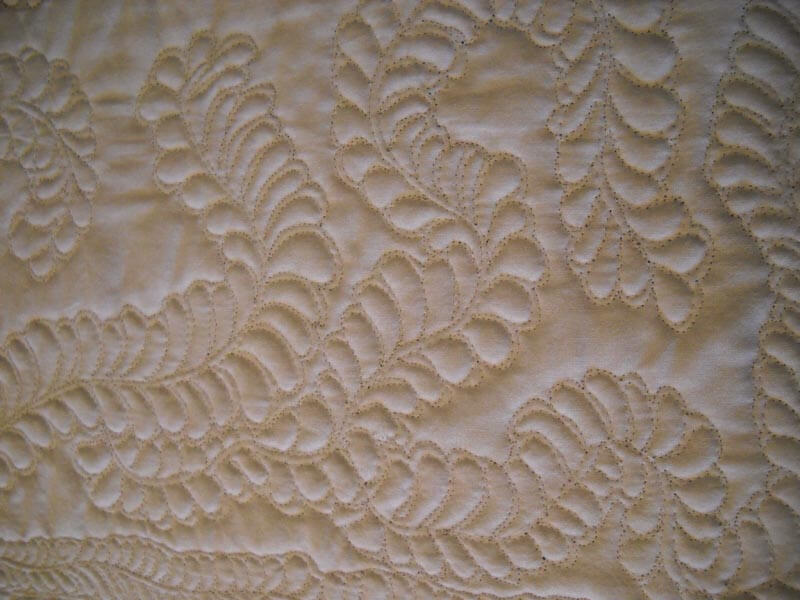
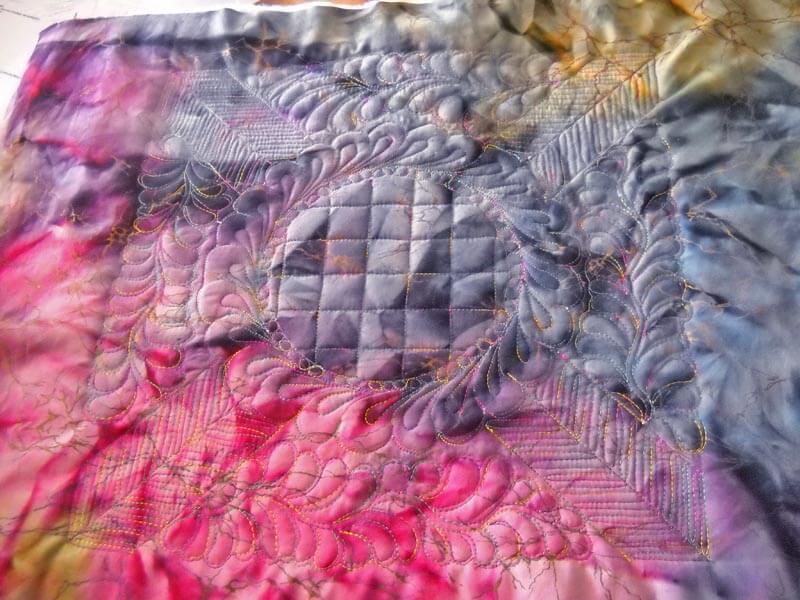
I am maintaining the circle stencil motif in the center of each third of the piece. Then I started with some of Cindy’s “sunshine and shadows” in the center, and then a round border of some pebbles. Then I took some ideas for borders from Patsy Thompson’s tutorial. Even added a paisley corner from Leah Day. LOVE the back – I actually managed to get the tension to work. I used Bottom Line in both top and bobbin, as I was trying Cindy’s suggestion to use that to add texture. I used the freeform feathers from Leah Day that Cindy talked about to unite the two sections. Liking the freeform there! This center part is about four hours of quilting – incredibly therapeutic. There is definitely a whole cloth quilt in my future!
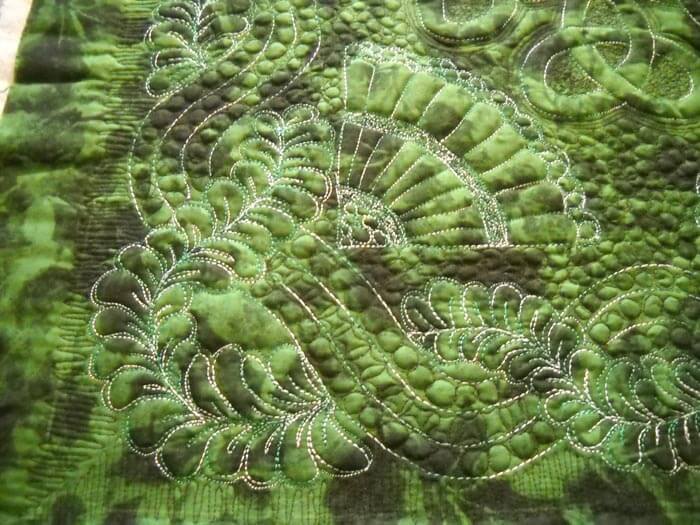
Here are the free motion feathers…could have done more in the blank spaces, but I was running out of steam……….
A look at the center, with the edge of the circle, first, second, and third borders.
More of the center section.
Some pics of the back – LOVE it!!
Work in Progress
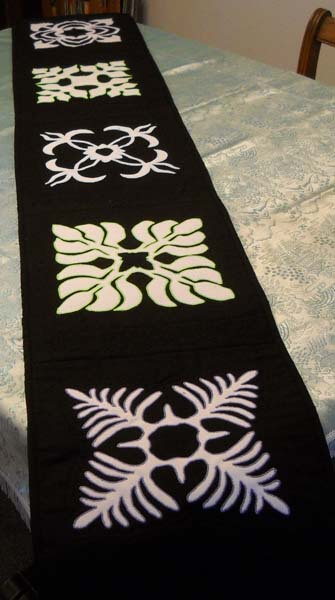
I definitely have work in progress…I just never manage to get it up on a Wednesday….so here goes anyway. I finished my table topper for my bed stand, and I was really pleased with how it turned out. I used ideas from the October and November FMQ challenges. First time I used a stencil when I wasn’t hand quilting, and I tried all kinds of techniques, including a not-really-successful trapunto, but I’m learning. Both table toppers are bound in the same purple, even though the designs are totally different on both of them.
This is hubby’s topper.
From Last month:
I was very pleased at how it worked out. My first experiment with water-soluble thread was somewhat successful. But the amount of free motion I managed to do really surprised me. We still have two dresser scarves from the same set of fat quarters. I have an idea for hubby’s using some of the techniques I’ve seen in Diane Gaudynski’s book, but that will have to wait till after the holidays. I am still working on the last table runner for my second mom, due next week in time for Thanksgiving, so that’s the next priority.
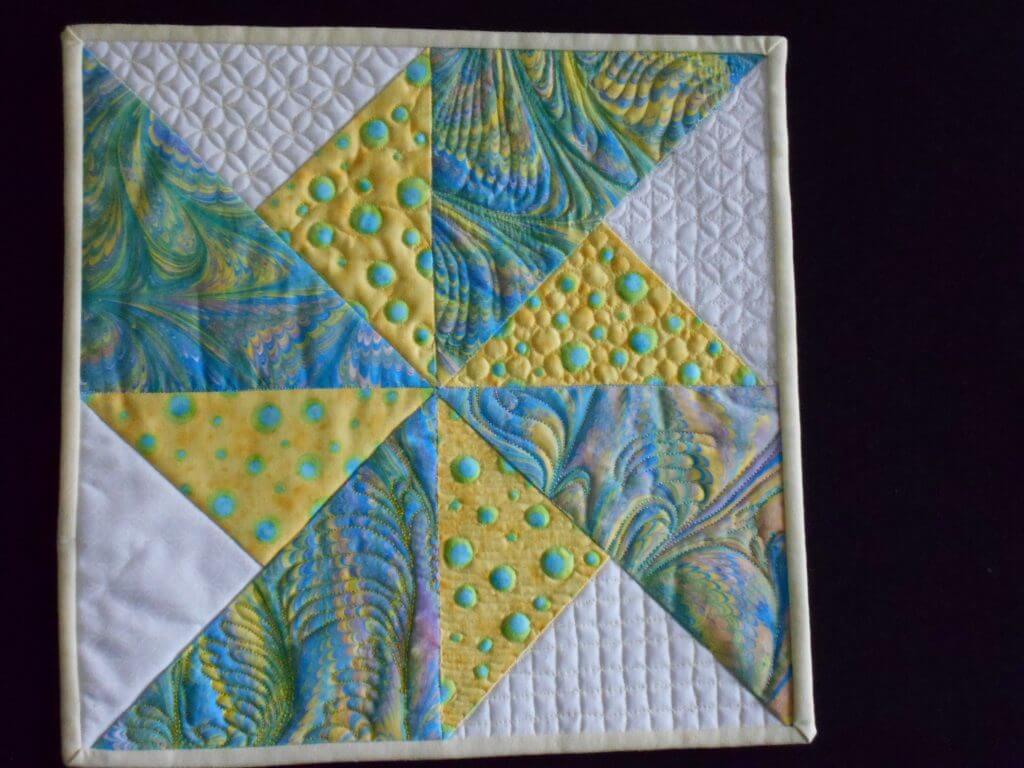
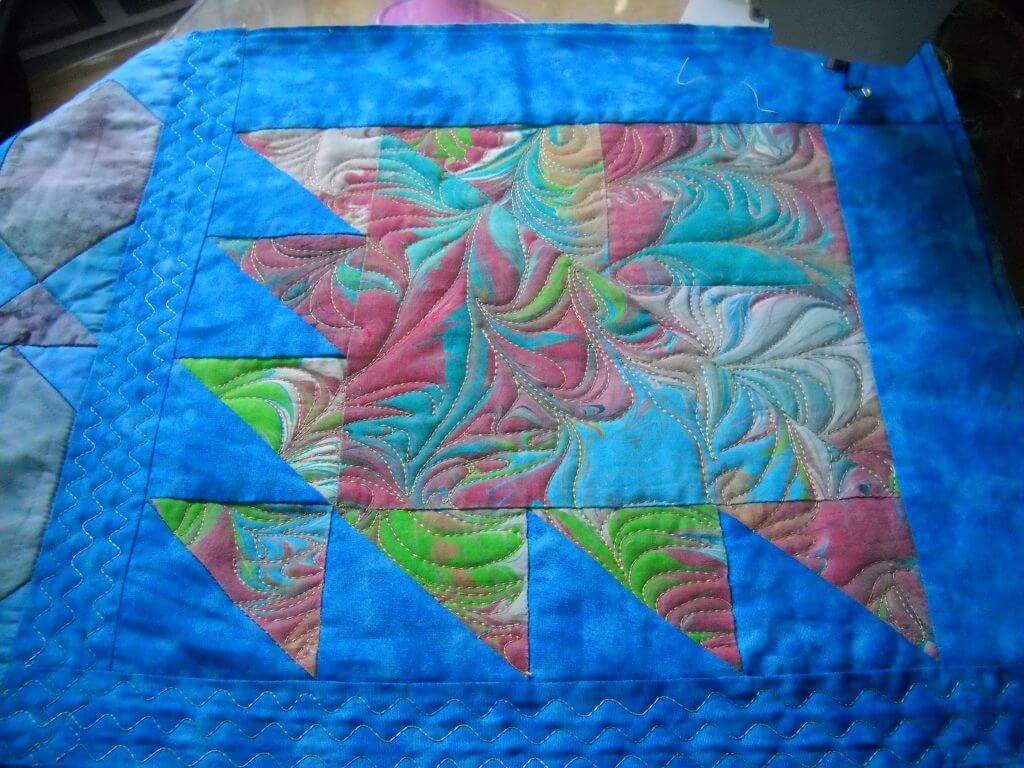
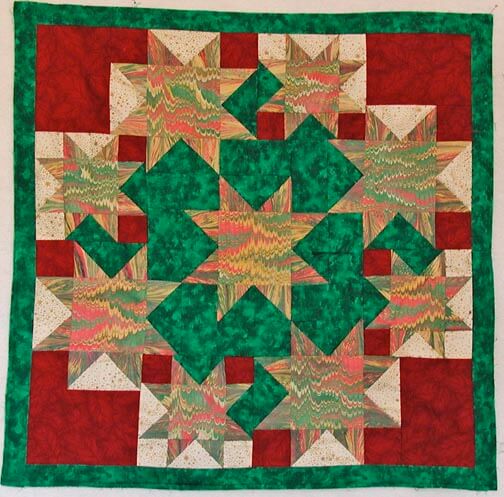
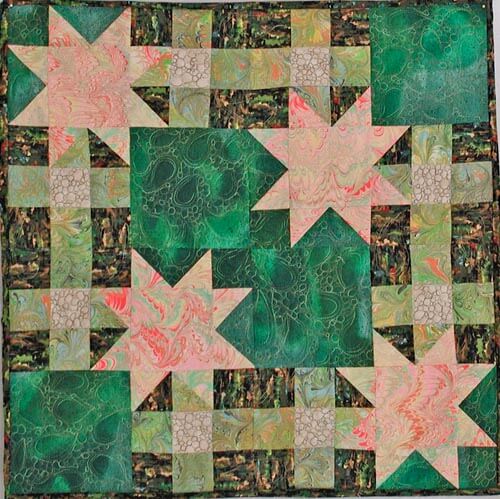
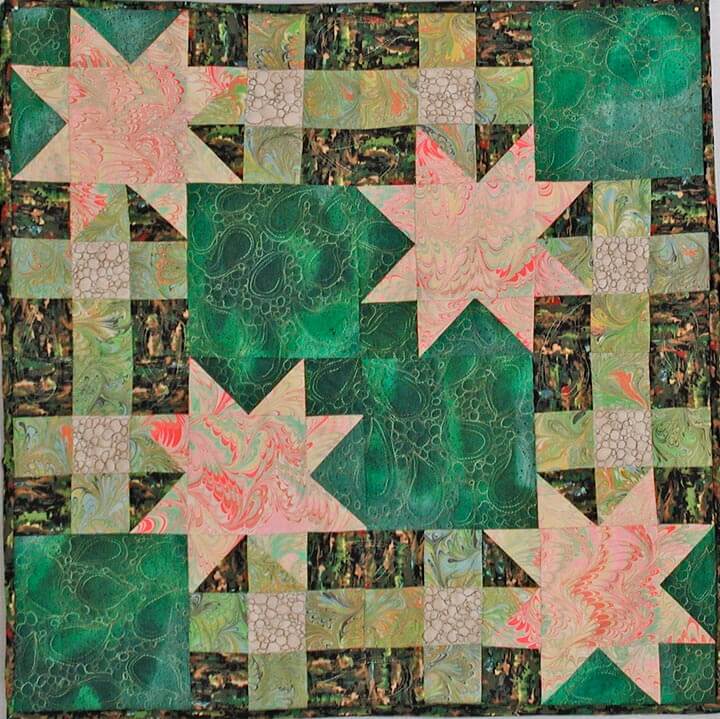
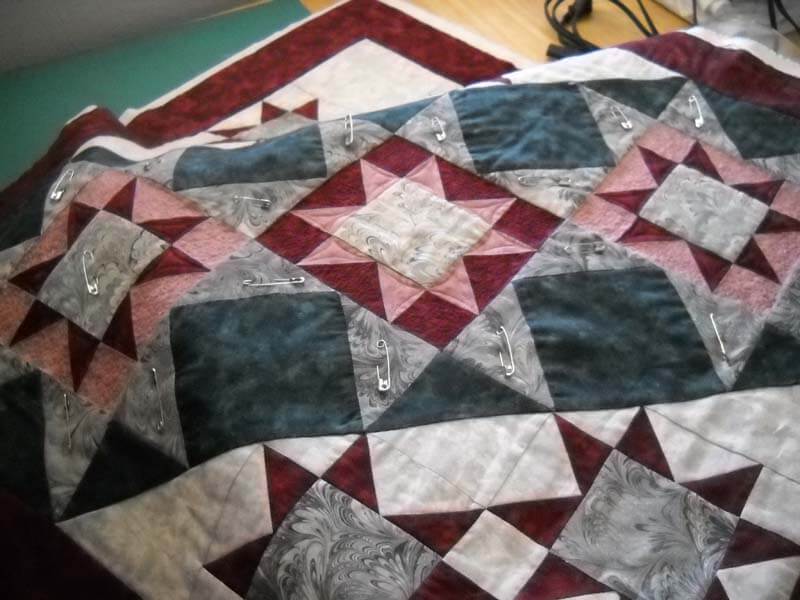
However, I had to take some sewing time strictly for myself. I took this ten-plus-year-old quilt apart late summer, and I finally am getting to redoing it for the holidays, plus turning it into a new tutorial for quilting marbled fabric, this time the nonpareil pattern, a very traditional marbled design. It was just quilted in the ditch and looked really blah…..
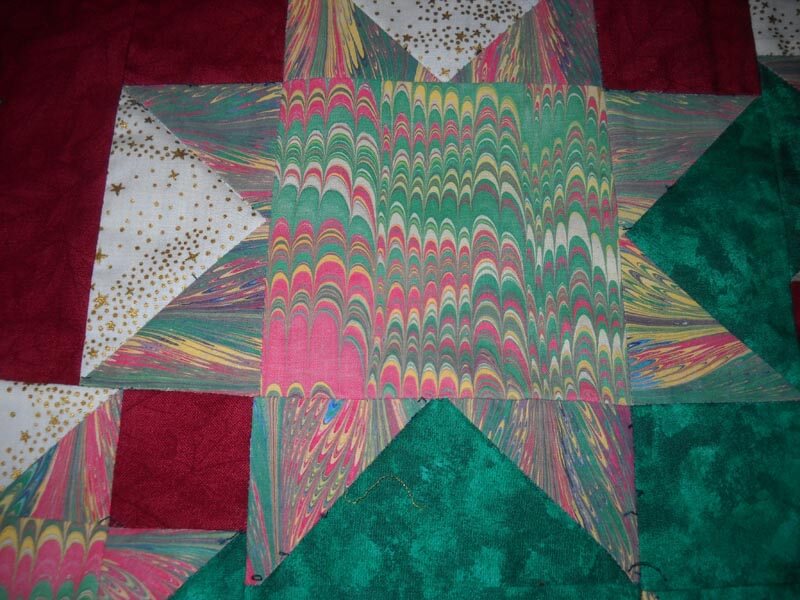
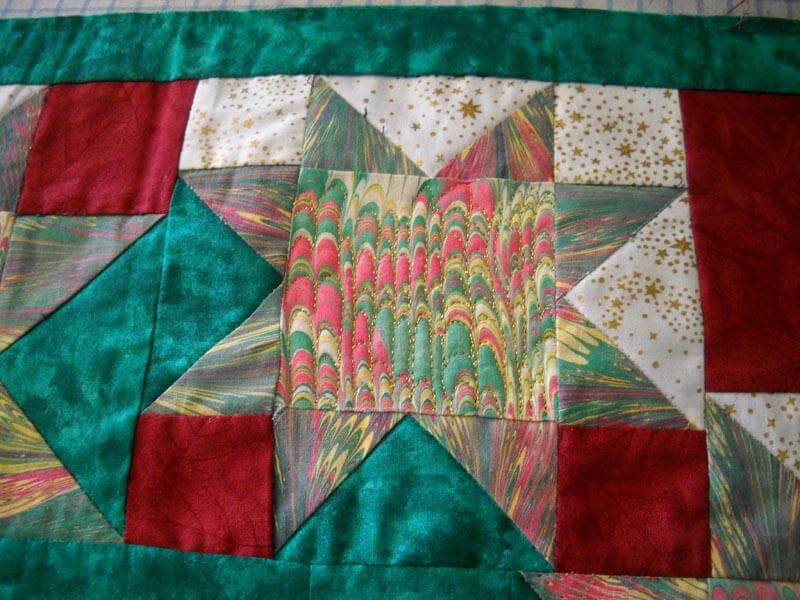
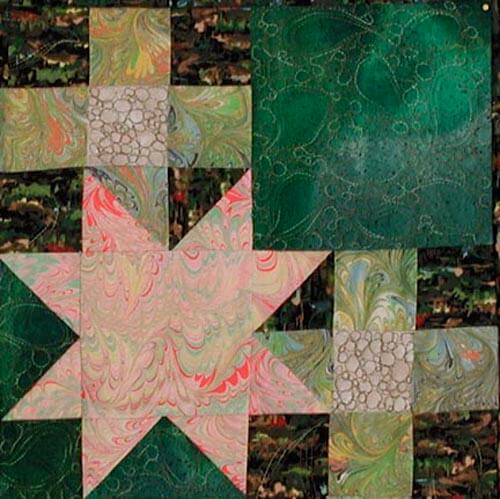
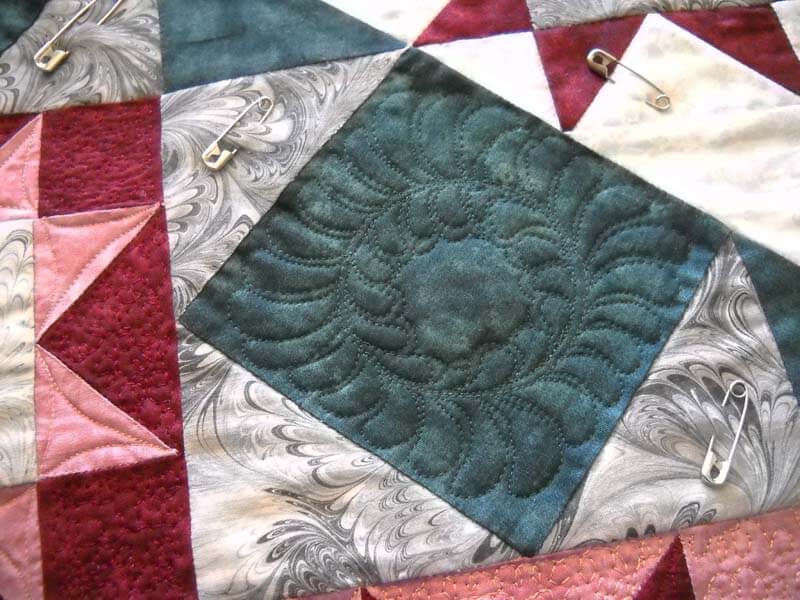
Now I have some photos of quilting the marbled fabric in the center of each of the stars. I really want them to pop out.
I’ve just started quilting the center of the star.
I’ve got the centers of the stars done now, and I am doing micro-stippling in all the green. Going pretty fast, which bodes well for getting the tutorial completed! Hopefully more time tomorrow….
Using Marbled Fabrics in Quilts
When we started marbling, we were hooked from the very first piece. The problem was…what do we do with the fabric? Each piece was so gorgeous it was hard to cut into it. We knew we had to get over that mindset. Folks consistently asked, “What do you do with the fabric? I don’t know how to use it.” Confession time – I wasn’t quite sure either. I saw a book and thought marbled fabric would look cool. Now it was “put up or shut up.”
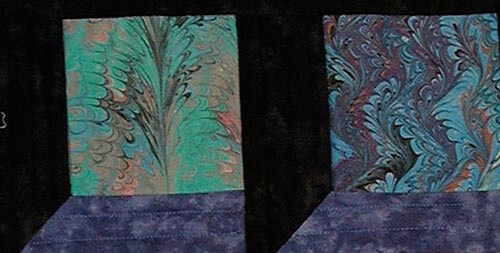
I was a beginning quilter with virtually no good color sense…that was hubby’s field. I figured black goes with everything, so my first quilt was an attic window pattern.
This was a nice way to show off smaller pieces of marbling, but I had to stretch further. It took a number of years before I stopped being afraid of any color except black. I started a Block of the Month, using blocks from Judy Martin. I became more daring…this time it was not black…..but other solids. I built the designs on the colors in the marbling. My January block had a definite “coolness,” so I looked for solids with some texture that would work. I started to expand design ideas and felt that traditional blocks could be the key to using these fabrics.
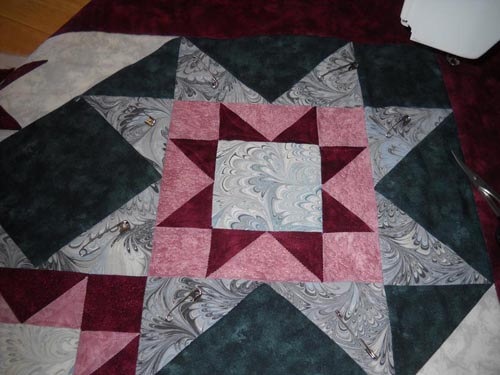
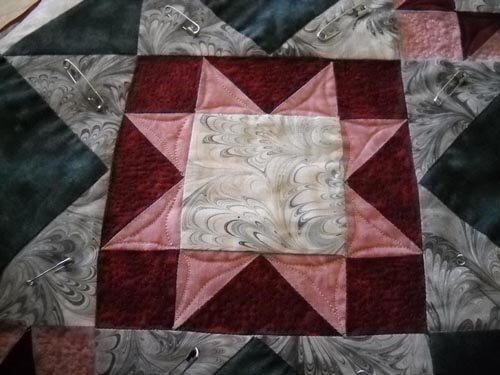
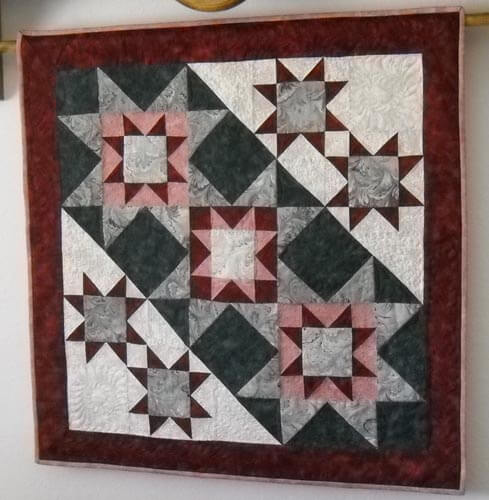
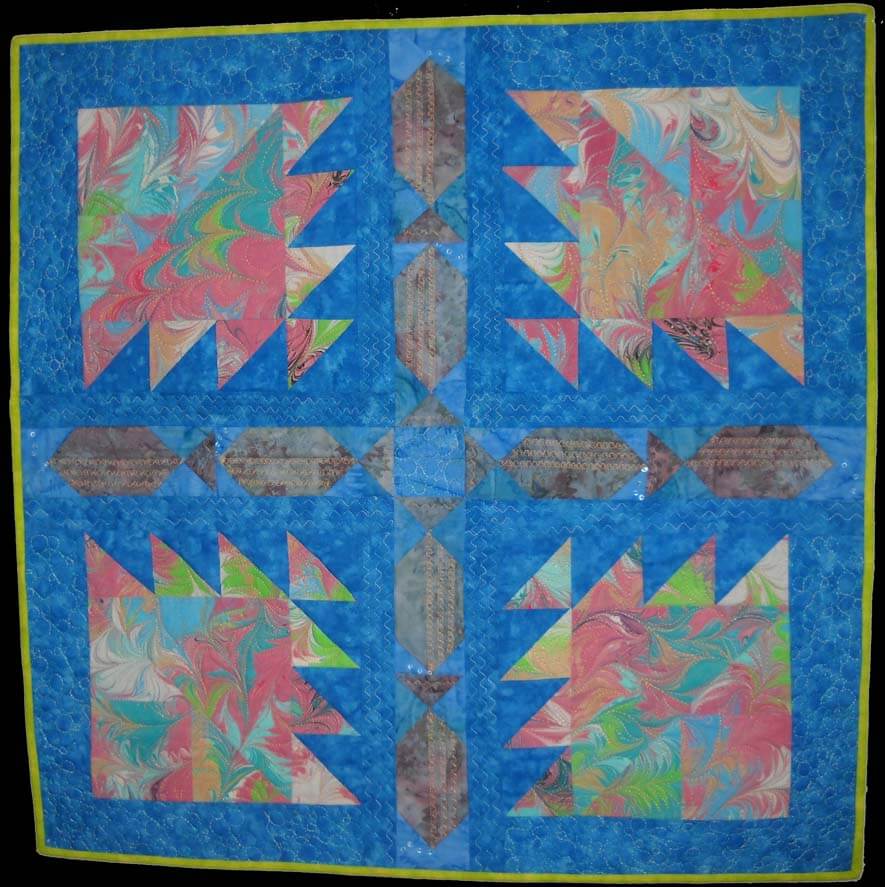
Now another confession…..when I first started doing quilting, I was pretty much “stitch in the ditch”….with metallic threads, no less. The quilt above is 12 years old, and I took it apart (oy) and used my newly acquired FMQ skills. I didn’t stitch the marbled blocks, as I wanted them to stand out.
The completed quilt – marbled fabrics within traditional blocks. You can read more about the actual quilting here.
I was hooked on finding some great traditional blocks that could spotlight marbling and go together harmoniousl. Summer……..I had some great neon orange cotton, a nice piece of Moda Marbles, but I needed additional fabrics so the quilt wasn’t overloaded with green. I stretched with the print fabrics I added to complement the marbled fabrics.
There’s lots of machine quilting throughout, but the marbling has been left on its own. (I also took this quilt apart…. kind of obsessive. But as quilters, we KNOW what we want. More about the quilting here).
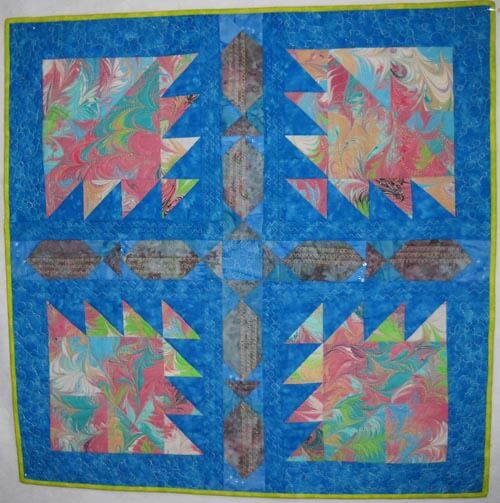
At this point, I had a great piece of marbled fabric that said “I want to be fish.” I found a traditional block that could be used as fish. Thus the “fish quilt” was born (you can read about that quilting here). This time I quilted the marbled fabric by following the lines of the pattern and used stitches from my workhorse Bernina.
I started getting very bold – it never occurred to me to just quilt the marbled fabric itself. This was a major breakthrough. Traditional is fine, and I still work with traditional patterns, but quilting the marbled pattern gives a completely different look to a quilt. This quilt, “Nature 1: Rock Garden,” became my first quilt accepted into a juried show, “Expressions in Textiles.” It is very zen-like, and the quilting emphasizes the rock garden and sand.
Go traditional or go contemporary. Don’t be afraid of the marbled fabrics. They can be the spark that makes your quilt.
Top Ten Tuesday
I keep getting behind in my surfing!
The 365 Project always has great photography, and here’s another great set of examples.
And some more photography – this time taking pictures with smoke. The Art of Smoke Photography. Kinda cool – would like to try this.
Here’s a cool app for photography called DScan from Cool Hunting – let’s you shift reality – methinks I need to get this for my iPad…….
From The Best Article Every Day comes this wonderful graphic that puts another slant on a recent political controversy:
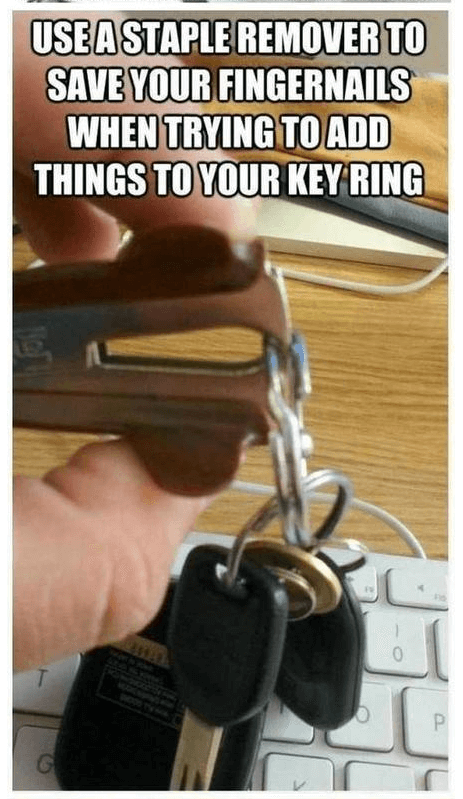
Here are some really cool ideas for around the house, again from The Best Article Every Day.
This next is just a feel-good video….
And…for those of you wishing we were still following Neil Armstrong to the moon, here’s a great look at what it takes to get to Mars….amazing what we can do……
I very much admire Leah Day and everything she has done for the quilting community when it comes to free motion quilting. Her Sunday posts are un finishing UFOs – unfinished quilts and the like, and her photos of two pieces she completed are just spectacular, and they are motivating! Every time I look at something she has quilted, I am inspired. I too am finishing up projects – three in fact that just haven’t made it on line, and it is certainly freeing. Take a look at her amazing work. You need to go to the link and see this stitching up close and personal.
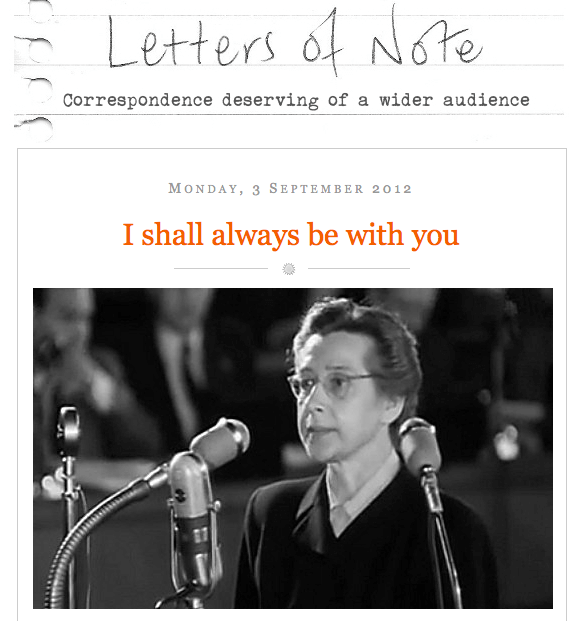
This next is a letter from a mother to her 16-year-old daughter on the day before her execution in Prague in 1950. It is incredibly moving, especially given the political circumstances. Letters of Note always has something of interest, and this is heart-wrenching.
And finally, are you stuck creatively and can’t seem to get moving? Lyric Kinard has a great series on her blog called Baby Steps, little things to do that can just get you started moving ahead. Try one or two and see what it does for you.
 Have a great week – let me know what you find online that’s cool, unique, weird, different……….
Work in Progress Wednesday
 I gotta say, I love being able to do some kind of sewing every single day. I am keeping track of what I am accomplishing during this second year of retirement, and I am on track to get A LOT done! I finished the table runner for my second mom, and I still hate 1970s polyester (I had the wrong year in last week’s post.) Each of these blocks is not going anywhere – I have to make sure there is no unraveling in the corners and curves because of this fabric. That said, it will go well with the other three completed for last year’s Thanksgiving. I think I have one more table runner in me, in August. It is just too hard on the one eye I have left; I quilt for 25 minutes and then have to take a long break to bring back my distance vision. We’ll see after the August runner is completed. So here it is:
My other project for the week has been working on the free motion quilting challenge for June. I love Cindy Needham’s quilting, and she’s got a great tutorial for this month. Lots of tiny, close stitching, some new curves. As I’ve been reading what others have done on our Facebook page, I am amazed. I tend to be pretty linear with some of this – got to do it as the examples show. But then I see some of these great photos, and I realize how people take these patterns and make them their own.
Things I’ve learned: I can get smaller in my patterns. I started on a piece of blue gabardine, with some left-over batting. I did a grid of squares with chalk, used Bottom Line in the bobbin, and played around with the Art Colors from Superior. Now normally I don’t do any marking. I guess I always thought free motion was without any assistance. Well, on hubby’s quilt I redid, I marked some curves and liked the effect. This time I marked the grid, and I was very pleased.
You can see the bigger squares. Then I tried some curves in a few of the other squares, and then some stippling. I had no idea I could get my stippling to be that small. Love the effect. I started out being worried about the lines being straight, but as Cindy said, ultimately they all look straight, so I stopped worrying.
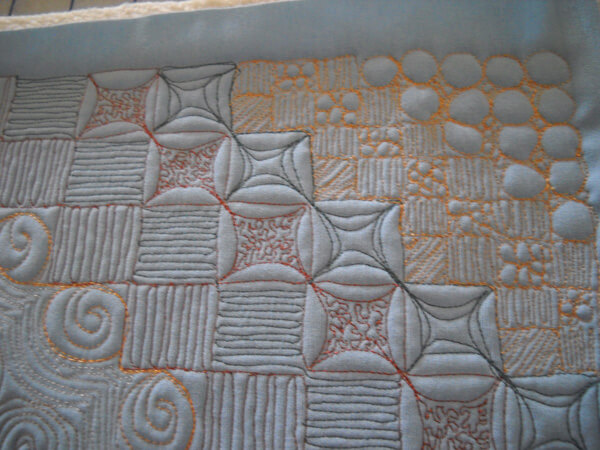 Here I have divided each of the 1-inch squares into half-inch squares. I wasn’t sure I would actually be able to quilt these, but I was wrong. I did the same pattern, and I even did some stippling in the smaller squares. I love the way the large circles really popped.
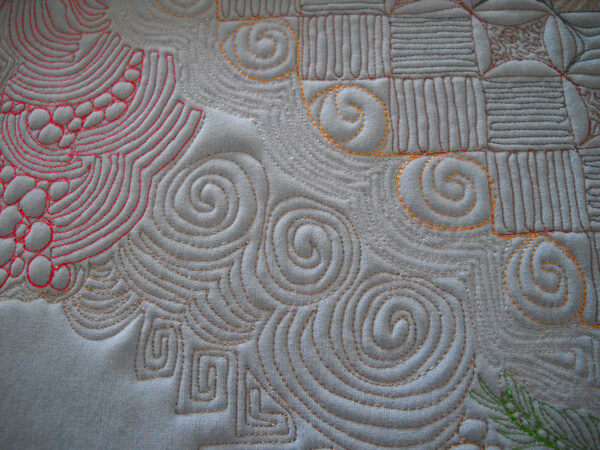 For this I practiced some echo quilting and swirls. Cindy’s right – you get much better with practice. And this is one of those pieces I just experimented with and practiced on, not worrying about what it would be when I was done. I was looking for where I get “puffies,” and where the fabric recedes completely. In the bottom right corner you can see part of my attempt to do more of a bird feather – not happy with it. I definitely need to have a grid to follow to do more curves.
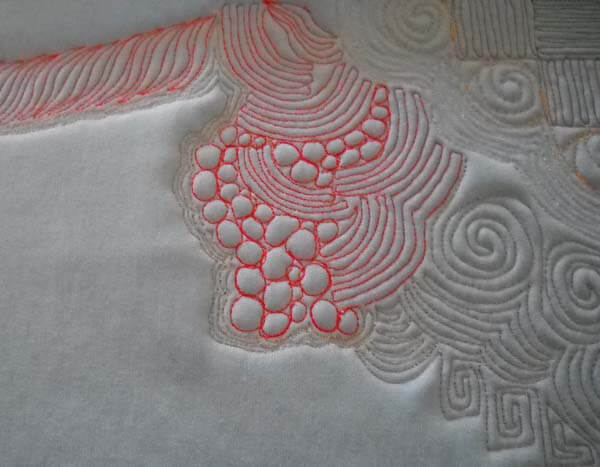 Somewhat better curves in the upper left, but again, something to practice. I do feel like I have a lot more choices in quilting designs. Now to go buy Cindy’s books….
And if this isn’t enough stimulation, I’m getting caught up on a couple of The Quilt Show episodes. After watching Stupendous Stitches, I spent an afternoon seeing what else my Bernina 1008 would do – I can get 16 stitches, not counting differing lengths and width. Then there was Marvelous Miters and Prairie Points – great ideas there, and last night I watched RaNae Merrill, and now I want to try some spirals.
Best part? Now I have the time!
Quilt Remake, Part 2
I finished the quilt remake in time to get the suitcase packed full of quilts to take to StashFest. Of course, it couldn’t be quite that easy to pack the suitcase….ended up packing it three times, as I went to photograph the quilts for a new book, and the first set wasn’t high enough resolution. So we set up again, and this time there was too much light. So third time was the charm….setting up the room again, and unpacking/repacking the suitcase. But the photos are on there way now….and my new little quilt looks great!
When I left off, I was working around the various quilting motifs. The larger triangles had a zentangle-like stippling, and the area around the stars was much smaller stippling. I will definitely need to practice that so the stitches are really consistent. But I really like how the rosettes worked out.
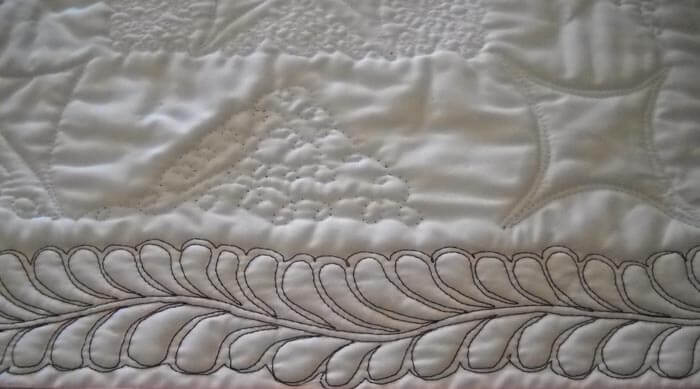
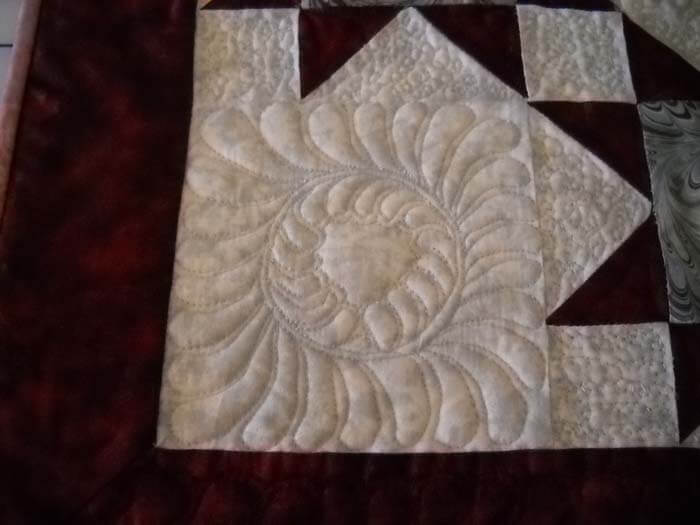 I wanted to do feathers on the border and ran into tension problems…the background thread (Bottom Line) kept peeking through, and I finally decided I didn’t want o keep taking the feather out. So I changed the thread in the bottom to be the same as on the top – problem solved for the time being. The feathers go up half of each side. They’re pretty subtle, but I like them.
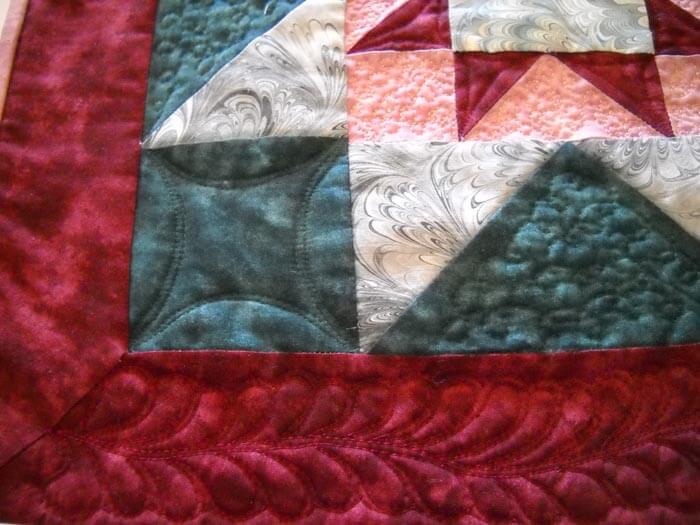 You can also see the corner squares. I actually marked those lines for consistency. I must say it was the first time I marked anything, and I will probably do it again. I liked the effect, but I need to consider what I’m going to use for marking, so it’s easy to get out.
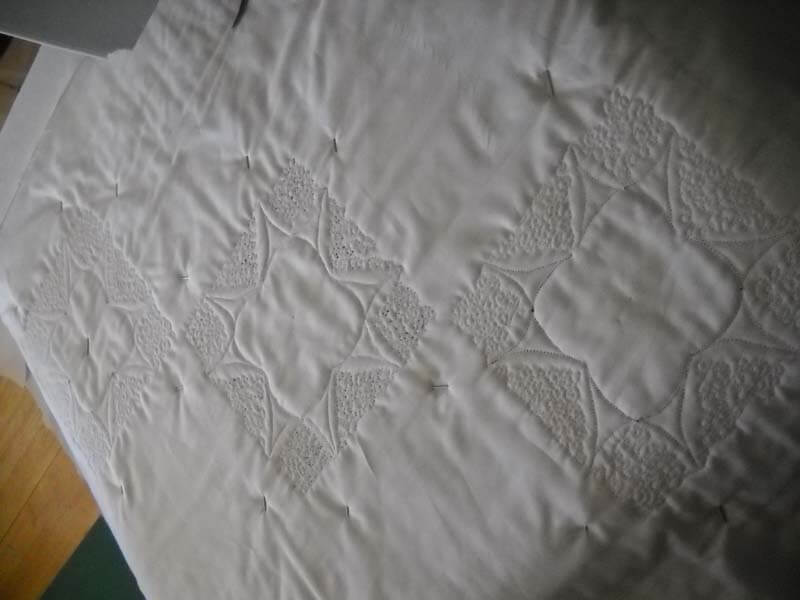
I absolutely love the back! Yeah, there are some tension problems, but I am making SO MUCH progress.
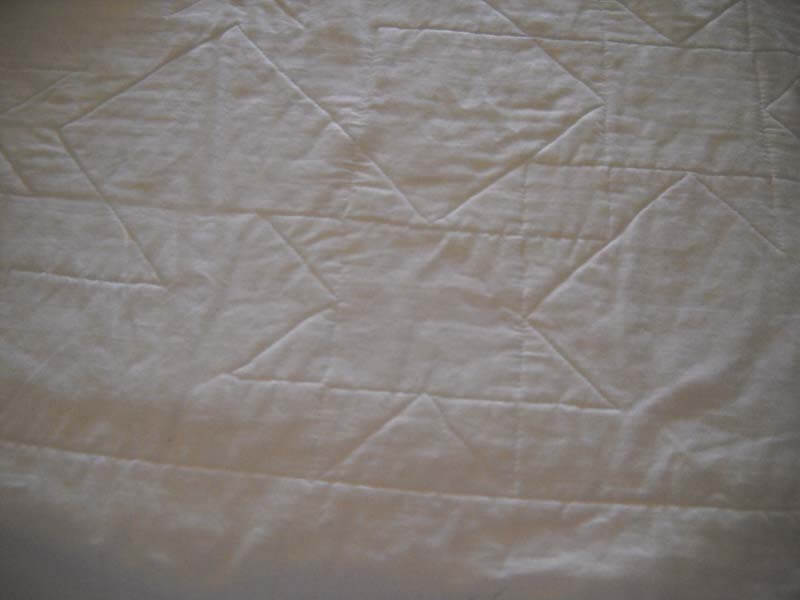
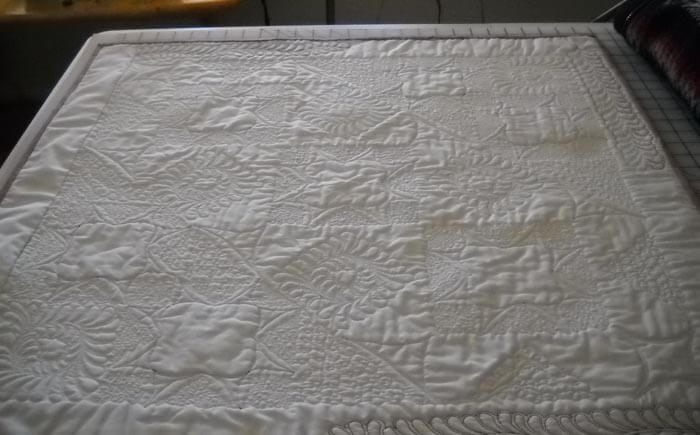 I can certainly see the appeal of white whole cloth quilts. I feel the same about the backing quilting on my whole cloth marbled quilts.
And finally, hanging briefly on the wall before being packed:
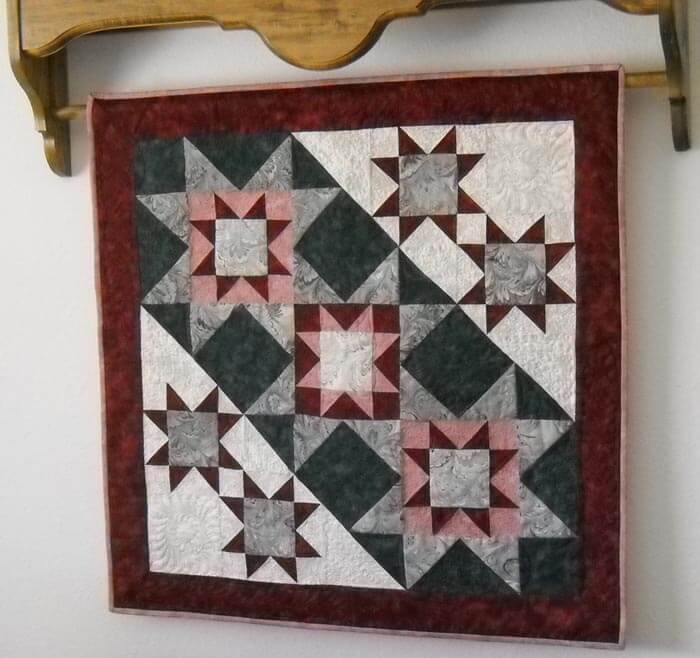 Tomorrow I will be so ready to leave, and no doubt all the loose ends will be done by noon, so I am going to start taking apart another older quilt in preparation for some brand new quilting!
Work-in-Progress Wednesday
So I am totally enjoying the free motion quilting challenge, with a new pattern each month for the year. I LOVE doing feathers – never EVER thought I would be able to do them on my own. Now since I have these new skills, I have all these old quilts that look pretty blah…..and I’m going to take them all apart and use them for practice of all my new patterns. I started with a BOM (with Judy Martin blocks) I did in probably 2000, when we were selling marbled fabric in kits, as it seemed like so many people loved the fabric but didn’t really know what to do with it. I had a new block every two months (I had six small quilts, but I ended up selling two of them. I redid one of them last summer, after I looked at some videos from Sharon Schamber. This was originally all stitch-in-the-ditch quilting. Here’s my Monet’s Marbled Garden:
Next one I took apart was my fish quilt, with fabric marbled probably in the late 1990s. Again, just stitch in the ditch. With this one, I realized I could use a couple of decorative stitched on my machine, along with fmq. This time I actually quilted in the marbled fabric, following the lines of the pattern.
Then I decided to get another little one ready to take to the Seattle show, so I spent a weekend taking out all the stitch-in-the-ditch. No picture of “before,” but here’s the backing fabric:
Part of what was so much fun with this quilt was looking at each of the various sections and deciding what I wanted in each place. I happened to have four different Superior Threads that would blend perfectly, as the purpose with these small quilts was to show off the marbled fabrics. I used the Superior silk thread for the first time in the green sections and loved it. You can see in the stars I did some loops (more like zentangles) in the backgrounds of the stars, and did some free motion curves in the points. Everything is very subtle.
My free motion loops need work here. I think it’s a combination of speeding up the machine, as I do move my hands and the fabric pretty quickly with these loops. I’m not happy with the stitch size – very inconsistent, so I know I need more practice.
Now while I don’t subscribe to the quilt police, I really do like to have a ice back to the quilt. While I had some tensions problems, overall I am THRILLED with the back of the quilt. The whole thing finished is going to be gorgeous!
Of course I had to include some feathers, so each of the green squares has a circle of feathers – more like a rosette. Love them!
I thought I had more pictures, but evidently not. Tomorrow is a picture-taking day, so hopefully I’ll get the rest up. I need the feather borders, the white squares, and the back.
Later – packing for the trip!
Monday Marketing – and Some FMQ
From Joanne Mattera’s blog comes this timely piece: getting in to invitational shows. This is particularly timely for me, as I just sent off a piece for a major show, as I am spreading my wings this year. I want to get to where I am invited, rather than having to go through the jurying process. The whole blog post is full of good ideas.
“Paving the Way for an Invitation: The best way to get invited to an invitational is to get your work out into the art world so that it can be seen by the people who do the inviting. If you are not showing regularly at a gallery, there are many places where your work might be seen.”
Here’s a hint of the piece I just finished……I love the veining that is created in marbling.
Since I retired, I have been on a quest to improve all things affecting my art skills, and that of course includes free motion quilting, since I work with fabric. So I am part of the Free Motion Quilting challenge this year, run by Sew Cal Gal. This month is feathers, with Diane Gaudynski as our teacher. Feathers seriously intimidate me, and as I started seeing some of the work that was posted, I was thinking, no way. But I hadn’t even started yet.
Today I finally had the time, as a major deadline had passed. Now I must say Diane’s instructions are some of the BEST I have ever read. By the time I was done reading the instructions, I pretty much had no worries about plunging in. She is so clear, and her process makes complete sense. I can see why earlier attempts never worked. So here’s my VERY FIRST feather.
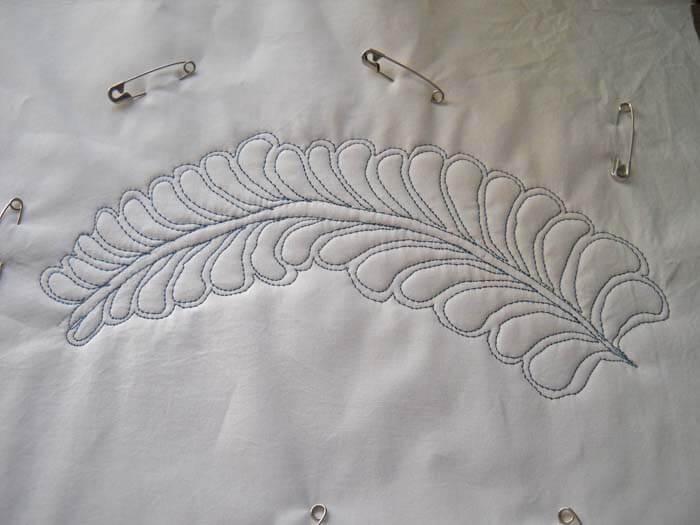 I had more trouble actually doing the spine, as I had trouble seeing where I was going. And the tension….after the third time of taking it out, I decided to change thread – from a Lava to an art color, and that made a difference. I am still adjusting, but the back is liveable now. This is a blue Ricky Tims Art Colors Superior Thread, #90 needle, on kona white cotton, with a cotton batting. Stitching is tinier than I want, but I seemed to have pretty good control over the movement of the fabric.
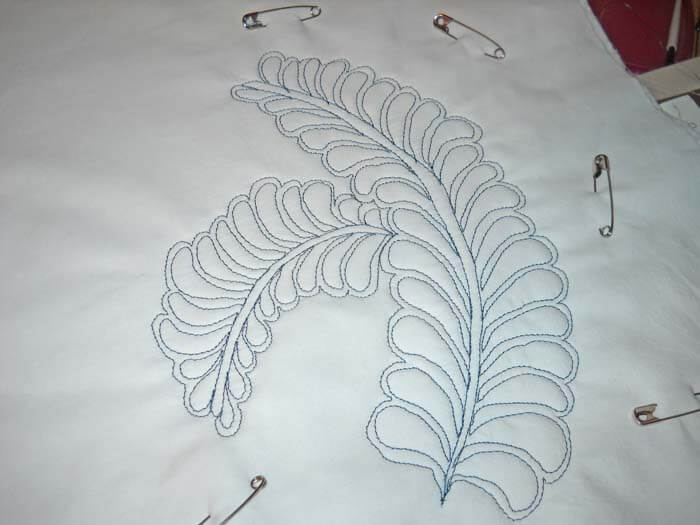 Well, of course I had to do another….I have a top that is at least 15 years old, and I knew when I made it I wanted feathers, and I figured I would need to hand quilt them. Nope – I’m gonna practice a lot and then do the feathers by machine. And that’s how I’m spending this evening. Gotta go!
Free Motion Quilting!
I’ve been working on improving my free motion quilting since June, when I took apart an old quilt and redid all the quilting. I am doing a HUGE amount of quilting right now on a piece I’m working on, but with the start of Sew Cal gal’s free-motion challenge for the year, I am plunging right in. We got our first lesson on Sunday, and I started on Tuesday with some practicing. This is a lot of fun. Here’s my first attempt:
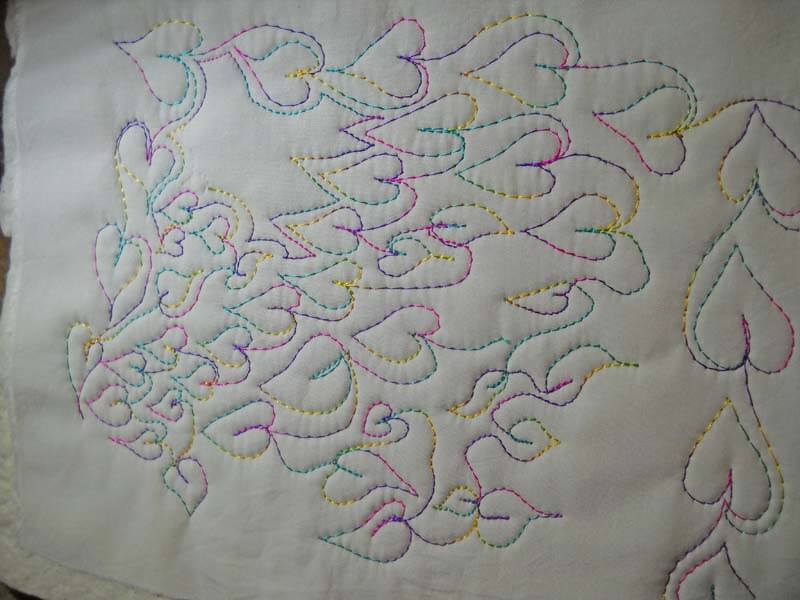
Bottom Line by Superior Threads in the bottom, with a Superior Rainbow in the top, feed dogs down. Overall pleased with the stitch length, as it seems pretty even. However, I keep feeling like my stitches need to be smaller. But the pattern is easy to follow, and I like the effect.
Along with this challenge, Leah Day is continuing her pattern-a-day with a Wednesday Quilt-along. Several of her blog posts have talked about getting ready to free motion, and she posted her “wiggle” practice.
So here’s the word on the additional practice. I used Superior LAVA Thread, with some Bottom Line in the bobbin. I was pleased with the design. I even tried a variation on the left side – leaves next to each other.
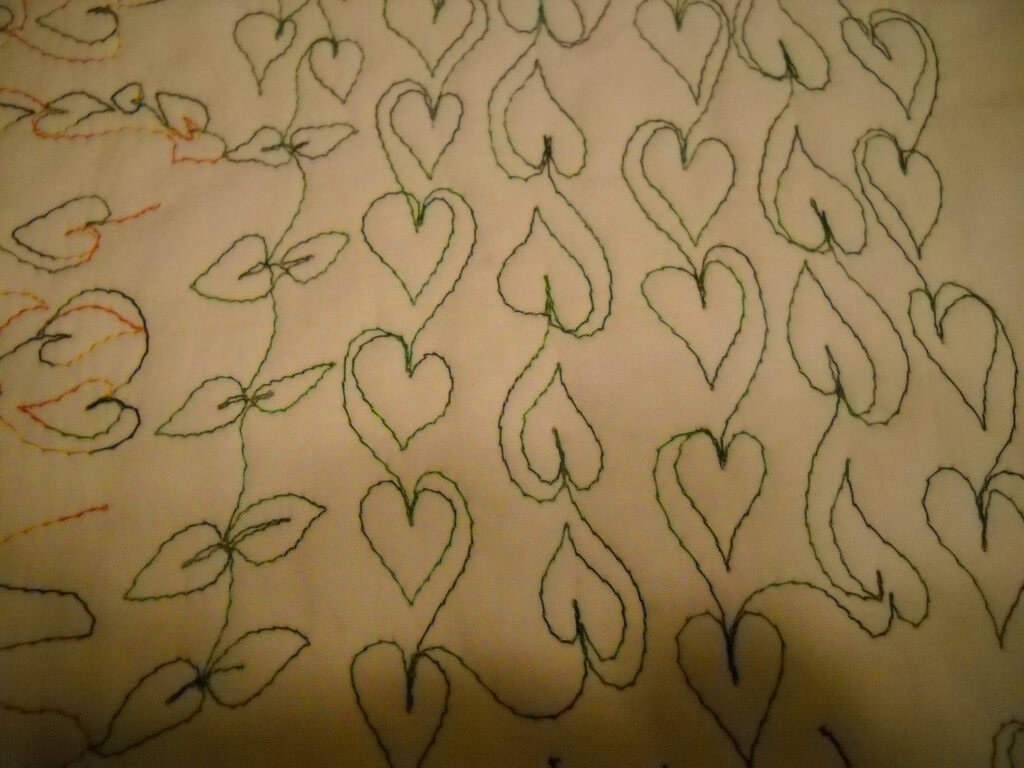 This was intriguing for me. Normally with something like this, I try to be exact in the practice, but I found I really wanted to take off and try a few variations. The only reason I think I did this is that I’ve been doing some practice since June, so I felt more confident.
Someone suggested trying to quilt with leaving the feed dogs up. So I tried that today as I was practicing Leah’s wiggle. If you look closely you can see where I removed stitches because the tension on the back was off badly. In fact I removed stitches three times.
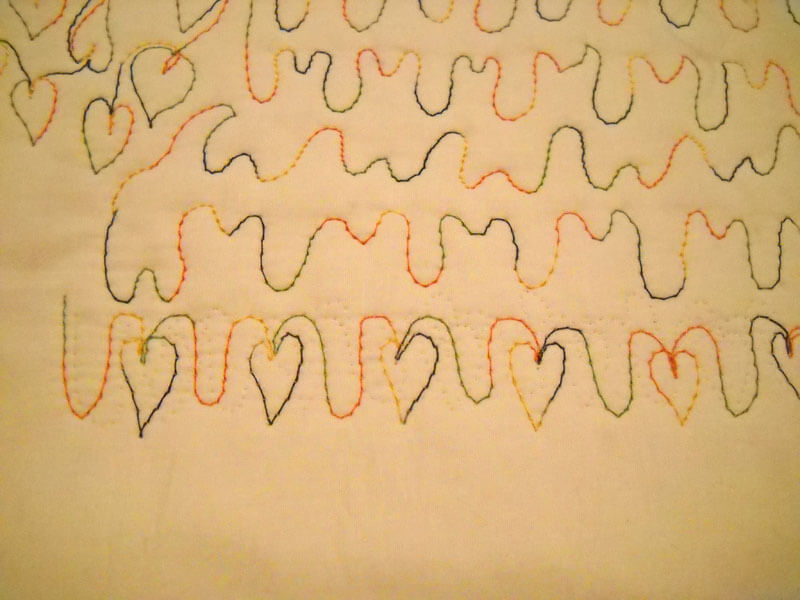 Now I wasn’t having any problems moving the sandwich around with the feed dogs down, and I adjusted tension on the top. Bottom Line in the bobbin, King Tut in the top. It finally occurred to me that maybe for my machine I needed to have the feed dogs down. Yup, that was it. Fixed the feed dogs and everything was fine. You can see that once again I was trying a variation of the two patterns.
I also tried to see how small I could get the leaves.
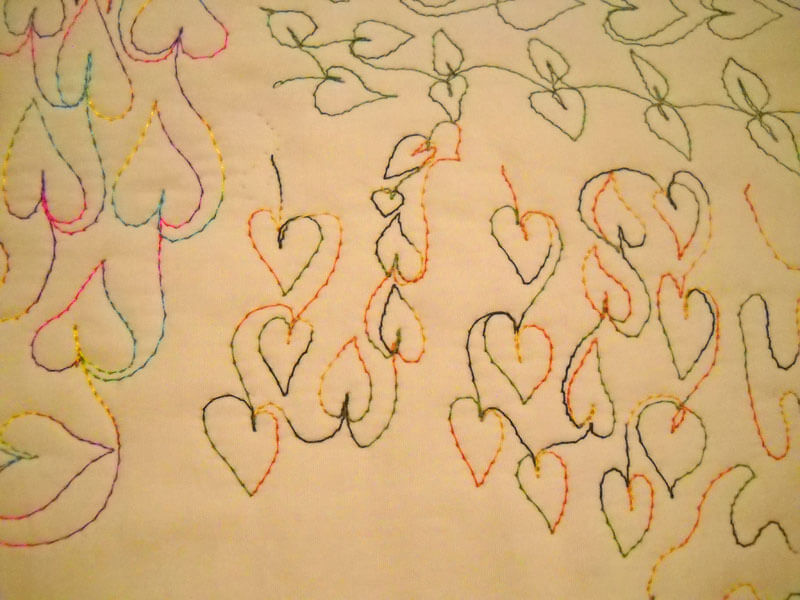 Again, overall pleased. I do need to practice going backwards. I like changing the direction of the vines with each leaf. That’s something I will probably keep. One other thing I tried was speeding up the machine, and keeping the hand speed the same. The stitches were smaller and fairly consistent, but I must say I like the somewhat longer stitch length. I think it shows the thread more.
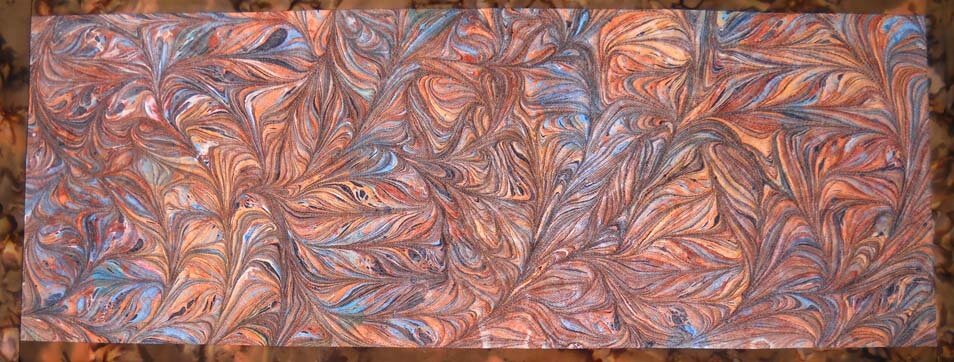
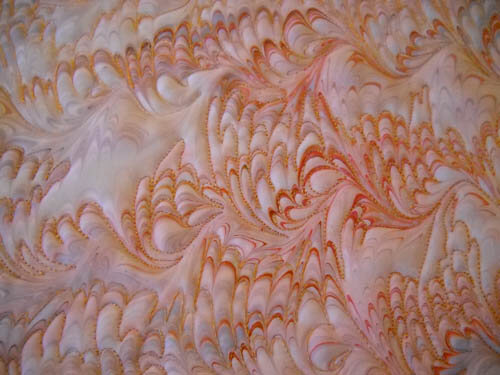
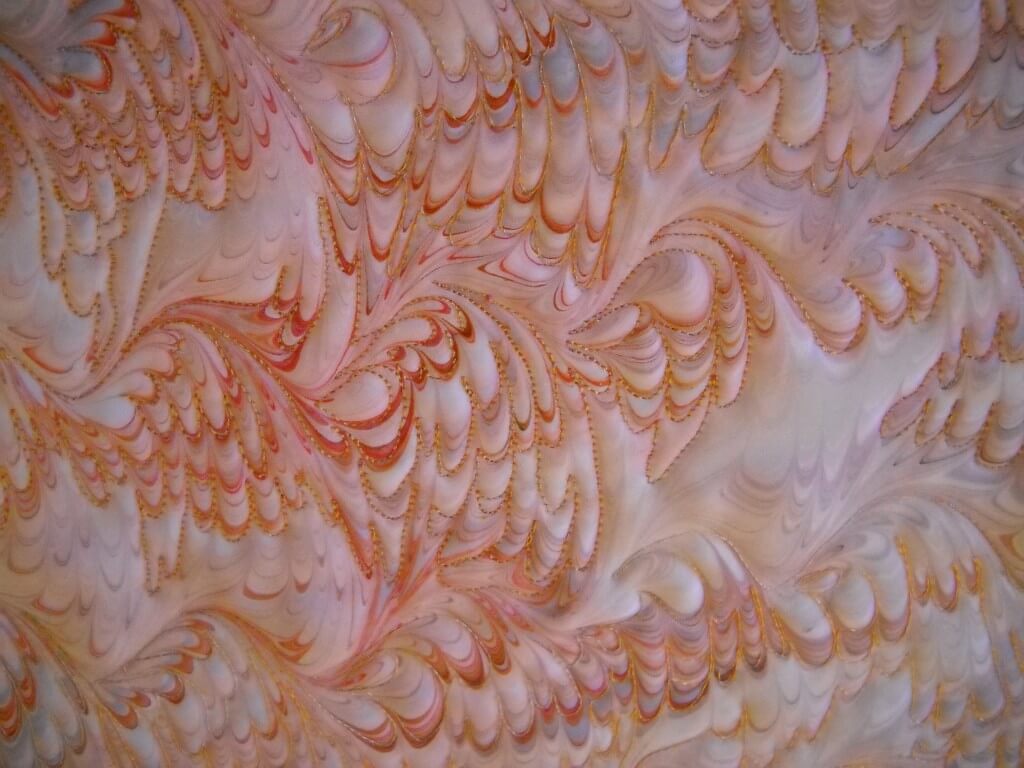
I think this is going to be an excellent way to practice. A lot of my previous free motion practice has been on marbled fabric, where the line of the pattern helps guide you. Some marbled patterns lend themselves to a regular foot (like the chevron), and some need a free motion foot (like the nonpareil and its variations).
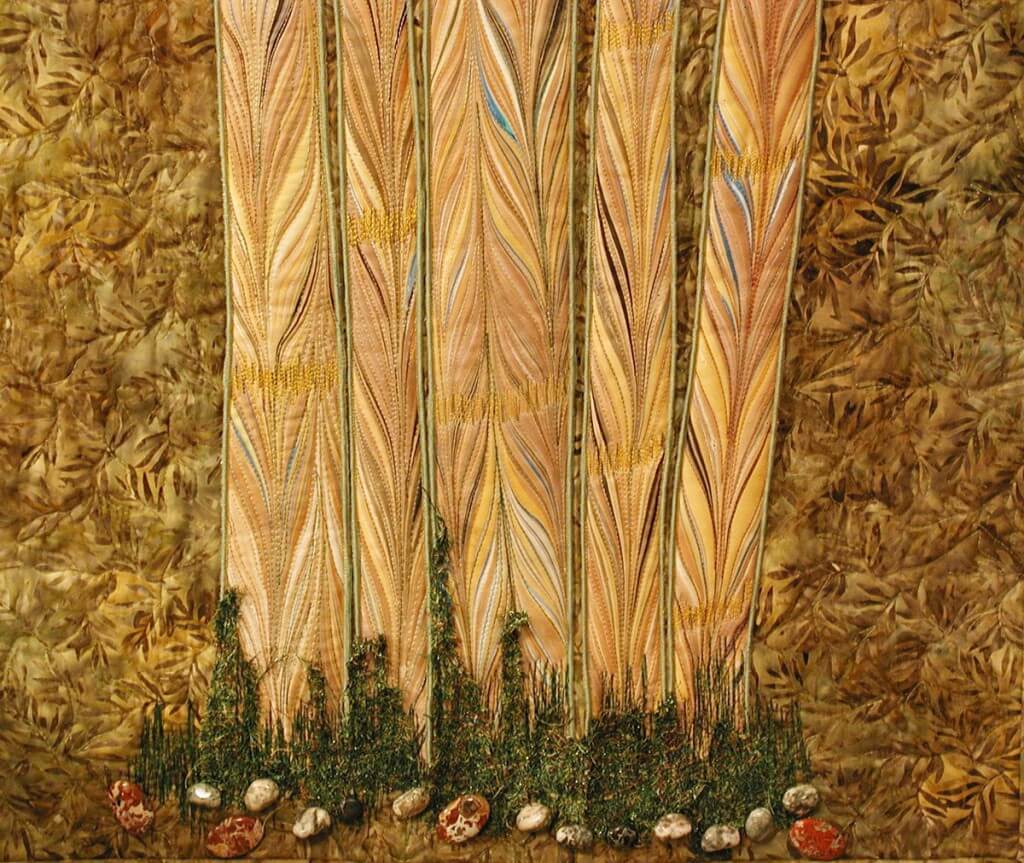 The bamboo stalks are quilted using a regular foot, just following the line of the pattern. The quilting really adds dimension.
![]() In the avatar I use on line, Rainforest, I used the free motion foot and just followed the line of the pattern This particular pattern, which we call free form, is a lot of fun to quilt. You get in a kind of zen-like mode when quilting this.
In the avatar I use on line, Rainforest, I used the free motion foot and just followed the line of the pattern This particular pattern, which we call free form, is a lot of fun to quilt. You get in a kind of zen-like mode when quilting this.
In this closeup of “Ocean’s Bounty,” the traditional stone pattern lends itself really well to free motion quilting. You can see the whole piece with all the free motion quilting after this small shot.
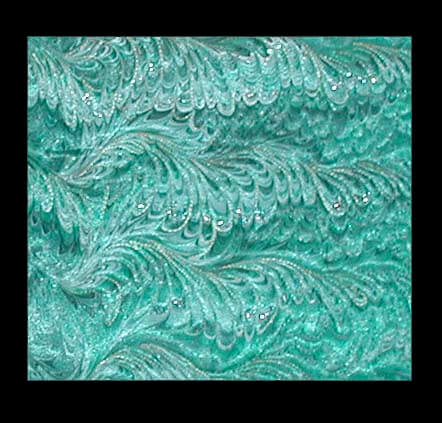
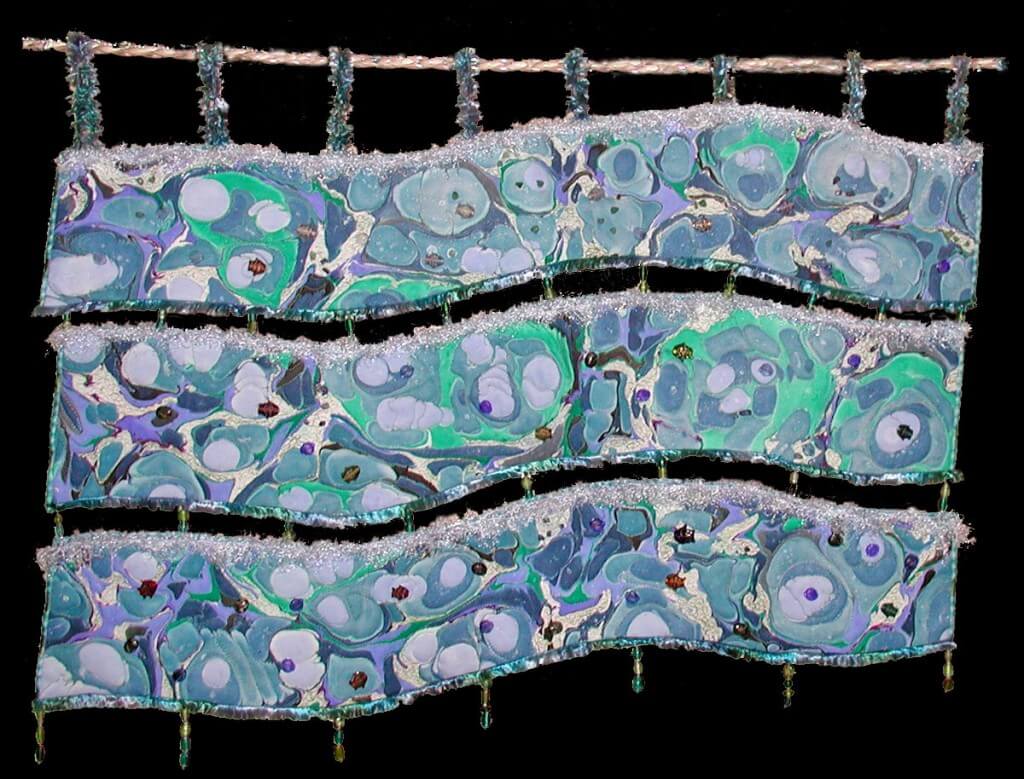 This is a small piece of turquoise silk that has free motion quilting along the pattern to accent it. Complex pattern to quilt in free motion, but it gives some great effects.
Here’s a closeup of “salmon Run,” accepted into an art show in Alaska. The free motion quilting follows the nonpareil wave pattern.
You can see more of the art quilts at our website.
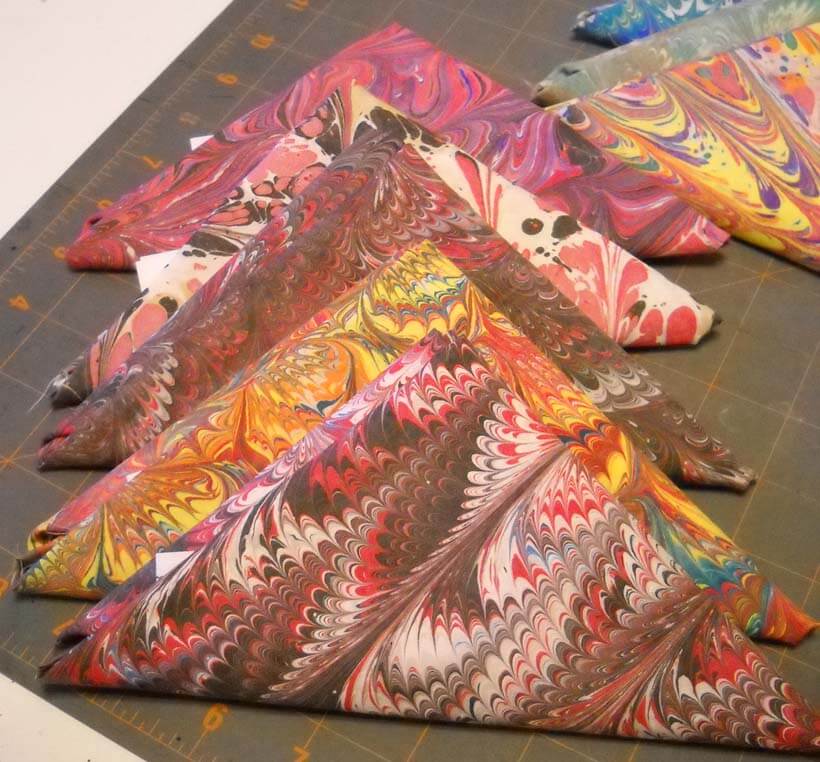
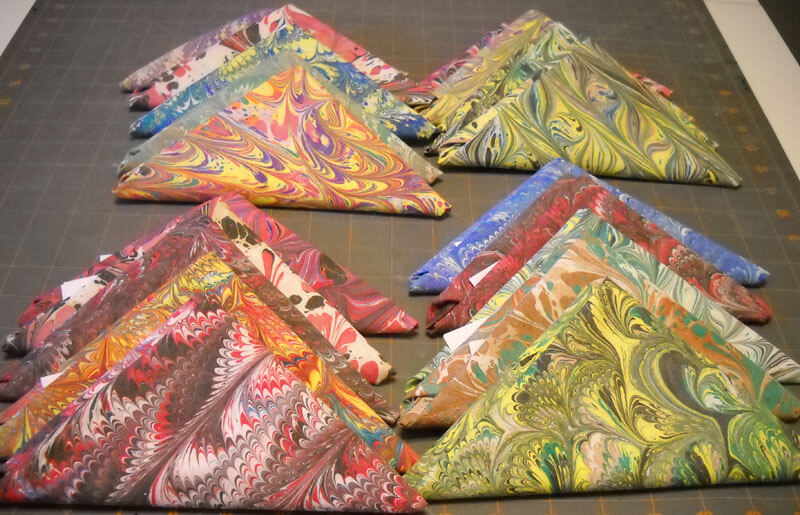
And….along with everything else today, we marbled 20 fat quarters in preparation for a show in Seattle in March. They are gorgeous. Here they are, folded and ready for packing.
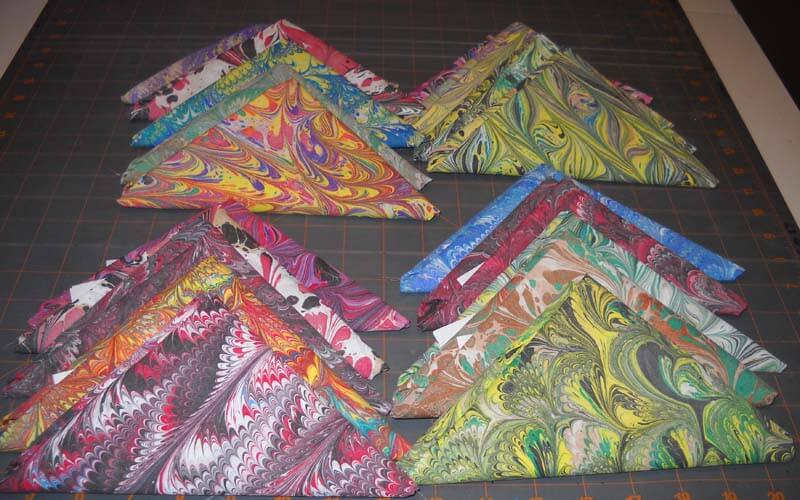 And then this afternoon, we cut another 10 yards for another 40 fat quarters, along with the 15 we still have, for the next three marbling sessions. Pretreat one day, alum the next, and then marble the next. It’s going to be a busy two months, but oh, are we having a good time!
Top Ten Tuesday
Another Tuesday, and more goodies on the web – although it has been slower than normal, due to the holiday. Enjoy!
Here’s a great list from The Best Article Every Day – places to learn on line – for anything!
 I found this interesting block design from Generation Q magazine, by way of Scott Hansen and Blue Nickel Studios. It celebrates Kwanzaa, and it’s a striking block. Take a good look at the setting – lots of interesting design possibilities.
I’m taking part in the Free Motion Quilting Challenge this coming year – I really want to learn to do more with my machine. I want to learn how to do feathers….take a look at this example from Ivory Spring’s Thread Talk. She gives step-by-step instructions – I can wish……
MAD Magazine rings in the New Year with its Top Ten posts…..
“The Disturbing Similarities Between New Al-Qaeda Leader Ayman Al-Zawahiri and New Today Host Ann Curry”
From SewCalGal comes insights on free motion quilting, with a year-long challenge coming up. She says in this blog post that after a year of practicing FMQ, she’s much more capable of doing cool designs – and I concur…my FMQ has increased just from the practice. If you’re interested, go ahead and sign up for the monthly challenge – should be fun!
 From Generation Q magazine comes some creative pushes for 2012, if you like to spend this time before the new year making plans and setting goals.
 You know I love Cool Hunting – here’s some of their year-end best, in conceptual design.
“From ICFF to Art Basel, 2011 delivered a flurry of design objects for the home that while highly creative and concept-driven, didn’t compromise their utilitarian duties. From recycled plastic chairs to roman numeral inspired book shelves, the following are five of our favorite pieces of sculptural design that could just as easily pass as pure art objects.”
from Art Biz Blog, a collection of top posts from the year for your marketing pleasure!
Most Commented On
You Promise Exposure, We Want to See Results
Artists’ Day Jobs – What’s Yours?
Is There a Downside to Teaching Your Art?
…and lots more!
From Fine Art Views, an interesting challenge: Add an Art Challenge to your New Year’s Resolution List: for Smokers…..I’m thinking of adapting this for dieting….
I haven’t posted anything lately on zentangles, but I keep looking at blogs. Here’s one from The Rainbow Elephant that I think would translate really well into a quilting pattern, especially since I want to incorporate some snowflakes on a winter quilt.
Have a great week – send me cool stuff you find!
