Posts Tagged ‘quilting’
Monday Marketing
Oh my goodness, oh my goodness, oh my goodness…..and I could go on! What an amazing four days of art we just had….and we did quite a bit of marketing along the way. We just returend from Road 2 California – my first large quilt show since Market in 2003, and hubby’s first large quilt show. Two days of amazing quilts (photos to follow this week, after I get myself reoriented to basic life here….), plus a day at the Getty Museum – and coping with I-405….interesting experience there……
One of the best things I did in preparation for the show was bring three really great fat quarters with me, just in case someone was “interested” in seeing marbled fabric. One fat quarter went to the “quilt royalty” that was at the show, and one went to Susan Else, the guest artist – she will definitely have something different to use in her sculptures.
It was really helpful as we were looking at some of the cool tools to pull out the actual fabric and ask questions very specific to its use. This was particularly true at the Pellon booth, as we were talking we began to realize that if we are to take our fiber work to the next level, we need to seriously consider what is used in between the layers. We looked at embroidery machines, as I really would like to include some machine embroidery in the new pieces, and we had a fascinating discussion with the Brother people that could potentially lead to some licensing opportunities.
I collected a lot of business cards, as there was either a really interesting tool or embellishment I want to share. Hardly any book dealers, which is why I may need to consider Market this year or next. Speaking of books….I got home to about 300 emails, one of which was a request for photos to be in a book. That’s definitely a follow-through for this week. Renewed my Quilt Show membership so I can keep up with what’s happening in the field.
Interesting marketing observations. One company with really interesting hand-painted fabric doesn’t have a website. They only sell at shows. They don’t want to photograph fabric so people can see exactly what they are going to buy. I understand that; that’s precisely why there are some online venues that won’t take us, because they feel the need to photograph every piece of fabric. That’s why we sell on eBay and Etsy – what you see is what you get. We have a note on our ordering page on our website about why there aren’t pictures. We don’t get many orders off the website, but that’s okay, because we have other venues. No hand-marbled fabrics at the show, but there was a booth with commercial marbled fabric; nice line of fabric, much more subtle than what has been released by major companies in the last few years. Lots of quilts made up – using a stained glass approach – using the marbled fabric. Interesting to see.
Some booths had absolutely no information, beyond a business card with only an email. I tried making notes, but I figured there’s no way I’d be sharing that information. No web presence, and no pictures allowed to let people know what was available. Hopefully they make enough doing shows to make it worth their while. We couldn’t do that; the press of making fabric for our Seattle trip is enough.
It’s probably the most fun to put names and faces to cyber contacts and to ooh and aah at the gorgeous artwork. We went through the quilts twice, making sure we didn’t miss anything, and trying to find time to just enjoy the quality workmanship. I wouldnt have been able to take this amount of time had I not been retired…..
And after all that, as I was perusing and cleaning out emails, I stumbled across this older email that I hadn’t read, from resident web guru Suzan. I know there are more applications to marketing than meets the eye, but since we artists rely on our hands to make our art, this seems interesting food for thought. A Brief Rant on the Future of Interaction Design.
Stay tuned – lots of pictures in the works!!!
On Practicing…..
Ira Glass on Storytelling from David Shiyang Liu on Vimeo.
I’m doing more practicing for the Free Motion Quilting challenge. This is a bit of a “challenge” for me, as I am not used to just practicing without it becoming something I can use. I keep thinking about what I can turn this practice piece into……I need to get over that! It’s practice…..practice……practice…..
Now, in keeping with the video, we’ve been marbling for nearly 20 years. We look back at what we originally did and are kind of appalled at just how bad the initial pieces are. But it was fun to marble, and so we kept on and experimented with new patterns and other things to do with the fabric. This was practicing to get good. And now, with a couple of new opportunities, we are “practicing” even more, and the fabric looks amazing. And for the first time in a lot of years we are trying new patterns. In the last 50 pieces we have done, we have perfected three new patterns from the traditional.
We have a system for all the various stages, but more than everything involved in the process, we are having way more fun than we used to. We get good feedback, and I think for the first time we realize our work really is good and belongs “out there.” Funny how validation from others makes a difference!
So the Humane Society takes old bedding and sheets for cage blankets……that just might be where some of the practice pieces go………sheesh, it’s a rambling kind of day…..
Free Motion Quilting!
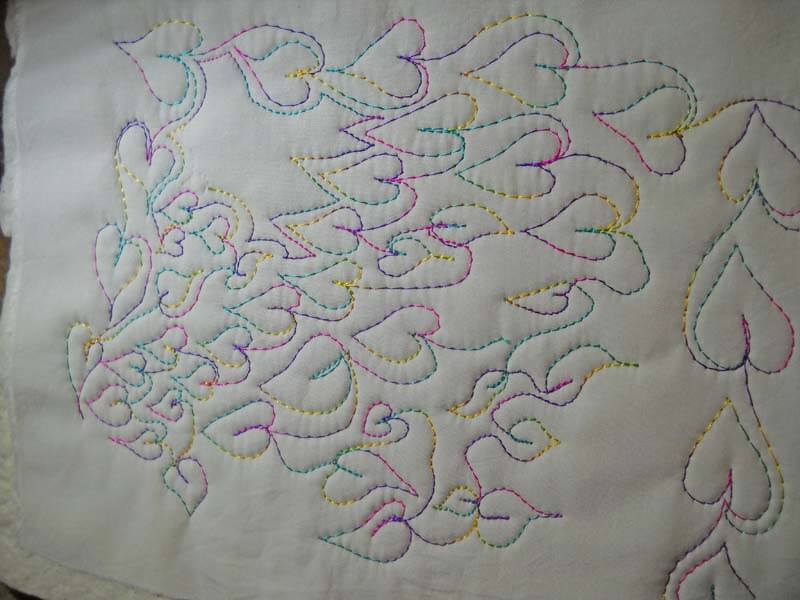
I’ve been working on improving my free motion quilting since June, when I took apart an old quilt and redid all the quilting. I am doing a HUGE amount of quilting right now on a piece I’m working on, but with the start of Sew Cal gal’s free-motion challenge for the year, I am plunging right in. We got our first lesson on Sunday, and I started on Tuesday with some practicing. This is a lot of fun. Here’s my first attempt:
Bottom Line by Superior Threads in the bottom, with a Superior Rainbow in the top, feed dogs down. Overall pleased with the stitch length, as it seems pretty even. However, I keep feeling like my stitches need to be smaller. But the pattern is easy to follow, and I like the effect.
Along with this challenge, Leah Day is continuing her pattern-a-day with a Wednesday Quilt-along. Several of her blog posts have talked about getting ready to free motion, and she posted her “wiggle” practice.
So here’s the word on the additional practice. I used Superior LAVA Thread, with some Bottom Line in the bobbin. I was pleased with the design. I even tried a variation on the left side – leaves next to each other.
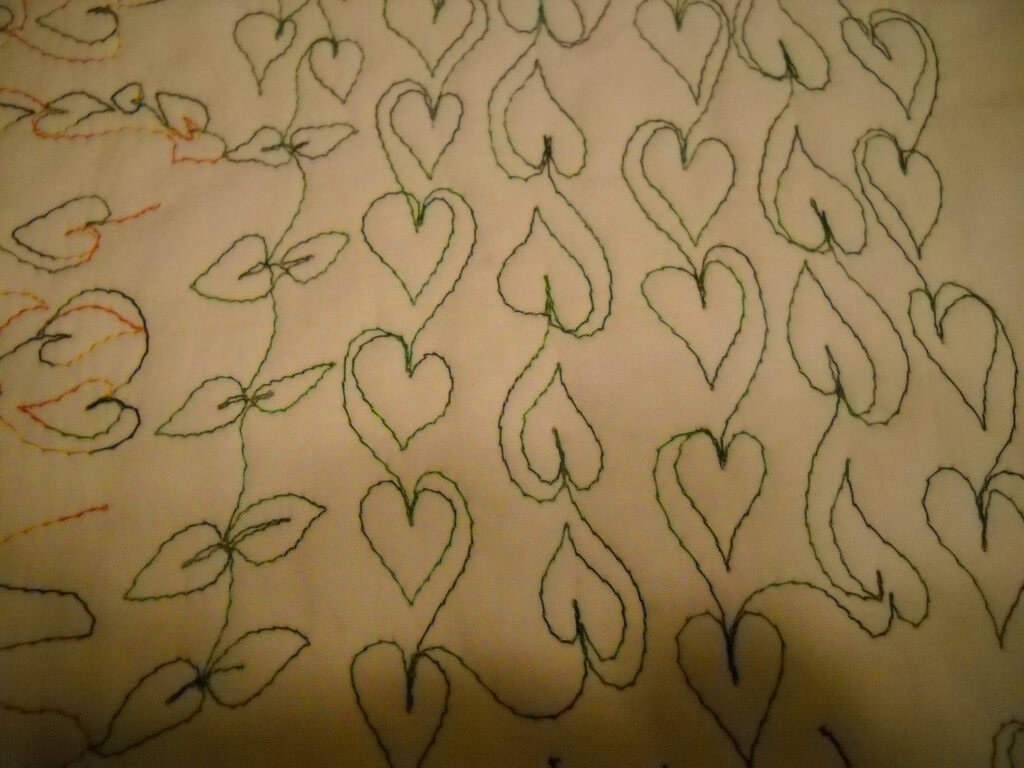 This was intriguing for me. Normally with something like this, I try to be exact in the practice, but I found I really wanted to take off and try a few variations. The only reason I think I did this is that I’ve been doing some practice since June, so I felt more confident.
Someone suggested trying to quilt with leaving the feed dogs up. So I tried that today as I was practicing Leah’s wiggle. If you look closely you can see where I removed stitches because the tension on the back was off badly. In fact I removed stitches three times.
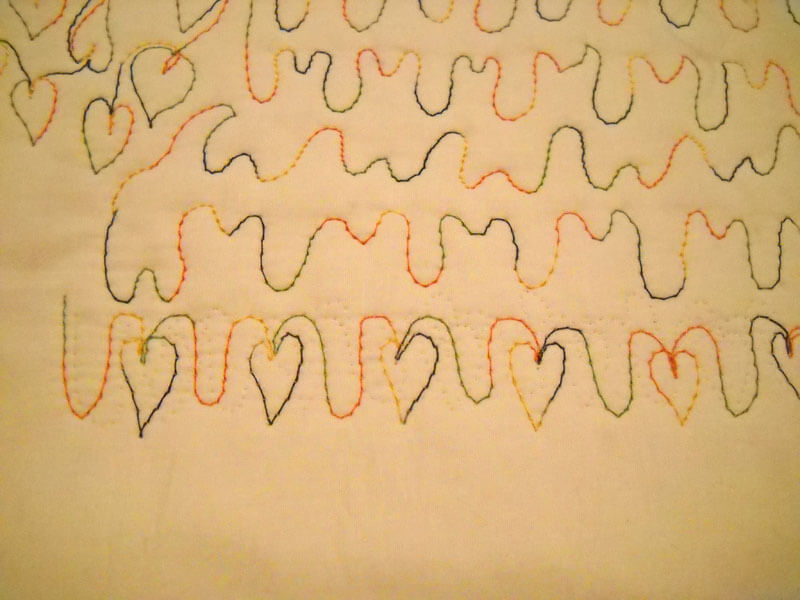 Now I wasn’t having any problems moving the sandwich around with the feed dogs down, and I adjusted tension on the top. Bottom Line in the bobbin, King Tut in the top. It finally occurred to me that maybe for my machine I needed to have the feed dogs down. Yup, that was it. Fixed the feed dogs and everything was fine. You can see that once again I was trying a variation of the two patterns.
I also tried to see how small I could get the leaves.
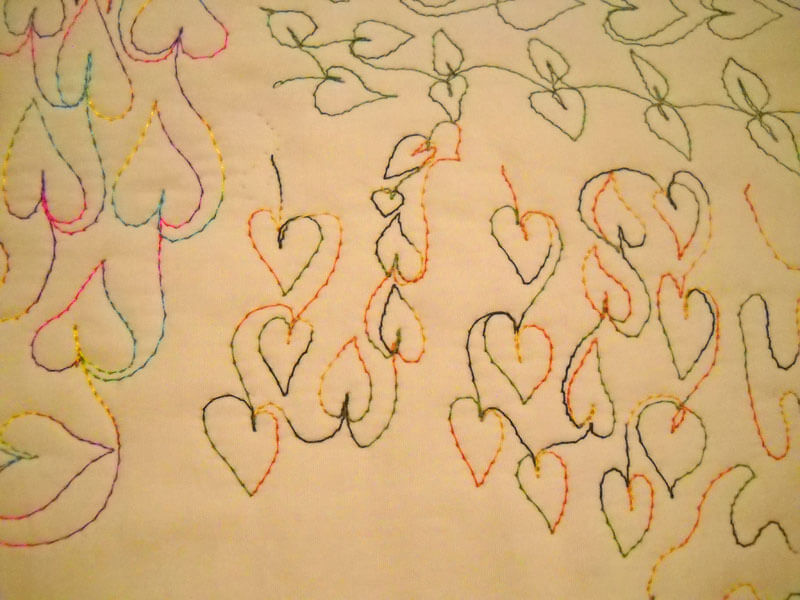 Again, overall pleased. I do need to practice going backwards. I like changing the direction of the vines with each leaf. That’s something I will probably keep. One other thing I tried was speeding up the machine, and keeping the hand speed the same. The stitches were smaller and fairly consistent, but I must say I like the somewhat longer stitch length. I think it shows the thread more.
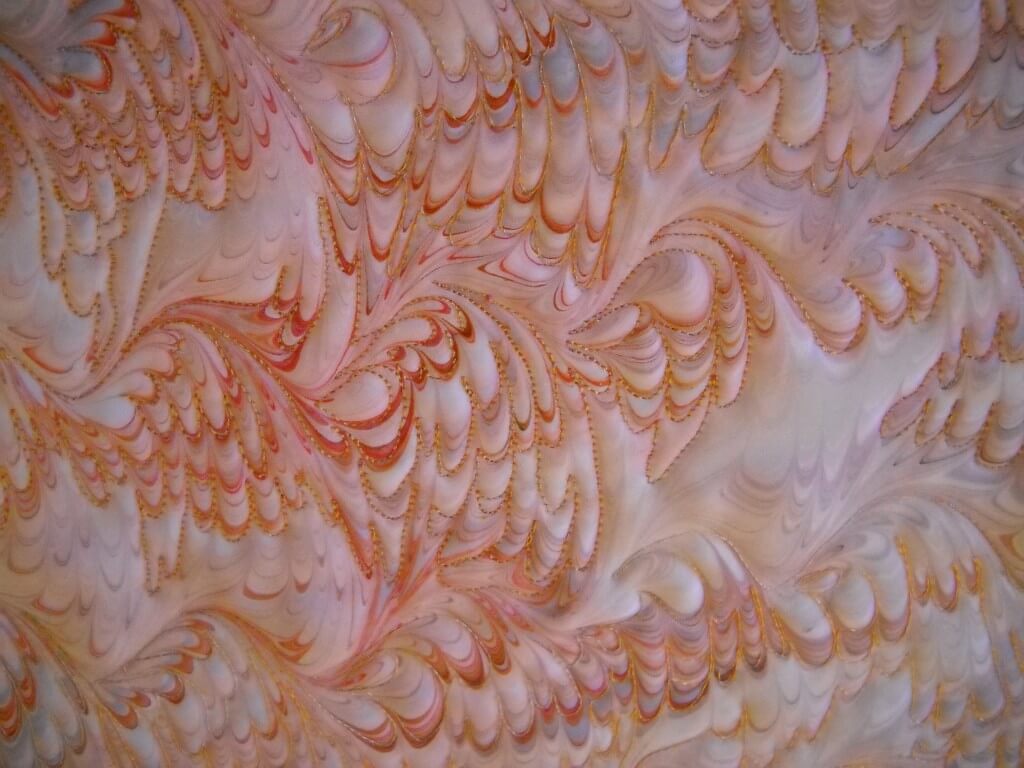
I think this is going to be an excellent way to practice. A lot of my previous free motion practice has been on marbled fabric, where the line of the pattern helps guide you. Some marbled patterns lend themselves to a regular foot (like the chevron), and some need a free motion foot (like the nonpareil and its variations).
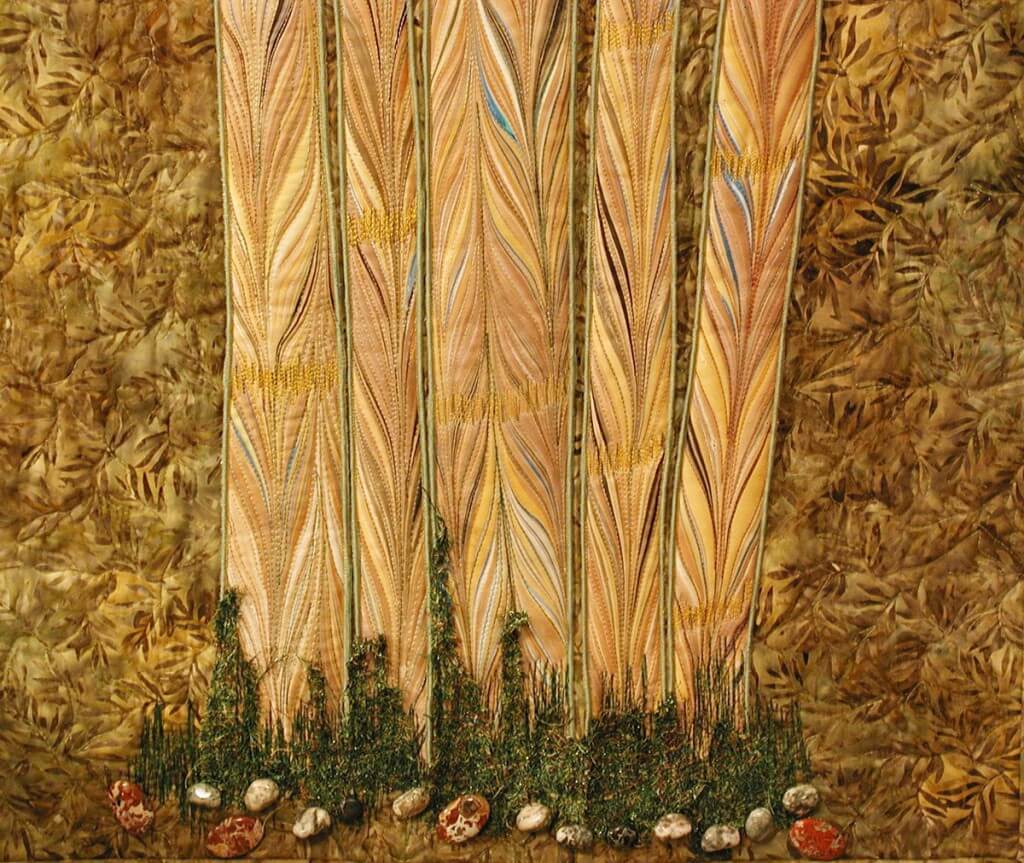 The bamboo stalks are quilted using a regular foot, just following the line of the pattern. The quilting really adds dimension.
![]() In the avatar I use on line, Rainforest, I used the free motion foot and just followed the line of the pattern This particular pattern, which we call free form, is a lot of fun to quilt. You get in a kind of zen-like mode when quilting this.
In the avatar I use on line, Rainforest, I used the free motion foot and just followed the line of the pattern This particular pattern, which we call free form, is a lot of fun to quilt. You get in a kind of zen-like mode when quilting this.
In this closeup of “Ocean’s Bounty,” the traditional stone pattern lends itself really well to free motion quilting. You can see the whole piece with all the free motion quilting after this small shot.
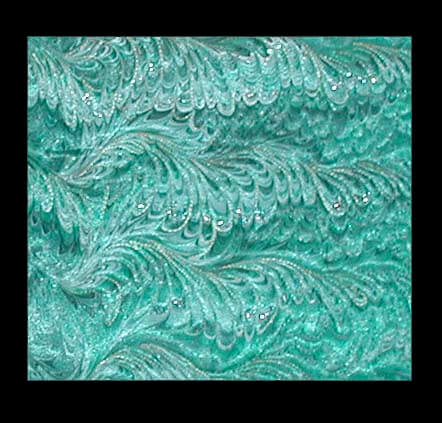
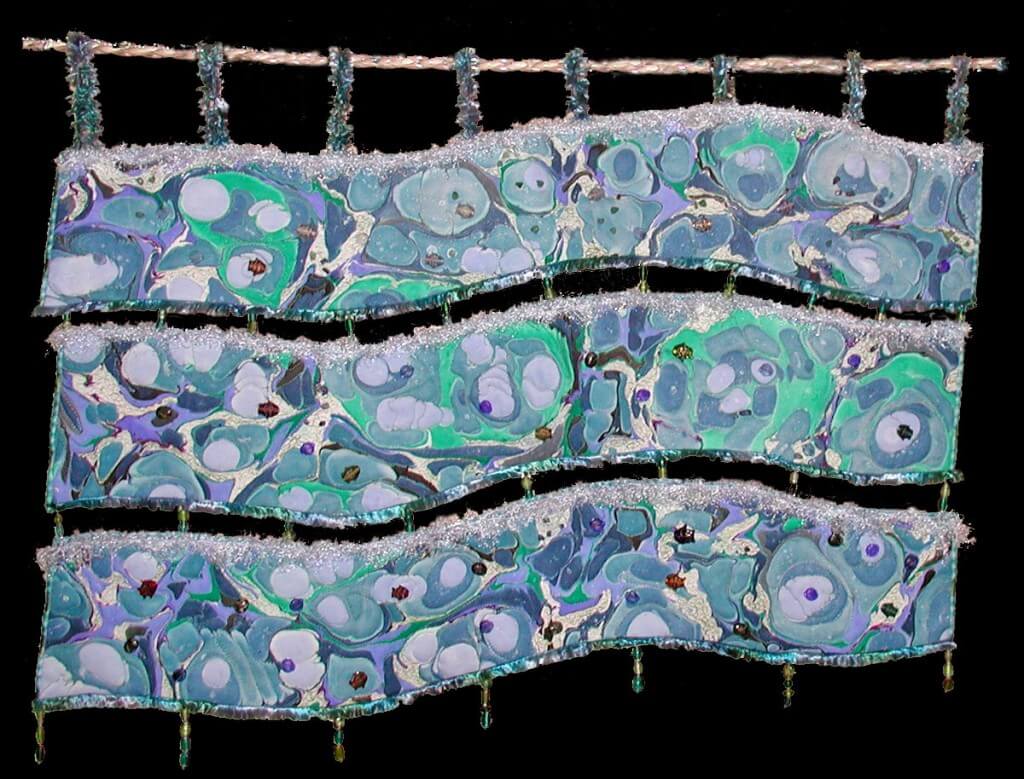 This is a small piece of turquoise silk that has free motion quilting along the pattern to accent it. Complex pattern to quilt in free motion, but it gives some great effects.
Here’s a closeup of “salmon Run,” accepted into an art show in Alaska. The free motion quilting follows the nonpareil wave pattern.
You can see more of the art quilts at our website.
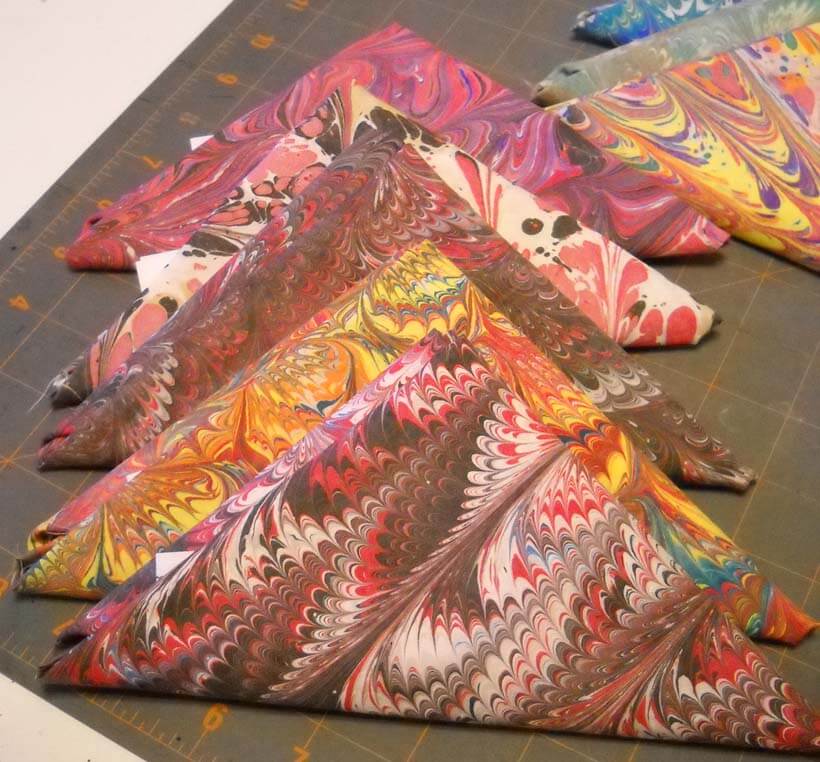
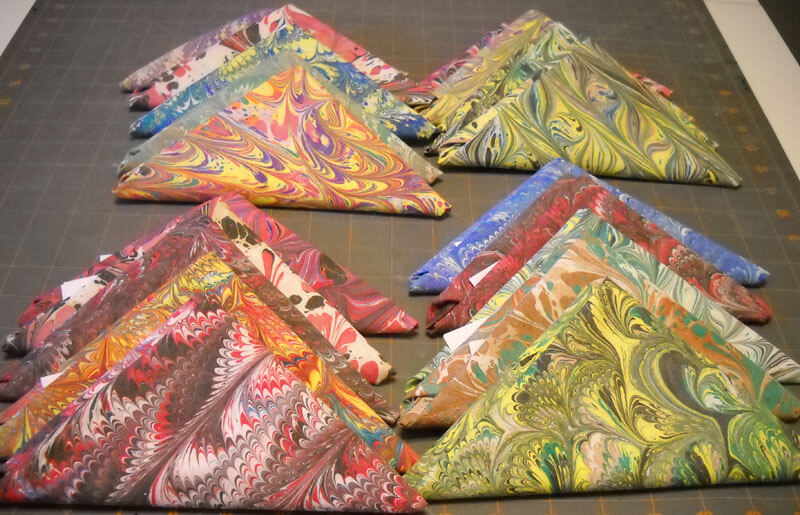
And….along with everything else today, we marbled 20 fat quarters in preparation for a show in Seattle in March. They are gorgeous. Here they are, folded and ready for packing.
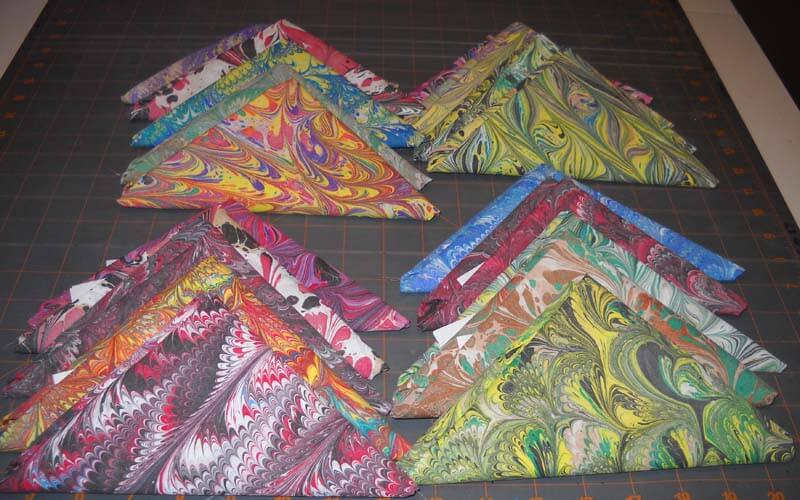 And then this afternoon, we cut another 10 yards for another 40 fat quarters, along with the 15 we still have, for the next three marbling sessions. Pretreat one day, alum the next, and then marble the next. It’s going to be a busy two months, but oh, are we having a good time!
Work in Progress – Continued….
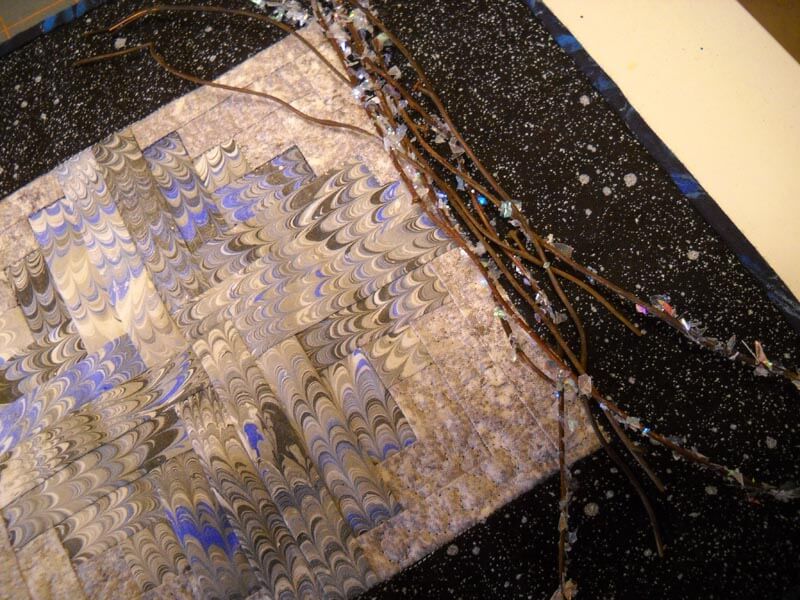
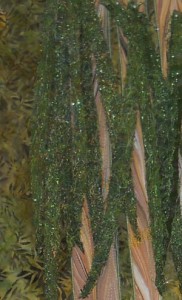
![]() Yesterday I started the “winter” quilt for the group of Seasons, and I made quite a bit of progress. It was an interesting day, as design decisions kept sneaking around as I was working. Now, a while ago I realized I had some “branch” left over from some silk flowers that I thought I could use on this piece. I got a bunch of pieces cut, and then I realized that about 3 years ago I bought some snowflake glitter for just such a reason as this. And what follows is proof you need to be a little crazy to attempt mixed media….
Yesterday I started the “winter” quilt for the group of Seasons, and I made quite a bit of progress. It was an interesting day, as design decisions kept sneaking around as I was working. Now, a while ago I realized I had some “branch” left over from some silk flowers that I thought I could use on this piece. I got a bunch of pieces cut, and then I realized that about 3 years ago I bought some snowflake glitter for just such a reason as this. And what follows is proof you need to be a little crazy to attempt mixed media….
After spreading some of the glitter on the quilt top itself, I liked it…and realized I had to do some massive clean-up of my “trial and error.” Then I wondered if I could coat the small branches with the snow glitter. Once I was able to finally get the glue bottle open, the fun began. I put part of the branch in the glue bottle, tried to shake off excess (not successful), and then dunk the branch in the bottle of glitter. Messy, and lots of snowflake glitter that would shed constantly.
Time for a new plan…dip the top part of the branch in the glue, and then using fingers, distribute the glue down the rest of the branch, and then roll the branch on the pile of glitter on the paper. Shake well and let dry. Clean off very sticky fingers, covered with glitter, and repeat….
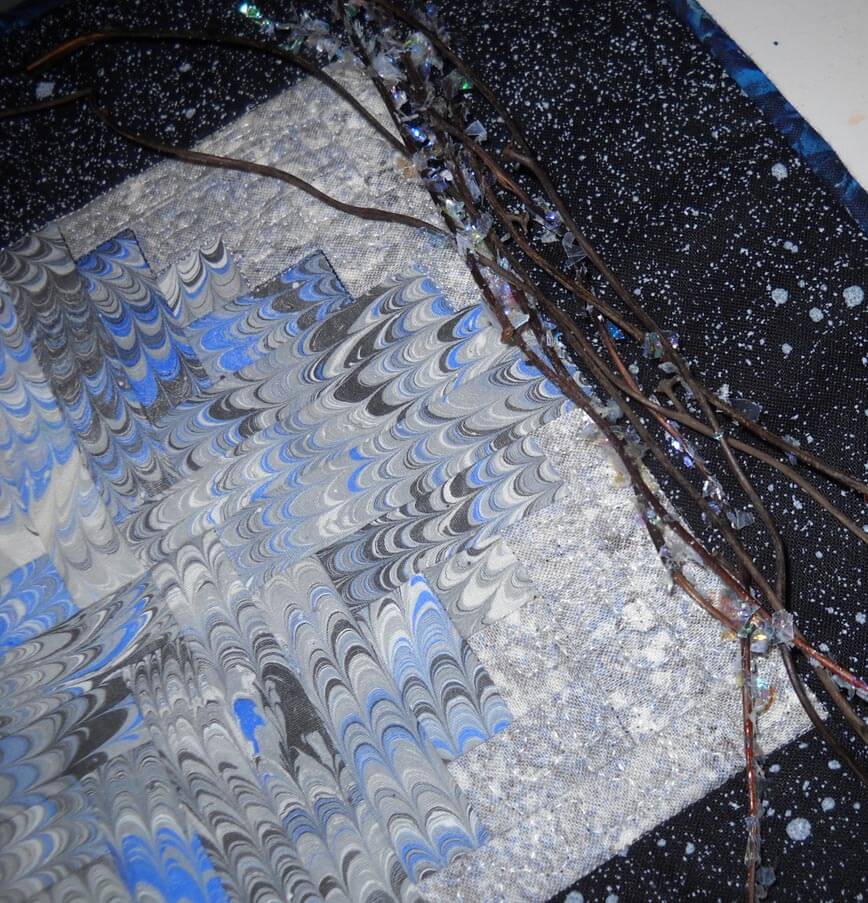
I did about nine branches and worried about them drying and sticking to the mat board. I did about 8 small branches, and I love the effect….but I still have to figure out how to attach them. this is certainly a first for me. I’m not one to mix these different media together, and I can see why people get hooked on mixed media collage. In the meantime my idea to add a small piece of blue fabric before the binding changed – I ended up wrapping it to be the binding itself – a lot more subdued that way. I also did some stippling in the gray area – it gave it more texture and lightened the gray slightly.
After a lot of pondering, I took some of my beading processes to attach the branches to the top and bottom of the quilt. The reveal will be next Wednesday.
This last is the truer picture of colors – very icy, which is my complete intent.
Work in Progress Wednesday
 I wasn’t sure I would have some stuff for today, as I’m not planning on showing much else of the two major pieces I’m working on, beyond talking about the process. I did have some moments of panic yesterday, as I finally gave in to taking the sewing machine to Cathey’s Sew and Vac here in Tucson – just couldn’t figure out what was going on with the tension. And I was thinking – two weeks without the machine…..
Turns out it was bobbin tension – they very nicely did “triage” and Mary Sara showed me exactly what was wrong and helped me fix the bobbin case. I am definitely planning some private lessons with her after the first of the year. I brought my machine home 30 minutes later, good as new, with specific instructions to OIL MY MACHINE. Will do.
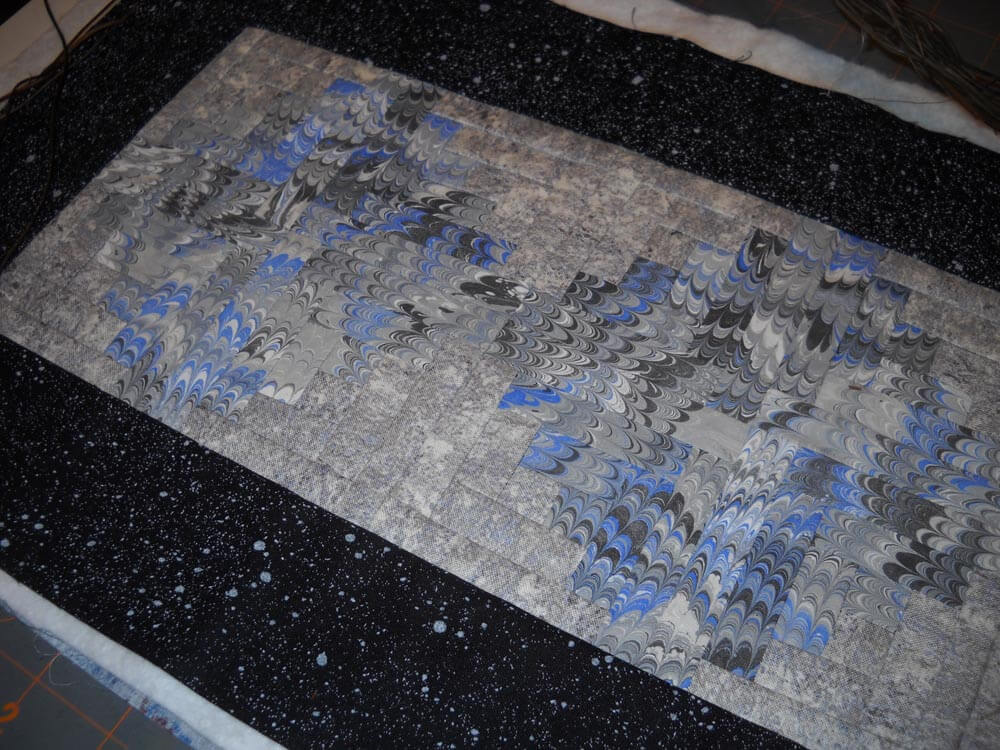
Then it was back to work on the “winter” piece, as I wanted to take a break from the major sewing. I wasn’t sure the marbled FQ and the gray I bought would work, but they do. The only thing I would do differently, should I make another one, is to get a much lighter gray. Once the log cabin blocks were done, we made the mistake of trying to choose border fabrics in a yellowed light at night. We literally went through every blue in the stash; the blue organza seemed like neon when up against the piece – even though the shade was exactly what we needed. We settled on a piece of black we’ve been saving – won’t need much to finish borders and binding.
In the light of day, everything seemed to work pretty well together. Here’s a peek. It definitely looks icy. And I was pleased with what I was able to do with directionality.
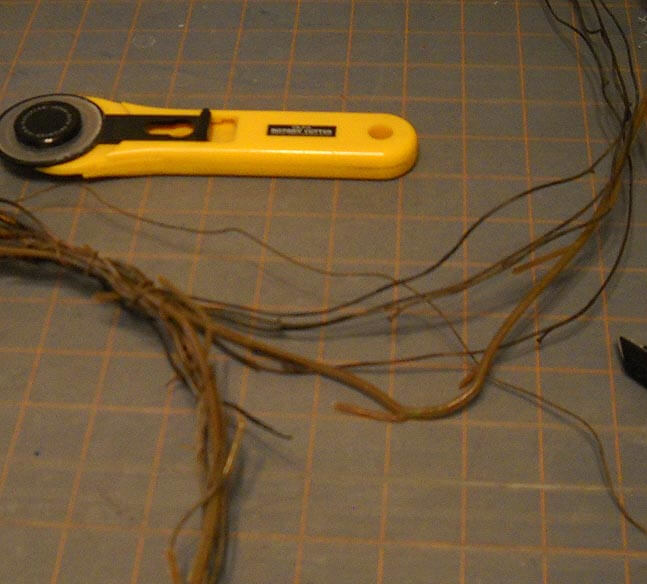
Now, here comes the weird part…..I have been saving the “vine” from the strong of autumn leaves we bought, thinking I could maybe use it. I read the blogs of a lot of mixed media collage artists, and I am amazed at what they put in their work. My friend Anne was delighted to get left-over slide casings – just because she thought of something she could maybe do with them….so I’m guessing this habit is catching….
I thought about trying for a wintery twig effect. It looks like I will have to take the wire off from around the pieces and then carefully attach them where I want them…..should be interesting to see what happens.
Hopefully it will be done for a “reveal” next Wednesday….yup….too much HGTV…..
Getting an Art Critique
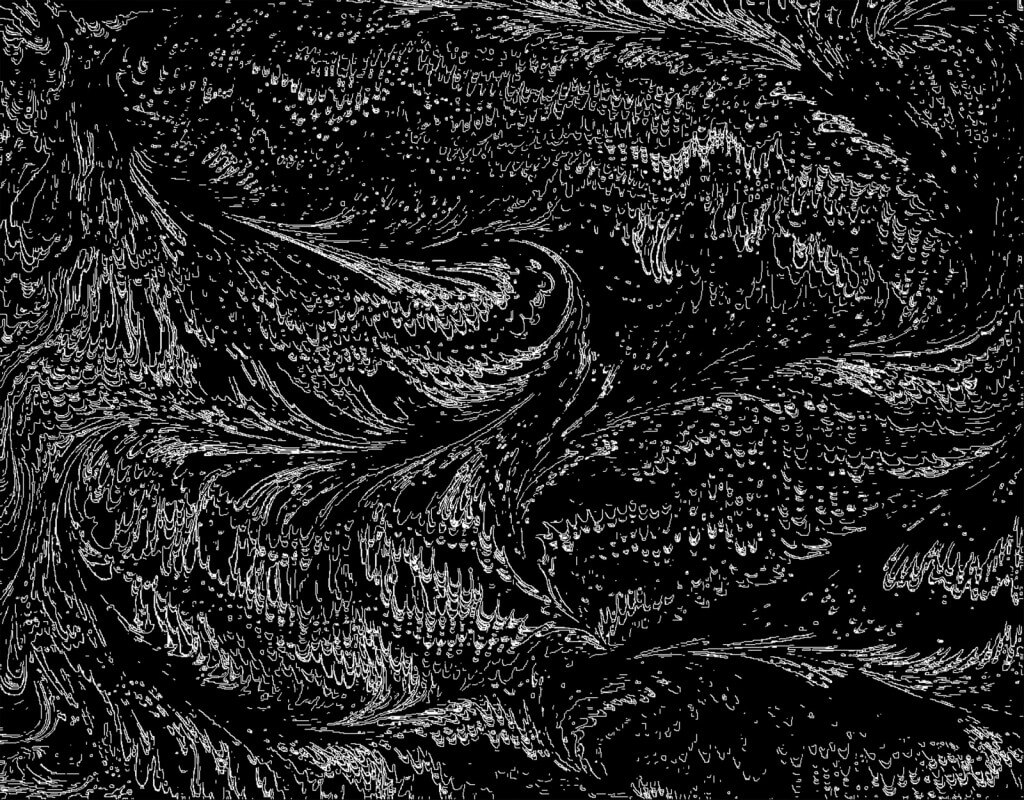 I am really fortunate to have a couple of good friends who can help me with a critique when I am working on a new piece. Sometimes the piece flows, and sometimes I’m blocked in making decisions and moving ahead. It is made more complicated by the fact that I am trying to use our marbled fabrics to create unique art pieces. In surfing the web on a regular basis, I don’t see anyone else doing what I’m attempting to do with marbled fabric in the art quilt movement.
There are a lot of things to consider in developing these pieces of fiber art. Are my sewing skills strong enough? Are my quilting skills advanced enough? Does the fabric speak to us? Can the design tell an interesting story? Can I work with the principles of design?
In looking at all these questions, there are two that I am the weakest in, and this is where my group of friends can really help. Quilting skills and design principles.
Momcat is my first voice. She is a digital artist in her own right, and a self-taught expert in Greek pottery, among all the other skills in being a Renaissance woman. Suzan is my overall digital partner and a superb, published quilter and designer in her own right. Karin is a water color artist with a very strong sense of color and overall design organization. Hubby is the marbler and can see things in the designs that the rest of us miss.
I am at a point in this new piece where I needed advice. Which way should the piece hang, for one – vertical or horizontal. Usually that’s one of the last questions for me, because by the time I’m done, the piece has usually told me what it wants. With this piece, I need to decide this now, as I will need to work on the shading with a light source from the “northwest,” which is how scientific illustration is done. I was leaning in one way, and my group confirmed that. They pointed out that I already had a lot of the “shadows” developing on their own from the new orientation.
The second was size and pattern. I am fine with all the quilting on half of the piece, but the other half seems naked of color and looks like it would require some serious thread work that wouldn’t necessarily add to the overall effect. I had been thinking about potentially cutting away half of the piece. We looked at that possibility, and once we folded back some of the fabric (which had never occurred to me), we knew it needed to be tall and narrow, not wide and thick.
Now, Momcat had sent me some of her photos of rocks and lichen that Dali had painted, and I LOVED the lichen. I was initially thinking of marbling some very small silk flowers and then attaching them with some thread painting. The group didn’t like that idea – felt they were not “tough” enough for the texture of lichen. Momcat disappeared, only to come back with a small vial of green stuff that she proceeded to spread on the one or two rocks that are already green. Perfect! Upon closer look – they are very fine chopped-up pieces of old money from the Denver Mint. Who knew? I guess now this is a “mixed media” piece…..We are also thinking about using some coconut Husk or actual moss from a pet store – need to think that through.
Next question: facing vs. binding vs. frame. How do I want to finish this? I don’t see a basic binding. We talked about fabric as an inner mat and as a frame. We looked at serging the edges – which I have done with pieces in the past, much to one gallery owner’s chagrin – “wasn’t finished properly” was her verdict. But I always let the piece tell me what it wants. I am thinking this piece is telling me it doesn’t want anything more to constrain it beyond a facing that wraps to the back.
The final discussion revolved around light, medium, and dark. I know if I were to take a picture of this and turn it to black and white, everything would pretty much be medium values. I know it needs more dark, so I need to think through how to do that with thread…..or moss…..or coconut husk…..or…….actual small stones…….
I left energized, ready to complete the piece. Amazing how being with a great group of like-minded visual people can make a difference!
Work in Progress Wednesday
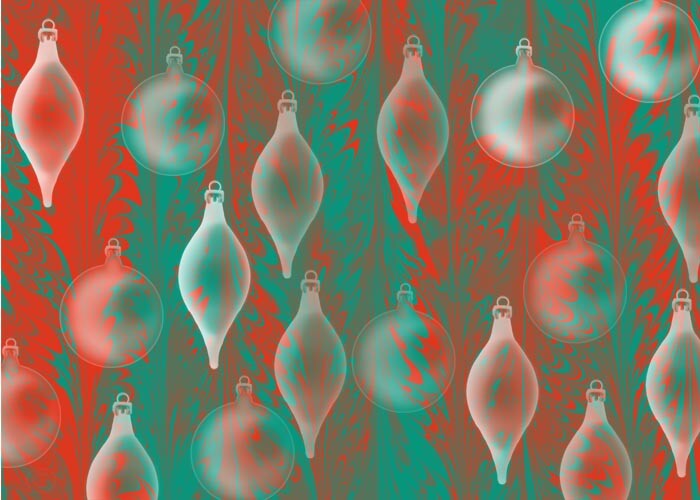 Wow, being retired has given me a whole new appreciation for preparing for the holidays. In the past, if I was lucky, I managed to get some things done during the Thanksgiving weekend, but everything else depended on just how tired I was at the end of each school day. Not this year – my cards are designed and ordered – the pic at the left is of a great piece of red silk that I took into Photoshop. Really pleased with them.
Before I go in to the latest project, an update on the deer quilt from last week. We finally got it hung in our bedroom, its designated spot for the last ten-plus years. It looked awful…..there was absolutely nothing redeeming in it at all. Even hubby, who has loved the quilt since I first saw the pic realized it was pretty bad. So Karen S is the winner of the give-away of border trees, and some lucky child is going to get a “huggy” quilt. In the bedroom now hangs our Desert Heat quilt, and it looks perfect.
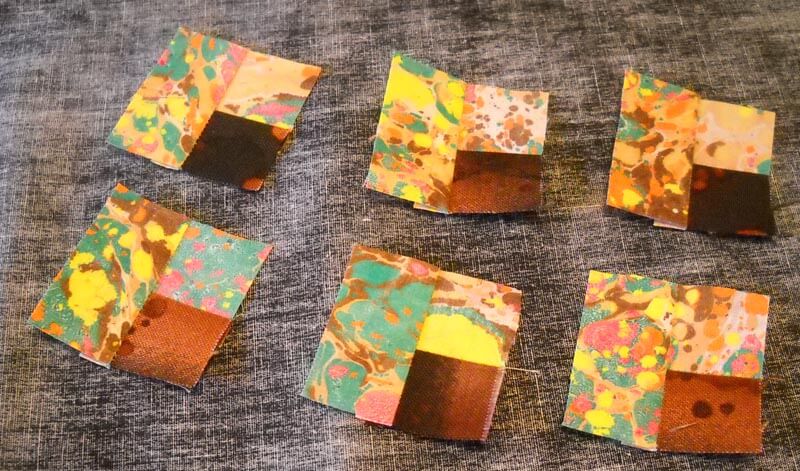
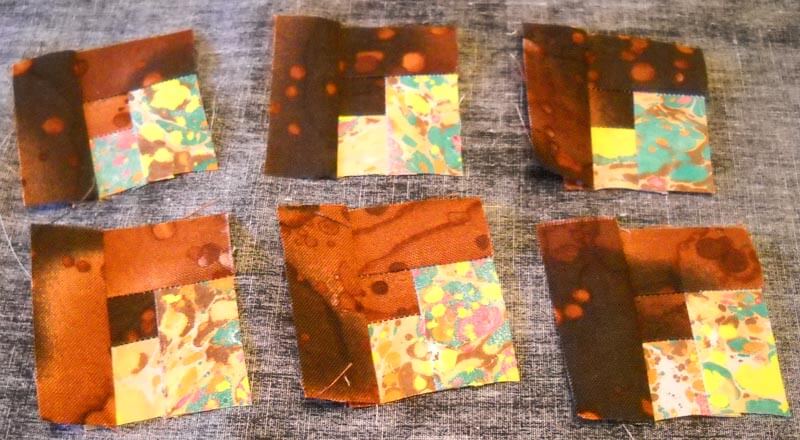
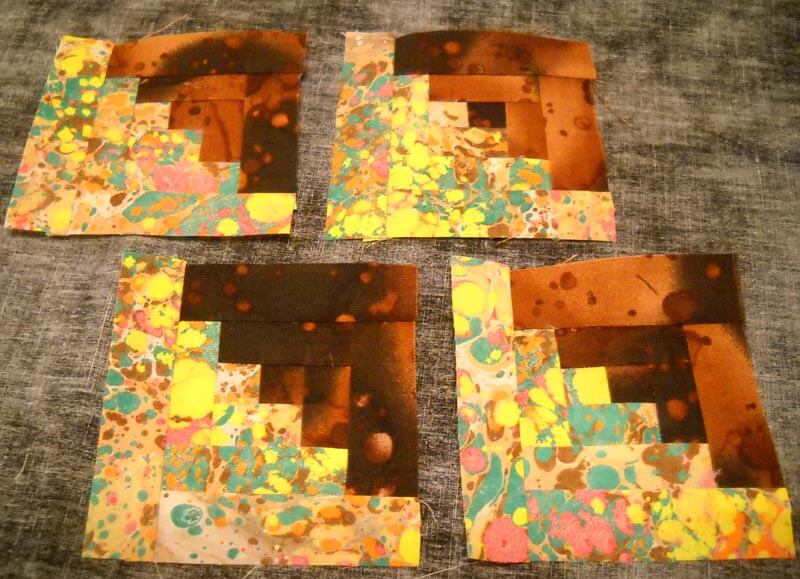
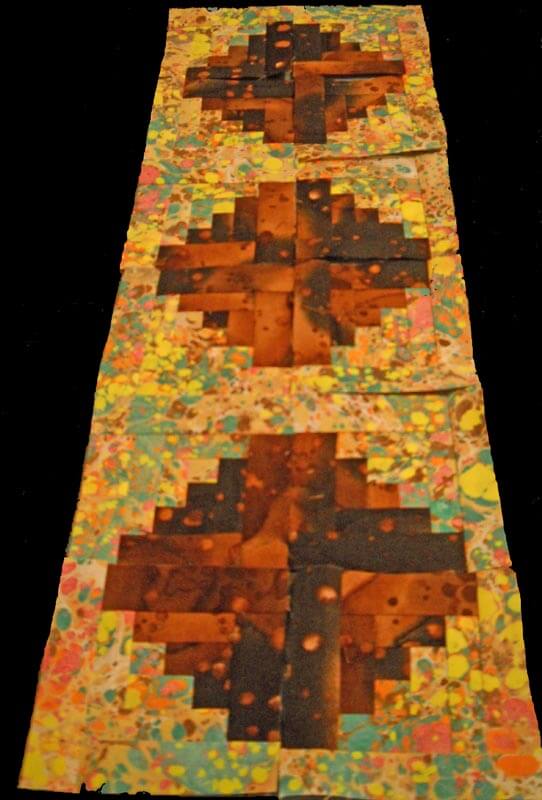
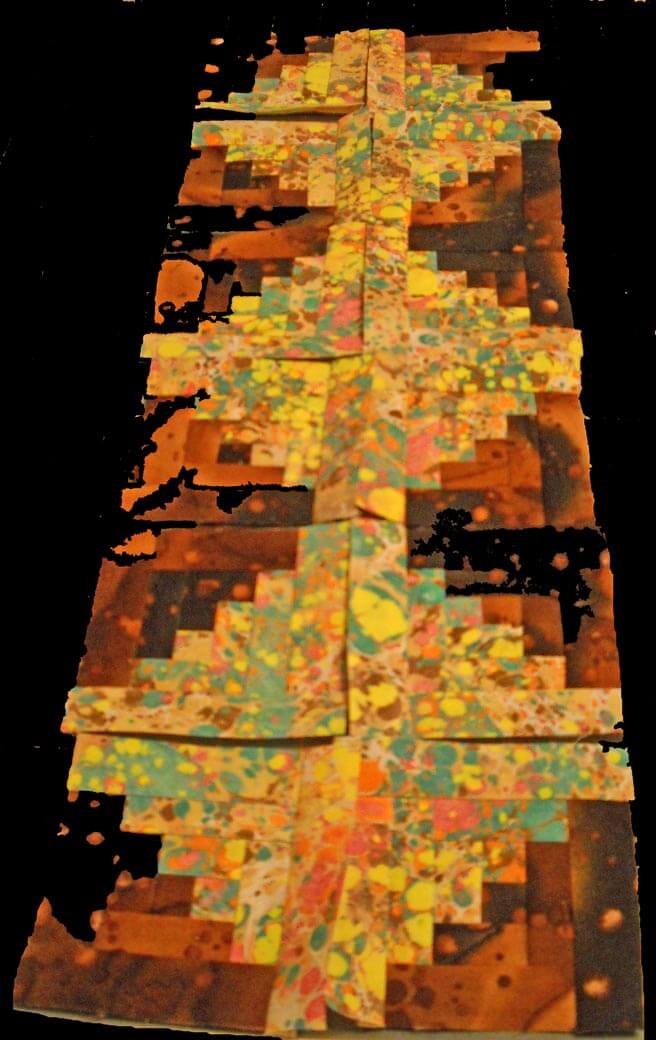
Now for the new stuff…..Hubby created a really great fat quarter of cotton that reminded me of a New England autumn. We had marbled some silk leaves earlier this fall, and I had in the back of my mind to make an autumn quilt and use the leaves. Well, now I had all the fabric, pulled a couple of browns from the stash, and was ready to go.
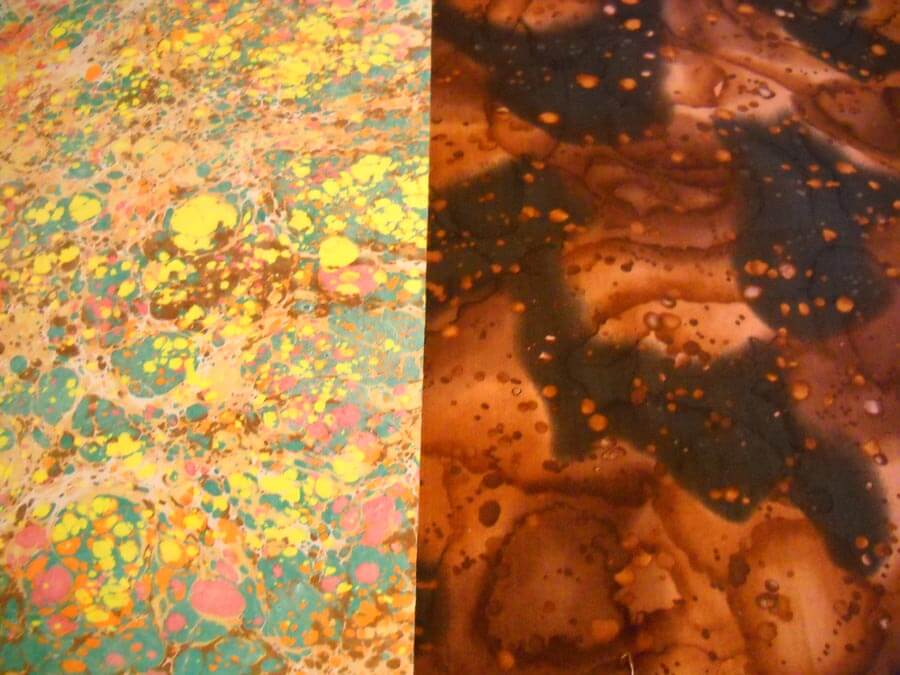 The start of the log cabin….this is the fourth restart….for some reason I wasn’t able to follow my own directions…..
First tentative layout…..
Another tentative layout…sorry for the lousy pic….
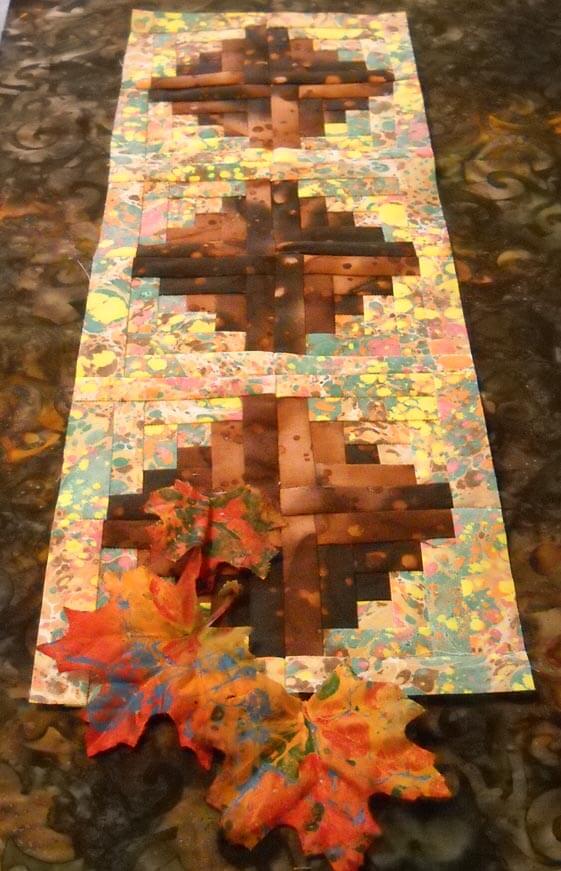
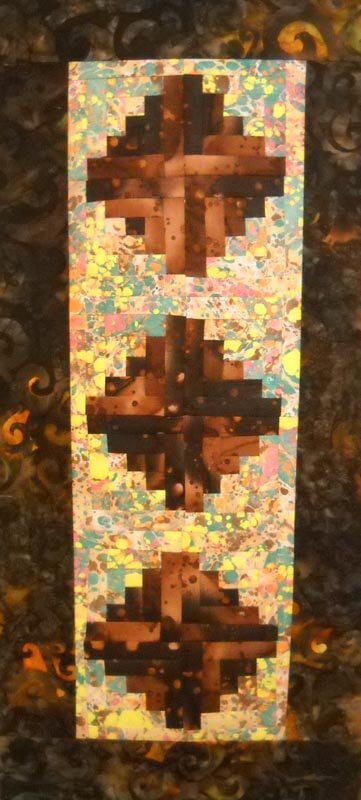
The three finished blocks – reminds me of walking through woods carpeted in falling leaves.
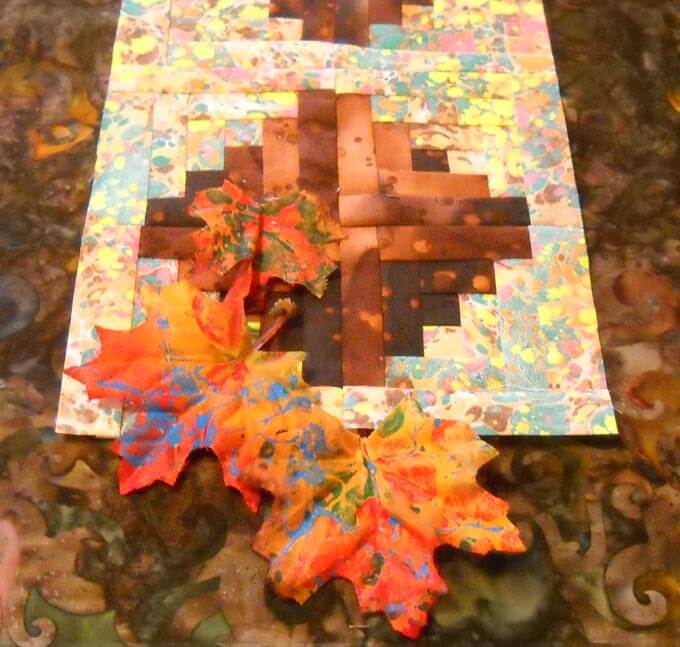
Playing around with the marbled leaves….have probably decided on this layout. Love the border fabric, which was very serendipitous. That fabric would not have worked had I gone with a different layout.
I love the leaves!
Ready for batting and quilting……more next week. Suggestions on a quilting design?
Top Ten Tuesday
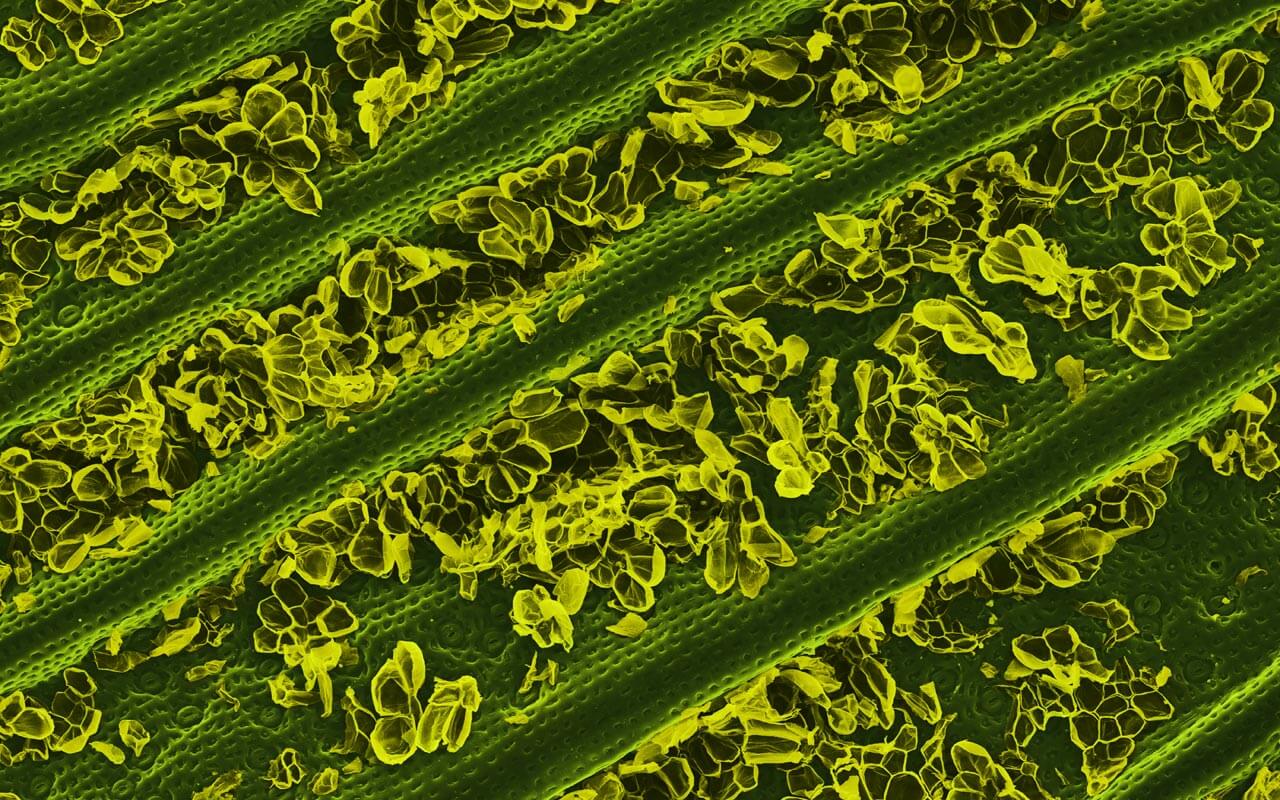
Under the category of food art comes these really interesting images, found on the Cool Hunting site. Caren Alpert goes through a lot of prep to get these amazing photos. The one below is a pineapple leaf……
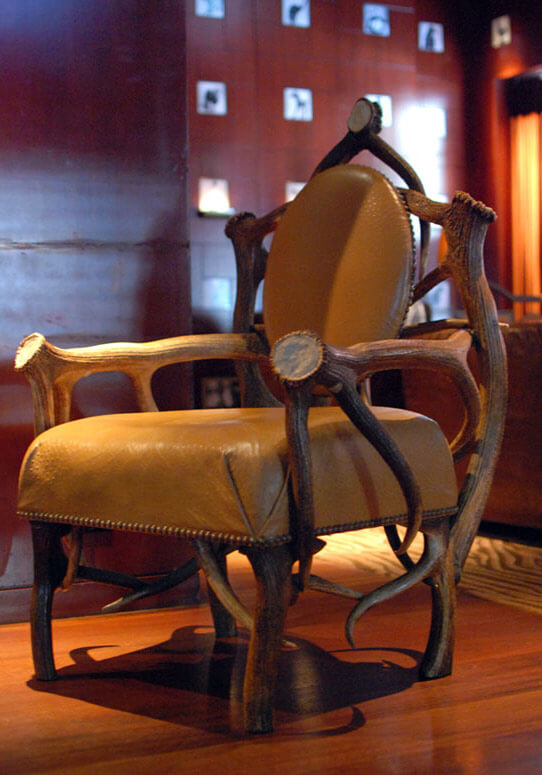
From Cool Hunting is a look at an eclectic furniture collection form a hotel in San Francisco. Some pretty cool stuff – but I’m not sure I’d sit in it!
Under the category of “Remember When” comes some “pre-internet” reminders……(are we really that old?)……..from The Best article Every Day. (This is in honor of Sheldon of BBT)…..

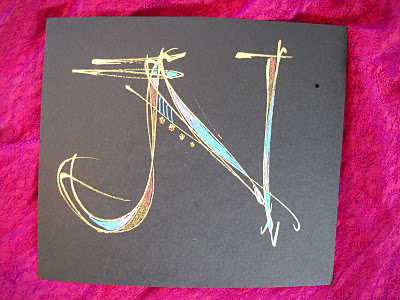
A very cool tutorial on making initials….color, glitter, easy instructions. From Lisa Engelbrecht.
If you are not a Twilight fan (don’t even get me started on lack of correct punctuation….) you will appreciate the poster from Mad Magazine…Breaking Wind, Fart 1. I don’t want to spoil it by putting it here……
From The Best Article Every Day comes a little bonus piece at the end….
 I can’t find really good attribution, (I think chromestory.com), but I SO LOVE Explorer – kind of sums up what I, as a MAC person, think of IE.
And from The Best Article Every Day comes the “origin” of Angry Birds…..since I got hooked earlier this fall, I found this really funny….it’s the bonus piece at the end of protecting your Facebook account (which is also interesting….).
A new site discovered from Kathy Nida – That is Priceless. Art – with captions….how did I miss this all this time?
And thanks to Kathy, again, for The Bitchy Stitcher. I LOVE. LOVE. LOVE. sarcasm. I am fairly fluent in the language, and I am always practicing in order to hone my skills. I practice often with my sarcasm twin Michelle.
And…another wonderful new blog, courtesy of Kathy – great rant on IQF!
Great week behind me, another great one to come! Life is AWESOME!
Something I’ve Never Done Before……
![]() Okay, so on Wednesday I cleaned the studio in preparation for new work, got rid of lots of lint and threads….nice and clean. I cross off thee of the eight table runners and looked at my list of projects. Well, says I, why don’t I finish one UFO before starting on these two new ones? I figure, let’s go with the deer quilt, which has been hanging around unfinished for about 13 years. How bad could it be?
Okay, so on Wednesday I cleaned the studio in preparation for new work, got rid of lots of lint and threads….nice and clean. I cross off thee of the eight table runners and looked at my list of projects. Well, says I, why don’t I finish one UFO before starting on these two new ones? I figure, let’s go with the deer quilt, which has been hanging around unfinished for about 13 years. How bad could it be?
Well…………….bad. Nothing seemed straight, I still had a lot of free motion to do, and the quilt was fighting me. I got one side row of free motion done, but I wasn’t happy. We decided to measure the bedroom space to make sure the quilt would fit…and it would, but barely. I noticed as we held it up that it was so wavy…..much like a beginner’s quilt, which this kind of was……So I figured I would try a basting stitch to see if I could bring some kind of straightness to that one side.
Nope. Nada. Nothing. No way.
Now, hubby has always loved this quilt. Me, not so much anymore, especially since my skills have improved dramatically.
What to do?
I grabbed the scissors.
Now, I’ve read about people cutting up quilts, and every time I read that, I would be horrified. What would cause someone, after all that time, to cut up a quilt?
Now I understand…..something had to give if I was going to finish this, and it had to be the tree borders. So I cut them off.
Amazing. The quilt is now pretty straight, and I sewed on the binding.
Now, keep in mind that given the large table runners I just finished, that’s over 16 yards of binding I’ve sewn this week (and no, I didn’t hand stitch the back down….I didn’t want another 3 years to go by before I delivered them….). And…it’s a good thing I cut off the borders, because I just had enough binding – which I put together some 13 years ago…………
I also sewed this down front and back. And it’s done, ready to be hung on the wall, and I don’t need a third hangar….
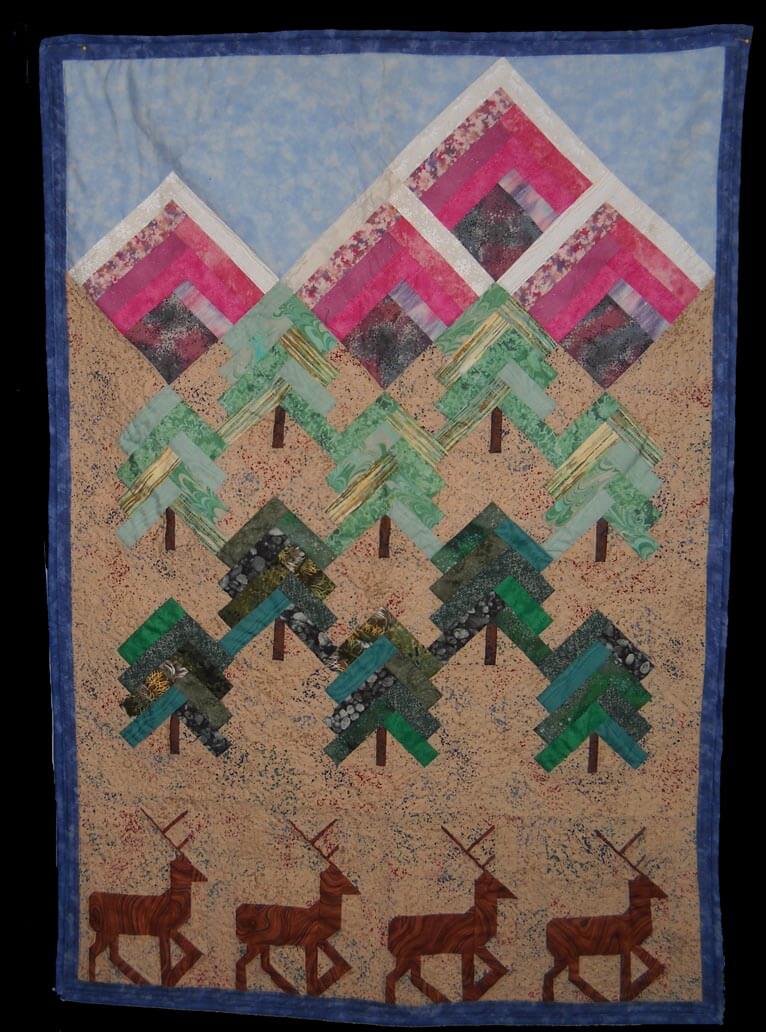 I am reminded of Ami Simms’s Ugly Quilt Contest, where the winner had a brown paper bag over her head…….This is from the time period where I was doing lots of rotary cutting and piecing – this is probably from Pam Bono’s Rotary Cut Quilts book.
Hubby’s happy, I keep thinking “what was I doing?” at various stages, like choosing the mountain fabrics…….
Now, there is a good point to all this – I am giving away the tree borders. I know a lot of quilters recycle pieces from quilts. I just don’t think I’ll do that. Here’s a snippet:
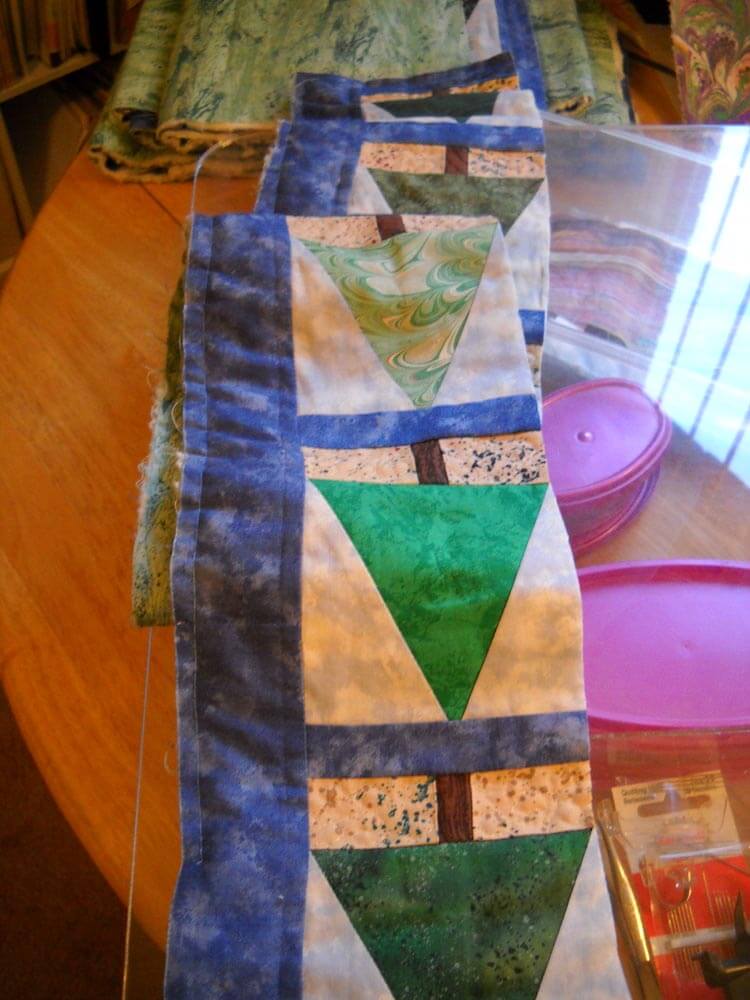 There are four rows, and the blue fabric varies from side to side and top to bottom. Some have no quilting, some quilting only in the “ground” areas. Leave me a comment, tell me what you’d do with them, and I’ll draw a winner on Monday, November 21. Each row has a marbled fabric tree, if that is any appeal……
Have fun!
A Lovely Little Quilt Show
![]() On our latest retirement jaunt to our friends in Cornville with The Cabin at Grace Hollow, we attended the Cootonwood, AZ quilters’ show on that Saturday. Held at a local school, the show was hung well, had a couple of cool, fairly local vendors, and had some stunning quilts. I realized, as I worried about giving recognition to each of the quilters, that I would have trouble writing down the names and matching them with the quilts. It FINALLY occurred to me to take a pic of the quilt, and then a pic of the name tag. Voila! Now I easily had both. So enjoy the quilt show.
On our latest retirement jaunt to our friends in Cornville with The Cabin at Grace Hollow, we attended the Cootonwood, AZ quilters’ show on that Saturday. Held at a local school, the show was hung well, had a couple of cool, fairly local vendors, and had some stunning quilts. I realized, as I worried about giving recognition to each of the quilters, that I would have trouble writing down the names and matching them with the quilts. It FINALLY occurred to me to take a pic of the quilt, and then a pic of the name tag. Voila! Now I easily had both. So enjoy the quilt show.
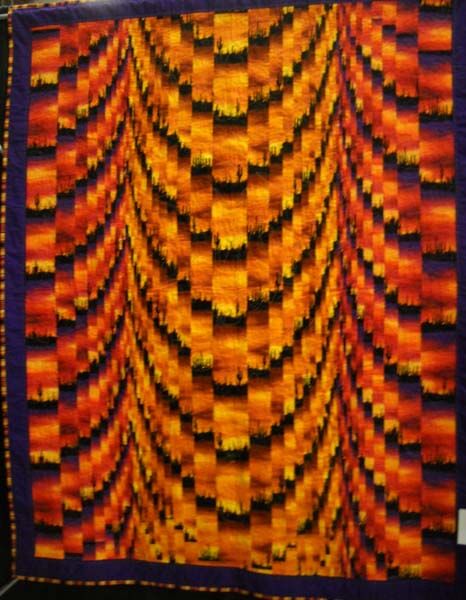 By Barbara Benson, a closer look at the fabrics revealed a print of desert saguaro that added extra texture to the design.
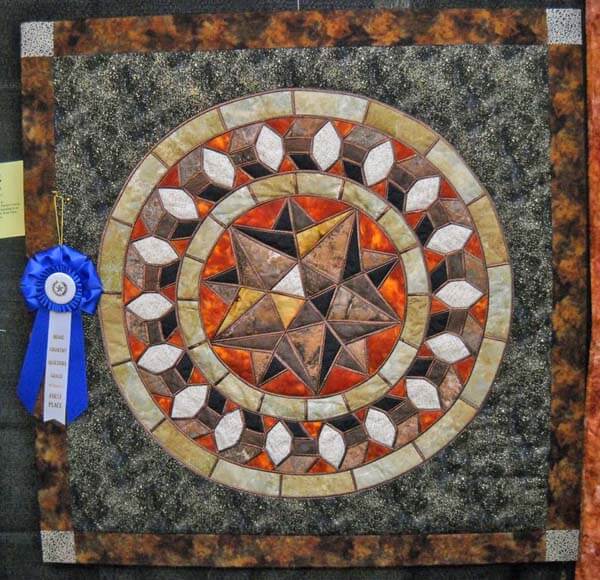 My favorite, by Pam Pawlek. I loved the stained glass effect, and I kept wondering what she used for the “leading.”
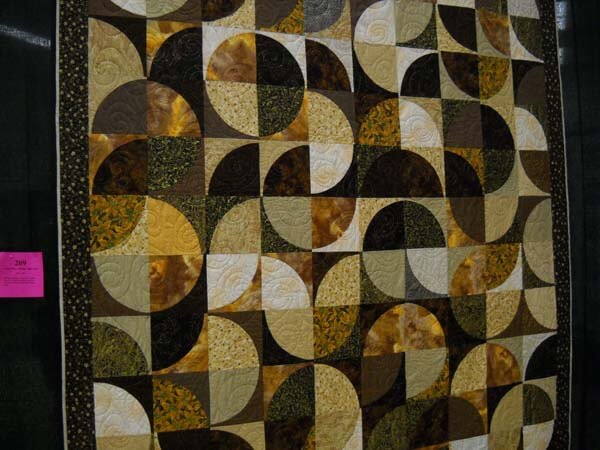 Also by Pam Pawlek. I LOVED the design, as well as all the earth tones.
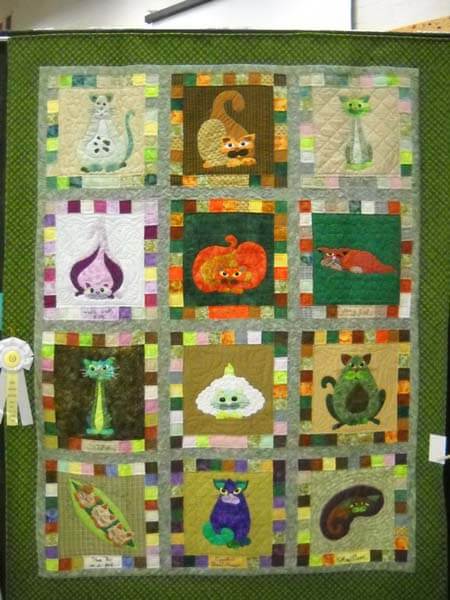 I am not a cat person, but these guys were really cute, and I thought the quilting was very well done. This is by Mona Crum.
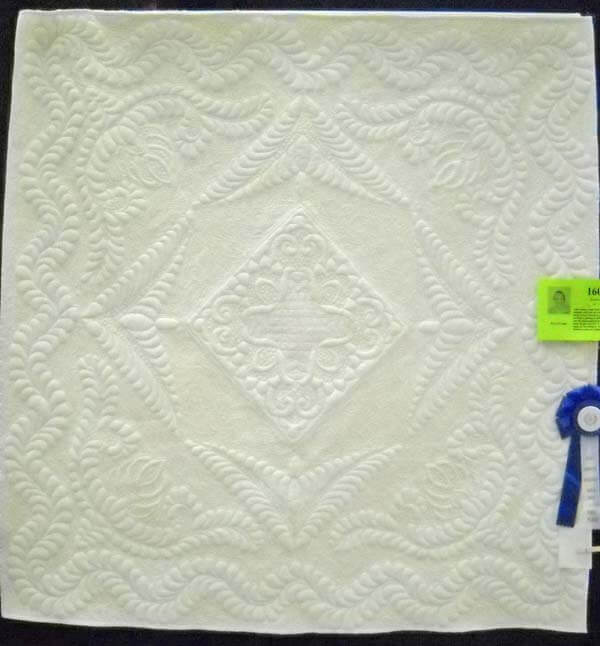 Whole cloth quilt by Joyce Cook, with some really nice trapunto, as well a yummy quilting.
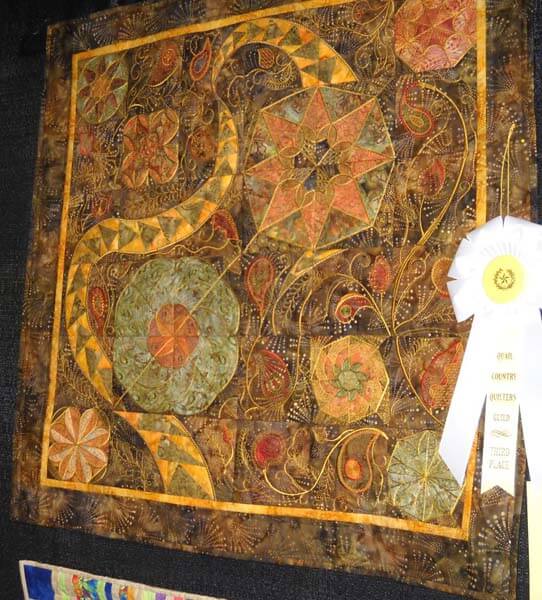 Lovely small quilt by Janet Kersh. Very interesting details.
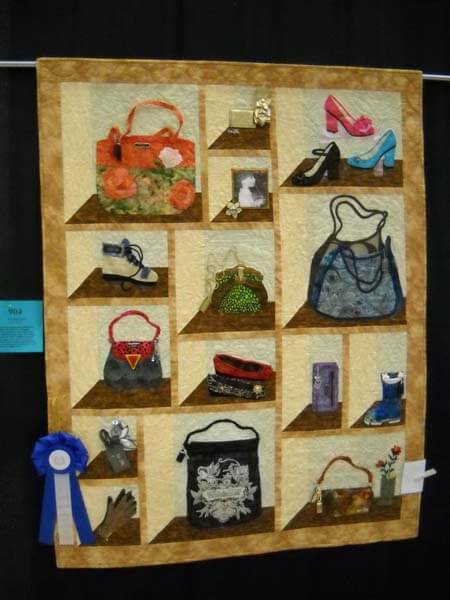 Lots of fun materials used in this quilt – pieces of clothes and heirlooms – nice design and great quilting. By Janet Berry.
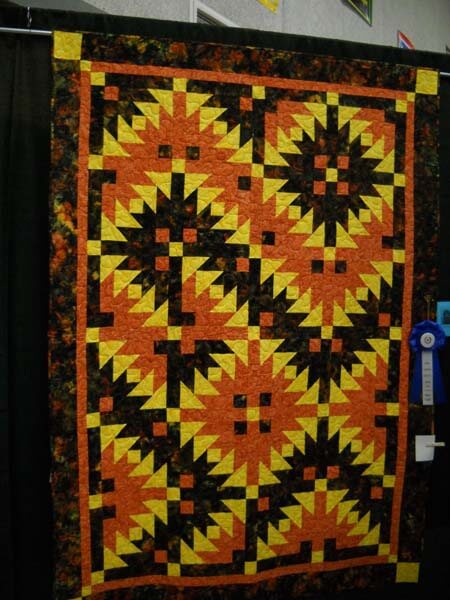 Another quilt by Janet Berry, very bright and geometric.
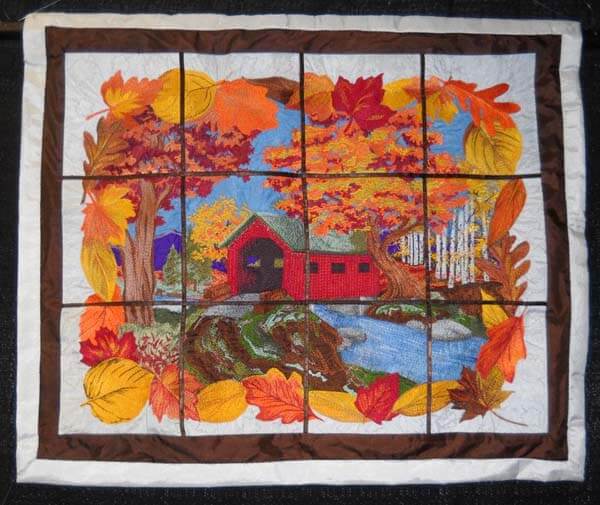 Amazing thread work by Faye Celmer.
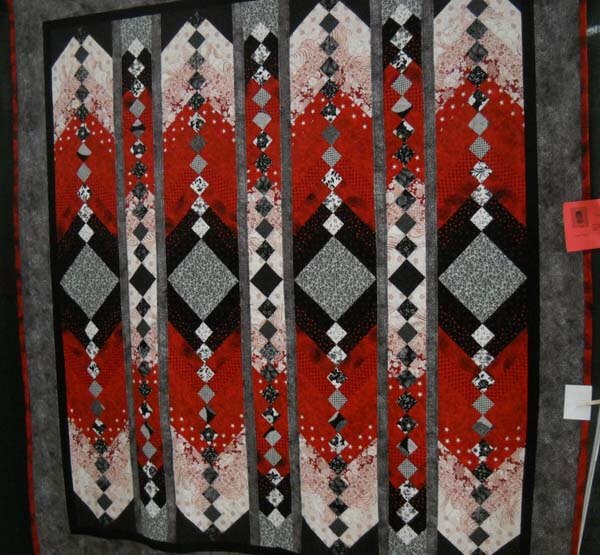 I’ve seen the pattern for this braid quilt before, but each time I see it done in reds and blacks, I am drawn to it. By Connie Myers.
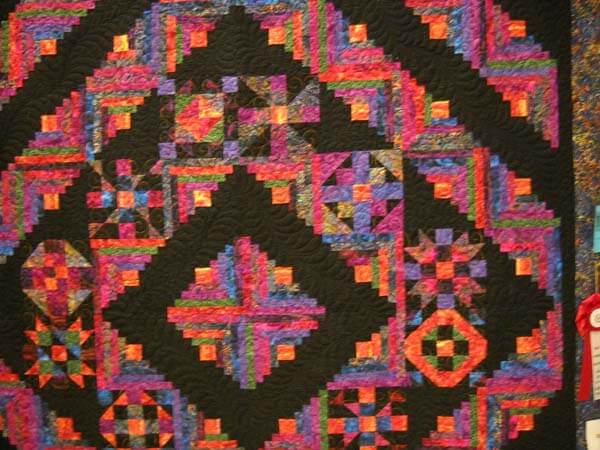 Another quilt by Connie Myers – lots of Bali Pops with a black background.
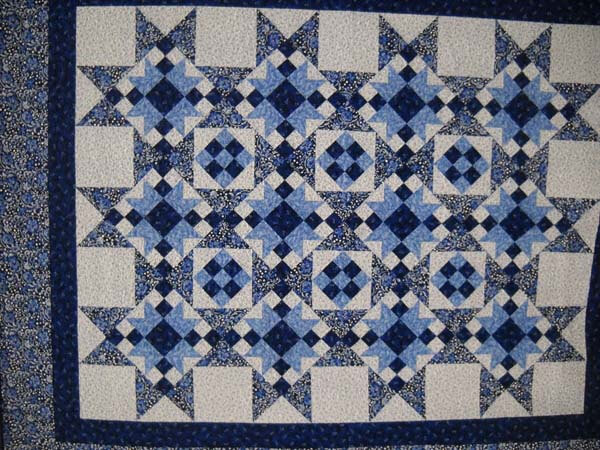 Soothing blue and white by Charlene Dockray, again with very nice quilting.
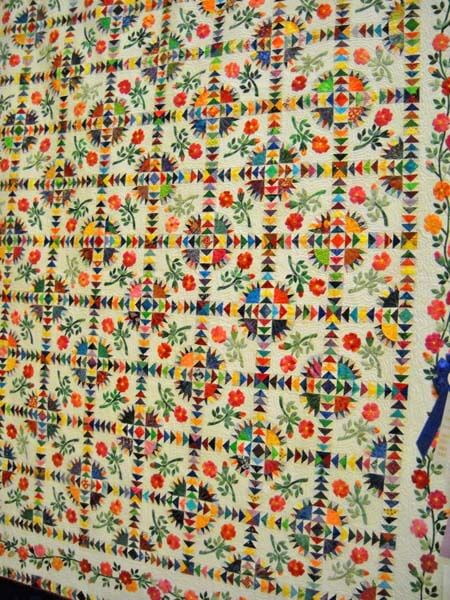 A great pieced and applique’d quilt, very colorful, by Bev Lawrence.
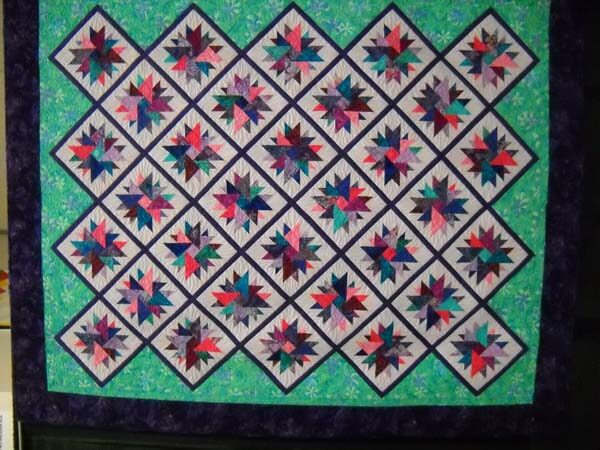 Another quilt by Bev Lawrence. Interesting use of color.
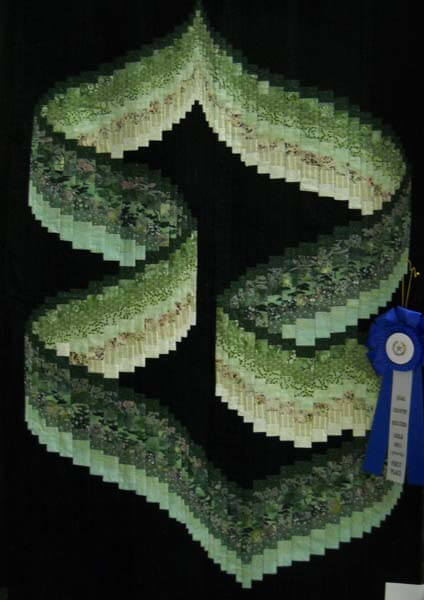 I’ve seen this pattern the last couple of shows I have been to, and I really like it, especially done in some “quieter” colors. This is by Barbara Chronister.
Thank you Cottonwood quilters for an enjoyable two hours!
Work in Progress Wednesday
It has been a productive week, and I have two new projects on the agenda, but first – my finished quilt from last week. This is waaayyyy better! It was originally done many moons ago as a marbled BOM, and I wanted the quilt, which I have always liked, to reflect the new skills I have. It’s from a block pattern from Judy Martin’s Around the Block.
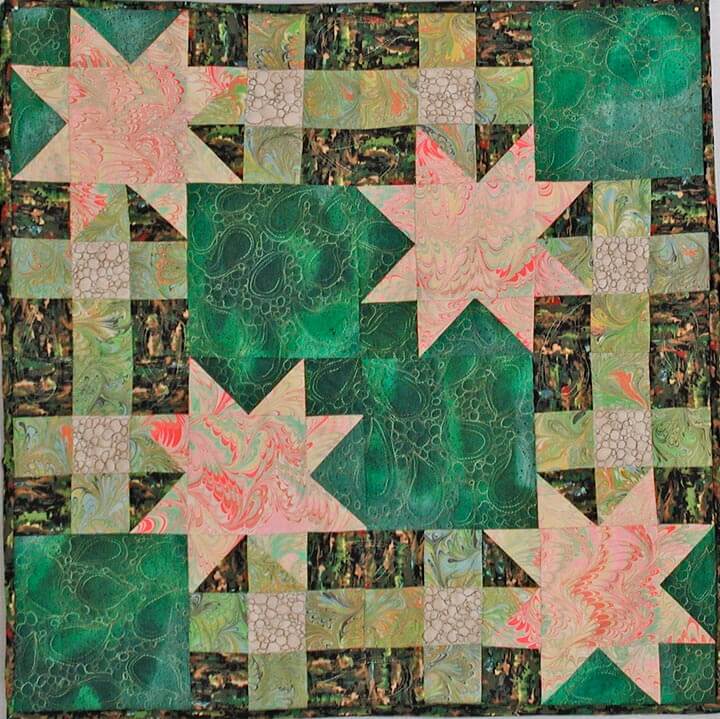 I’m calling it Monet’s Marbles, based on the mottled green fabric, which I bought years ago because it reminded me of Monet. I didn’t quilt anything in the stars, because I wanted them to stand out from the rest of the quilt. Here’s a close-up:
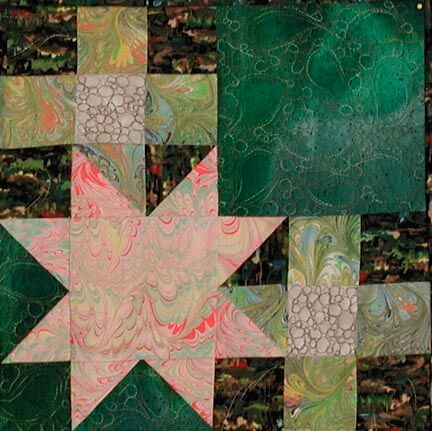 This is one of the blocks from Judy Martin – the quilt has four and uses two different marbled fabrics.
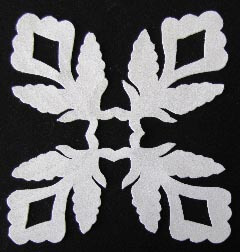
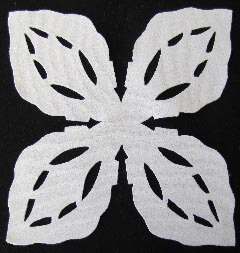
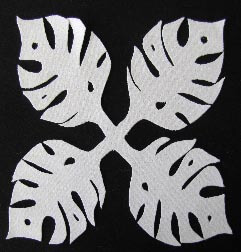
The next project is to finish up some small wall hangings for my second mom. She spent one winter in Vermont cutting out Hawaiian designs for a potential quilt – they never made it into a quilt, and I am trying to put them into something that Momcat can use. There is one major problem….these amazing blocks are all cut out of a heavy white polyester fabric…that ravels…………so I am using a lot of satin stitch, which also adds a slight bit of color to the blocks.
We decided on a black background to emphasize these wonderful patterns. I am hoping for one of the small wall hangings to be done for next Wednesday….we shall see…..
Many of these are original designs , and they are certainly a challenge in corners, heavy polyester, and satin stitch….but they will be gorgeous!
Sunday Stories – My Sewing Machines
 At one point I had three, with another on layaway. I guess four, counting my serger. It was the HUGE, HEAVY Singer that my mother had that first intrigued me. I sewed mostly at college on a small Singer a sorority sister had, but when I went home for holidays it was that old heavy Singer that I used – I don’t think the needle was ever changed, and it only went forward and back, but it was enough for wardrobe.
My first teaching job was in Hawaii, and after buying my very first car, I bought a Singer sewing machine. When I left Maui, I donated it to the drama club for costumes – that machine had done all the holokuus we used for two musicals, plus a lot of muumuus for me over the years.
Back in Vermont I needed a new sewing machine, so I bought a fancy Singer – with stretch stitches…yup, time for polyesters and stretch knits. This was when I took every Stretch and Sew class I could, and pretty much bought out all their patterns. I learned a lot of design, and for the next decade I made all my clothes…and a leisure suit for hubby. I wanted the capability to do fancy stitches, so when the funds were there, I got a new Singer – computerized, with lots of decorative stitches. And…a bobbin that wound itslef right in the machine.
My dear mother-in-law got the older Singer, as she would sew doll cloths and bags for the grandchildren. That new Singer did wonders and got me started in quilting. When my mother-in-law died, the machine reverted back to me, along with her Featherweight. Finances were such that I had to sell the featherweight, much to my regret, but it went to a good home – a quilter friend of mine.
I discovered that using the zigzag to edge cotton before marbling wasn’t really working on my old Singer. I seemed to always overheat the motor, so I went looking. Enter my serger, a Bernette. Two great ladies who had a fabric store and bought marbled fabric from us fronted a used serger for me. It’s still going very strong, although I must confess a profesisonal cleaning would probably be a good idea, even though I am good to it….
Between the marbling and the quilting, my other two Singers weren’t doing it for me, so I began to investigate Berninas forther, since I loved the serger. We were fortunate in that the local Bernina folks, Bruce and Mary Sue, were very supportive of our marbling. I put a hundred dollars down on a 1080 Bernina workhorse, figuring I could get it in a few months. Well, several years later I got my machine and it’s been purring since then.
In order to fund some basic expenses we had a yard sale, and the two old Singers went to new homes, feet and all. I miss them, but I do love my Bernina. There are times when I wish it did more – like needle-down and stitch regulator, but my basic skills have improved tremendously. In fact, when I was at the School of Threadology I was using a new Bernina and I wasn’t happy – mainly because I didn’t fully understand what it could do – I knew the limits of mine and wanted it with me.
I’m still lusting for new machines – my serger is nearly 15 years old, I want an embroidery machine, I want a machine that can take designs and new stitches along with a stitch regulator, but that’s in the future. For now I love my Bernina and all it’s teaching me.
Sunday Stories – Black and White with a Hint
Yesterday I wrote about what’s happening with the bamboo piece. Here’s a sneak piece of it in VERY rough form:
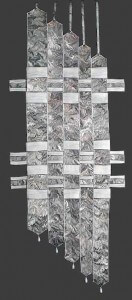
Now to today’s story – my piece for “My World in Black and White,” a show curated by Anne Copeland, like around 2003. This was a challenge issued on the QuiltArt list, and I decided to try something. Here’s the piece:
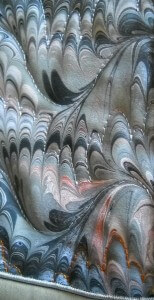
This was the first show where I realized I had to pay more attention to the theme. Mine was a more abstract look at black and white. We marbled a three-quarter-yard piece of unpolished white satin in blacks and whites. There was still a little orange left in the tray from a previous piece, so the name became “Black and White with a Hint.” I cut five strips and quilted them, following the marbled patterns. You can see the hints of orange.
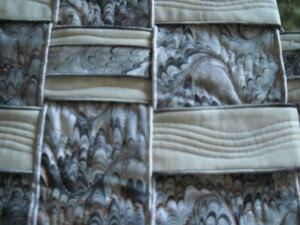
At this point, I really didn’t know what form this was going to take. I decided to stagger each of the strips, but it was pretty boring with just the strips. That’s when the “hidden” architect in me took over. I marbled some ribbon, serged the edges of the ribbon to carry the serging motif through, and attached it to some strips of gray cotton. I did eight strips all together, some of them plain with just a meandering quilting line, and some with the ribbon, and then I wove them through the other strips.
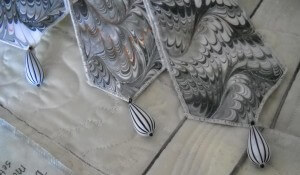
I liked how it was shaping up, and now I had to deal with a hanging system, as well as finishing the bottom. I figured I wanted some beads to hang at the bottom. I went to the local bead store and found these teardrops – have NEVER seen anything like them since then.
If you look closely, you can see how each strip gets hand-stitched to the ones around and underneath it. I figured I would use a plexiglass rod for the hanging system. I marbled some thinner ribbon, and with careful measurements attached the various lengths at the top, with a bead embellishment.
I learned a lot, as I seem to do on every piece, and this is still one of my favorites – my first piece to travel (to Ontario, CA as well as the online exhibit), my first piece that was professionally appraised, my first piece that “hung” in a very different style, and my first ribbon (for entering, but none-the-less still special!).
I am really enjoying revisiting these pieces and their stories. I hope you enjoy as well.
Works-in-Progress
I pulled out an old quilt to work on – not that I don’t have plenty of new projects going. This is my “deer quilt,” so called because of the pieced deer at the bottom of the quilt. I found this pattern about 12 years ago when I was learning a lot about piecing. It looked like it would be fun to do – and was, until I got to the deer, which was quite the challenge. The pattern was, I believe, from Pam Bono Designs, in an old book called Rotary Cutter Quilts. I looked on her site and the book seems to be out of print. I got the top pieced in about a month, sandwiched with what I know now to be REALLY cheap batting, and I started quilting it…with invisible nylon thread.
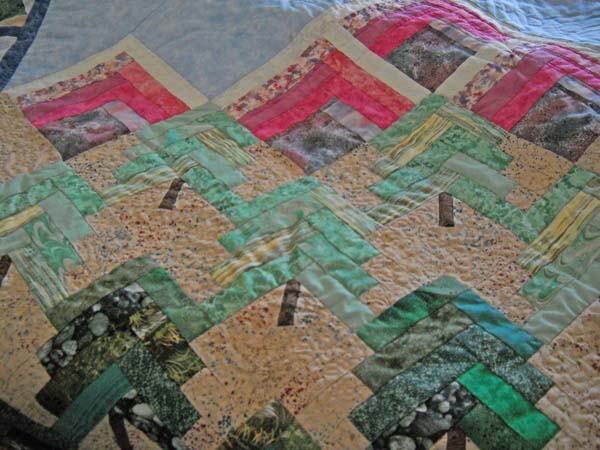
Needless to say, I have learned my lesson with invisible thread – use the poly thread from Superior Threads. I could see the brittleness and yellowing, so I have spent several hours pulling out a lot of old quilting. I had done a lot of free motion quilting in the background, which is literally ground. I loved the fabric choice, and it still looks great 12 years later. This is just a portion of the mountains, and two layers of trees.
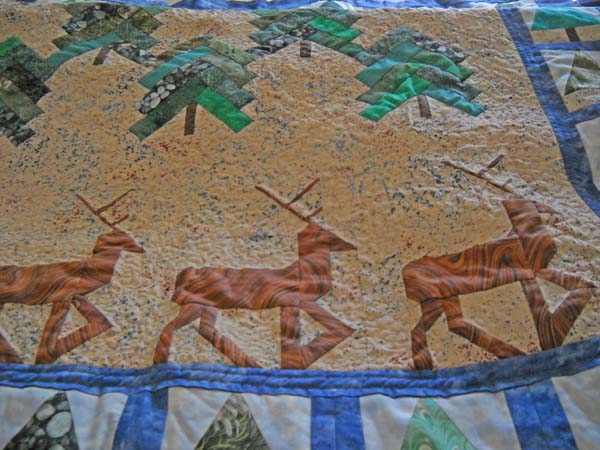
One thing I am noticing is that I am MUCH better at machine quilting, even though I think I have a long way to go. This quilt shows me where I started, and just how I have improved. Here’s the deer:
They are done in a commercial marbled fabric because I loved the texture of the fabric. I am thinking of doing some thread painting on the deer to accent the design. We’ll see….I know I’ll add a little bit of cotton for the tails when I am done….
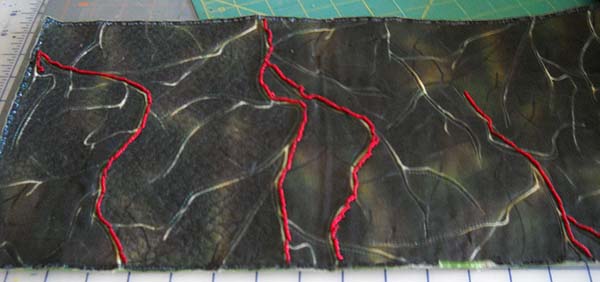
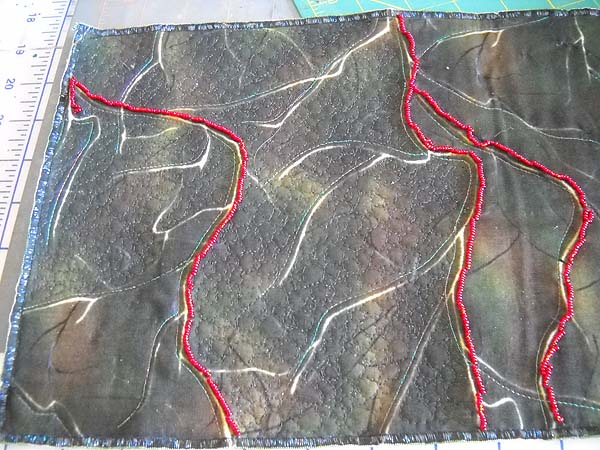
This second piece was in response to a group of us a couple of years ago (like 5) trying to do a group art piece. I had this in mind for a lava piece, and it was so-so. I serged some edging of black fabric, with the idea of tacking it into place to represent hardened lava. Didn’t really work. Here’s the piece without it:
The left side of this is my new approach – using So Fine black from Superior Threads – another new thread I haven’t tried – and I love it! No broken needles, and just some gentle tension adjustments. This looks more like lava than the earlier version. Here’s another shot:
Color is truer in the top one. I’ll be curious to see when I finally consider it “done,” only five years later….
Midnight Musings
I woke up a few times last night, thinking about this piece – mainly, was there too much quilting? I have avoided looking at it today, as I want to wait till I have better light tomorrow to really evaluate what’s going on. I have so enjoyed quilting this – I love the Superior Threads – NOT ONCE has the thread broken, and there’s a lot of it on this piece. I need to look at the threads I have again, as I think I want to use something for the sky that just gives texture but no emphasis on the stitches. Trouble is, I do not have clear invisible thread, just smoky, and that definitely won’t work. And now that I understand about nylon as an invisible thread, I’m not even considering using the old stuff.
I may cut off about two inches, as I’m not sure about the puffiness at the very bottom – it is the bottom, and I do want the emphasis on the “fish,” and I think the extra texture will work. The big problem is the decisions to be made on the upper part that is supposed to represent more of the sunrise. Definitely less stitching, just don’t know what thread yet.
Here’s link to the original piece, with almost no quilting, and a bad border. I said in the post I would be willing to take the quilting out – which I have now done twice…..I’m looking forward to quilting tomorrow…just need to be done with a border on for pics on Saturday.

